GTrusted
8
High Trust Products1
Not Working ProductsLaptop Charging Speed & Battery Life Performance Benchmarking


Chargers and Power Banks
Headphone & Speakers
Cases & Covers
Virtual Reality
Cables & Adapters
Media Player
Laptop
Tablet
Desktop
Cell Phone
Printers & Copiers
Memory Cards
TV
Computer Display
Game Console
Smart Home
Wearable Technology
Photo & Video Camera
Car Electronics
Car
Networking Equipment
Smart Toys
Home Audio & Video
Professional & Industrial
Storage Drive
Docking Station
Game Console Controllers
Set-top box
Keyboard, Mice, & Stylus
Portable Music Player
Computer Parts & Components
Cordless & Speakerphones
Projector
Software
Reporting
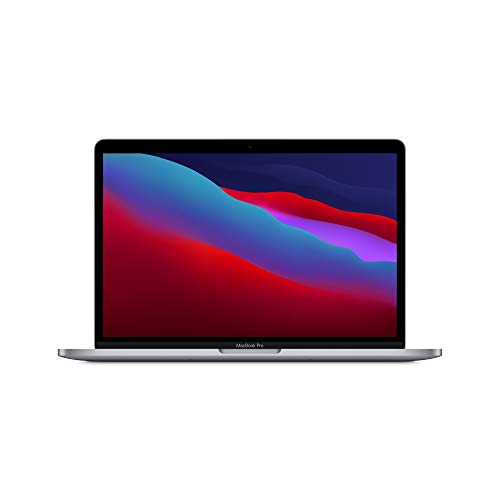
15" MacBook Pro (2018 Model with Touch Bar)
by Apple


Interested in this product?

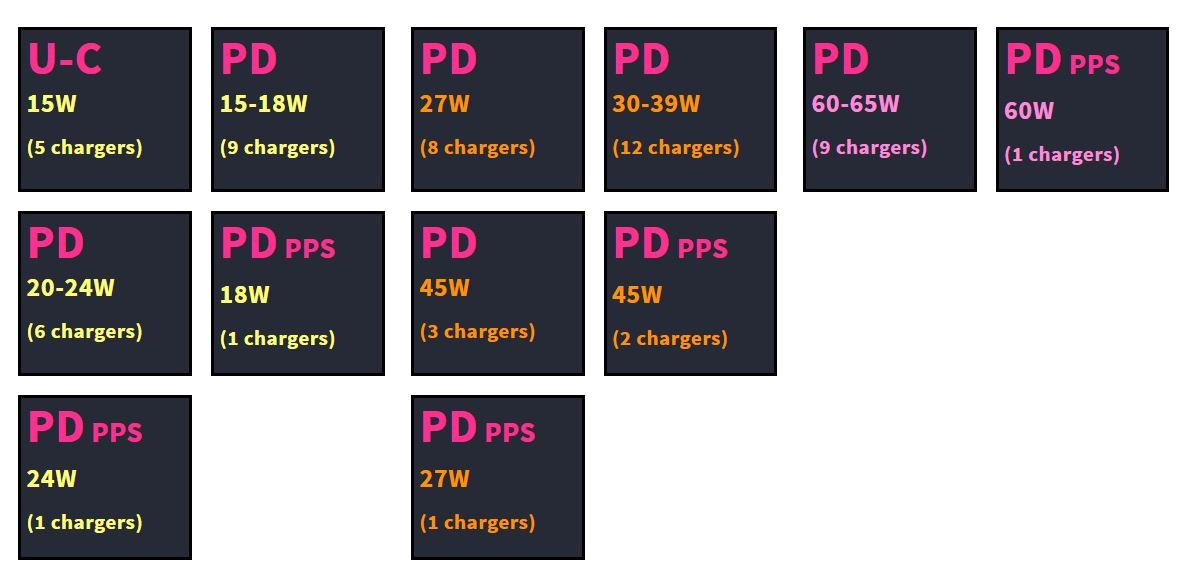
Interface Capabilities: (Click icon or tag for recommended products by interface)


Select a product category to see which devices type we recommend to use with the 15" MacBook Pro (2018 Model with Touch Bar):
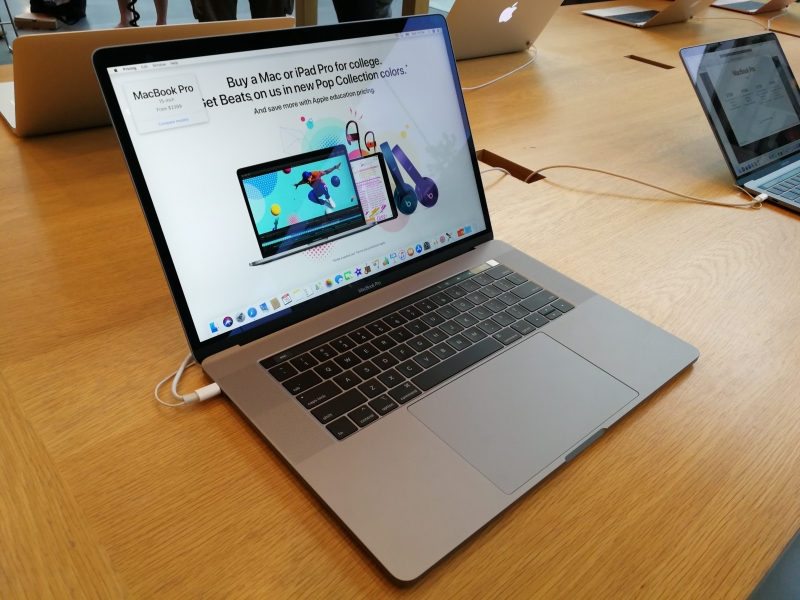
Apple's 15" MacBook Pro (2018) Speeds Up on 6-Core 8th Generation Intel Processor with Titan Ridge Thunderbolt 3
Apple Mac fans can finally get their hands on the most updated hardware and macOS with the Apple 15" MacBook Pro (2018) and 13" MacBook Pro (2018) released just recently. Both Mac's support the newer and more powerful 8th Generation Intel processor where the 15-inch version has a faster 6-core processor. Along with the latest Intel Titan Ridge Thunderbolt 3 chipset, the 15" MacBook Pro (2018) can take advantage of DisplayPort 1.4 but instead of a 8K display, the Mac only enables at most two 5K@60hz displays over its Thunderbolt 3 connector. This fares much better than the touch bar version of the 13" MacBook Pro (2018) which still sticks to DisplayPort 1.2 despite supporting Titan Ridge.
Like previous models, the 15" MacBook Pro (2018) keeps to four Thunderbolt 3 enabled USB Type-C connectors on the Touch Bar which support Thunderbolt 3 (40 Gb/s), USB 3.1 Gen 2 (10 Gb/s), DisplayPort 1.4, and USB Power Delivery 2.0. The Mac continues to use the Radeon Pro GPU but now runs on the macOS Mojave, previously High Sierra supported by the Apple 15" MacBook Pro (2017).
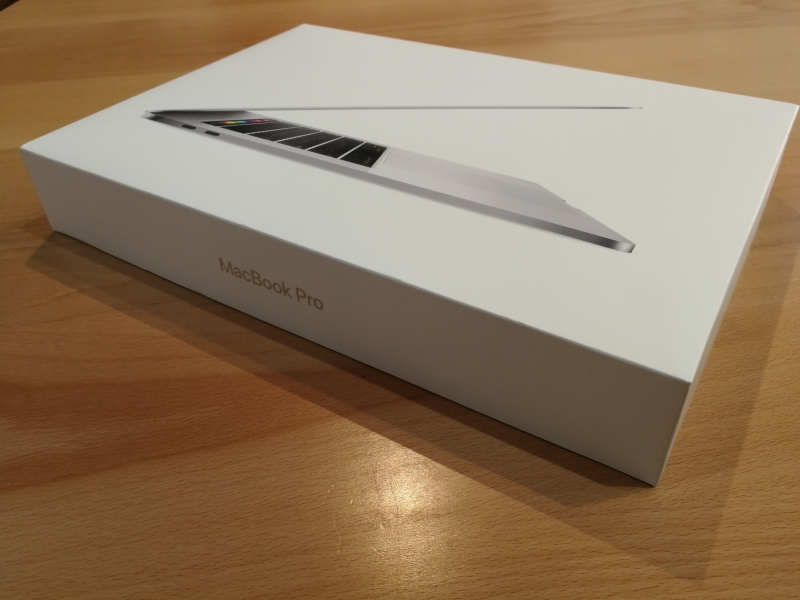
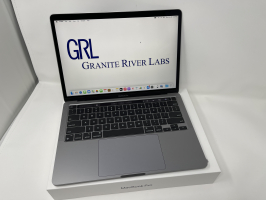
We purchased the 15" MacBook Pro (2018) from a Apple Store which was heavily promoting the 2018 Mac series during that time.
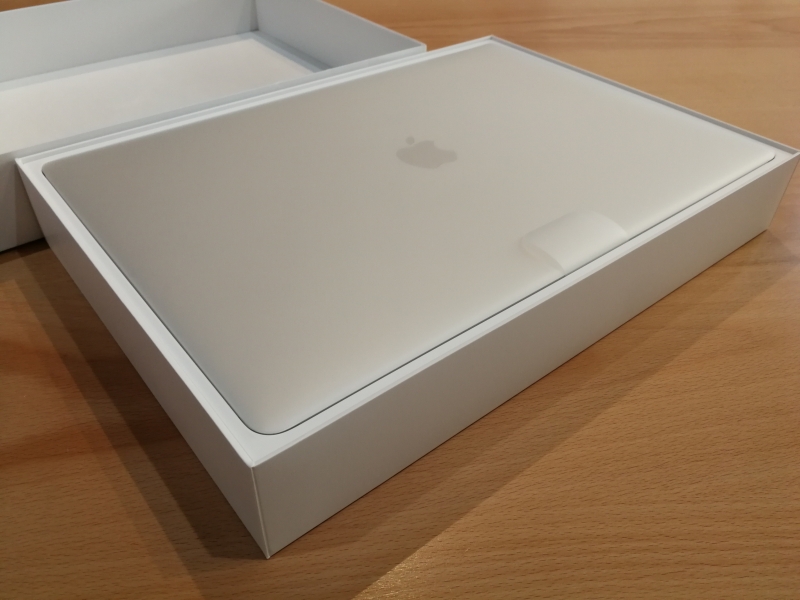
Apple has been consistently staying true to its own unique style of packaging design for the Mac including the 15" MacBook Pro (2018).
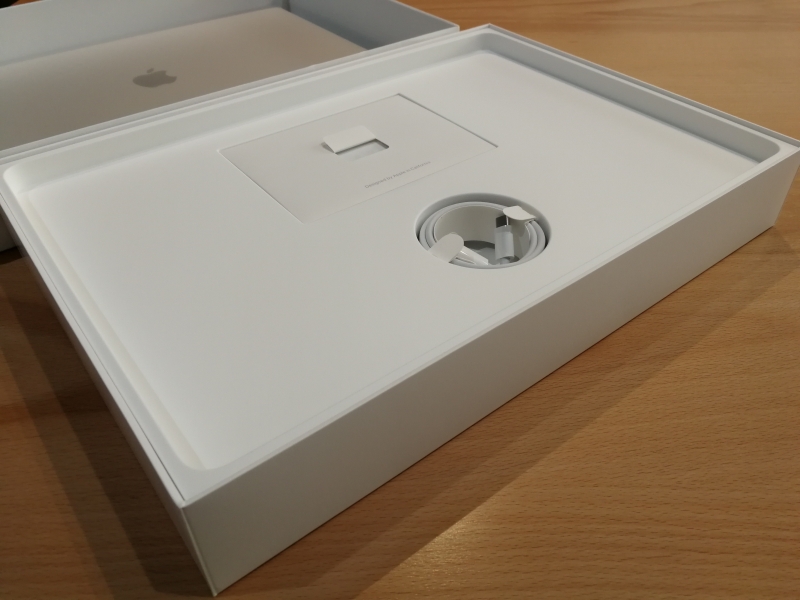
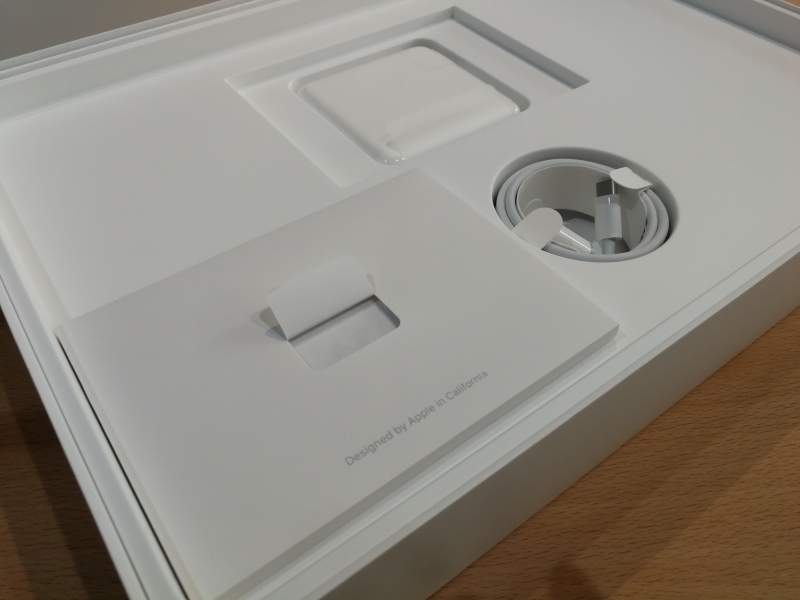
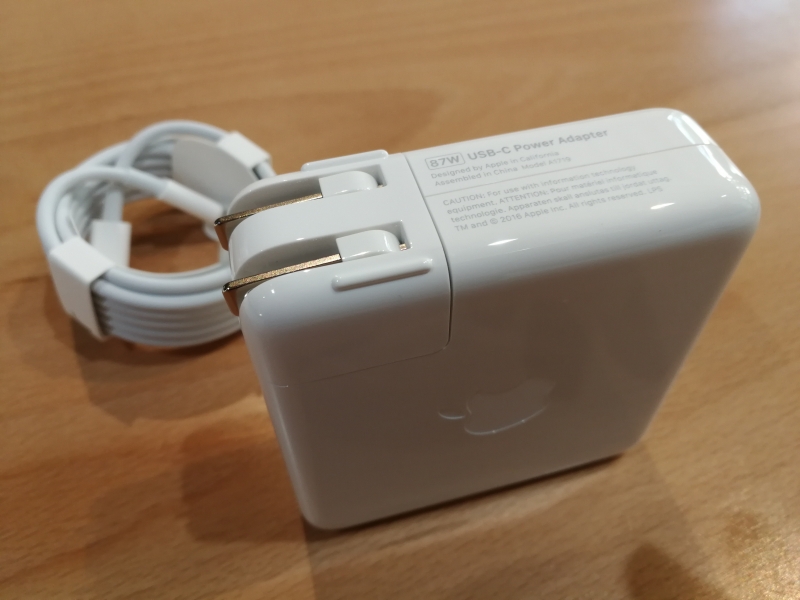
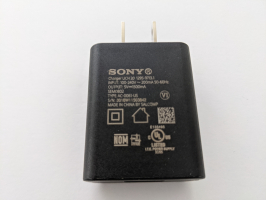
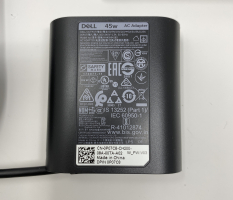
The Apple 15" MacBook Pro (2018) comes with a Apple 87W USB-C Power Adapter which uses USB Power Delivery 2.0 for charging as well a USB Type-C to Type-C cable to connect between the ac adapter and Mac. Click here to see how well the 87W adapter delivers USB Power Delivery fast charging to the Mac through the Thunderbolt 3 port while connected using the supplied Apple USB-C Charge Cable (2m).
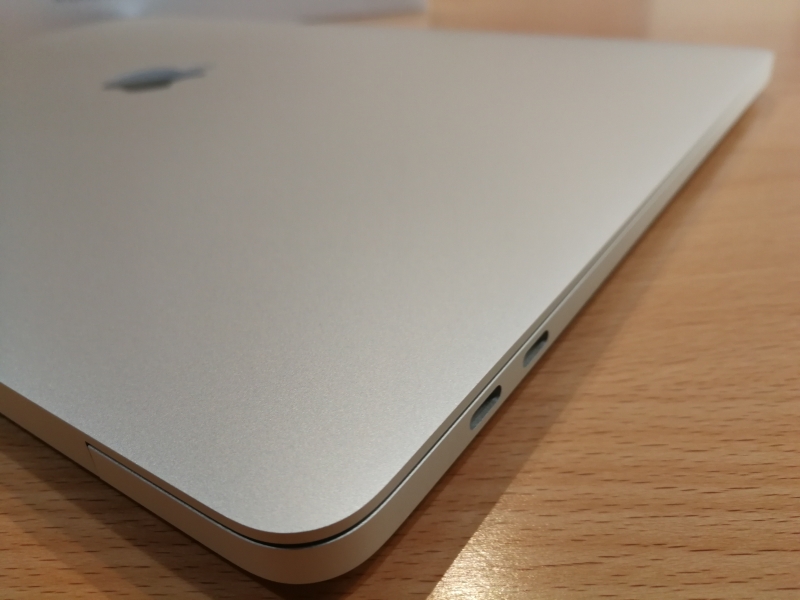
The connector alignment on the Apple 15" MacBook Pro (2018) is similar to other Mac's with four USB Type-C ports such as the touch bar version of the 13" MacBook Pro (2018), Apple 15" MacBook Pro (2017) and Touch Bar version of the Apple 13" MacBook Pro (Late 2016).
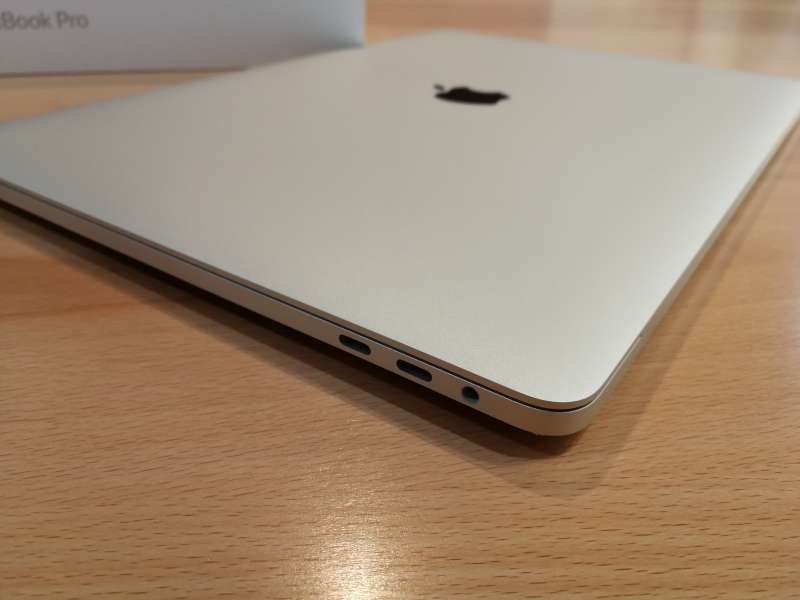
The four Thunderbolt 3 enabled USB Type-C ports are located on both sides of the Mac with two adjacent connectors on each side, which can also be used to charge the Mac itself. The analog 3.5mm audio port is still kept on the right hand side of the Mac.
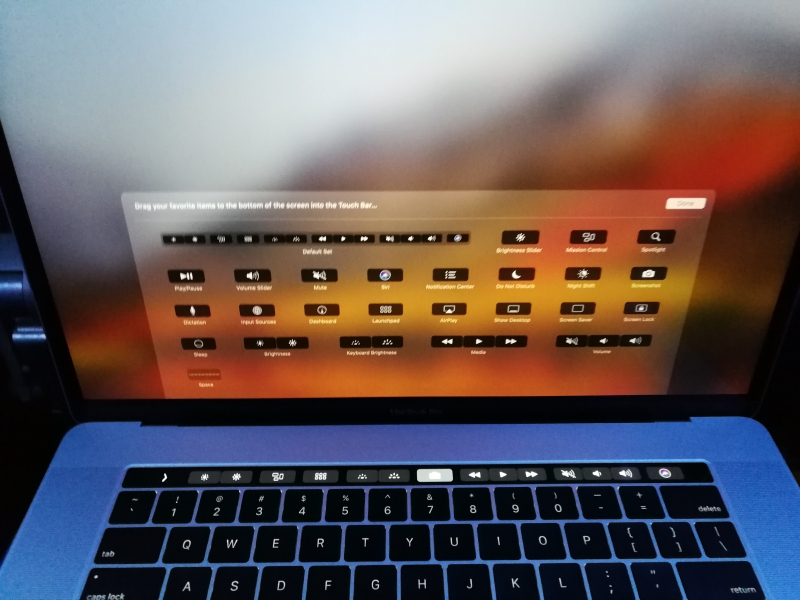
Except for the hardware upgrade, the Apple 15" MacBook Pro (2018) basically still retains most of the look and feel from the earlier version. A similar thing can also be seen between the touch bar version of the 13" MacBook Pro (2018) and its 2017 predecessor from this review.
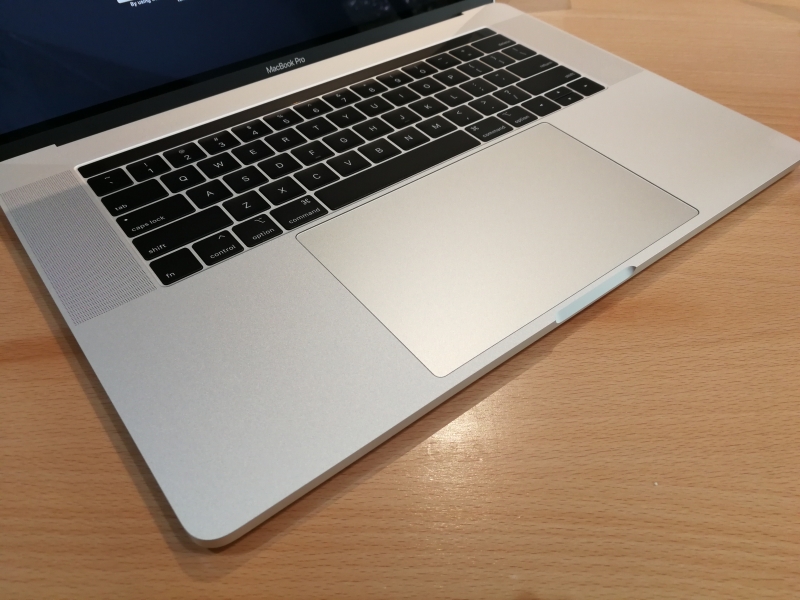
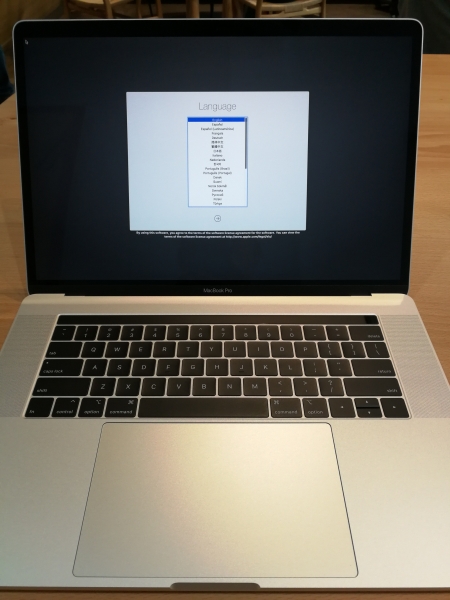
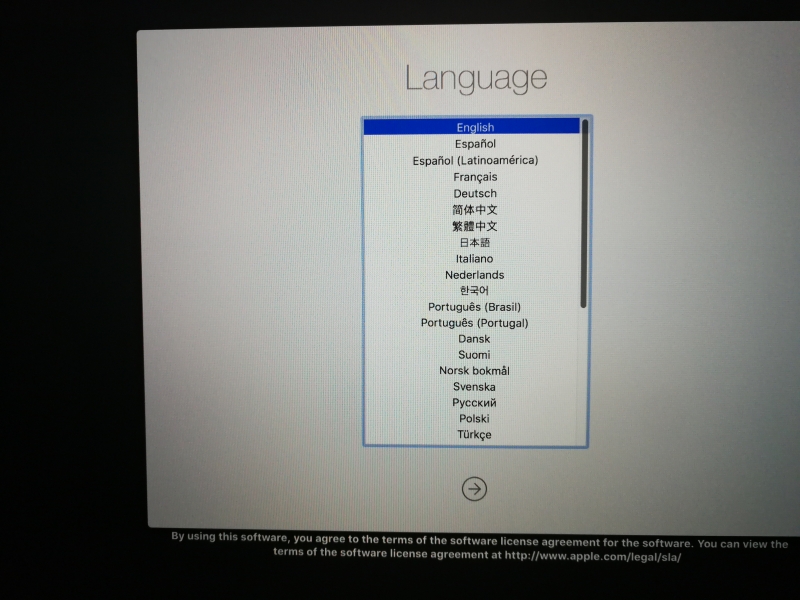
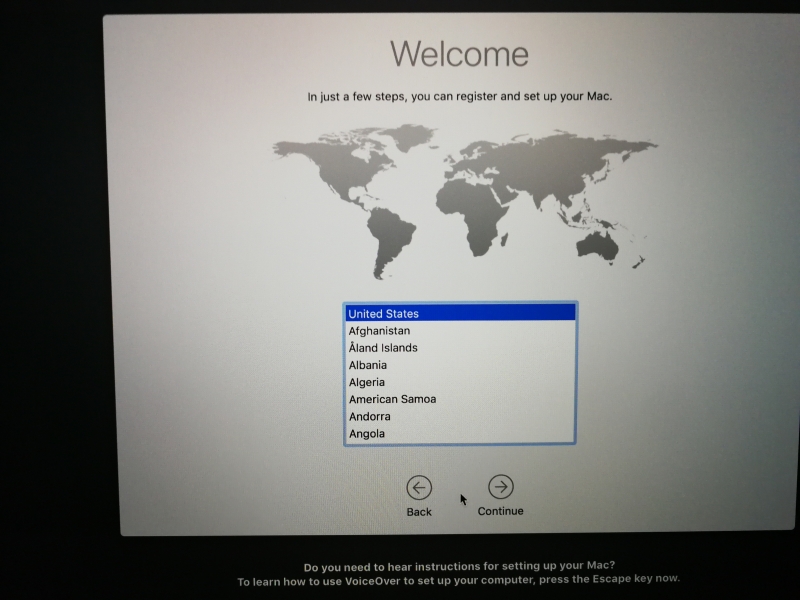
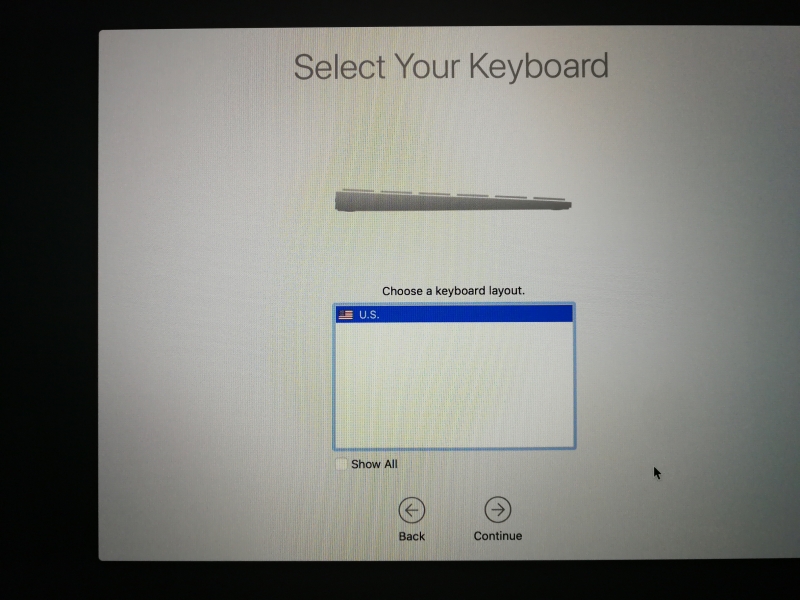
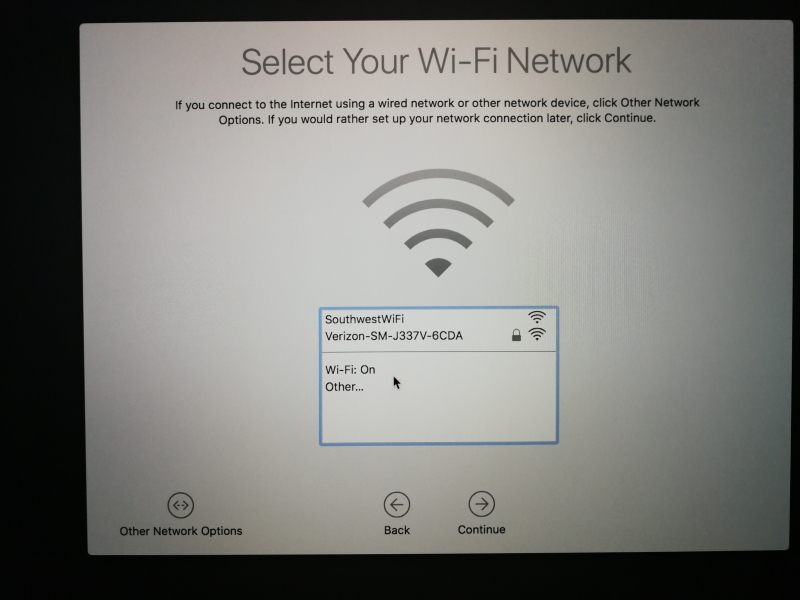
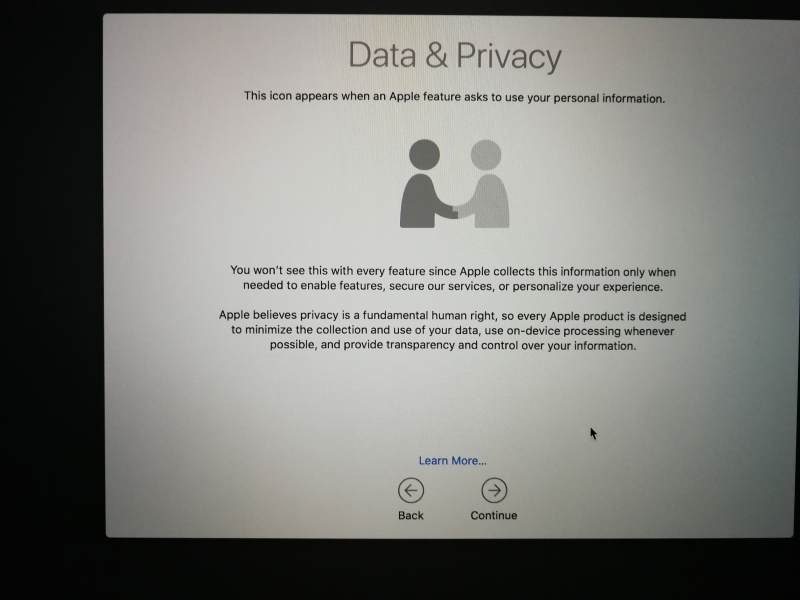
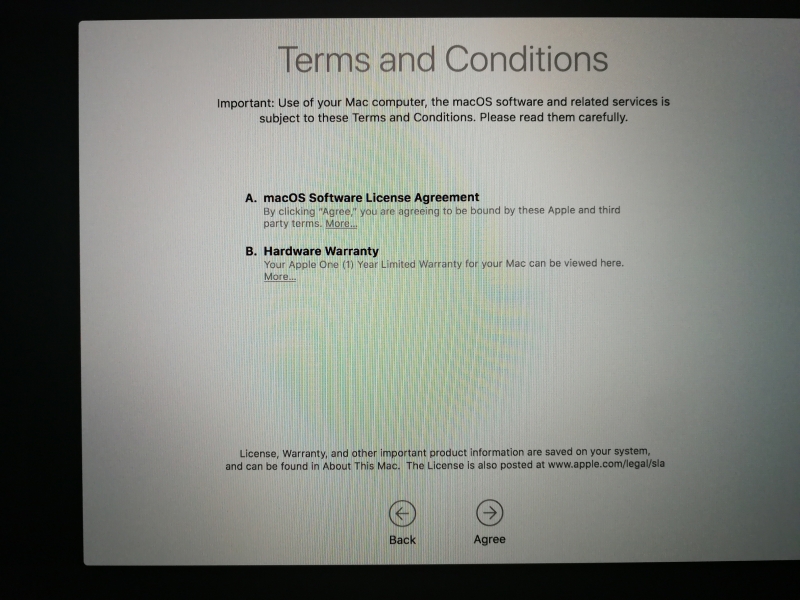
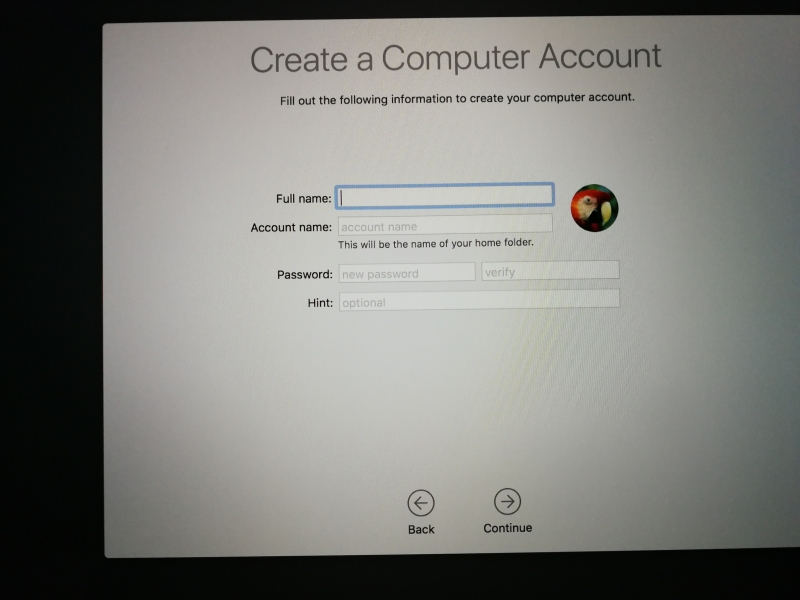
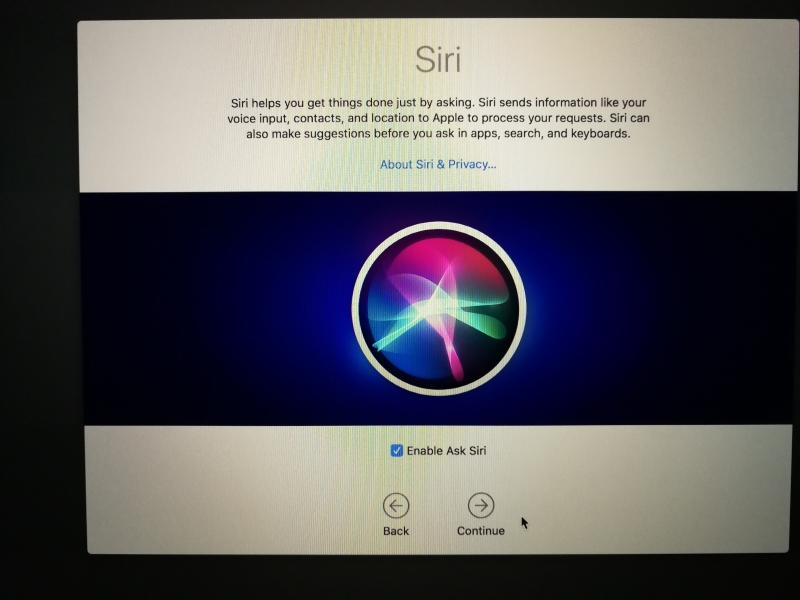
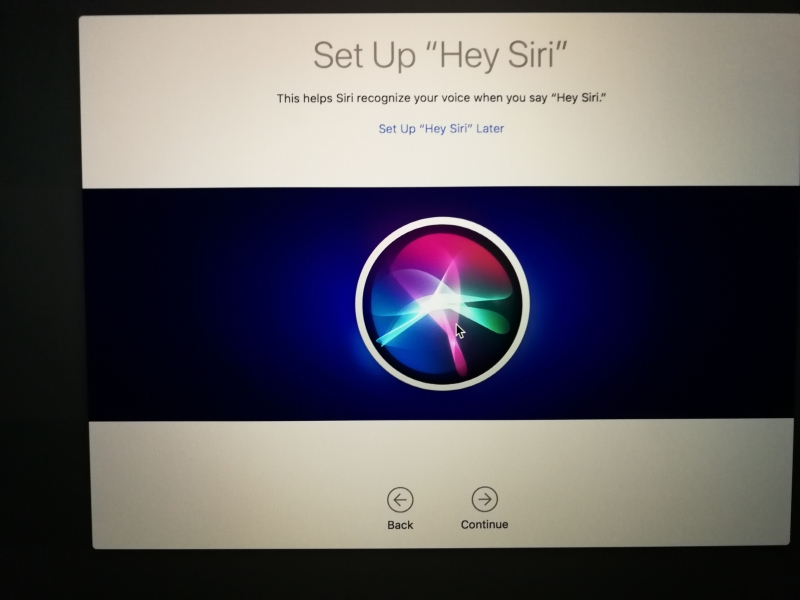
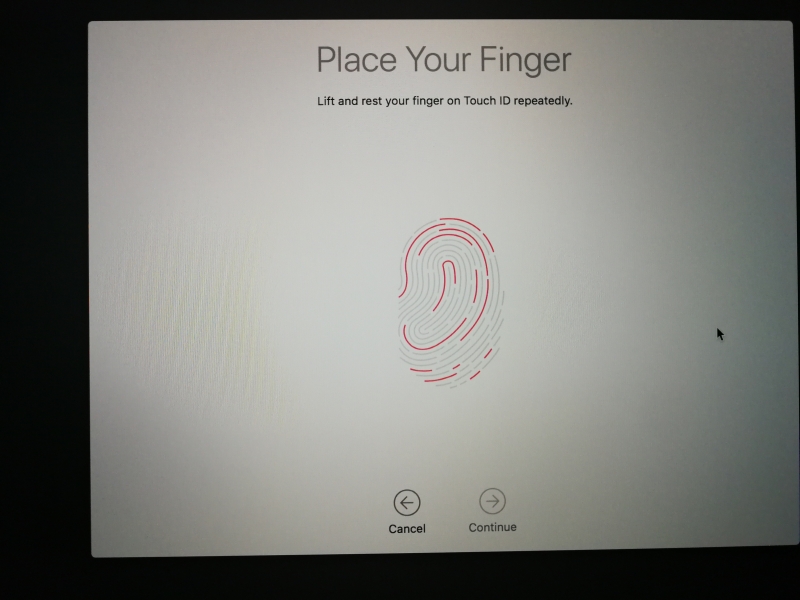
Here are some of the screens showing the initial setup for the Apple 15" MacBook Pro (2018). The setup process is relatively simple to follow through especially for those who are already familiar with any other Mac setup.


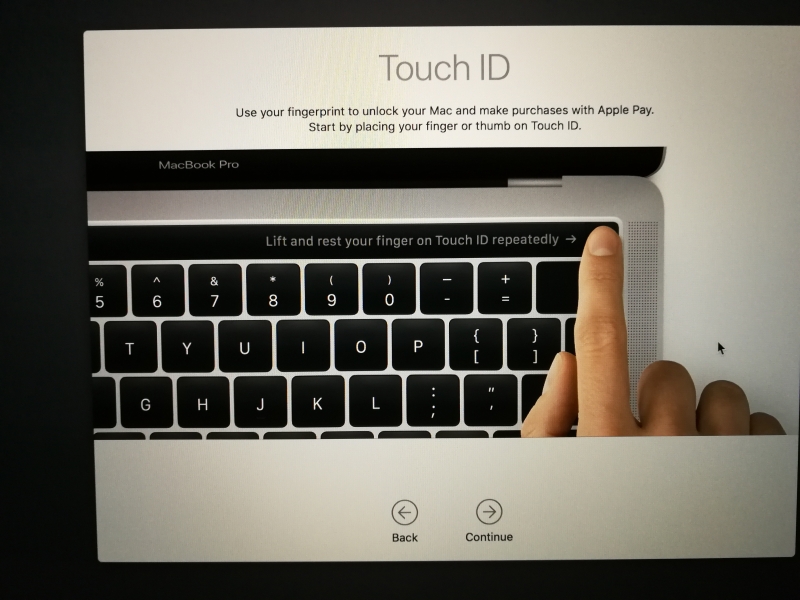
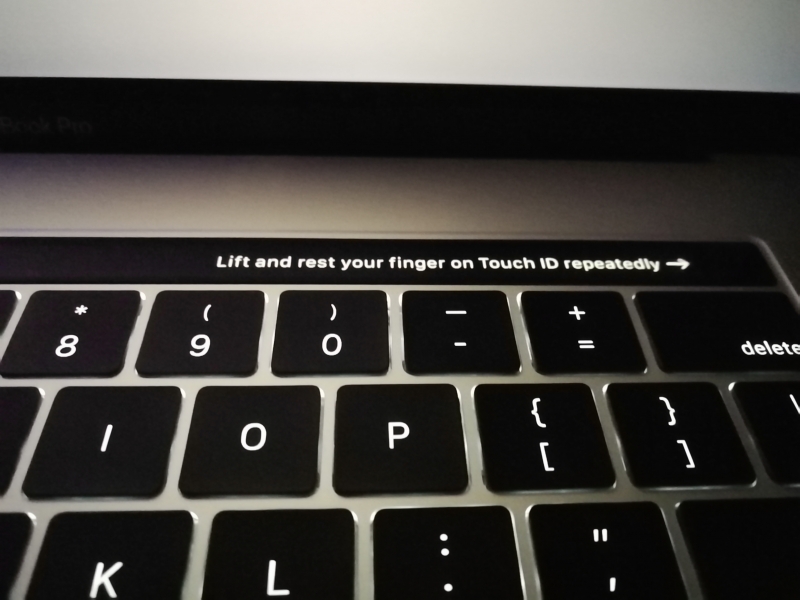
You will also be introduced to the Touch ID feature allowing you to register your fingerprint onto the Mac's power button just like in the iPhone.
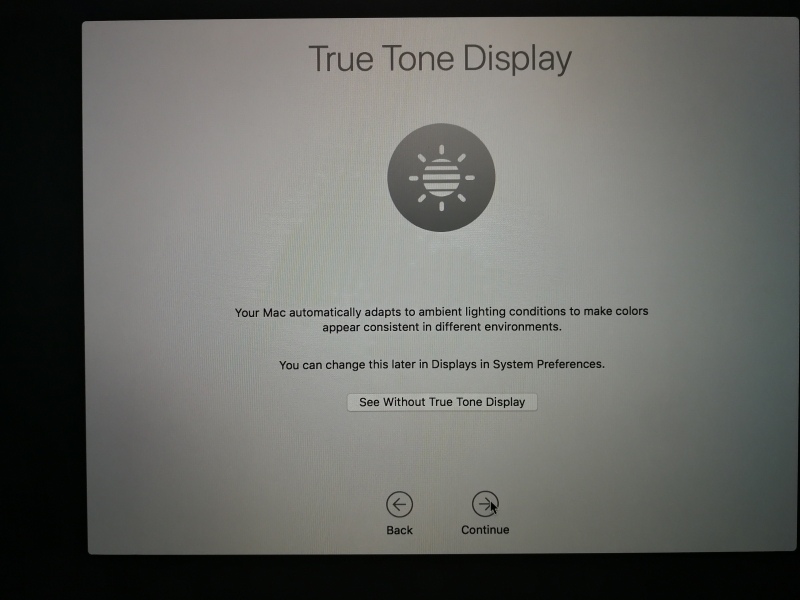
The Apple 15" MacBook Pro (2018) also has the Apple True Tone Display capability similar to the iPad Pro's and iPhone 8 and above where you can enable on the Mac to auto adjust its display to blend with any environment.
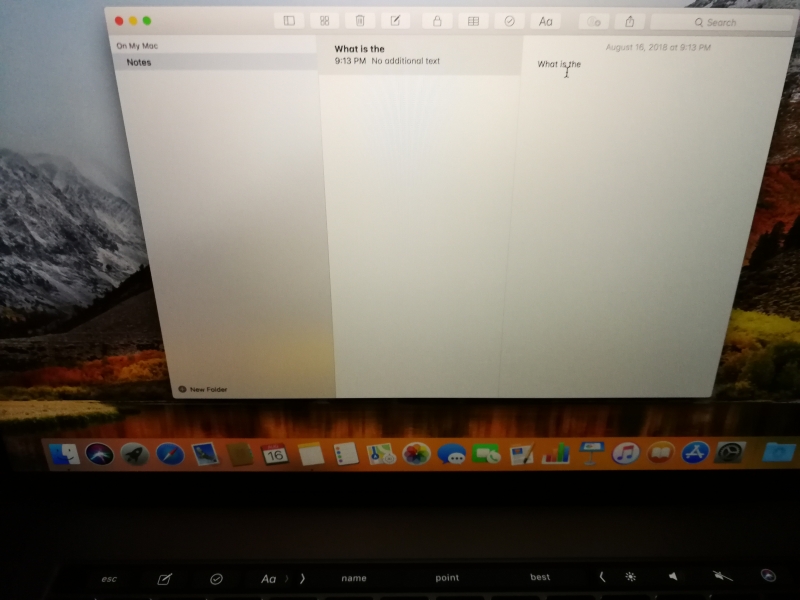
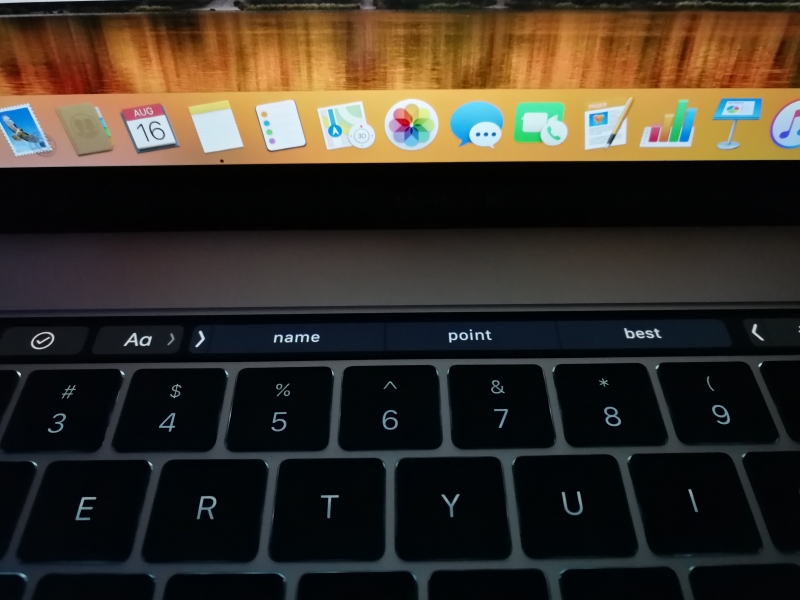
You will be able to see the Touch Bar light up and ready for use when the Mac setup is almost complete.
Using the USB Power Test App from Granite River Labs with the Granite River Labs USB Power Delivery Compliance C2 Tester, we are able to view the Mac's power capabilities in the following tests results.
The USB Power Test App first negotiates a power contract emulating the Source to determine the Power Delivery Sink capabilities of the Apple 15" MacBook Pro (2018). The USB Power Test App then reports out the voltage and current supported by the Mac for each of the Source PDO's advertised to the Mac.
| Sink Cap. | Voltage (V) | Current (A) |
|---|---|---|
| 5V | 5.04 | 2.93 |
| 6V | 6.19 | 2.46 |
| 7V | 7.08 | 1.9 |
| 8V | 8 | 1.78 |
| 9V | 8.82 | 1.69 |
| 10V | 10.07 | 1.77 |
| 11V | 11.08 | 1.28 |
| 12V | 11.95 | 1.55 |
| 13V | 13.11 | 1.05 |
| 14V | 14.09 | 1.28 |
| 15V | 15.09 | 0.96 |
| 16V | 16.07 | 0.85 |
| 17V | 17.09 | 0.92 |
| 18V | 18.04 | 0.8 |
| 19V | 19.11 | 0.94 |
| 20V | 20.01 | 1.01 |
The USB Power Test App from Granite River Labs also produces a voltage, current trace plot which graphically shows the voltage and current requested by the Apple 15" MacBook Pro (2018) for each advertised Source PDO throughout the power negotiation.

Using the USB Power Delivery Compliance C2 Tester from Granite River Labs to run just a subset of the full USB Power Delivery compliance test suite, we can see that the Apple 15" MacBook Pro (2018) supports 7.5 watts (5 volts @ 1.5 amps) and 15 watts (5 volts @ 3 amps) fixed PDO's as well as variable power supply of 21.4 to 94.5 watts range (4.75-21 volts @ 4.5 amps) and 90 watts battery power (@4.75-21 volts) for charging. Note compliance failures were mostly observed.
Power Capabilities
Parameter
|
GetCapabilities
|
|---|---|
PD_POWER_AS_SOURCE
|
|
Supply Type #1
|
Fixed
|
Peak Current #1
|
0x0(A)
|
Voltage #1
|
0x64(5V)
|
Max Current #1
|
0x96(1.5A)
|
PD_POWER_AS_SINK
|
|
Supply Type #1
|
Fixed
|
Voltage #1
|
0x64(5V)
|
OP Current #1
|
0x12C(3A)
|
Supply Type #2
|
Variable
|
Min Voltage #2
|
0x5F(4.75V)
|
Max Voltage #2
|
0x1A4(21V)
|
Op Current #2
|
0x1C2(4.5A)
|
Supply Type #3
|
Battery
|
Min Voltage #3
|
0x5F(4.75V)
|
Max Voltage #3
|
0x1A4(21V)
|
Op Power #3
|
0x168(90W)
|
USB-IF High Level Mapping Summary
Sl No
|
Test Category
|
Test Group Description
|
Test Result
|
|---|---|---|---|
1
|
PHY_PRIMARY_TX
|
BMC Physical Layer Transmitter
|
PASS
|
2
|
PHY_PRIMARY_RX
|
BMC Physical Layer Receiver
|
FAIL
|
3
|
PHY_PRIMARY_MISC
|
BMC Physical Layer Miscellaneous
|
PASS
|
5
|
POWER_PRIMARY
|
Power Source/Sink Primary
|
FAIL
|
Result Summary
Sl No
|
Test ID
|
Test Name
|
Test Result
|
|---|---|---|---|
1
|
TDA.2.1.1.1
|
TDA.2.1.1.1 BMC PHY TX EYE
|
PASS
|
2
|
TDA.2.1.1.2
|
TDA.2.1.1.2 BMC PHY TX BIT
|
PASS
|
3
|
TDA.2.1.2.2
|
TDA.2.1.2.2 BMC PHY RX INT REJ
|
PASS
|
4
|
TDA.2.1.2.1
|
TDA.2.1.2.1 BMC PHY RX BUSIDL
|
FAIL
|
5
|
TDA.2.1.3.1
|
TDA.2.1.3.1 BMC PHY TERM
|
PASS
|
7
|
TDA.2.2.1
|
TDA.2.2.1 BMC PROT SEQ GETCAPS
|
FAIL
|
9
|
TDA.2.2.4
|
TDA.2.2.4 BMC PROT SEQ VCSWAP DFP
|
FAIL
|
10
|
TDA.2.2.5
|
TDA.2.2.5 BMC PROT DISCOV
|
PASS
|
11
|
TDA.2.2.6
|
TDA.2.2.6 BMC PROT SEQ PRSWAP
|
FAIL
|
12
|
TDA.2.2.7
|
TDA.2.2.7 BMC PROT BIST NOT 5V SRC
|
PASS
|
13
|
TDA.2.2.8
|
TDA.2.2.8 BMC PROT REV NUM
|
FAIL
|
15
|
TDA.2.2.10
|
TDA.2.2.10 BMC PROT IGN PPS
|
PASS
|
17
|
TDA.2.3.1.2
|
TDA.2.3.1.2 POW SRC LOAD CP ACC
|
FAIL
|
18
|
TDA.2.3.2.1
|
TDA.2.3.2.1 POW SRC TRANS P PC
|
FAIL
|
20
|
TDA.2.3.3.2
|
TDA.2.3.3.2 POW SNK TRANS PC
|
FAIL
|
BMC Eye Diagram

View Full Article
Featured Products
by Apple