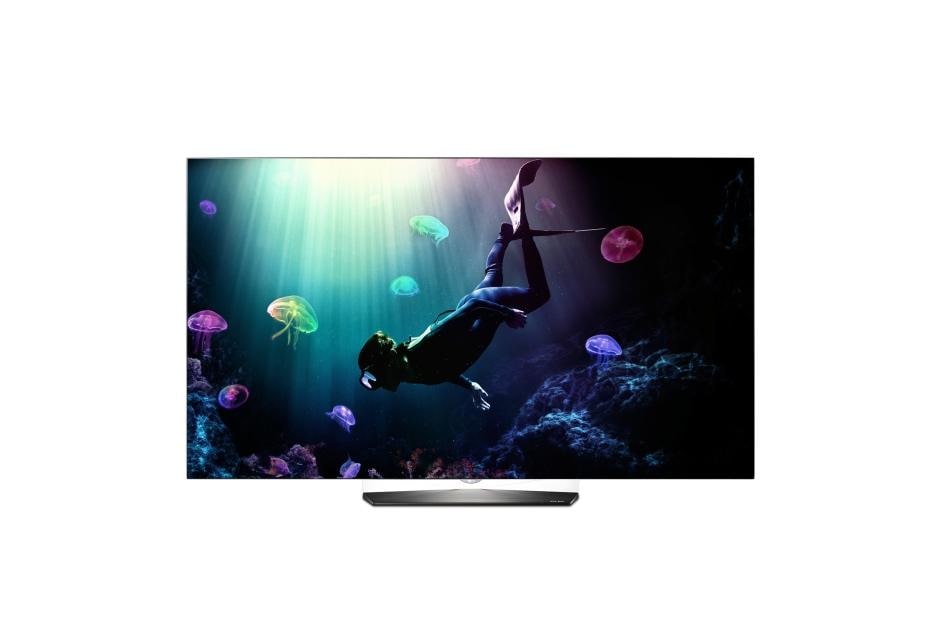
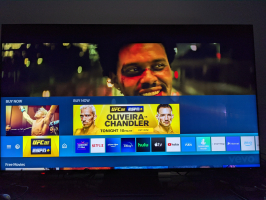
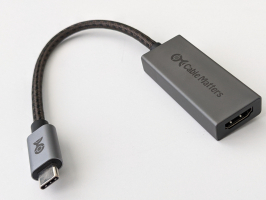
To set up the Apple TV 4K, we first plugged it into AC power and connected the HDMI cable to a LG B6 OLED 4K HDR Smart TV - 65" Class.
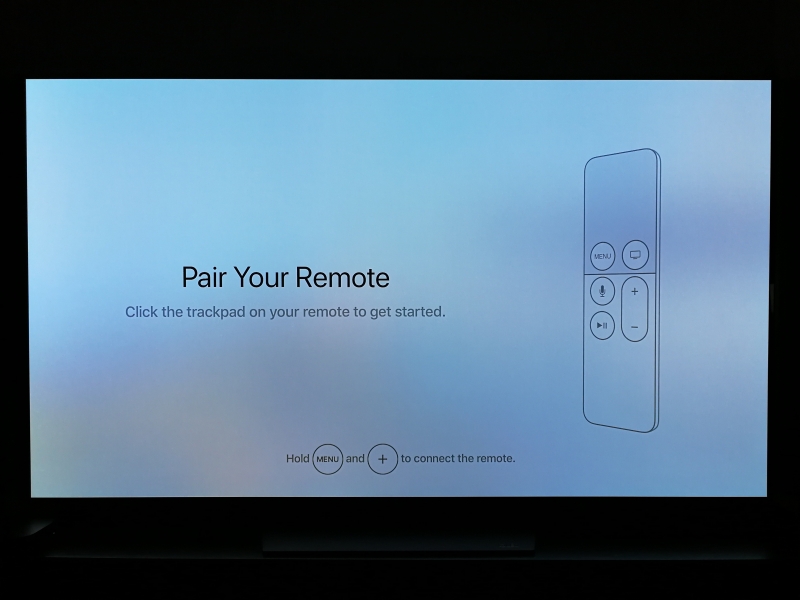
There is no power button on the Apple TV 4K so it automatically turned on, asking us to first pair the remote in multiple languages. Since there are a lot of languages supported, if you miss your language of choice, it might be a while before you find your language again.
To pair the remote, you need to hold the menu and volume up button on the remote at the same time.
You can then use the trackpad of the remote to select the language and the TV will show your remote as being connected.
You can then select your country or region and whether or not to use Siri.
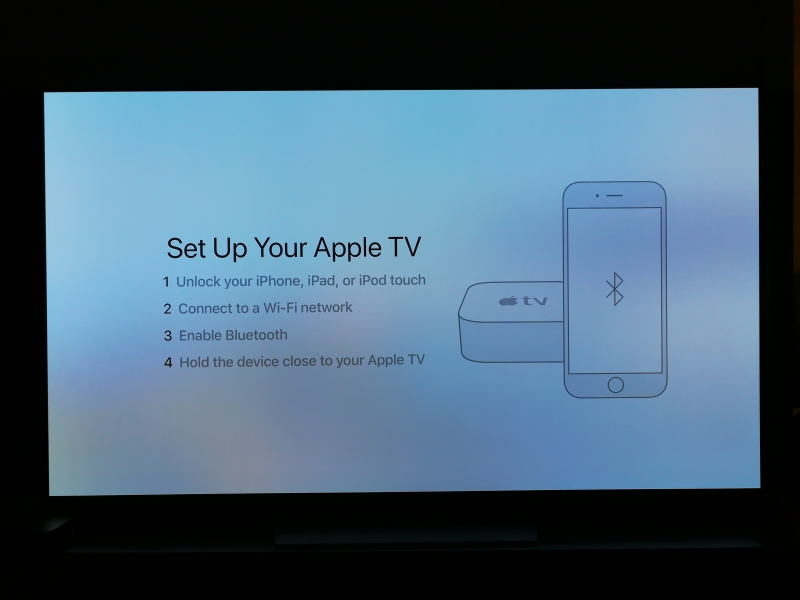
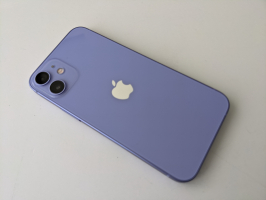
The easiest way to connect the Apple TV 4K to your Wi-Fi network and Apple account is through your iPhone or iPad. Here we used the iPhone X.
The iPhone X uses Bluetooth to then detect that the Apple TV 4K is there. After selecting 'Set Up' in the 'Set Up New Apple TV' pop up, we can then enter the authentication code displayed on the TV.
Once the authentication process is completed, the setup process continues with Apple using your Apple ID to sign into iCloud and signs into the same Wi-Fi network that the iPhone is connected to.
You can then sign into your TV provider- however, we found that AT&T U-verse while available as an option, didn't seem to be well supported on the Apple TV 4K.
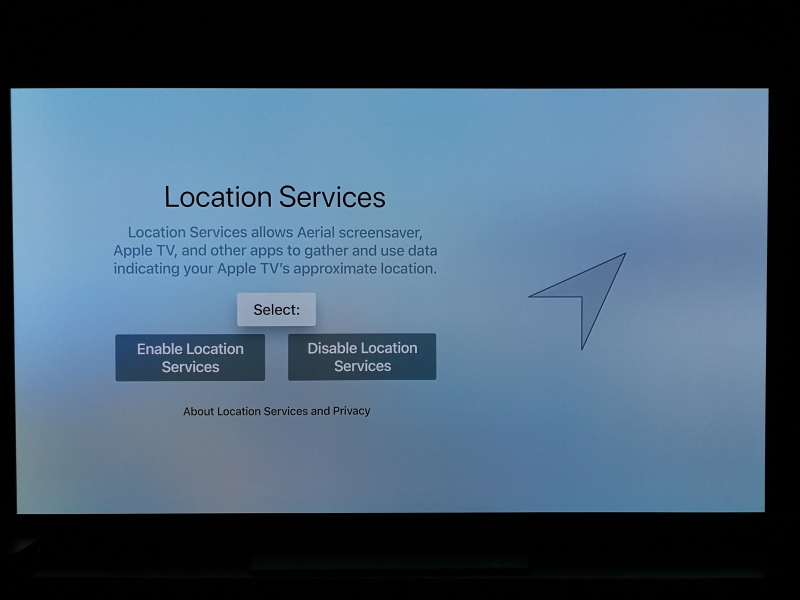
You can then choose to enable Location Services, Aerial screensaver, Analytics, and agree to the Terms & Conditions.
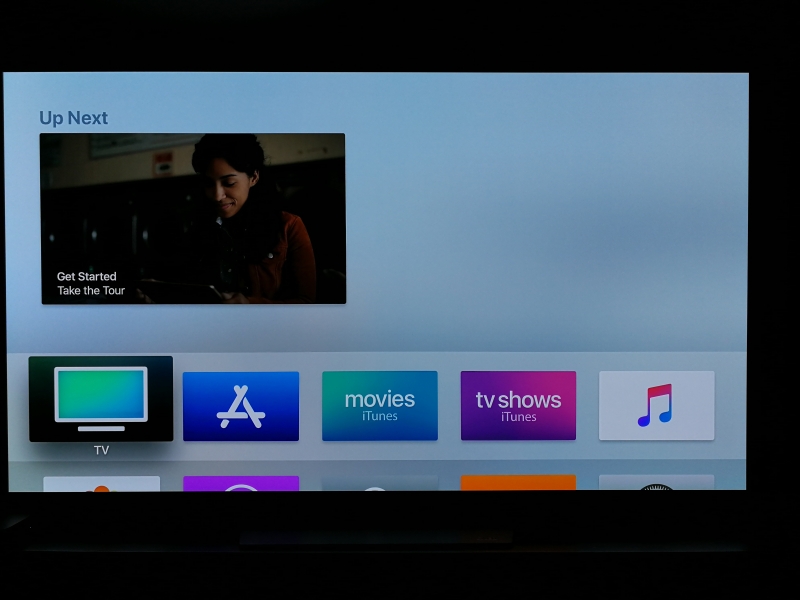
Once completed the setup process, we could access the Apple TV 4K's main menu. As mentioned earlier, the TV feature didn't work perhaps due to it being linked with AT&T U-verse.
We next take a look at how to set up the Apple TV 4K to get the best 4K HDR on the LG B6 OLED 4K HDR Smart TV - 65" Class in this review.
 GTrusted

