1
High Trust ProductsChargers and Power Banks
Headphone & Speakers
Cases & Covers
Virtual Reality
Cables & Adapters
Media Player
Laptop
Tablet
Desktop
Cell Phone
Printers & Copiers
Memory Cards
TV
Computer Display
Game Console
Smart Home
Wearable Technology
Photo & Video Camera
Car Electronics
Car
Networking Equipment
Smart Toys
Home Audio & Video
Professional & Industrial
Storage Drive
Docking Station
Game Console Controllers
Set-top box
Keyboard, Mice, & Stylus
Portable Music Player
Computer Parts & Components
Cordless & Speakerphones
Projector
Software
Reporting
Apple MacBook Pro 13.3-Inch Laptop MD101LL/A
by Apple


Interested in this product?

Select a product category to see which devices type we recommend to use with the Apple MacBook Pro 13.3-Inch Laptop MD101LL/A:

How to Set Up the Apple 15" MacBook Pro (2018) and Transfer Files from an Older MacBook Pro Using Thunderbolt
The Thunderbolt technology is one of the ways to directly link up two Thunderbolt based Mac's using a appropriate Thunderbolt cable or adapter. We can see how this works by performing a file transfer to a recent Thunderbolt 3 based Mac like the Apple 15" MacBook Pro (2018) from an older Thunderbolt 2 based Mac such as the 2013 Apple MacBook Pro 13.3-Inch, using a Apple Thunderbolt 3 to Thunderbolt 2 adapter.
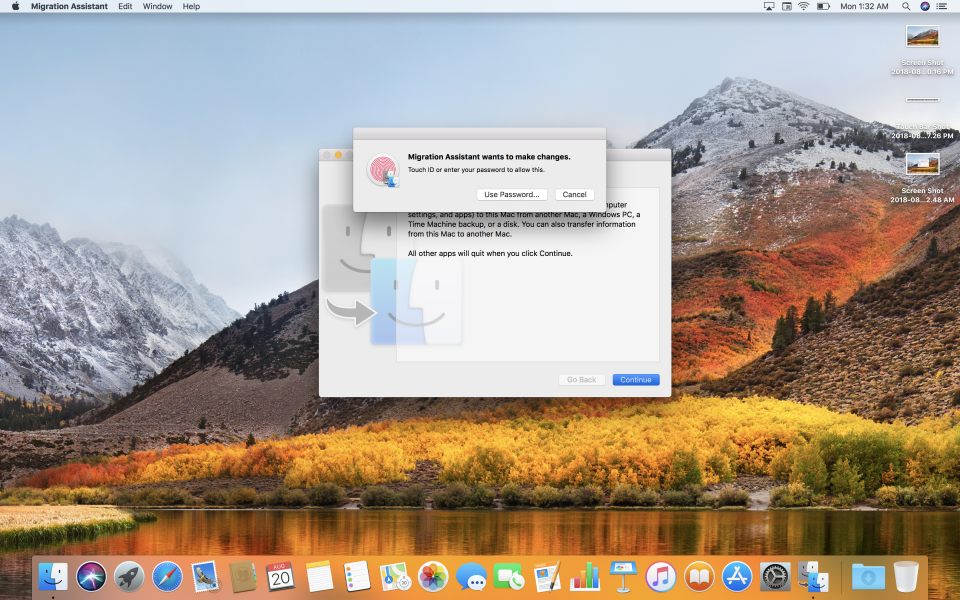
When both of these Mac's are directly connected through Thunderbolt, first we open the Apple Migration Assistant app on the newer Mac. Select the Finder window > Applications > Utilities > Migration Assistant to launch the app. Then select 'Continue' to proceed with the next step.
Note both Mac's are being connected to the same Wi-Fi network.
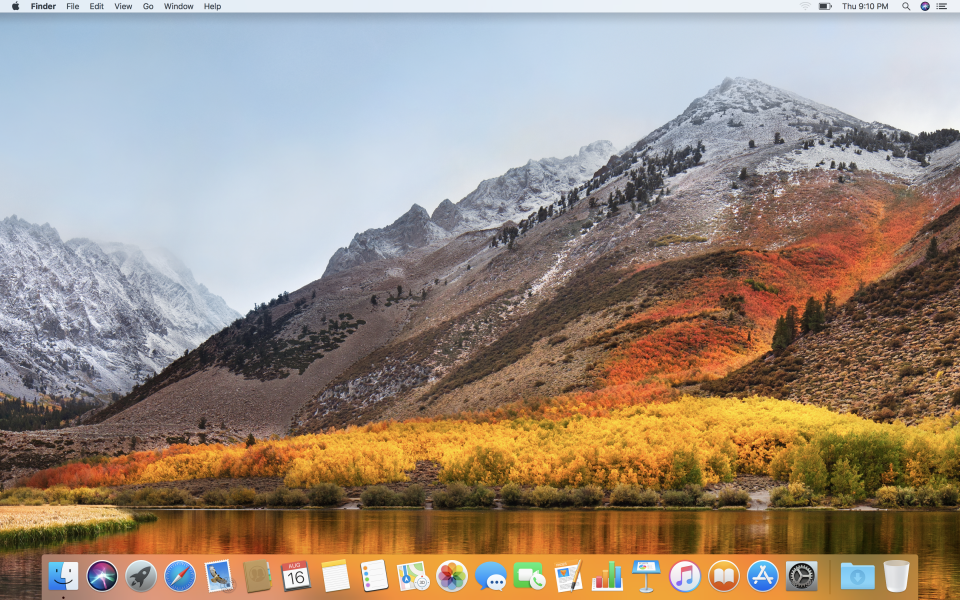
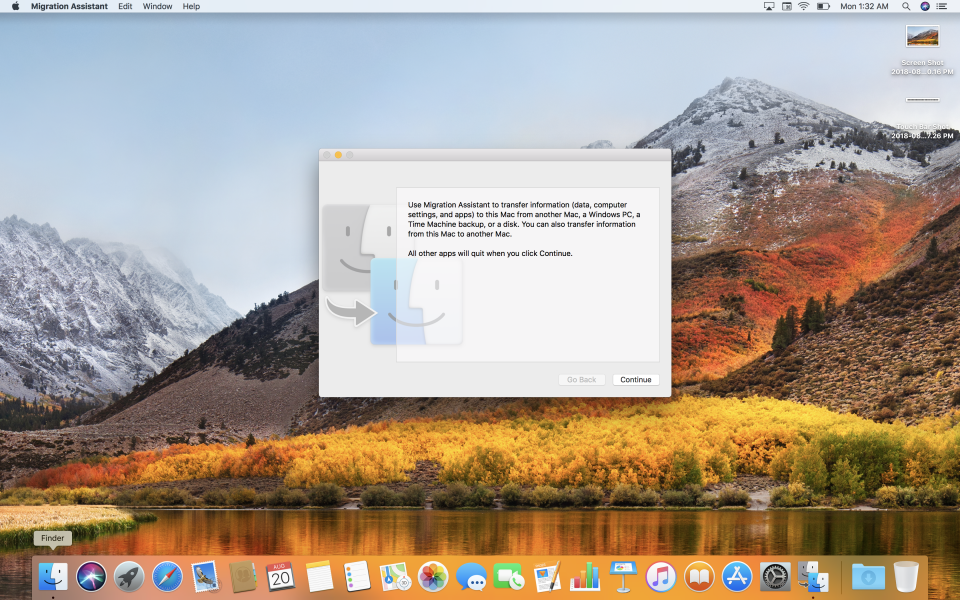
When asked for a password, select 'Use Password' and type in the correct password to continue with the Migration Assistant setup.
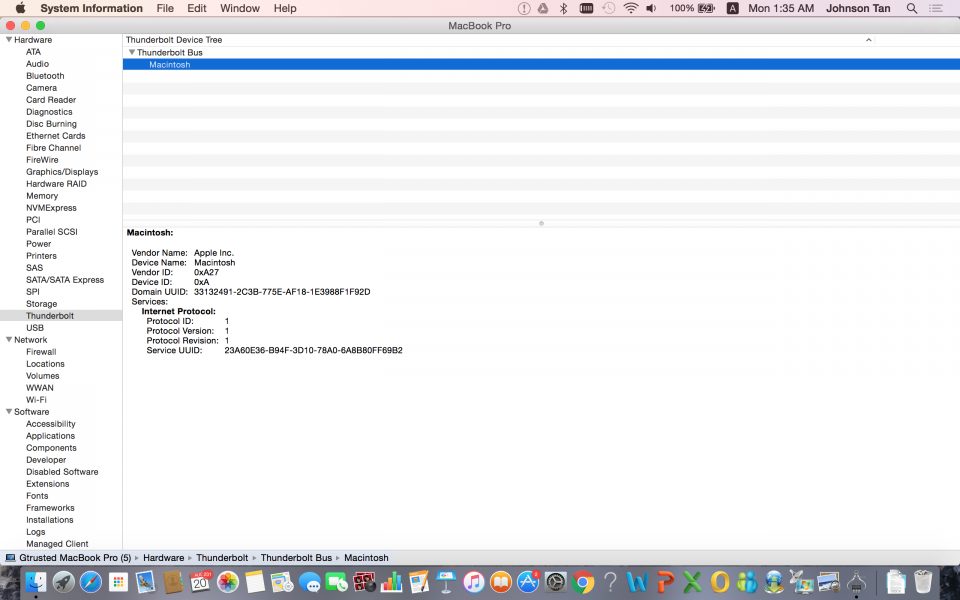
Now switching to the older Mac we first verify that the Thunderbolt bus is enumerating properly under System Information to make sure the Apple Thunderbolt 3 to Thunderbolt 2 adapter is working fine.
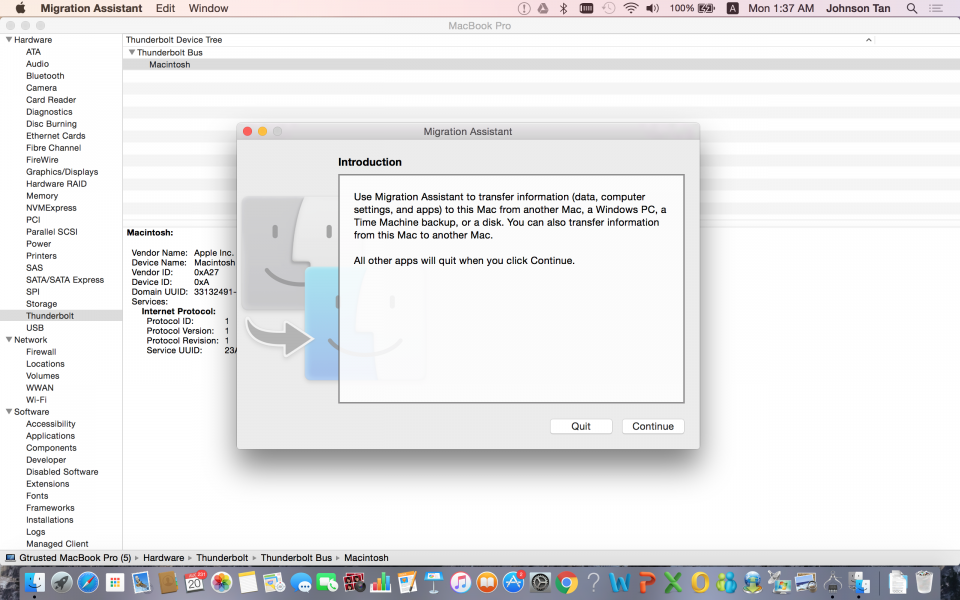
Once verified you will also need to open the Migration Assistant app by selecting the Finder window > Applications > Utilities > Migration Assistant. Set up Migration Assistant in a similar way as performed earlier on the newer Mac.
When completed, on the newer Mac you should see the Migration Assistant starting to search for the older Mac.
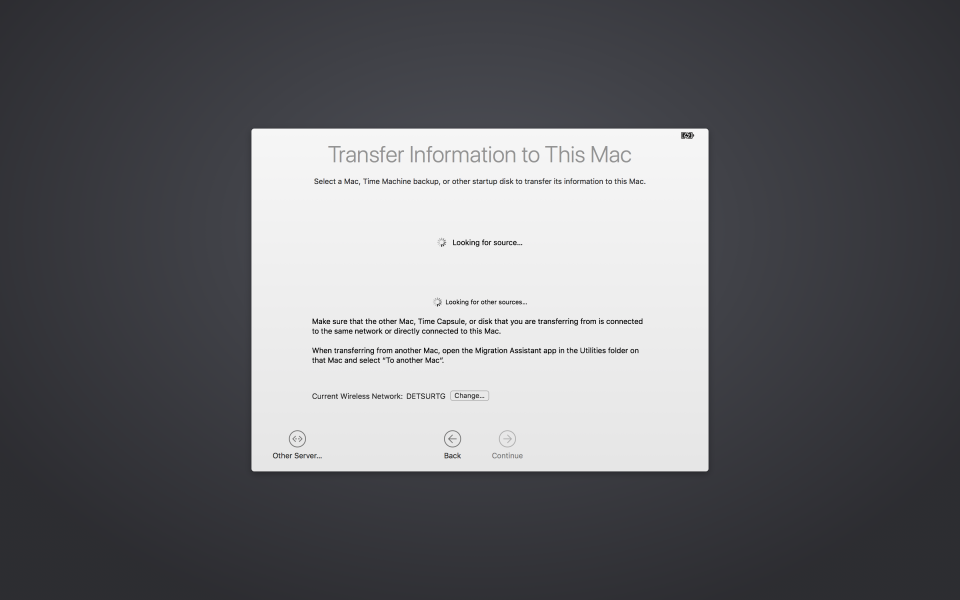
Select 'Continue' once the older Mac is detected which will then display a verification code. Make sure the same code appears on both Mac's and then select 'Continue' to start the pairing process.
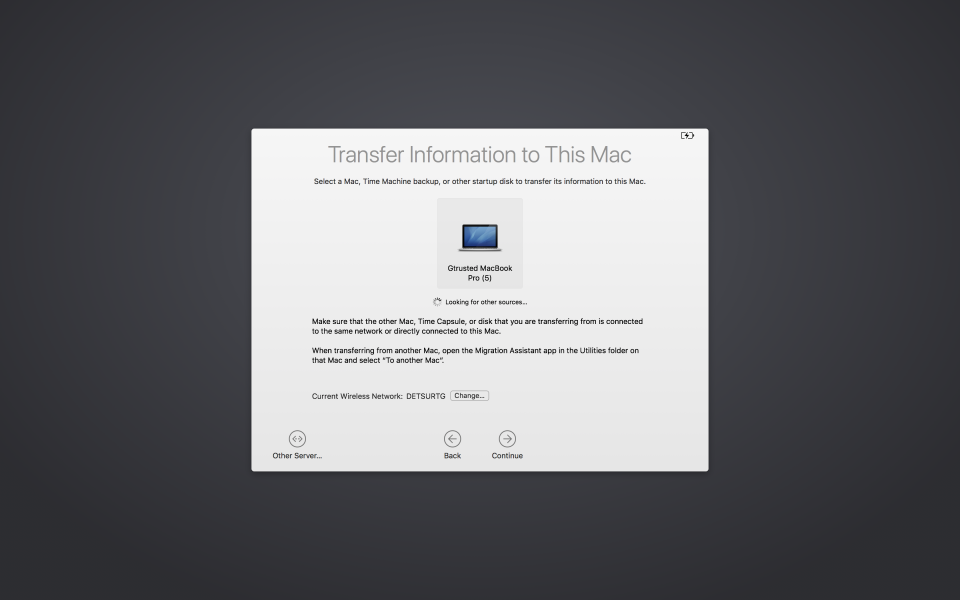
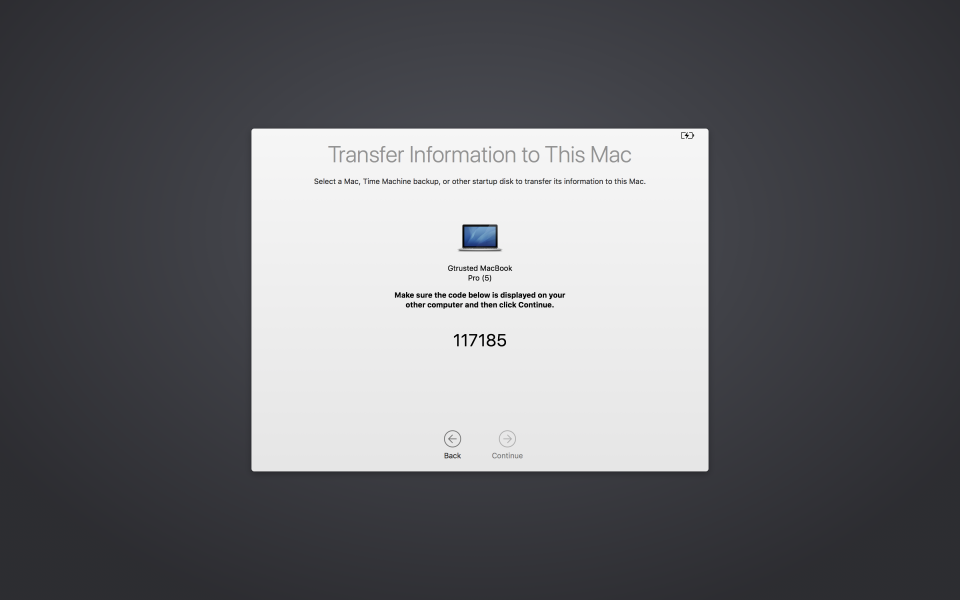
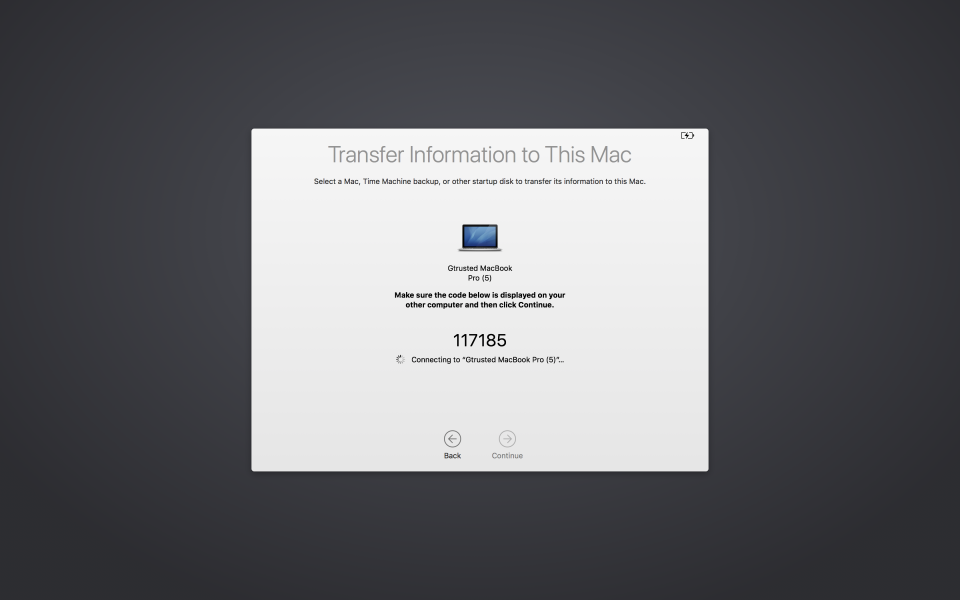
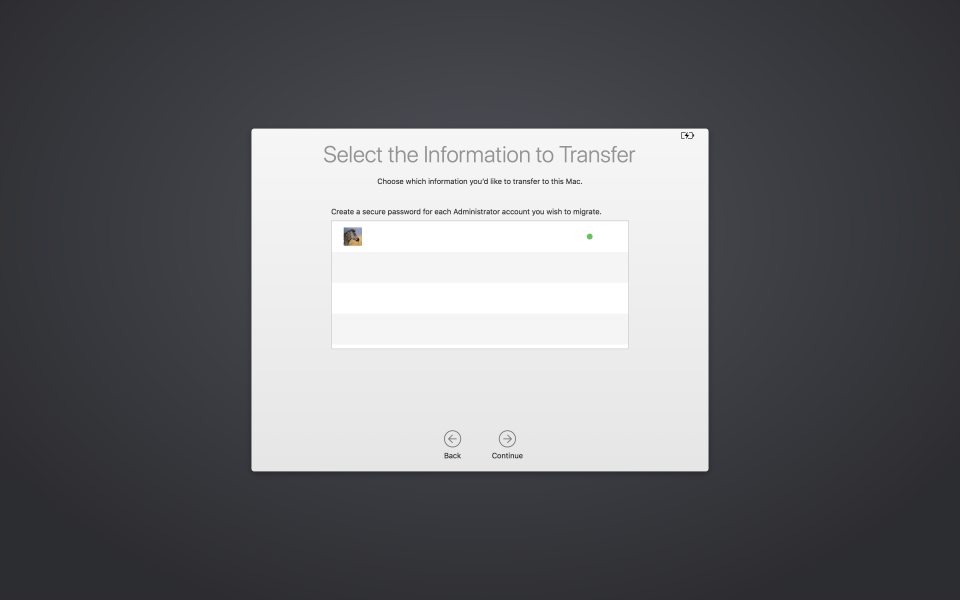
When paired successfully, you will now be able to select the files to transfer to the newer Mac. Select 'Continue' when done to start the migration process from the older Mac to the newer Mac.
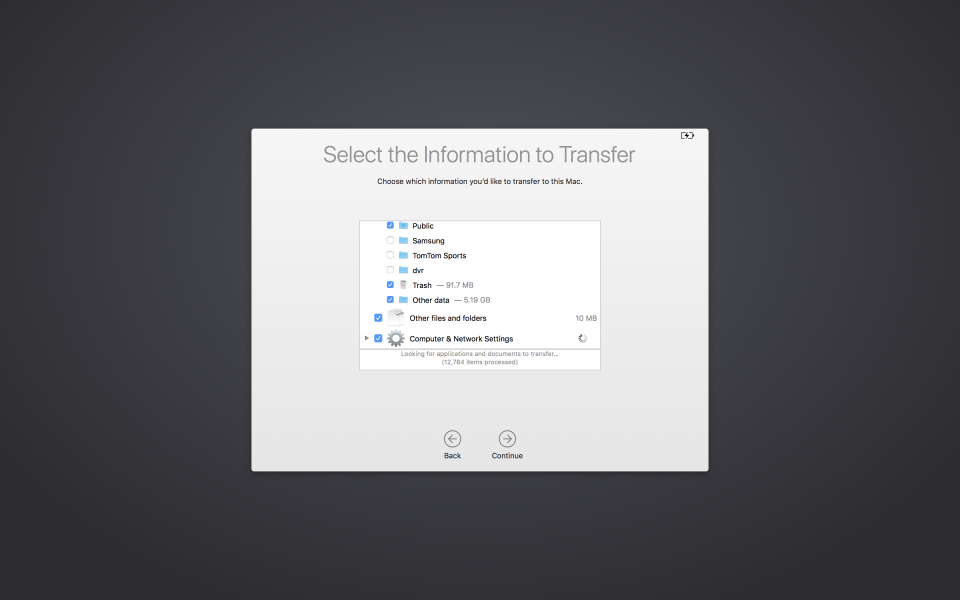
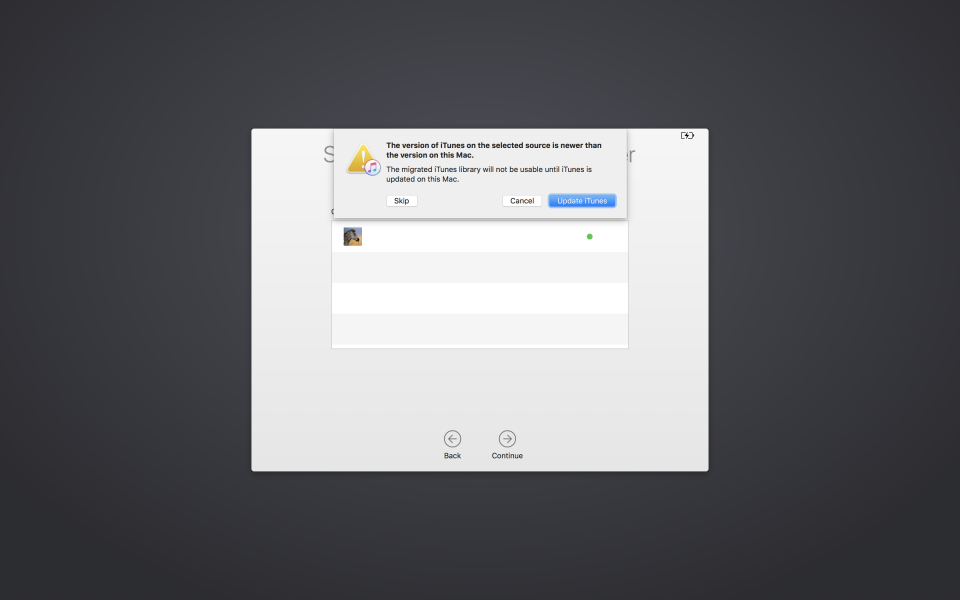
While migrating to the newer Mac, you will go through several setup and introductory screens as below (assuming initial setup wasn't done previously on the newer Mac). Follow the instructions on the screens as they appear to complete the process.
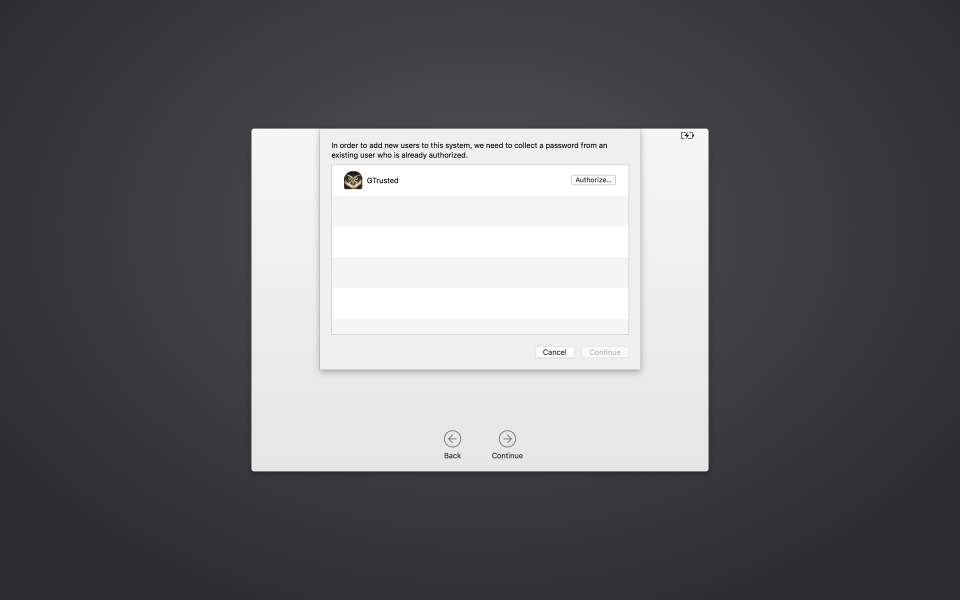
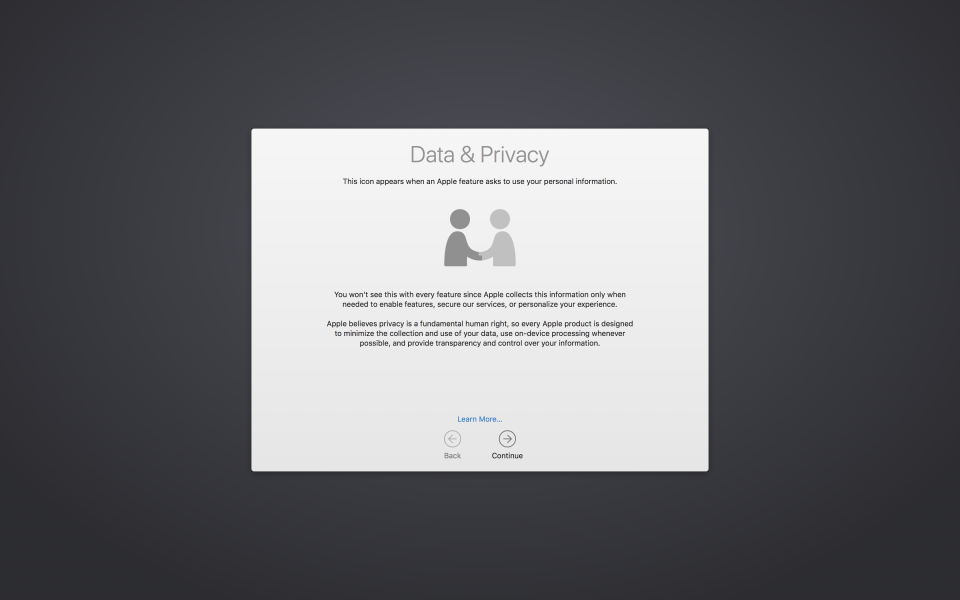
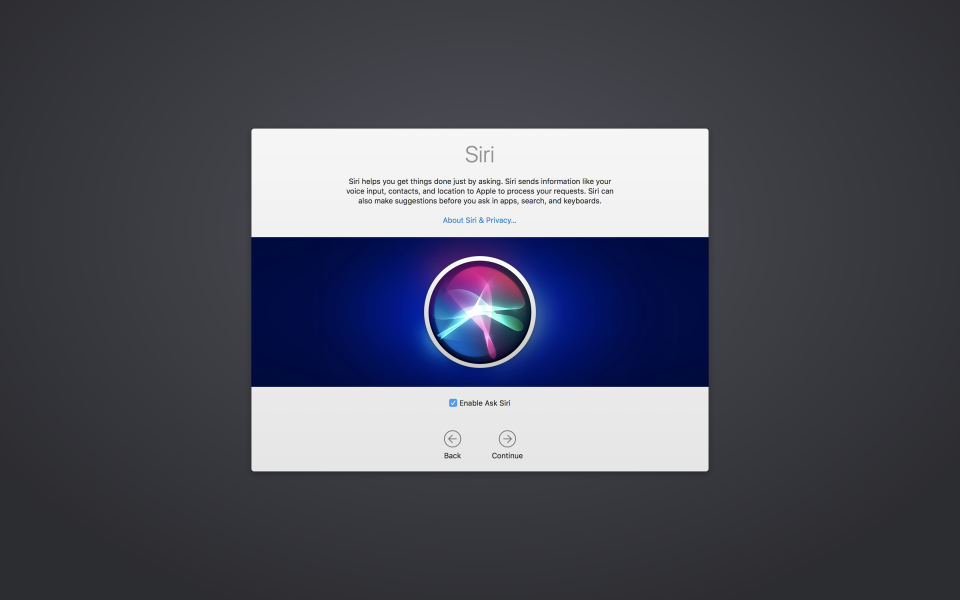
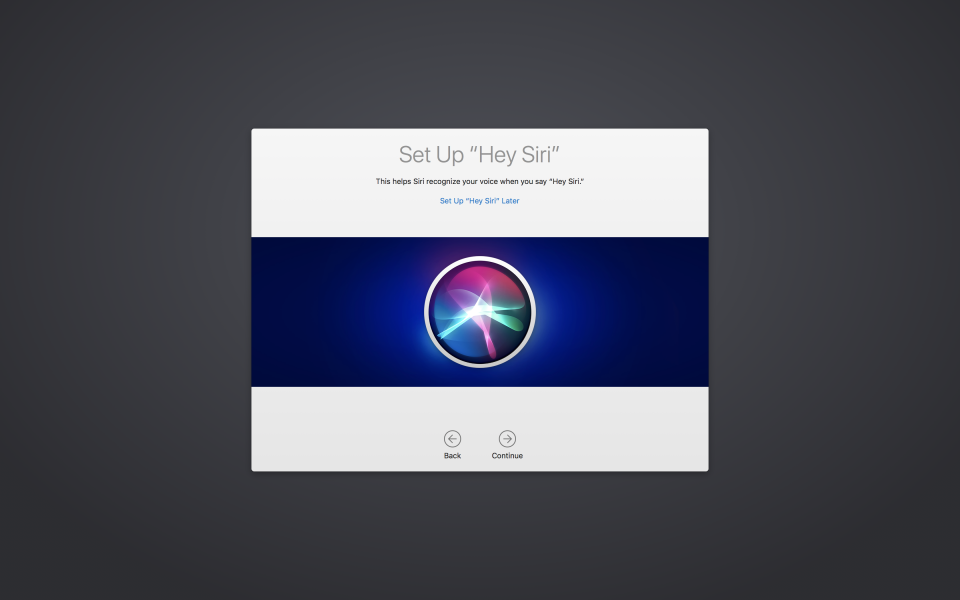
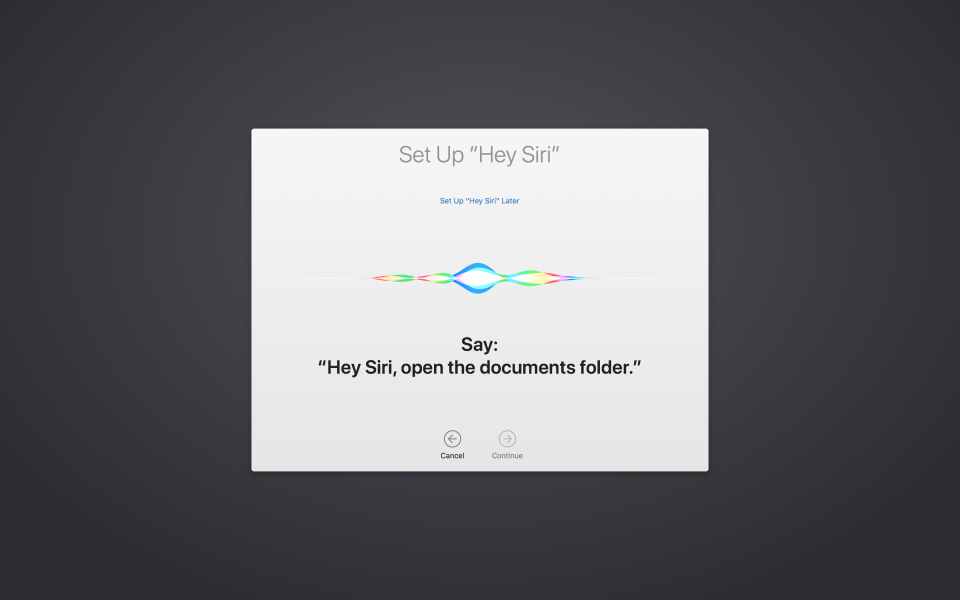
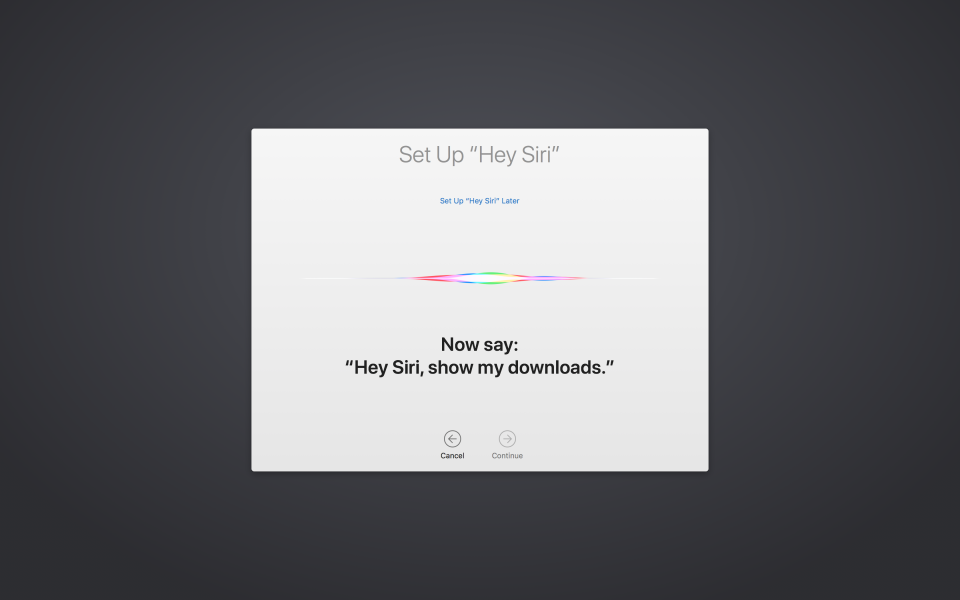
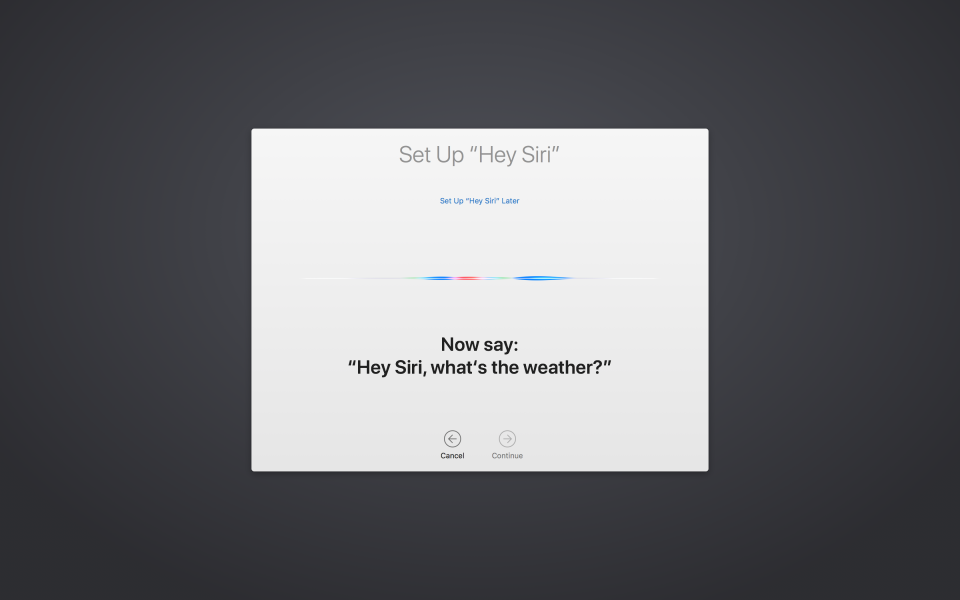
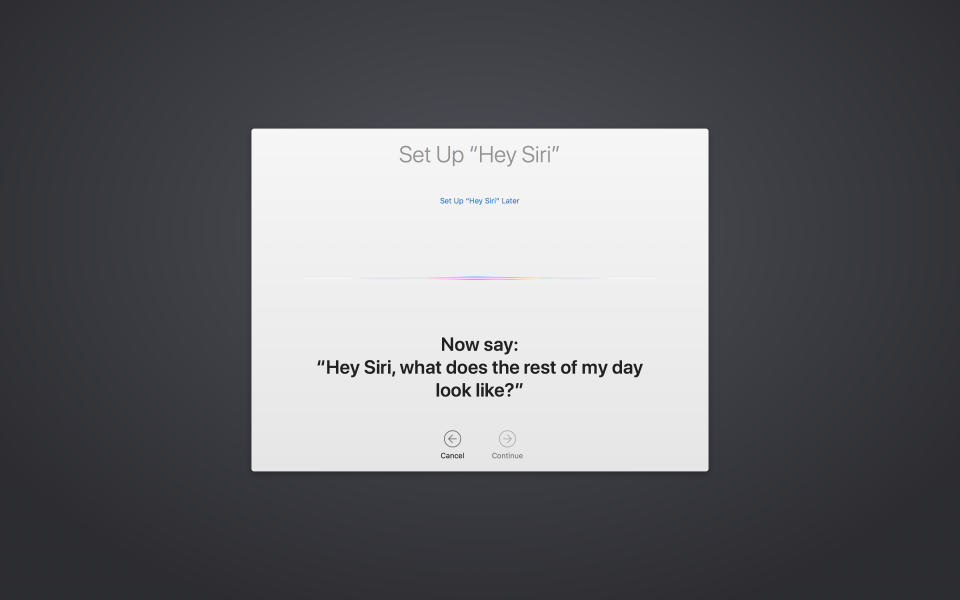
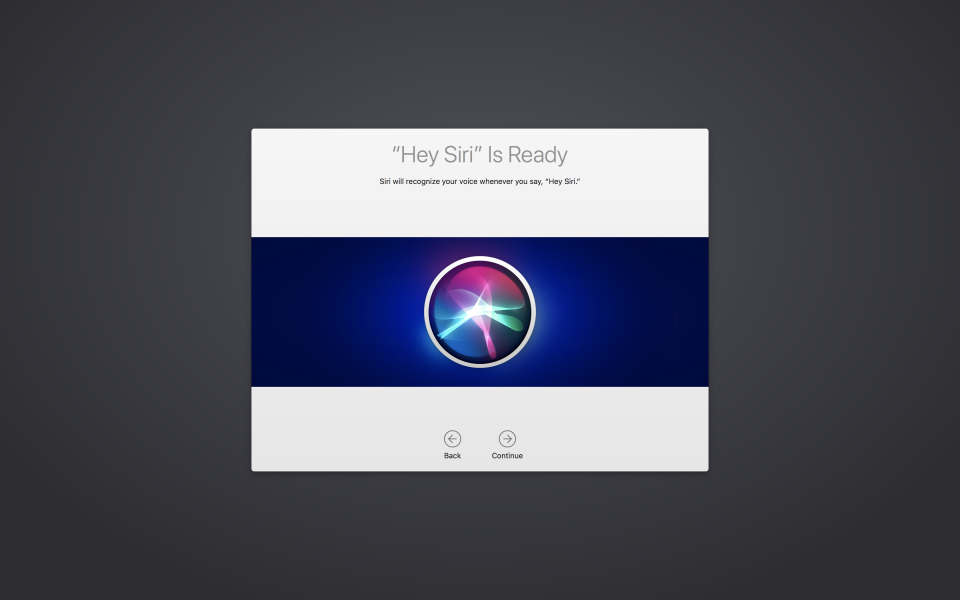
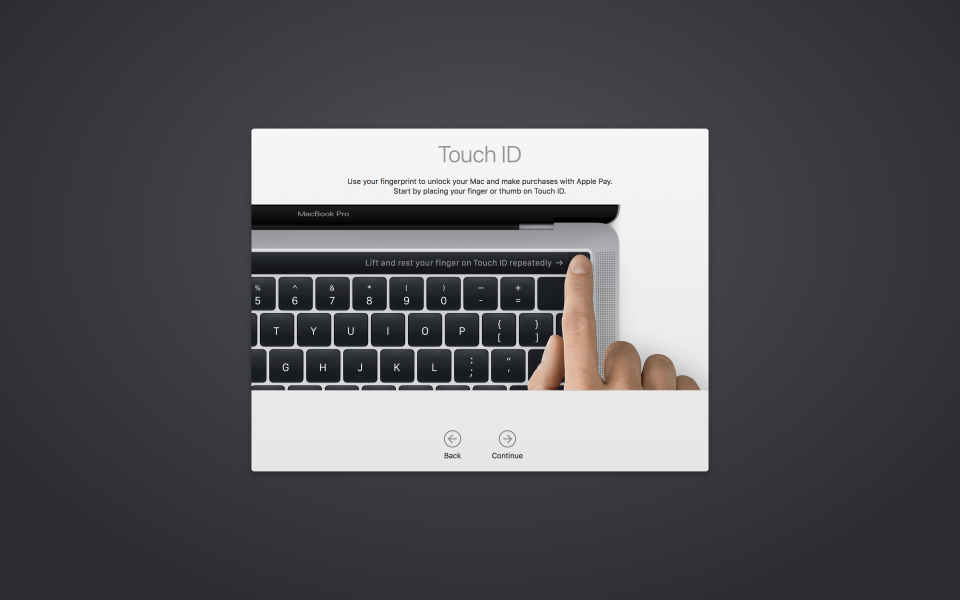
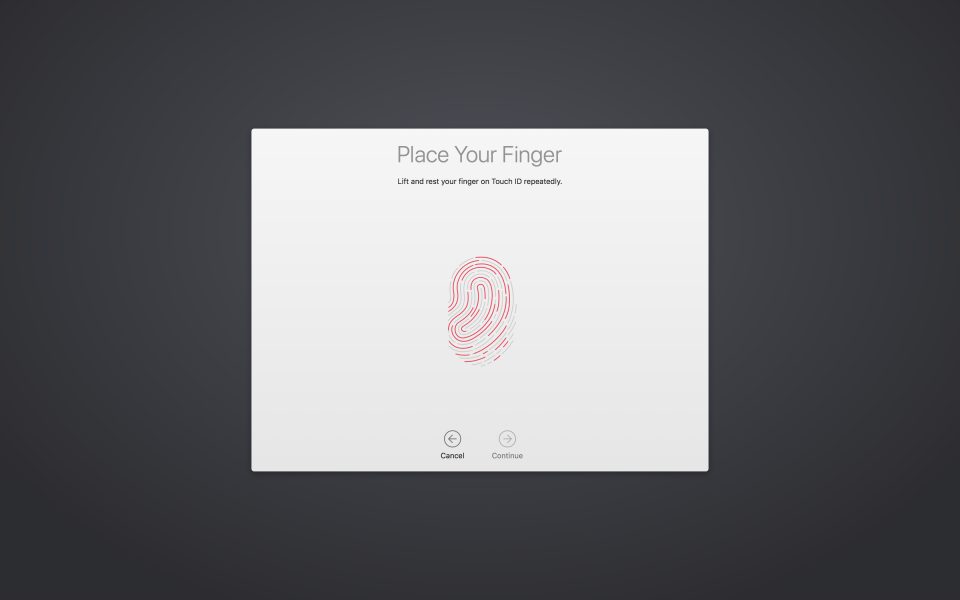
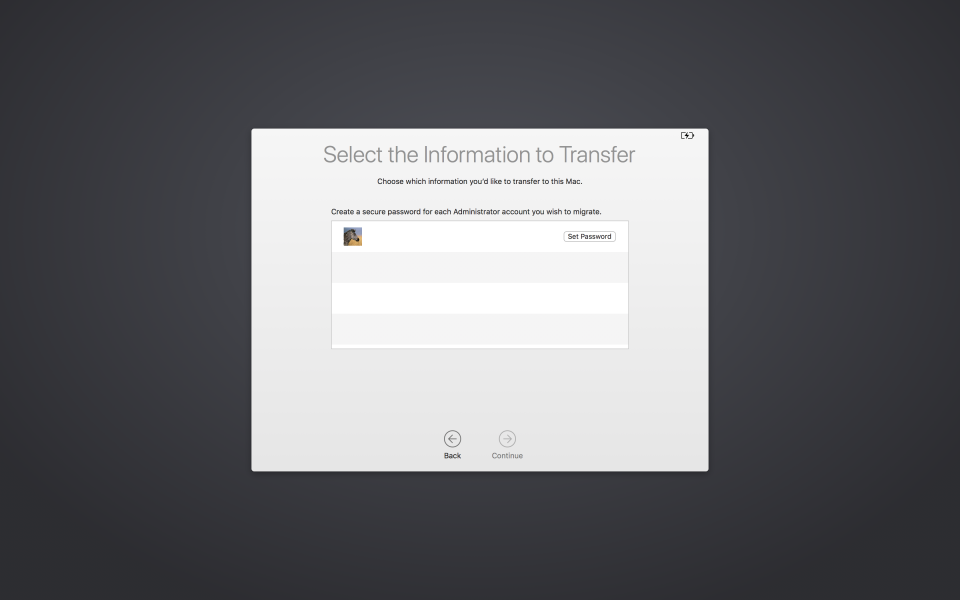
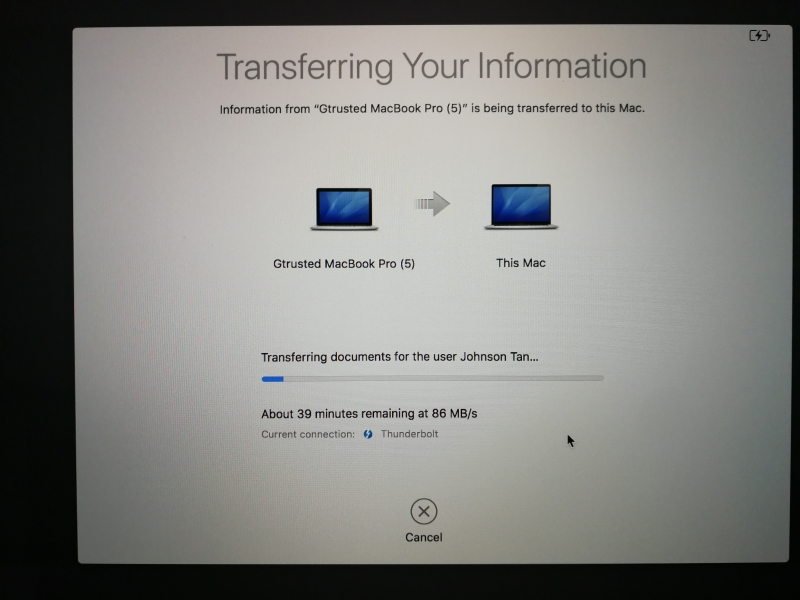
Upon successful setup and migration the newer Mac is now ready for use along with all of your selected files from the older Mac. Overall the entire process is relatively simple and hassle free using the Migration Assistant app while connected over Thunderbolt.
View Full Article
Featured Products
 GTrusted
