27
High Trust ProductsChargers and Power Banks
Headphone & Speakers
Cases & Covers
Virtual Reality
Cables & Adapters
Media Player
Laptop
Tablet
Desktop
Cell Phone
Printers & Copiers
Memory Cards
TV
Computer Display
Game Console
Smart Home
Wearable Technology
Photo & Video Camera
Car Electronics
Car
Networking Equipment
Smart Toys
Home Audio & Video
Professional & Industrial
Storage Drive
Docking Station
Game Console Controllers
Set-top box
Keyboard, Mice, & Stylus
Portable Music Player
Computer Parts & Components
Cordless & Speakerphones
Projector
Software
Reporting
Drive Dock
by Other World Computing


Interested in this product?

Select a product category to see which devices type we recommend to use with the Drive Dock:


How I Rescued Photos Off My LaCie D2 and Migrated to the Drobo 5Dt with Thunderbolt (And Along the Way Gave Up Apple Photo, Apple RAID, and Time Machine)
One of the main reasons I decided to purchase a Mac was the ability to easily manage photos and videos, transfer large amounts of content quickly using Thunderbolt technology, and easily back everything up using Time Machine.
It's interesting to see how a series of events made me stop using Apple's native applications for photos and backup, and switch to third party solutions instead. Here's what happened.
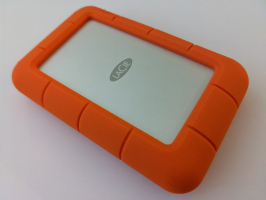
First I had been storing all my Apple photo libraries on the LaCie d2 USB 3.0 Thunderbolt which one day start to make the click of death which I always associate with "this is going to be a bad day". When I went to Time Machine thinking it had saved me, for some reason Time Machine had stopped backing up the LaCie d2 USB 3.0 Thunderbolt so I changed my thought to "this is going to be a really bad day".
Despite the click of death, I could still see the LaCie d2 USB 3.0 Thunderbolt contents but the Mac would at some point go into some sort of kernel panic and reboot. This problem occurred no matter if I used the Thunderbolt or USB ports, and no matter what Mac's I tried. I also tried to Verify and Repair the LaCie d2 USB 3.0 Thunderbolt using Mac Disk Utility but that failed as well.
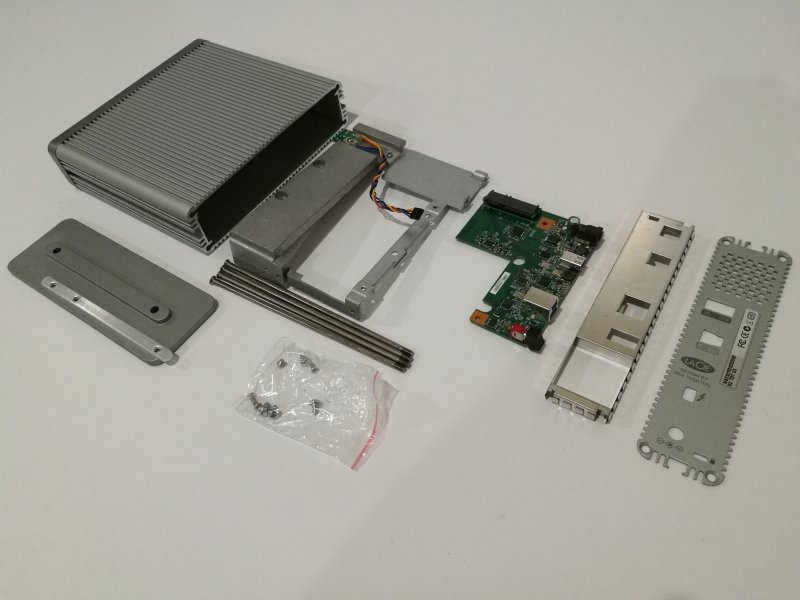
Putting on a brave face, I went to iFixit mode and using their 54 Bit Driver Kit, I took apart the LaCie d2 USB 3.0 Thunderbolt hoping I could still recover the Seagate HDD inside the LaCie.
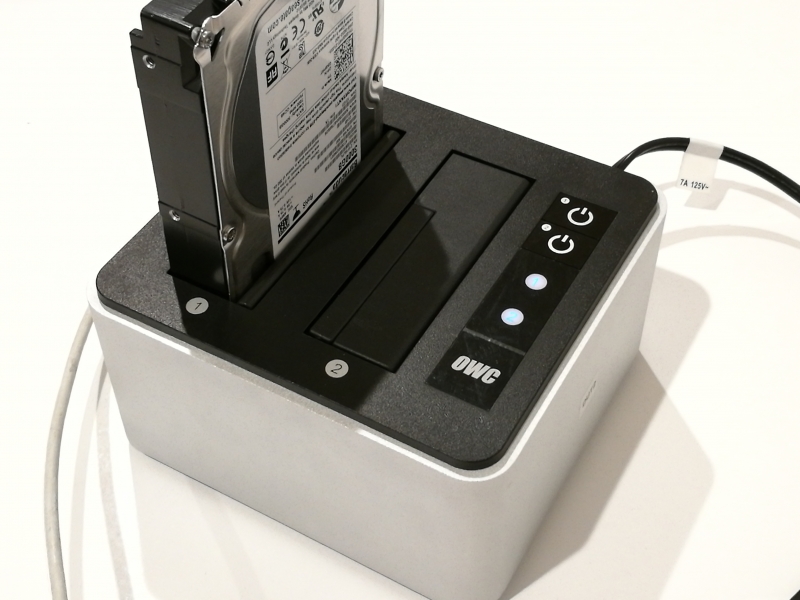
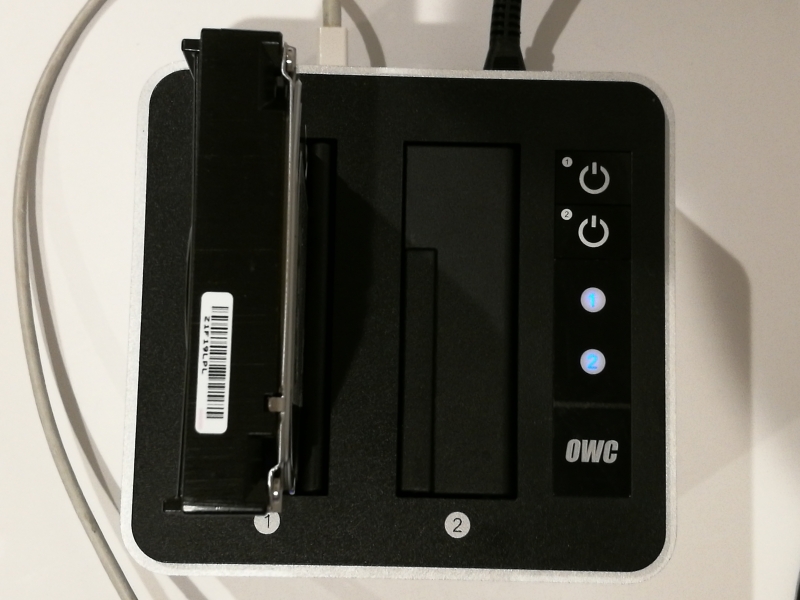
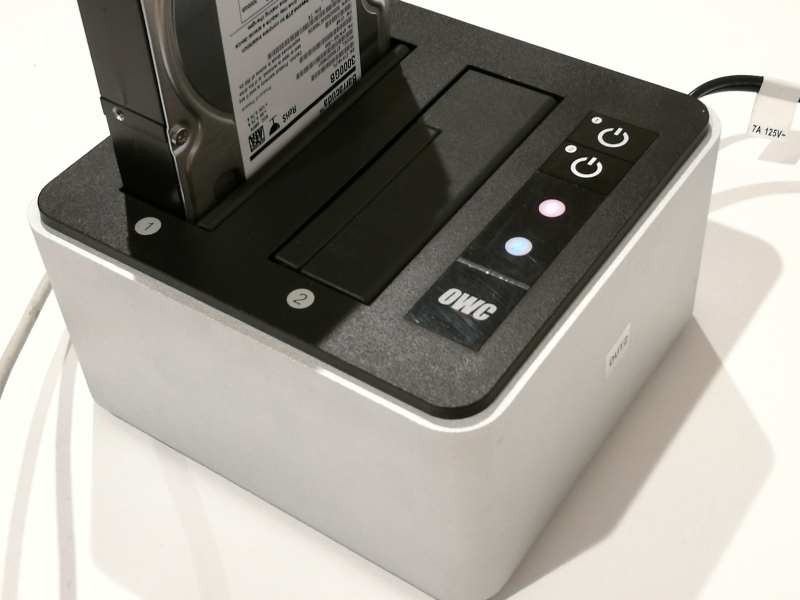
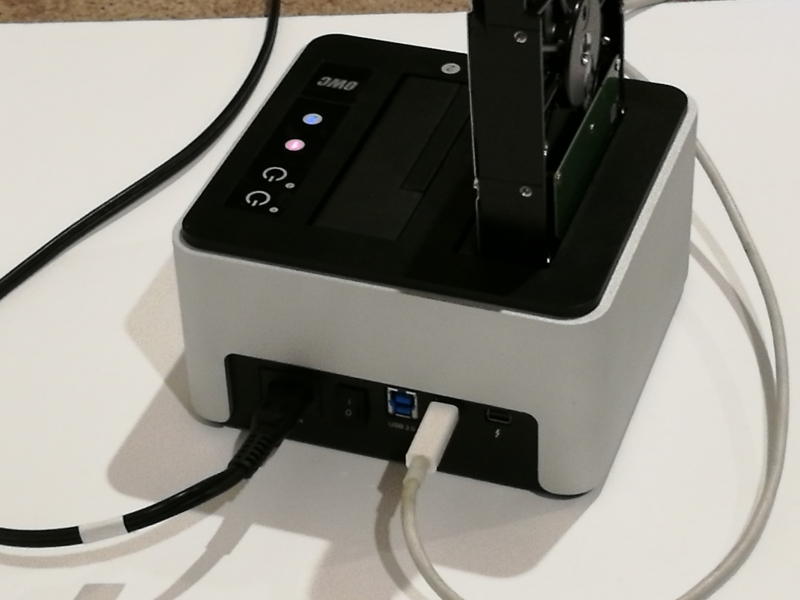
I then inserted the Seagate HDD into one of the SATA ports of the Thunderbolt 2 based OWC Drive Dock and pressed the Drive Dock's power button related to the occupied slot. Fortunately, this allowed me fully access the contents of the drive without going into a kernel panic. Ratcheting down my own panic level, I could then proceed with figuring out how to best use Thunderbolt technology to quickly move content off the Seagate drive which was still producing the click of death while inside the OWC Drive Dock.
The LaCie d2 USB 3.0 Thunderbolt is nice but it doesn't have the multiple drives to be able to add redundancy to handle drive failures like this. Given drives fail almost every year or two on me, it's always question of 'when' and not 'if' a drive will fail. I had used Mac software based RAID in the past but I found setting it up and recovering from a failure doesn't have the same general user friendly experience that Apple is so known for. I liked the way Synology made it easy for user to setup drive redundancy, replace failed drives, and expand storage capacity on their NAS but unfortunately they didn't have a Thunderbolt based solution and I was mostly concerned about moving terabytes of data quickly rather than sharing network access to a drive.
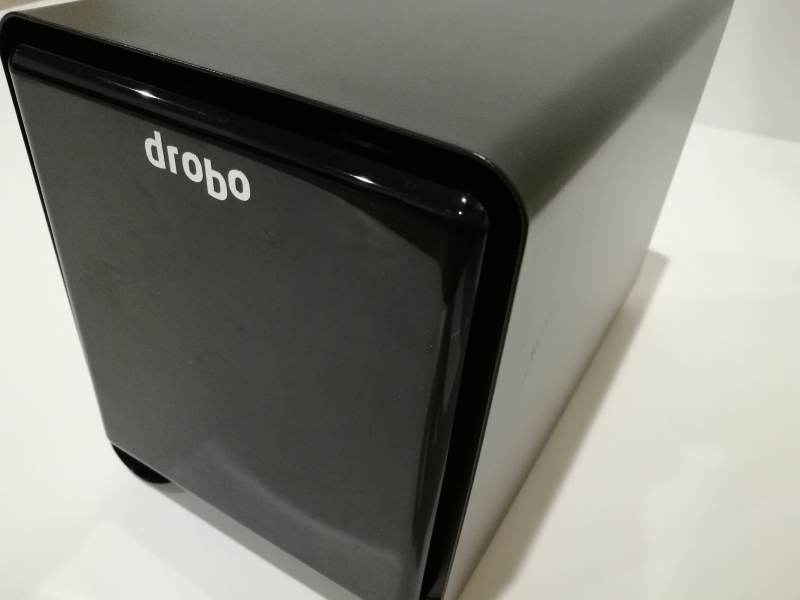
I had remembered Drobo 10 years ago when they made a big splash on the market and decided to try out their latest Drobo 5Dt. What I liked about Drobo was that they focused on providing an easy to use way to deal with storage protection/recovery, virtualization, and expansion.
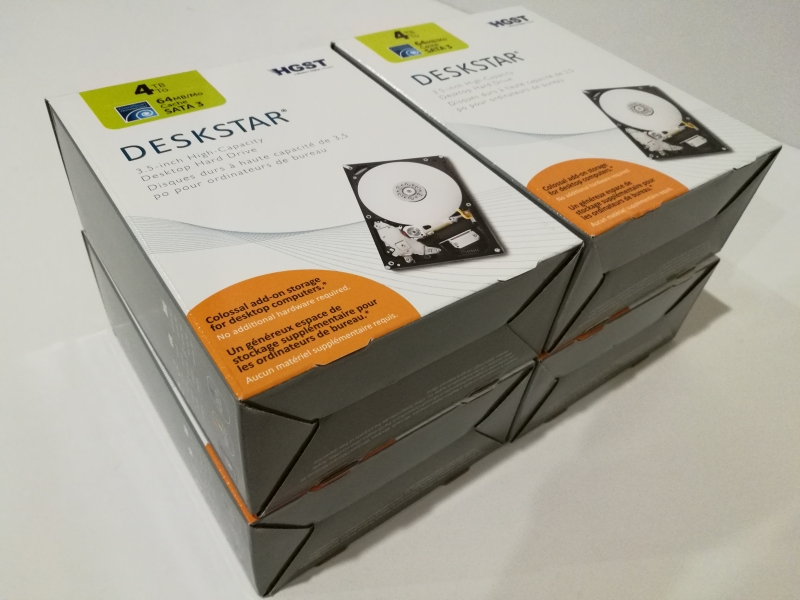
To use the Drobo 5Dt, I decided to purchase four HGST Deskstar 4TB CoolSpin drives at a local Fry's Electronics who was limiting the number of drives each buyer could purchase to two due to their low sale price (the cashier had to ring me up twice).
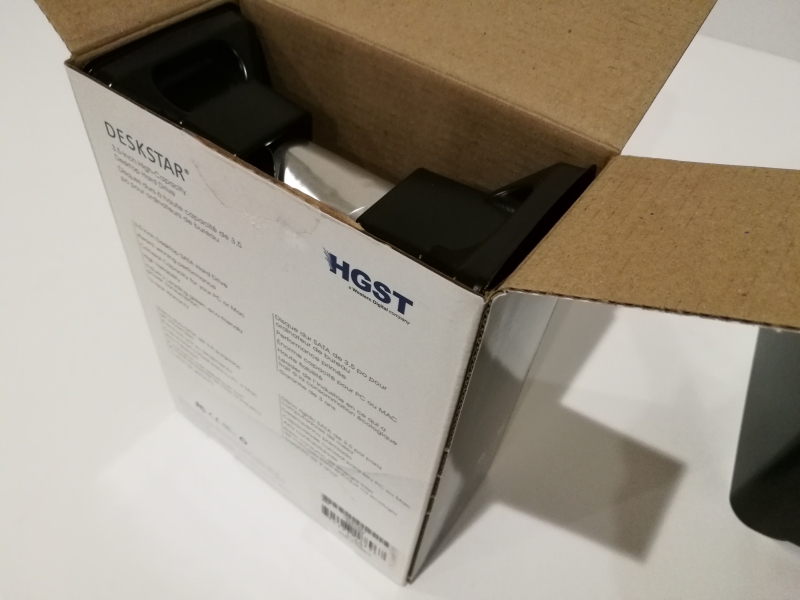
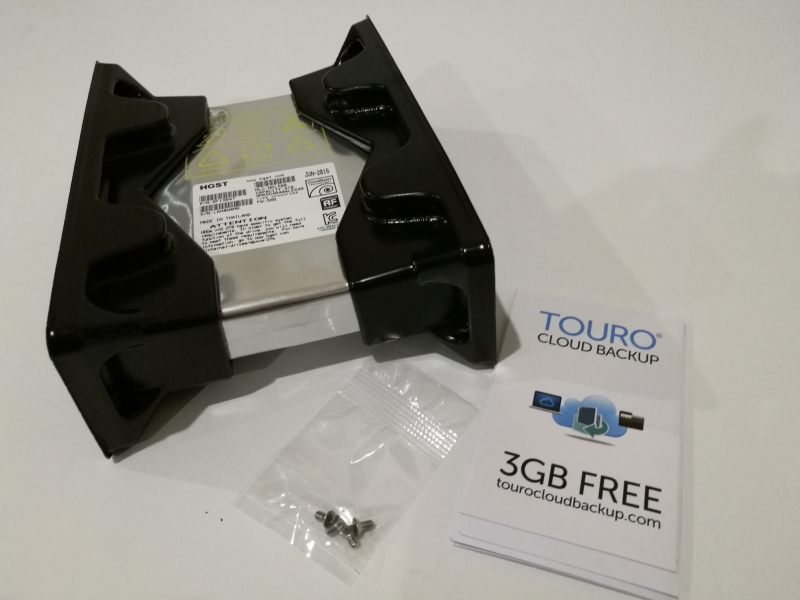
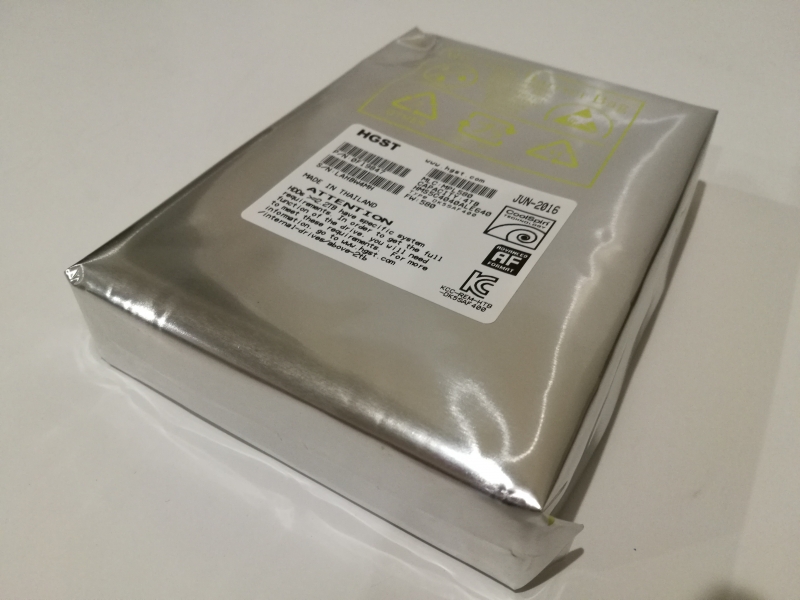
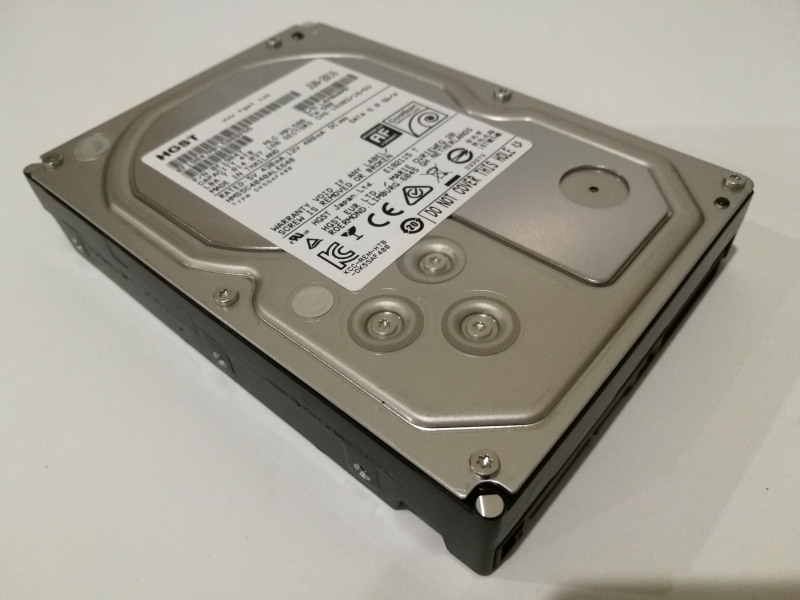
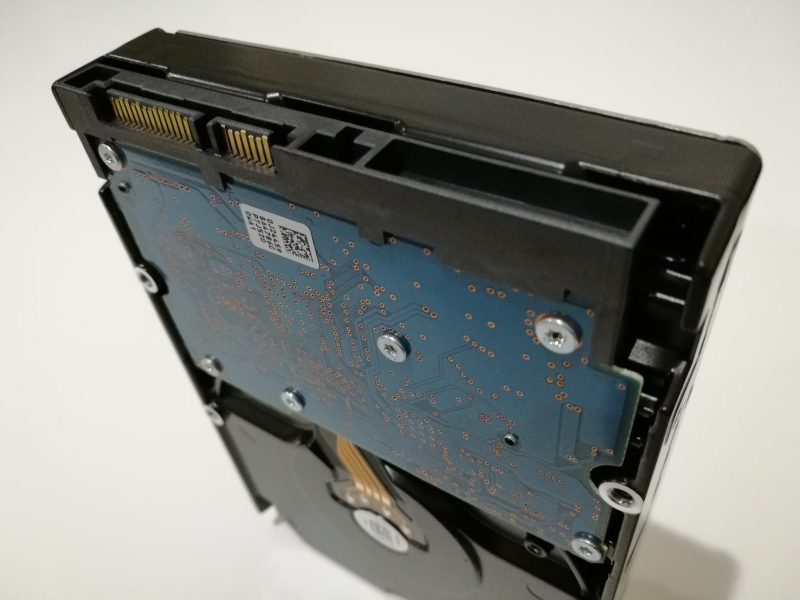
I then inserted the four drives into the Drobo 5Dt.
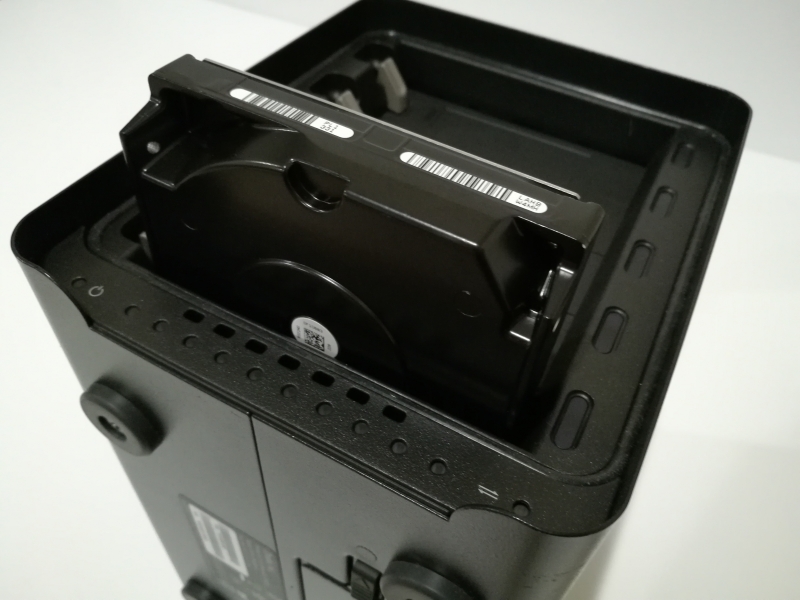
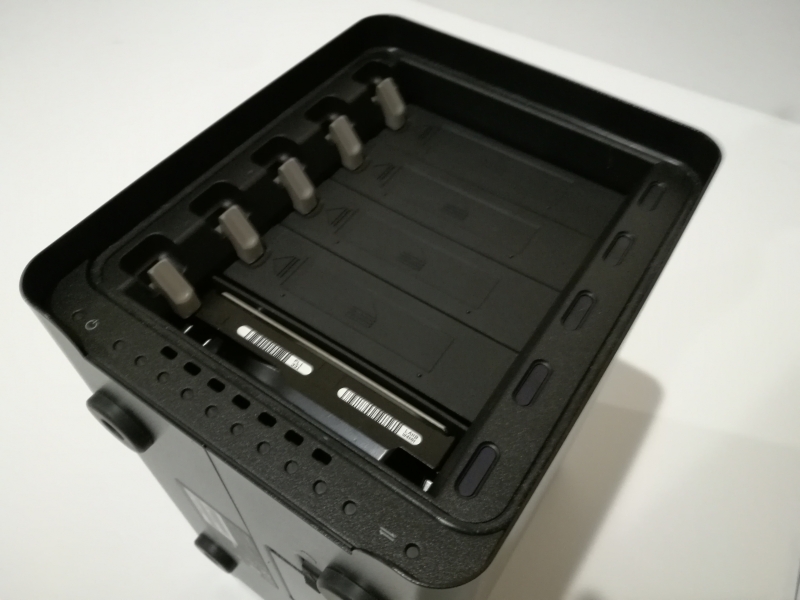
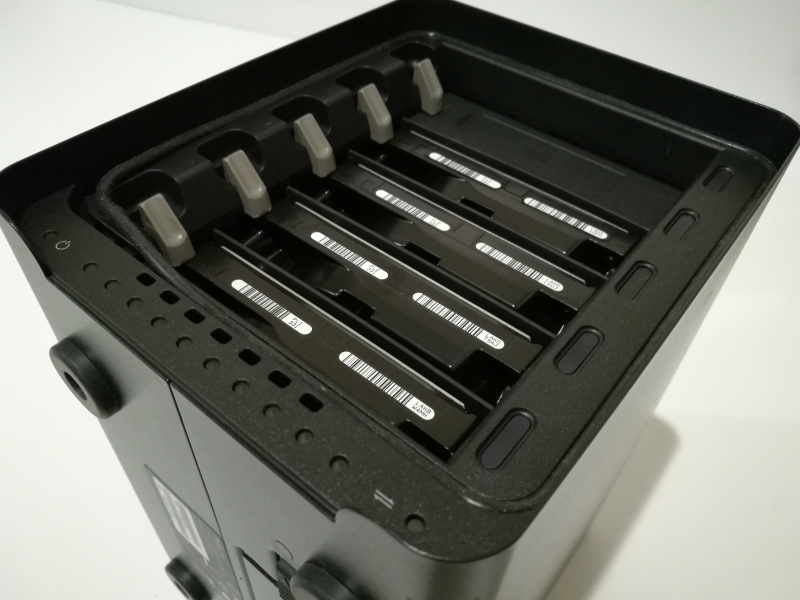
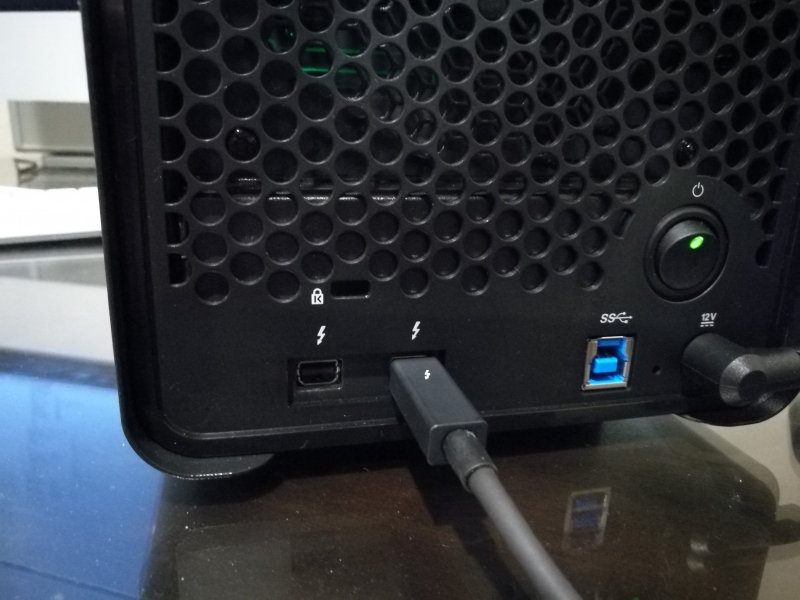
Once I inserted all the drives, I connected the Drobo 5Dt to the iMac with Retina 5K Display with a Thunderbolt cable to take advantage of the fast 20 Gb/s connection possible with Thunderbolt 2.
I then went to the Drobo website on the Mac to download the Drobo Dashboard .dmg container file for Mac.
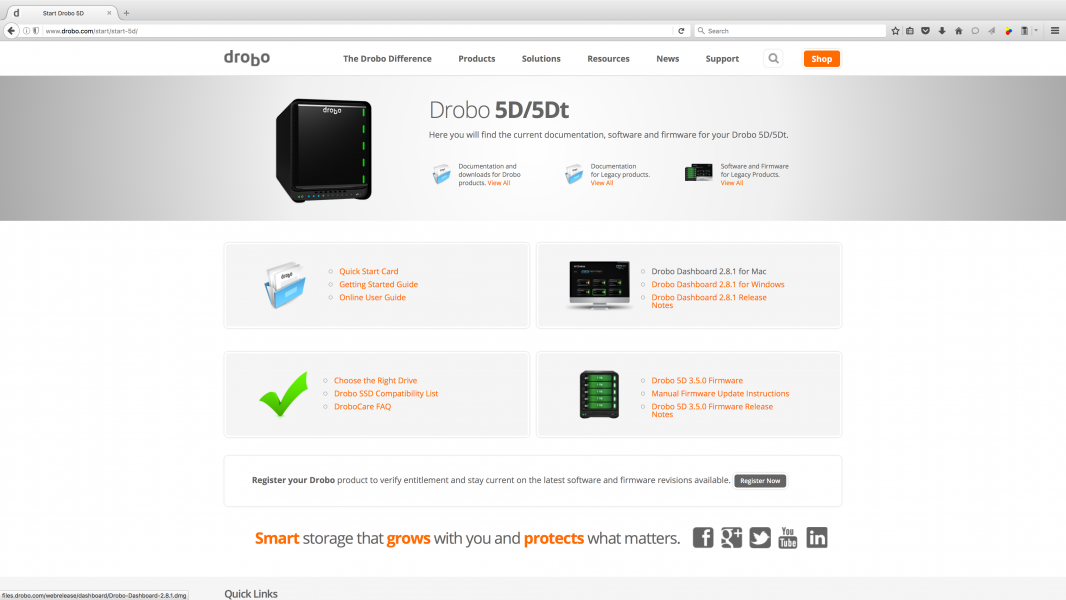
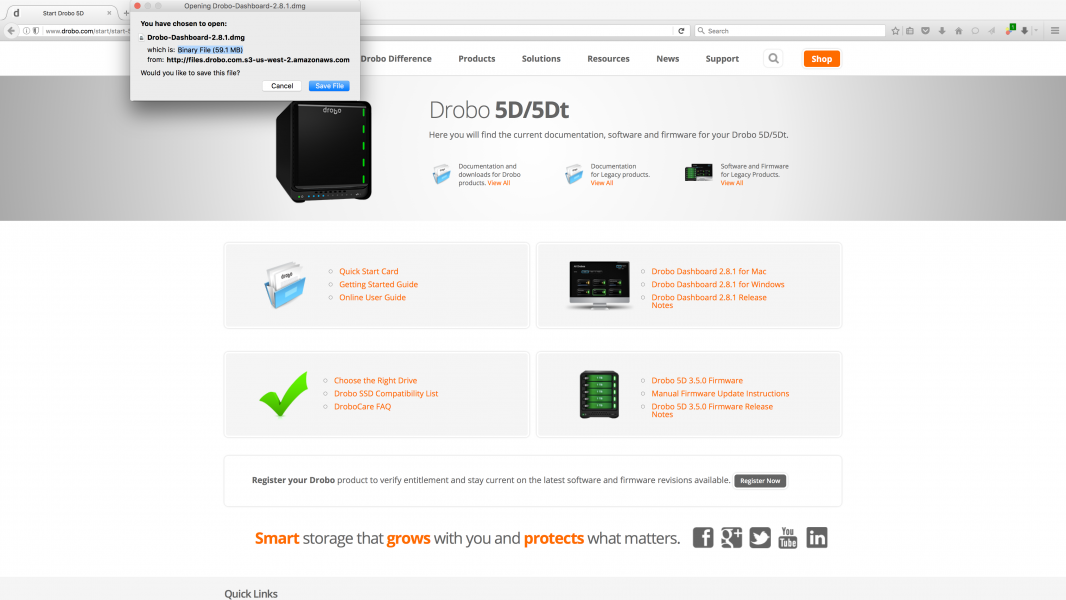
Once downloaded, I opened the .dmg file and executed the Install App.
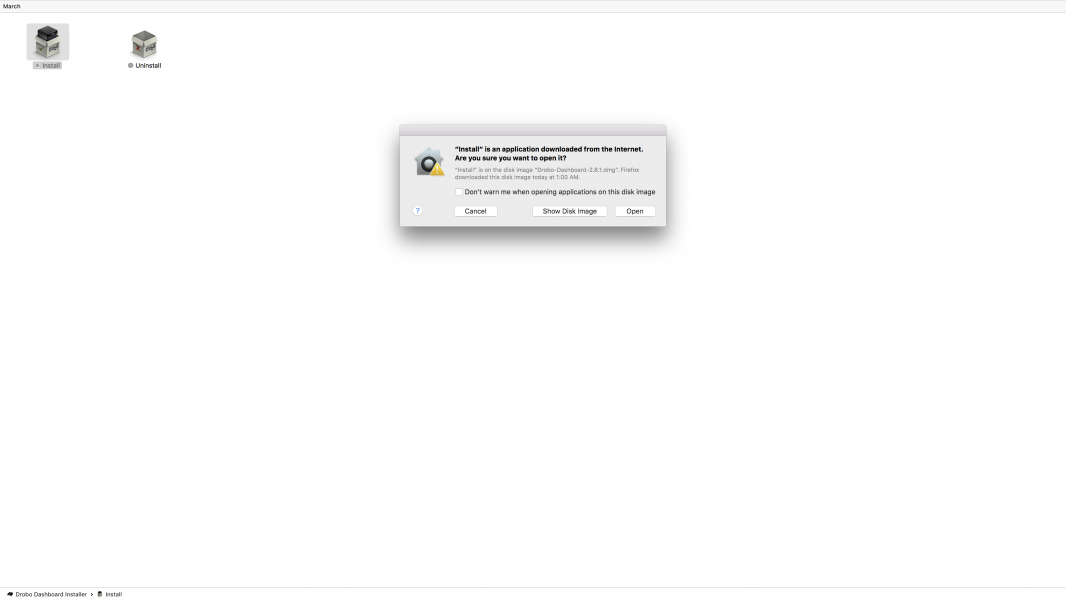
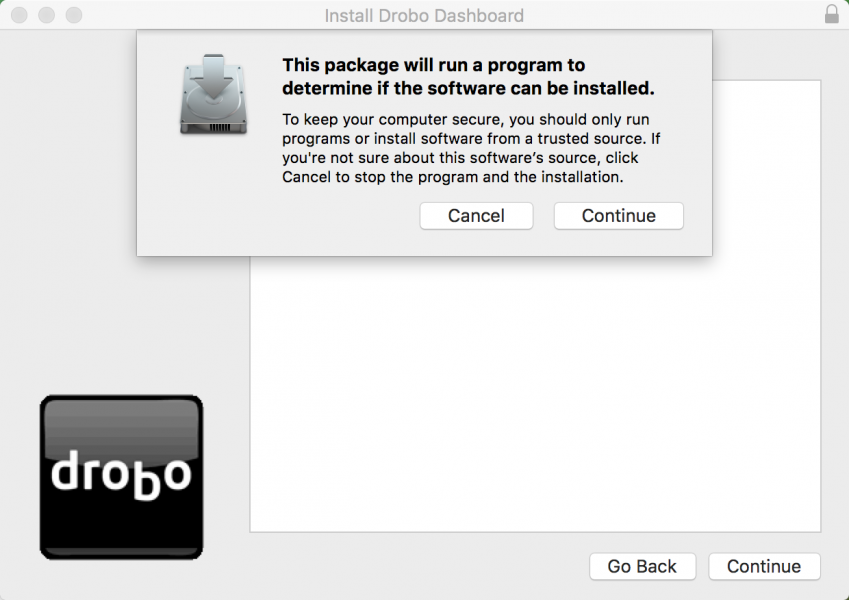
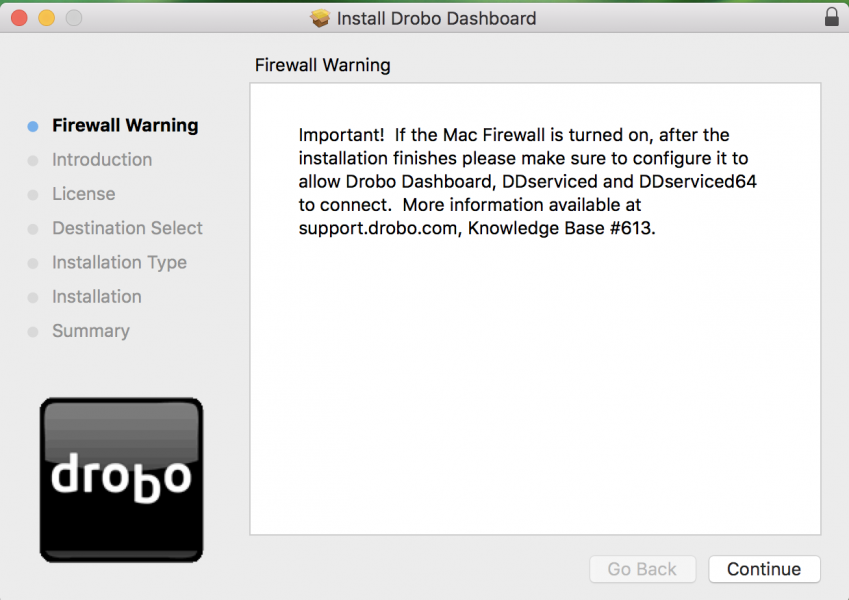
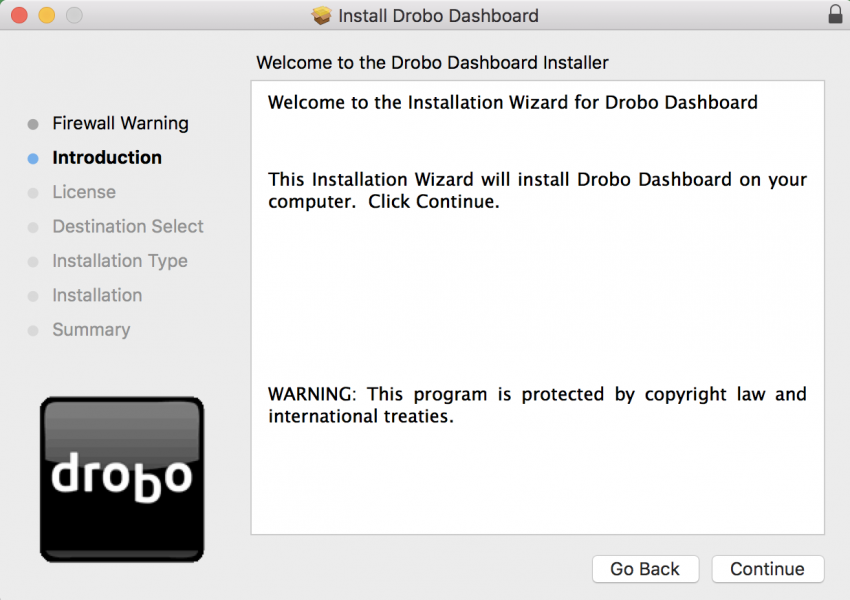
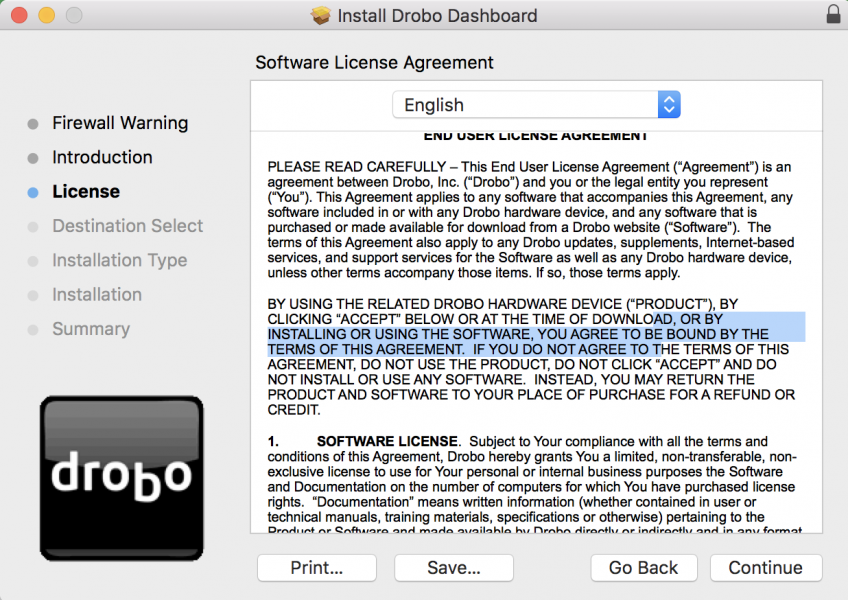
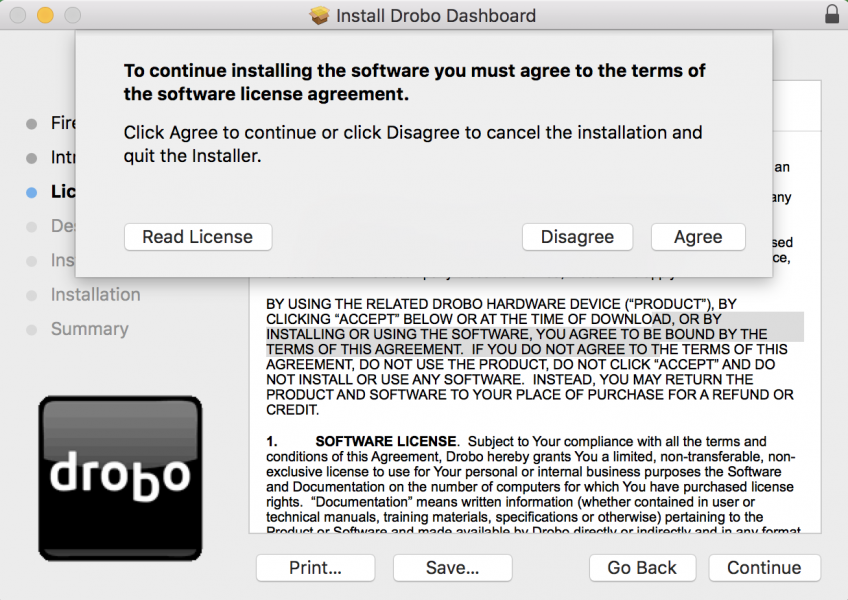
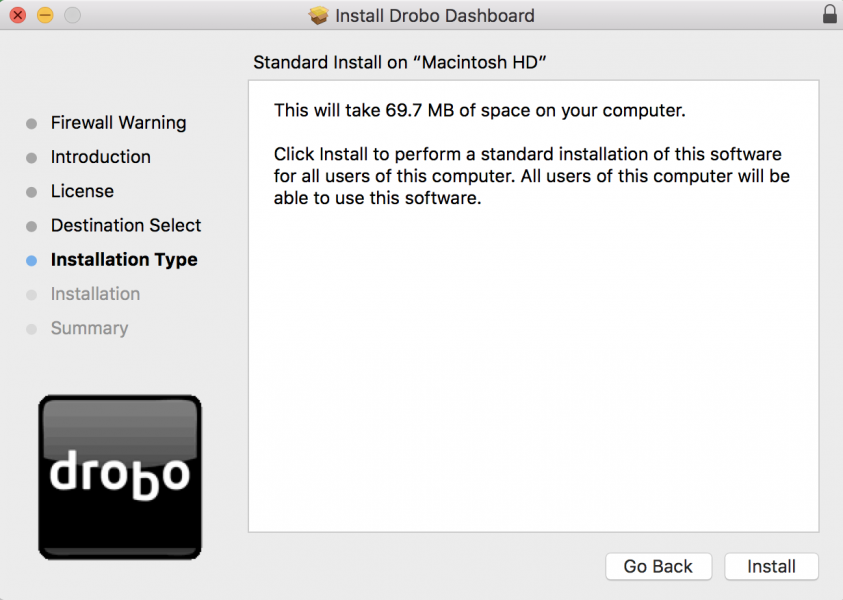
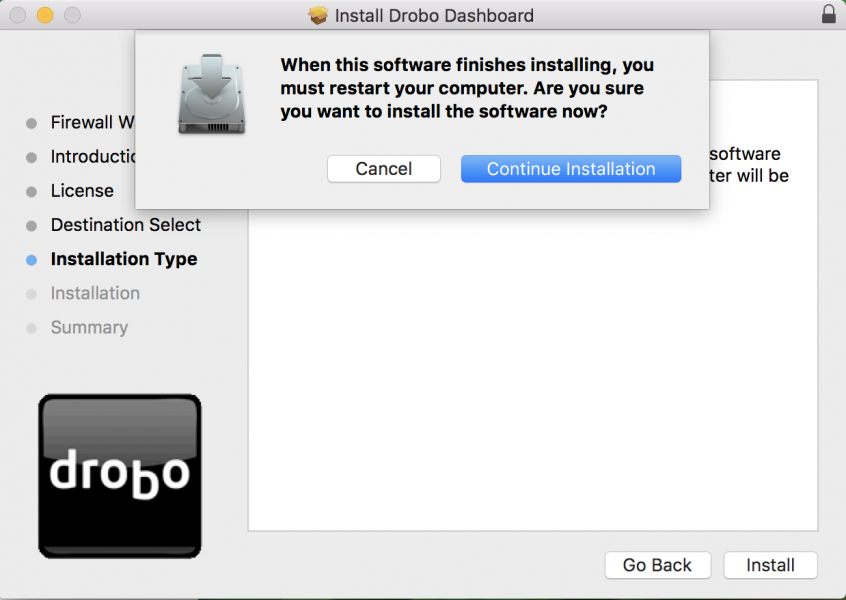
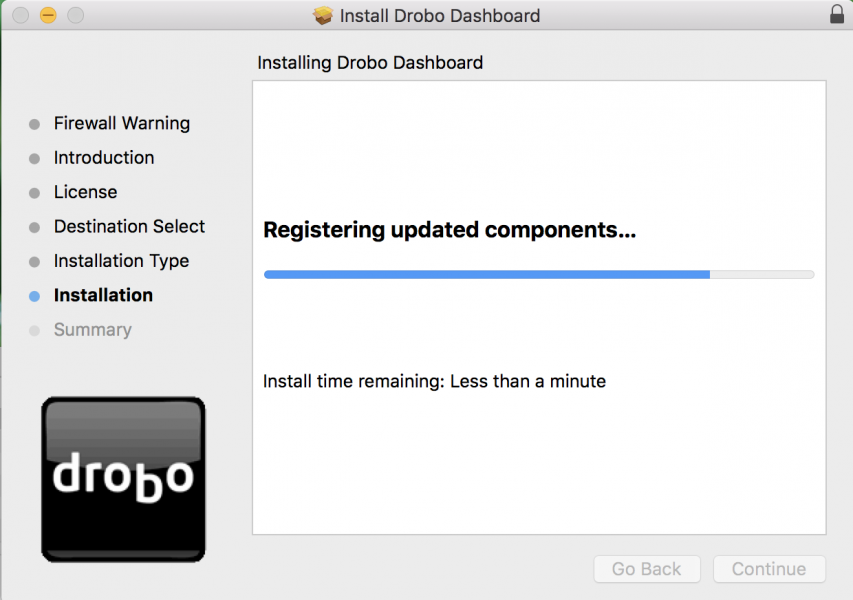
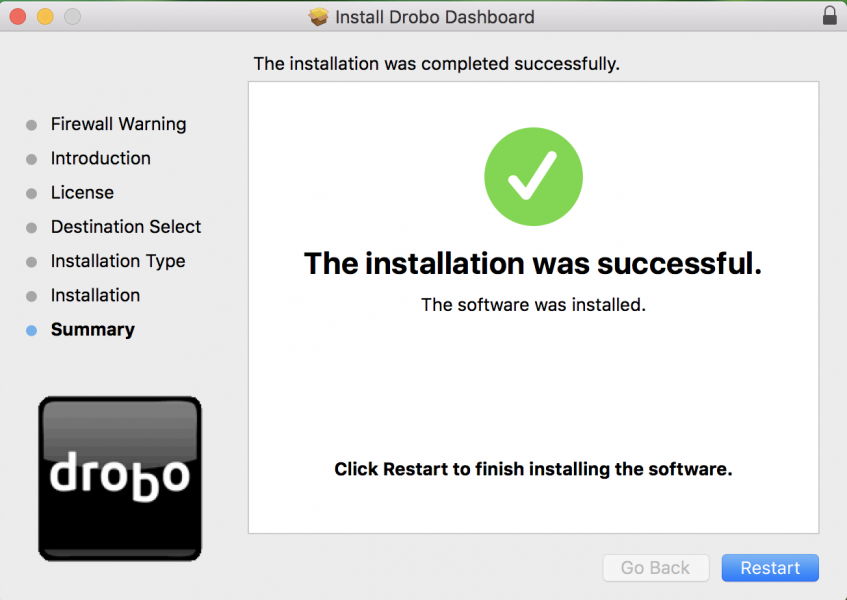
Once everything was installed, I had to restart the Mac and opened the Drobo Desktop Application.
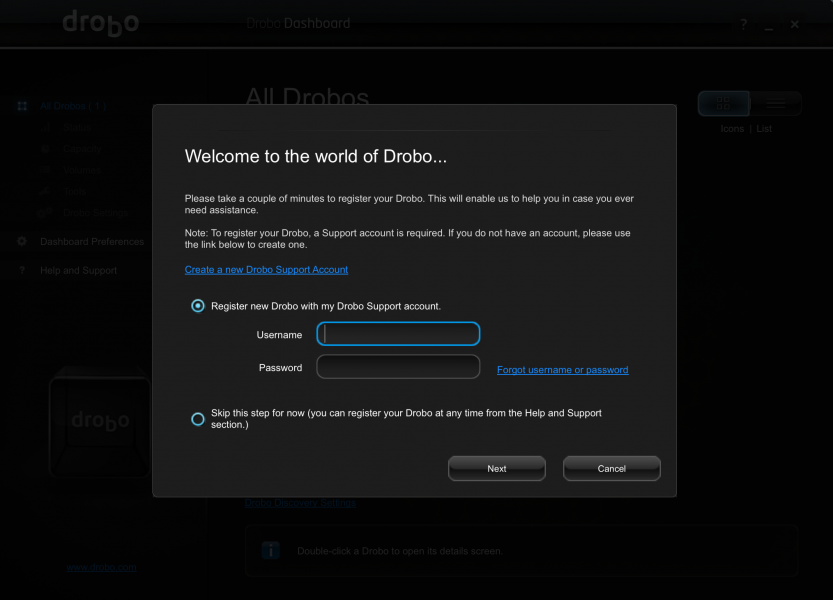
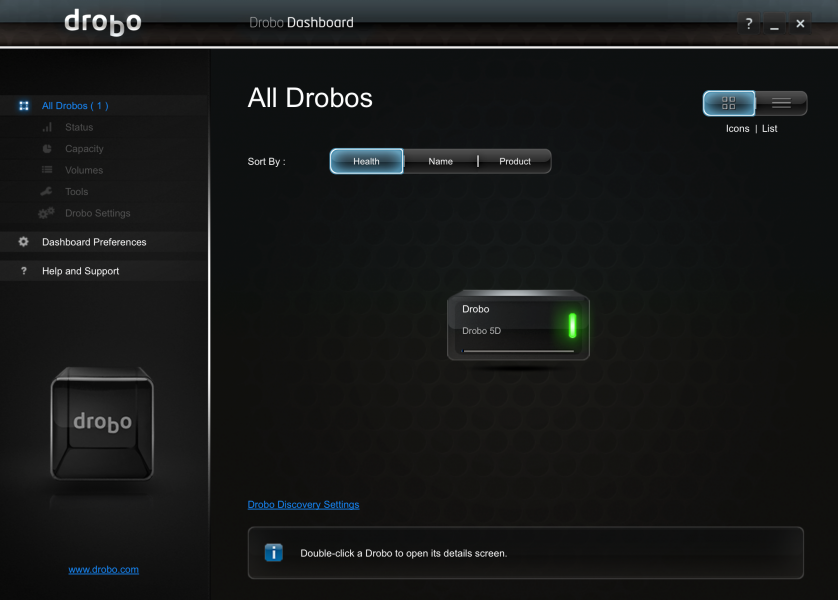
After skipping the registration, the Desktop Application immediately recognized the Drobo 5Dt attached to the Mac.
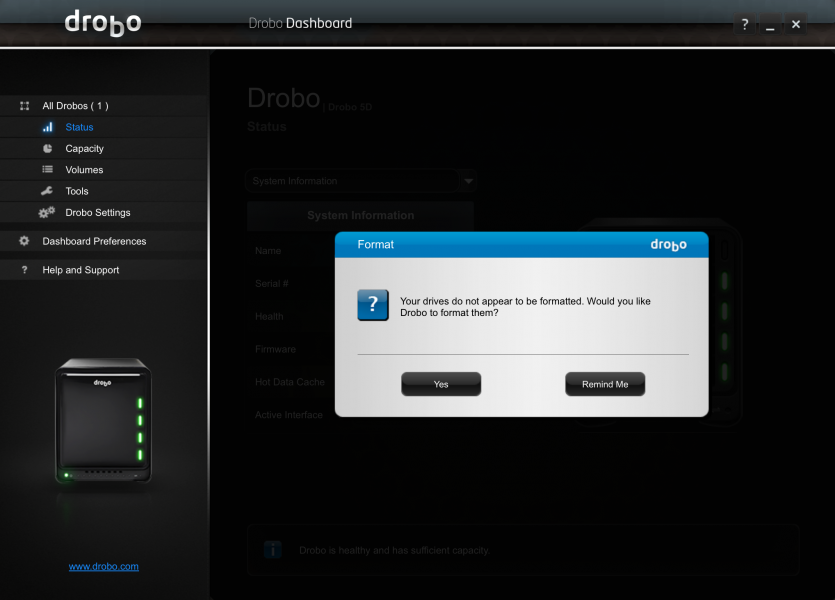
I then needed to format the drives on the Drobo 5Dt- the Dashboard software automatically selects HFS+ probably given the software is running off a Mac.
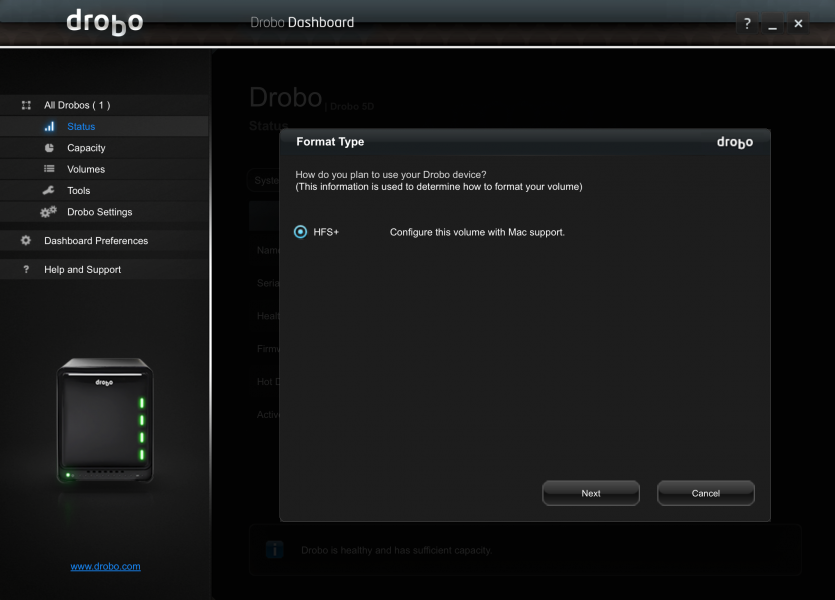
I could then change the Volume name before starting the format which only took a few minutes.
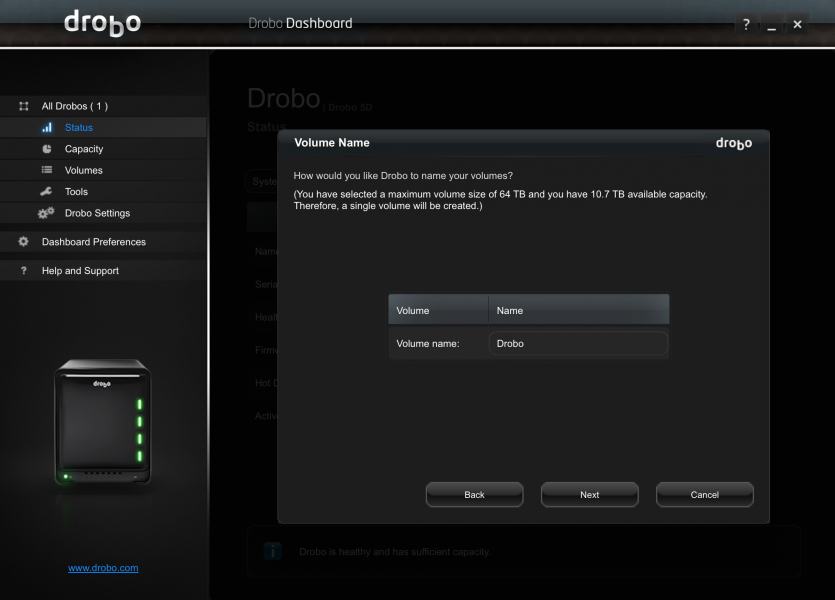
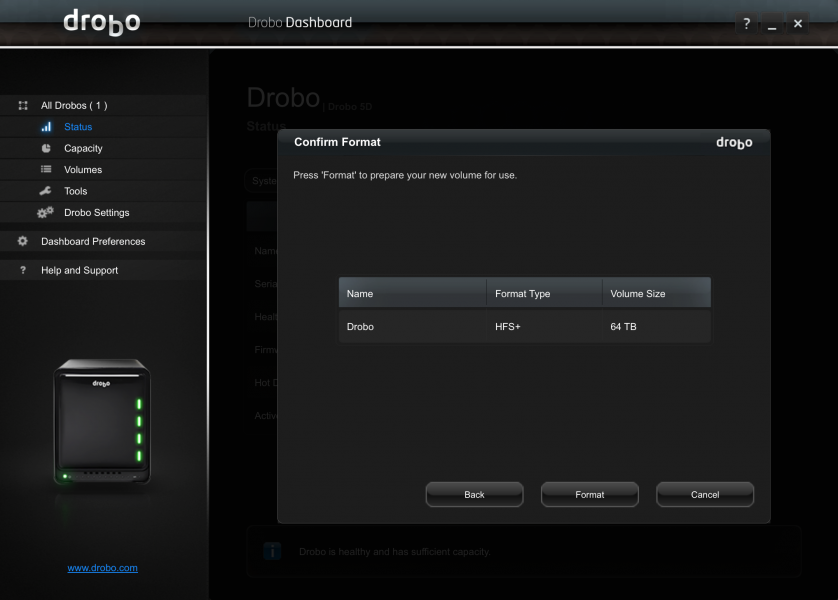
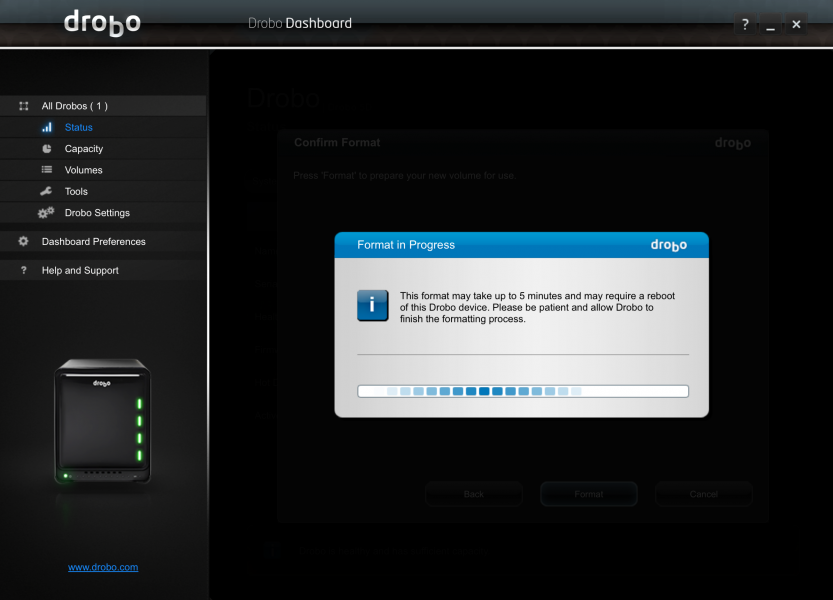
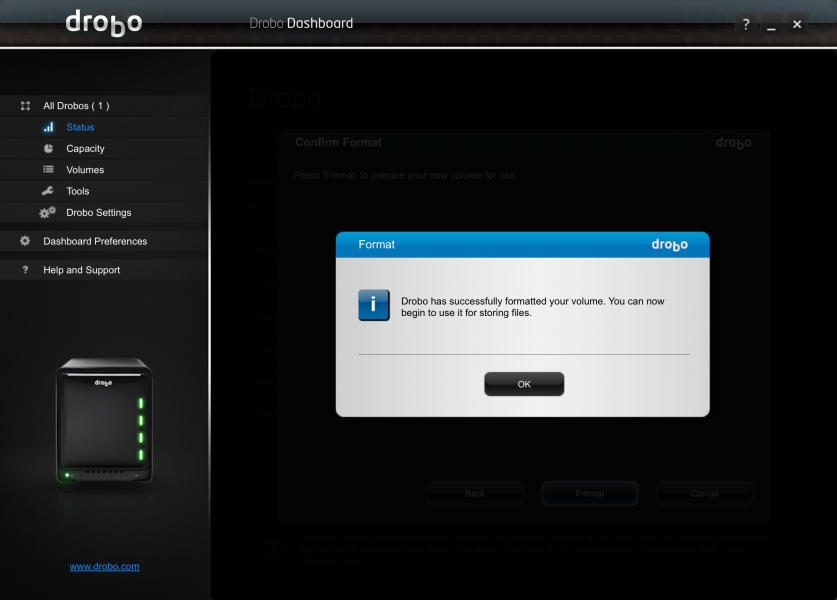
Once formatting was complete, the Dashboard showed all my drives has having Good health.
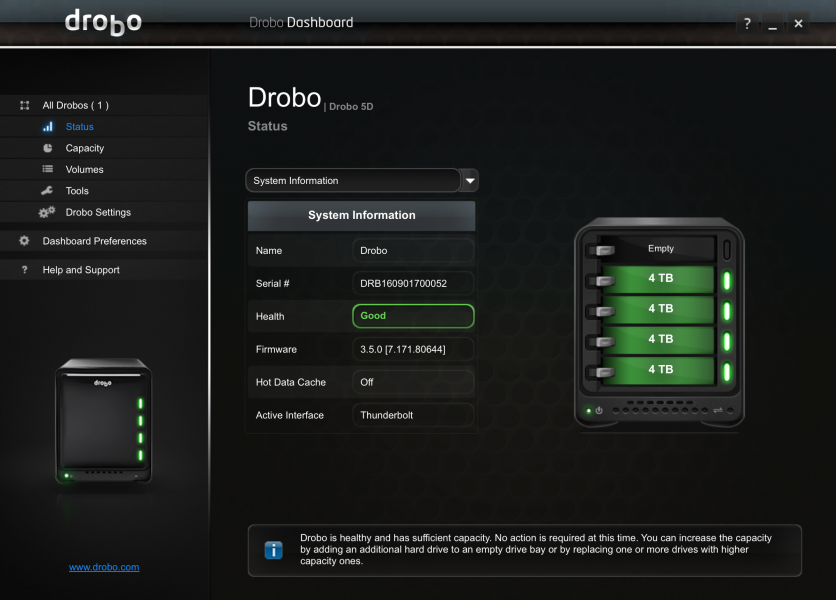
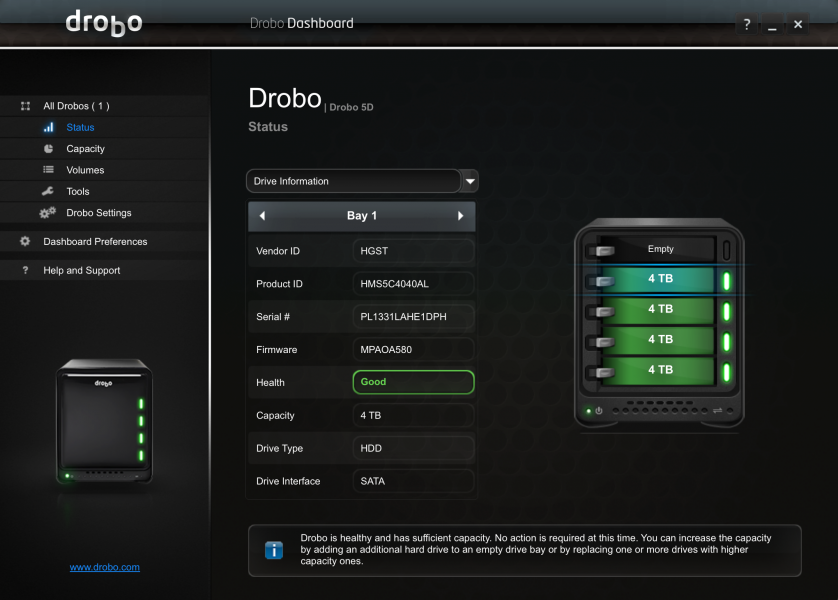
If I selected on the the drive bays in the large Drobo 4D image, I could see more detailed information about each drive in that bay.
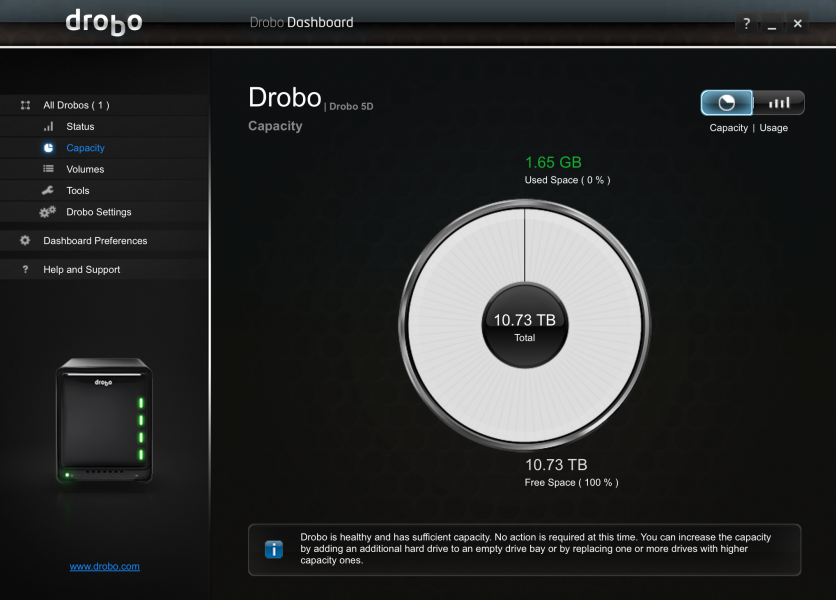
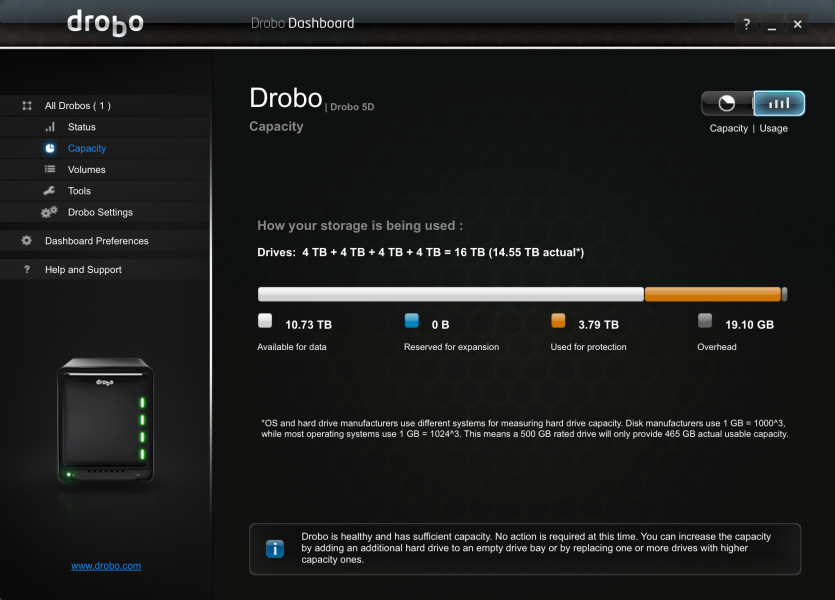
You can also use the menu on the left to check the Drobo 5Dt's Capacity and Volume information.
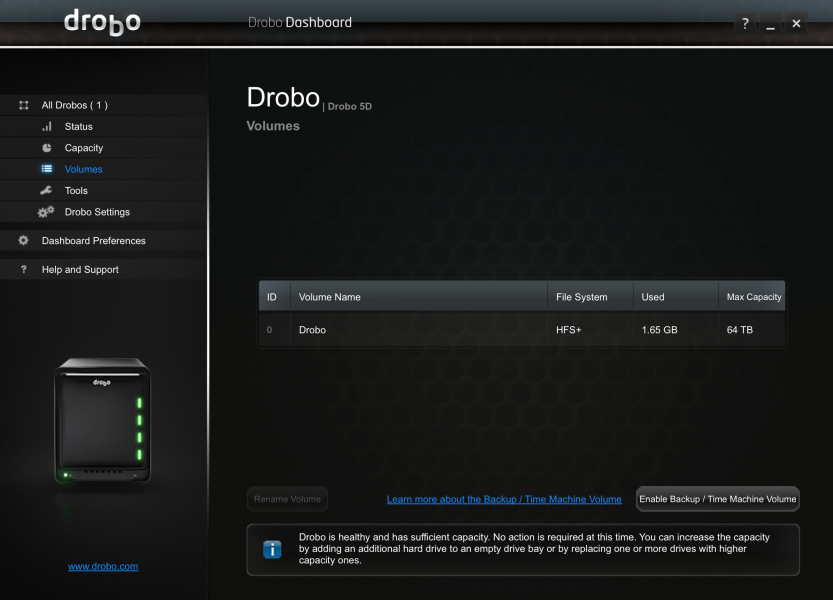
In the Tools menu, you an also remotely control the Drobo 5Dt to turn on/off the blink lights, rename, format, shutdown, reset, or perform a software update on the Drobo.
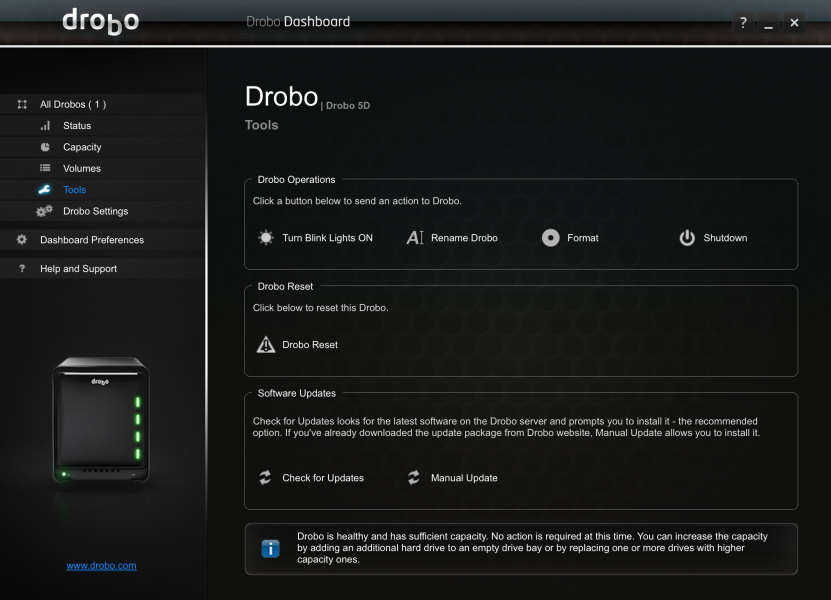
In General Settings, you can also change the Drobo name as well as select whether to add Dual Disk Redundancy which reduces accessible disk space but protects you in case you lose 2 drives at once. You can also choose Disk Drive Spindown to improve power savings and drive longevity which is useful when you don't constantly need access to the Drobo. Fortunately, given all the bright lights on Drobo 5Dt, you can also dim the lights to different levels.
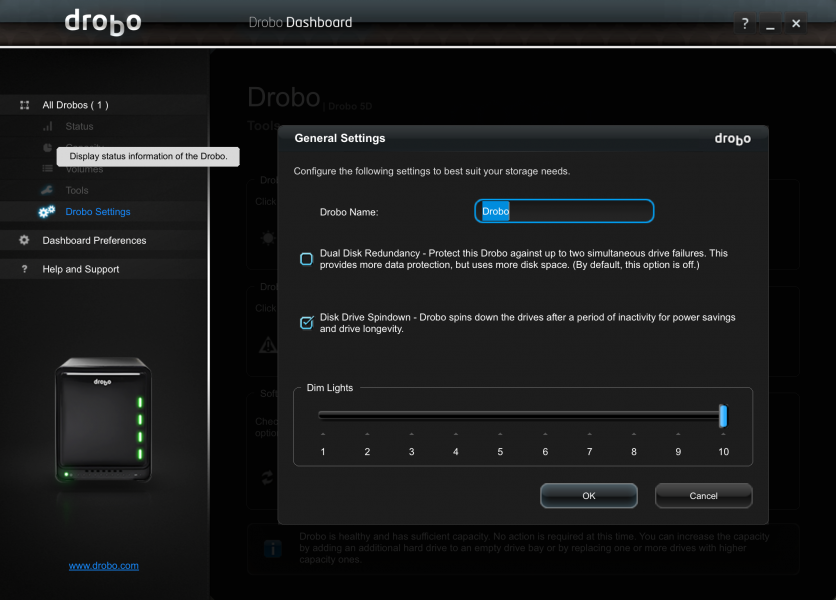
If you select Dashboard Preferences on the left side menu, you can also set up Drobo Discovery to find a Drobo outside of your local subnet, check for software updates automatically, as well as set onscreen and e-mail alerts.
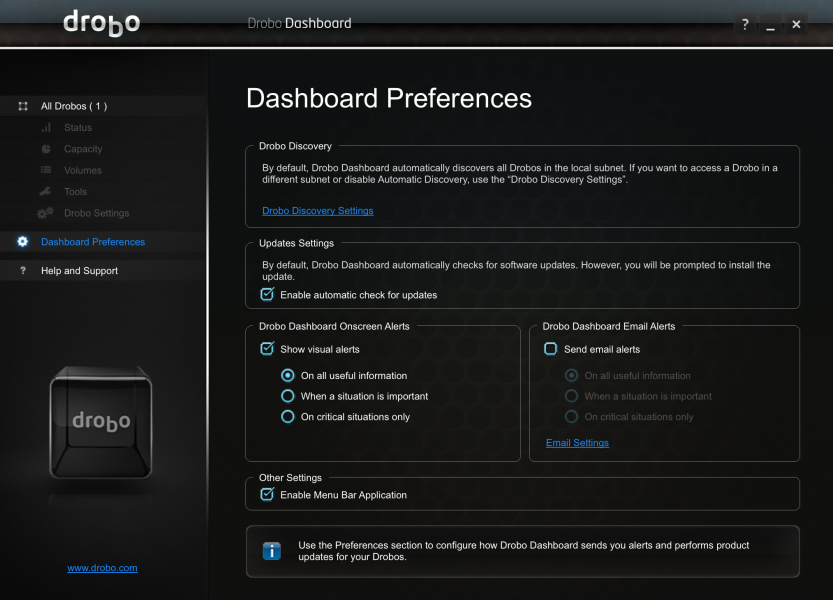
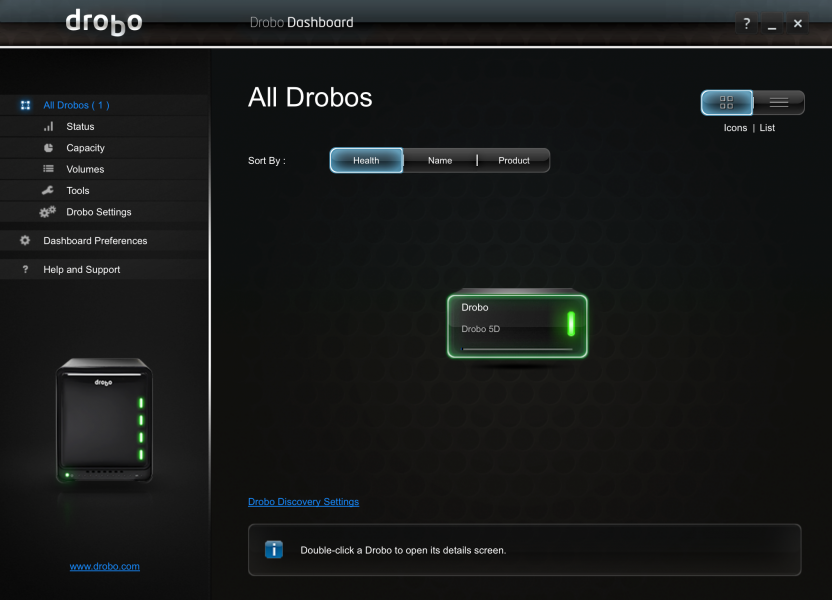
Drobo does a good job at keeping the software easy to use and it's useful to have a simulated onscreen version of the Drobo 5Dt match what you see in real life.
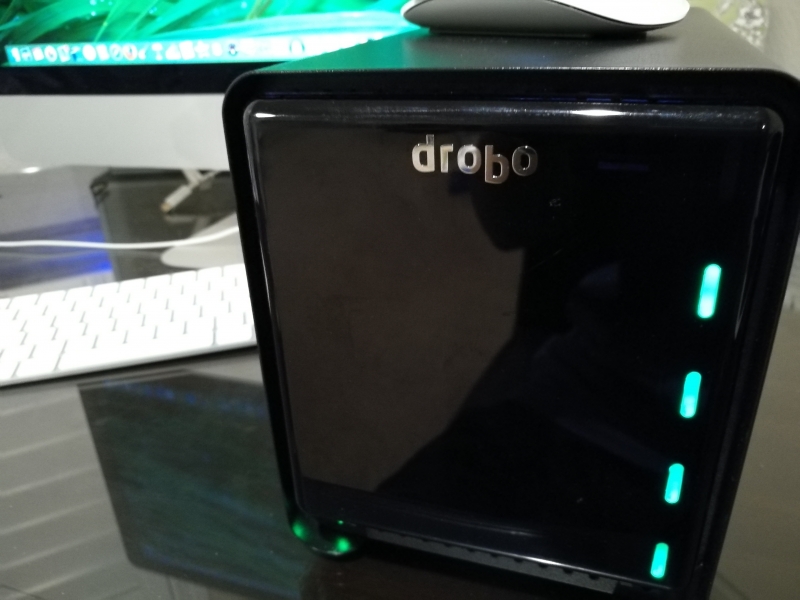
Once the Drobo 5Dt was set up, I tried moving the entire 1.6 TB Apple iPhoto and .5 TB Apple Photo libraries from the OWC Drive Dock to the Drobo but when trying to do large copies of these two entire libraries, some corruption within the Seagate HDD would still fail causing the transfer to stop midway.
Even though trying to copy the entire library failed, I found though that I could still copy smaller files successfully from the OWC Drive Dock to the Drobo 5Dt. I then expanded the iPhoto and Photos libraries by two finger clicking on the photo library and then selecting Show Package Contents.
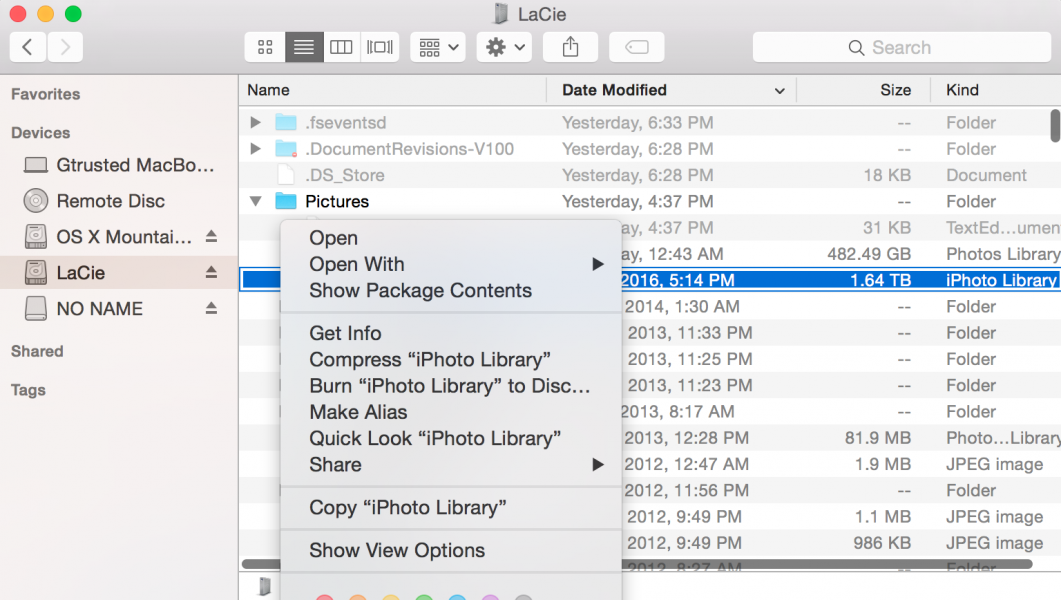
Once I could see the iPhone or Apple Photos Library content, I selected the Masters folder to find all the photo folders and image files themselves. From here I could copy several months at a time between the OWC Drive Dock to the Drobo 5Dt without any problem and with some patience, was able to eventually copy all my precious photos and videos within several hours.
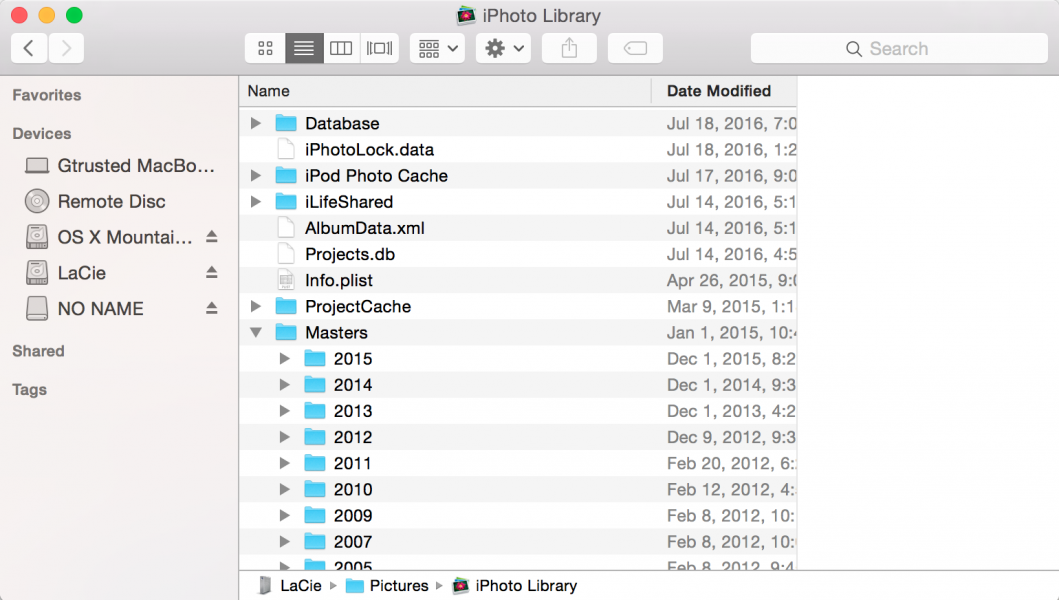
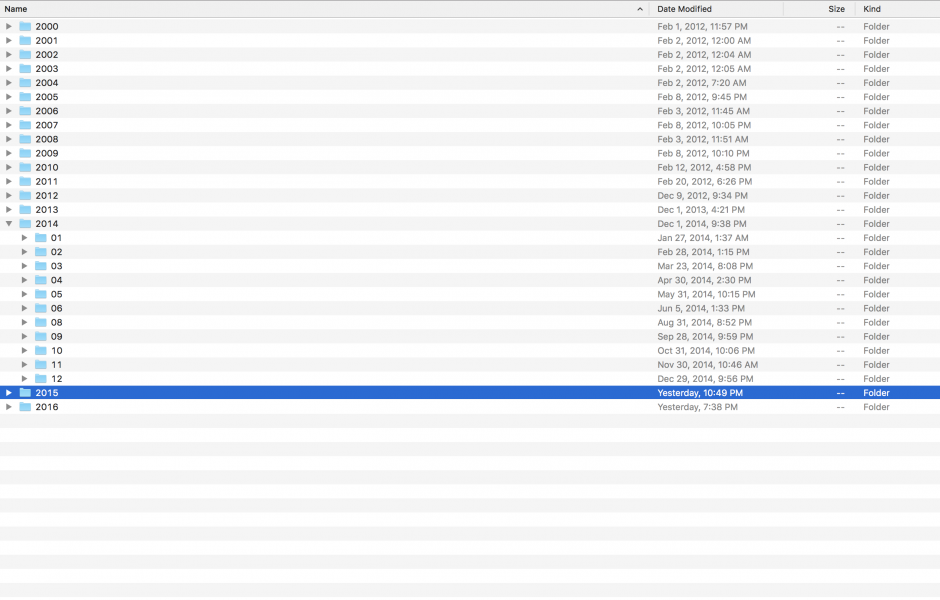
After saving the data which was primarily Apple iPhoto and Apple Photo libraries, I decided to divorce using Apple iPhoto and Apple Photos altogether even though iPhoto was one of the main reasons for switching to the Mac in the first place. Once Apple started moving towards an online centric experience with Photos (and I wanted to keep my photos and videos off the cloud) and with the size of these photo libraries becoming huge and hard to manage, I found it easier just to use the old fashion approach of just creating folders and dumping photos and videos there. Since I wasn't really editing any photos, using the Apple Finder App to explore my photos and videos was simple and good enough for me.
Also, not really having a good experience with Time Machine, I decided to just use Time Machine for just backing up the Mac itself but used Chronosync to perform daily backups of all the photos and videos I had consolidated into the Drobo 5Dt into another Thunderbolt drive. This way I could know for sure that backups on the Drobo 5Dt were being done successfully and hopefully avoid having to go through this ordeal in the future. I'm glad I was able to save my data using the techniques described above and hope using the Drobo 5Dt will allow me to deal with drive failures with a lot less pain.
View Full Article
Featured Products
 GTrusted
