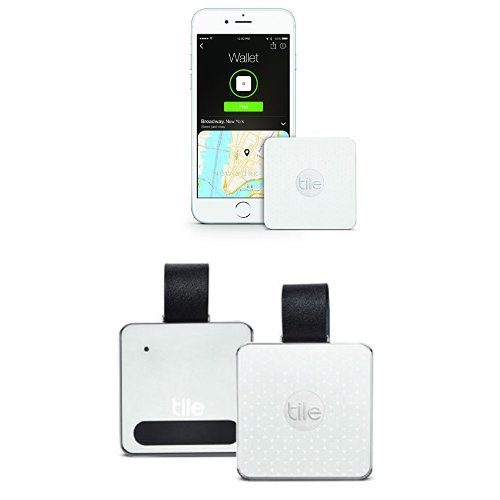
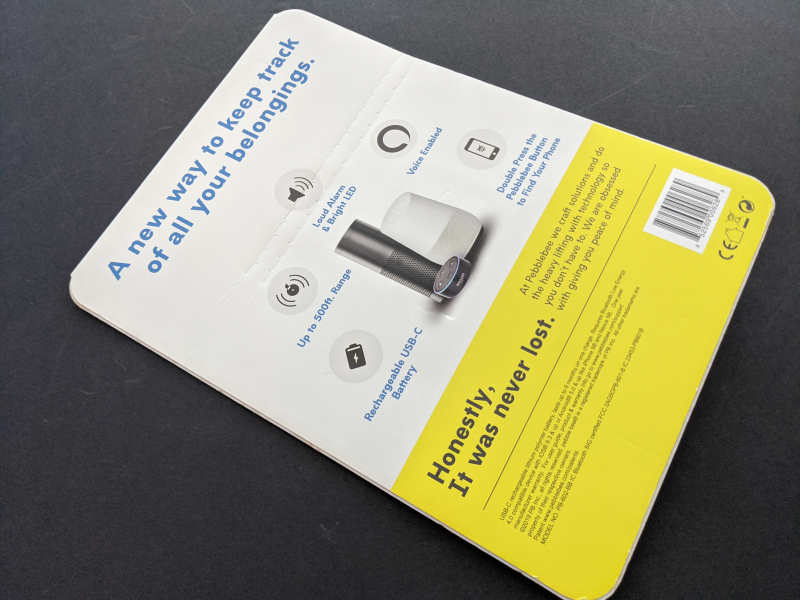
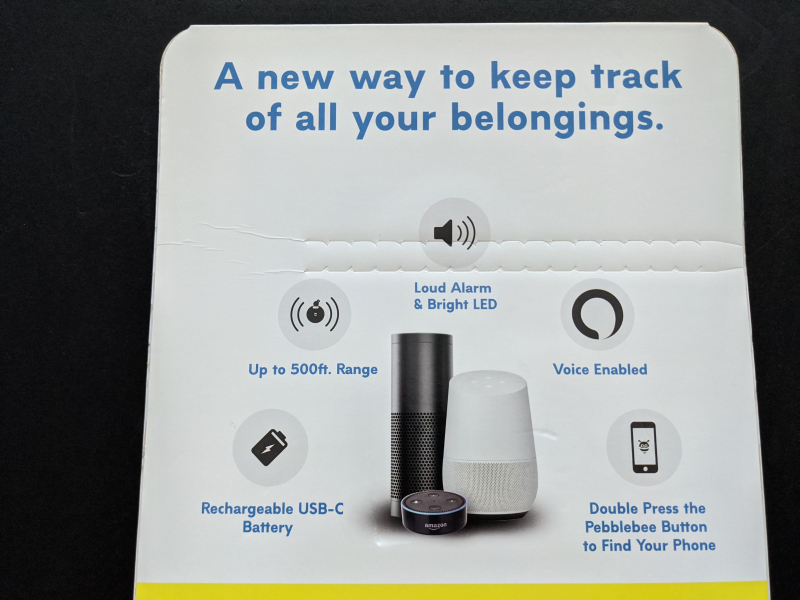
While many are familiar with the Tile series of Bluetooth trackers, there are many other similar products being sold such as the Pebblebee Finder 2.0 which uses Bluetooth 5.0 LE to locate objects. The Pebblebee Finder 2.0 also works the same way where you can ring your lost phone or Pebblebee tracker or even use the Pebblebee App to track its location. The Pebblebee also supports the iOS and Android platforms.
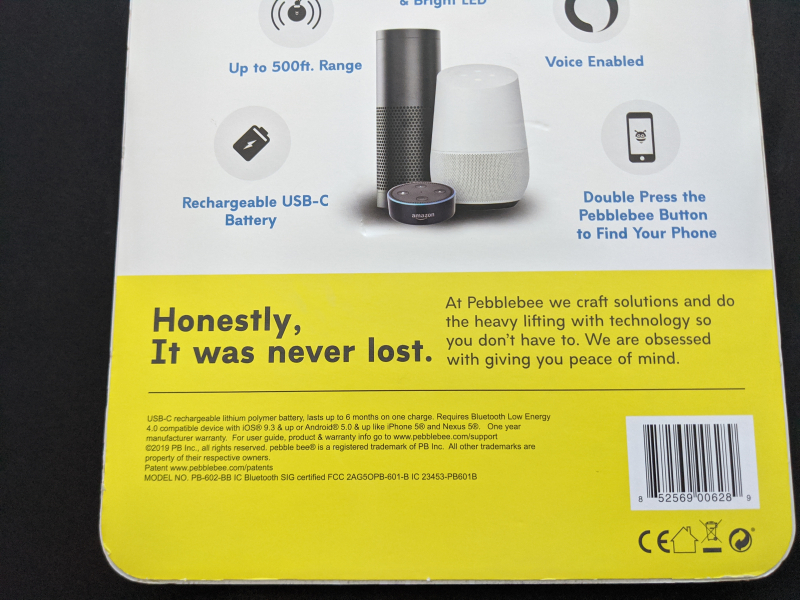
Unlike the Tile trackers like the Tile Slim and Tile Mate, the Pebblebee Finder 2.0 can be recharged over the USB Type-C interface. The Pebblebee claims to support up to 500 ft range using Bluetooth on the phone and has adjustable volume and ringtones to choose from.
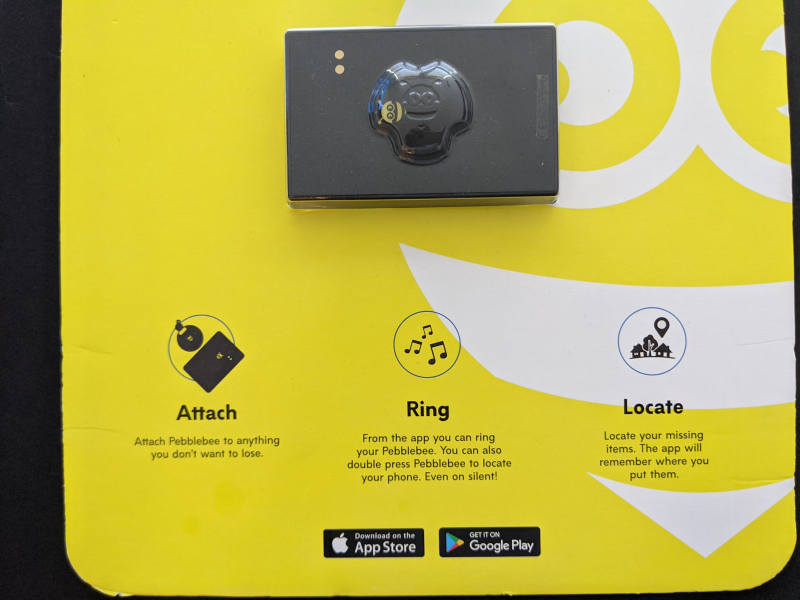
The Pebblebee Finder 2.0 uses its own App to connect with the Pebblebee tracker, which you can download and install from the Apple App Store or Google Play. You can use the Pebblebee App to find your Pebblebee tracker either using its proximity over Bluetooth to your phone, the GPS coordinates of the phone that has connected to the tracker, or by a ringtone that can be remotely activated.
If you have smart devices that use the Google Assistant or Amazon Alexa for voice control, you can control the Pebblebee Finder 2.0 on your Android or iOS based phones/tablets through the Google Assistant or Amazon Alexa App.
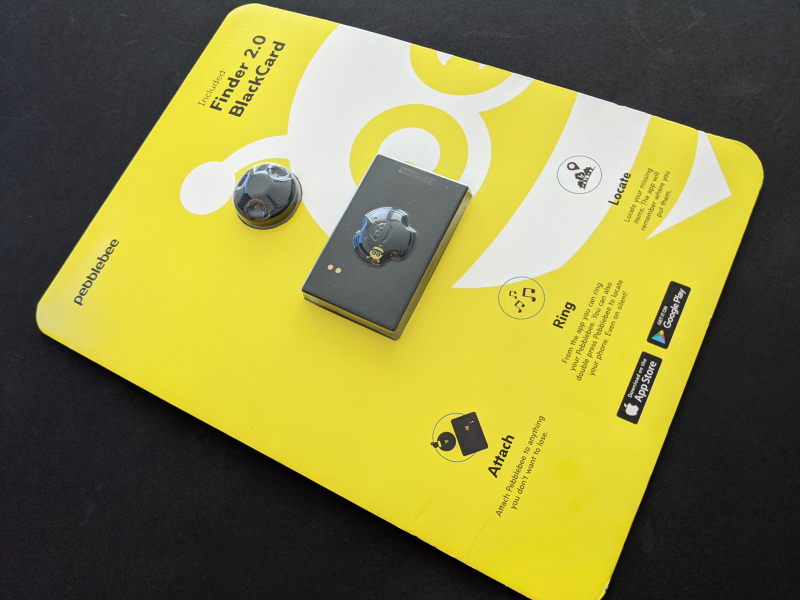
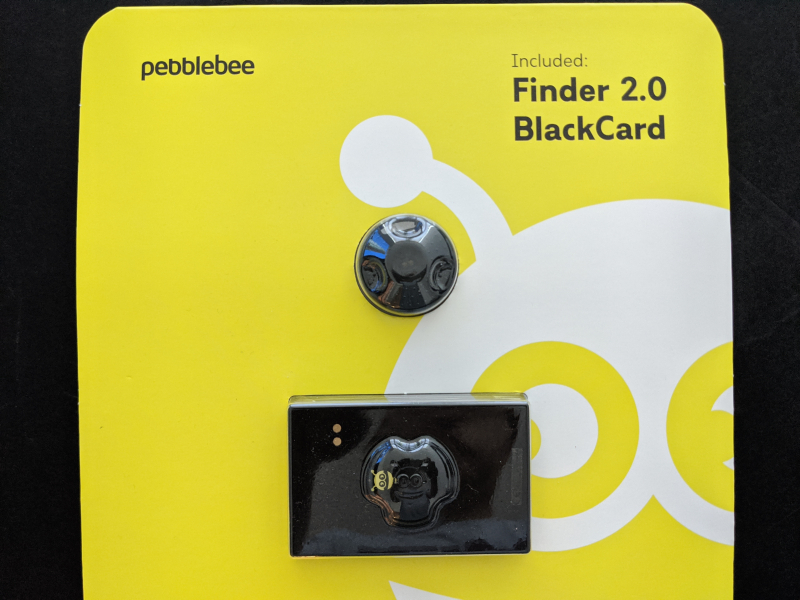
Here's a closer look at the Pebblebee Finder 2.0 from inside its packaging. Note the Pebblebee Finder 2.0 and Pebblebee BlackCard Wallet Finder are actually two different Bluetooth trackers but purchased as part of the same package.
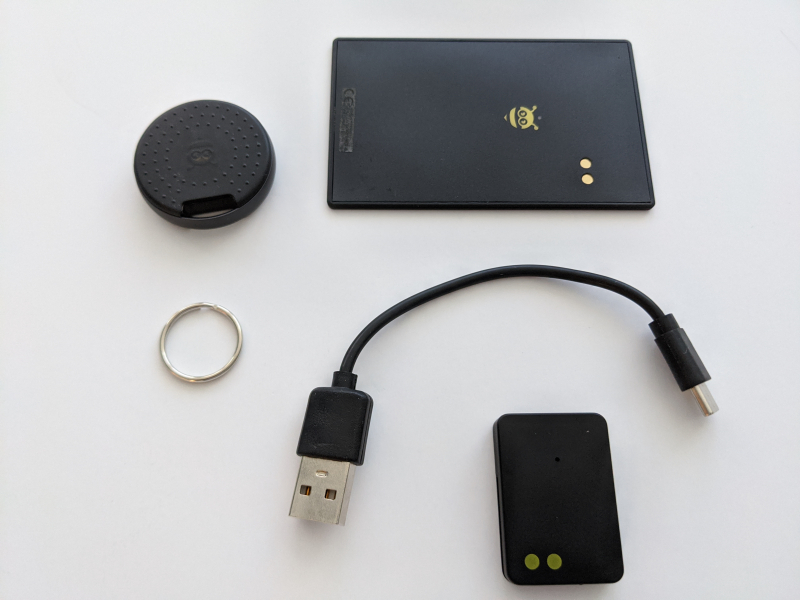
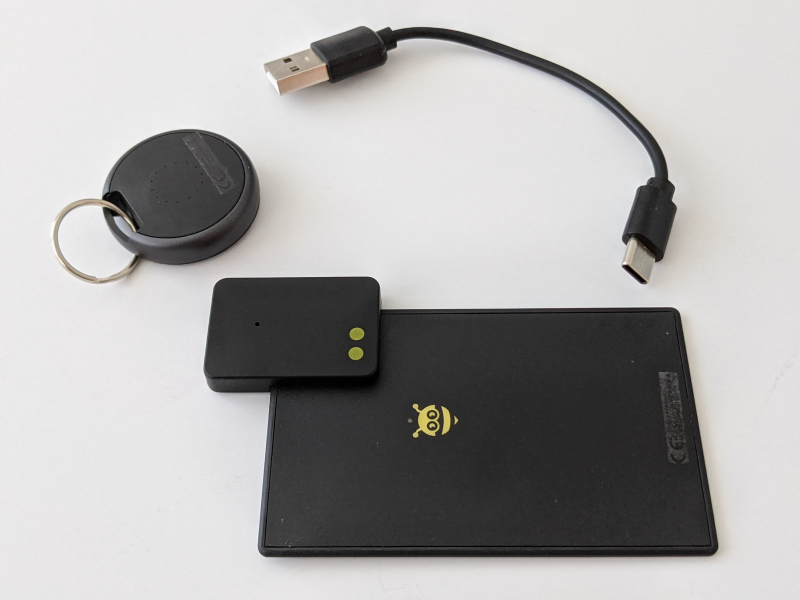
The Pebblebee package contains each a Pebblebee Finder 2.0 and a Pebblebee BlackCard Wallet Finder tracking device, battery charger for the Pebblebee BlackCard Wallet Finder tracker, USB Type-C to Type-A charging cable and a keychain. There is no separate battery since the Pebblebee trackers have each a built in battery that's supposed to last for 6 months for the Pebblebee Finder 2.0 and 4 months for the Pebblebee BlackCard Wallet Finder.
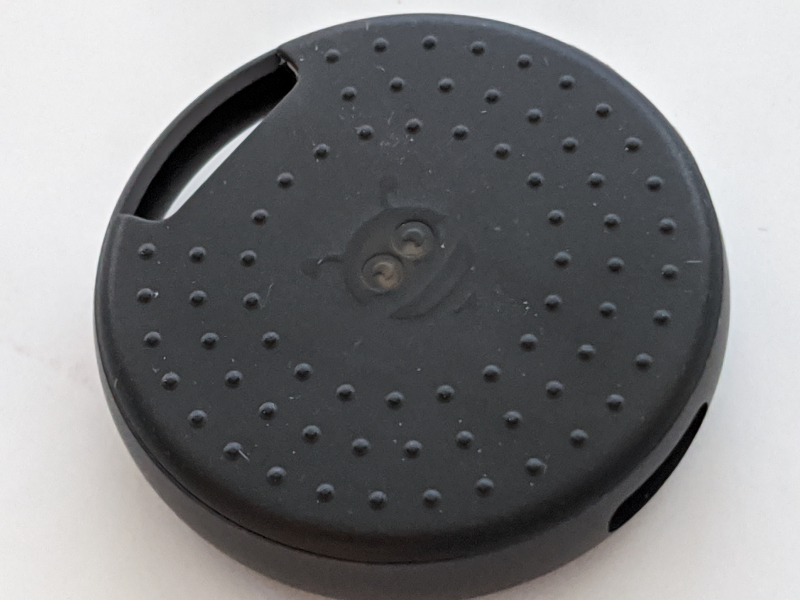
The hole at the top of the Pebblebee Finder 2.0 can be used to attach to the supplied keychain. You can directly charge the Pebblebee Finder 2.0 by connecting to a AC power source through the USB Type-C charging in port using the supplied USB Type-C to Type-A charging cable.
To charge the Pebblebee BlackCard Wallet Finder, you need to use the supplied battery charger that has a dedicated slot for inserting the tracker for charging. The battery charger uses a USB Type-C input port to connect to a AC power source using the supplied USB Type-C to Type-A charging cable for power to flow through. More on the Pebblebee BlackCard Wallet Finder in this review.
While the Pebblebee Finder 2.0 looks different than the Tile Mate in terms of design, both are almost the same size although the Pebblebee is slightly thicker.
There is just one button on one side of the Pebblebee Finder 2.0 that is merged with a LED indicator. You can use this button to find the phone linked with your Pebblebee tracker. The LED indicator will flash when the ringtone is remotely activated.
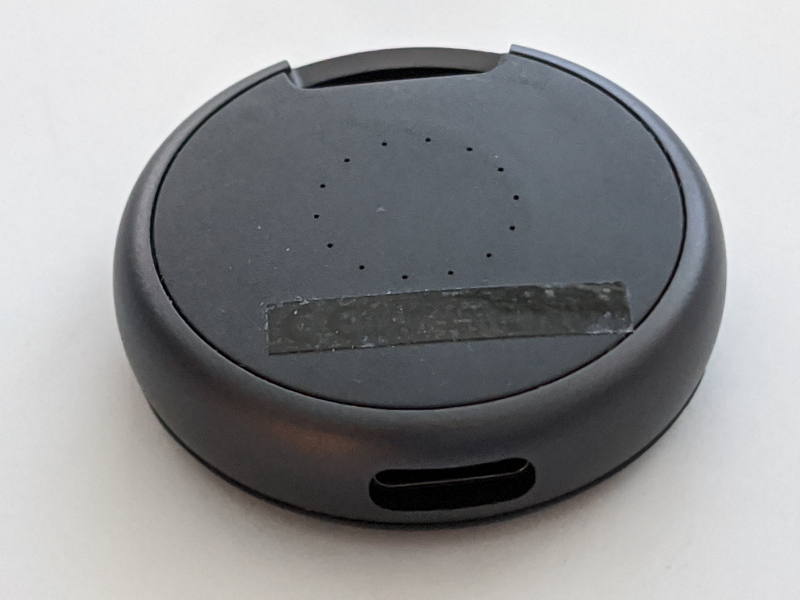
The other side of the Pebblebee Finder 2.0 contains the speaker.
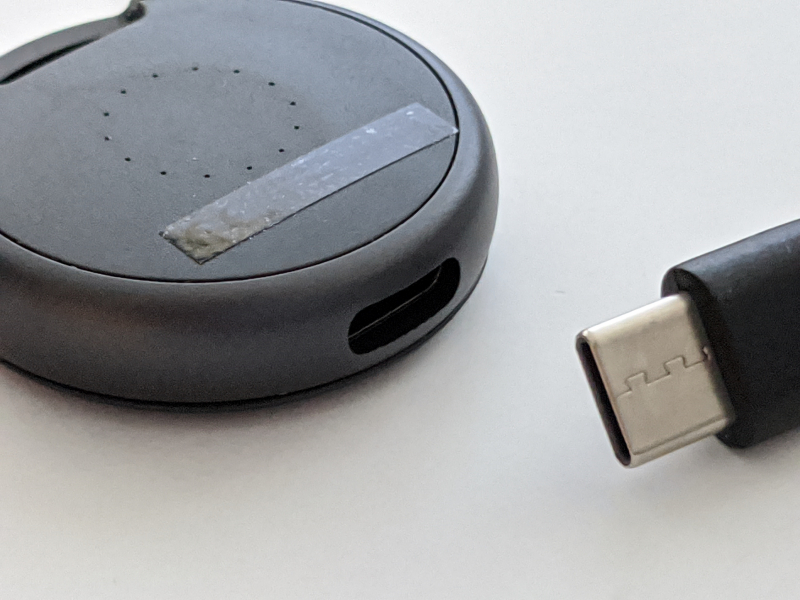
The USB Type-C charging in port at the bottom of the Pebblebee Finder 2.0 is used to plug in with the supplied USB Type-C to Type-A charging cable to a AC power source to keep itself charged.
 GTrusted


