If you are paranoid about dropping your iPhone but don't mind adding weight and bulk, the OtterBox Defender Series is a popular option. However, unlike simpler cases, it might not be so clear how to put your iPhone into an OtterBox.
Here we look at how to put the iPhone 6 Plus into the OtterBox iPhone 6/6s Defender Series Case.
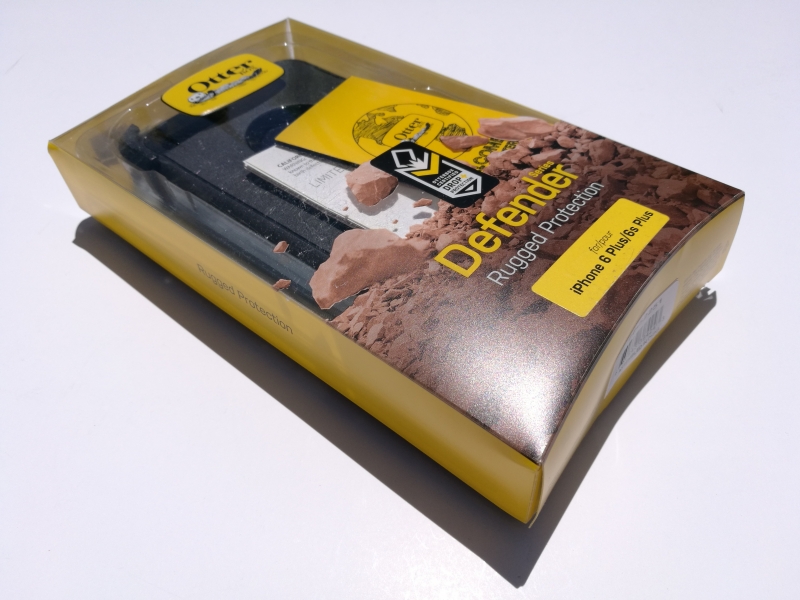
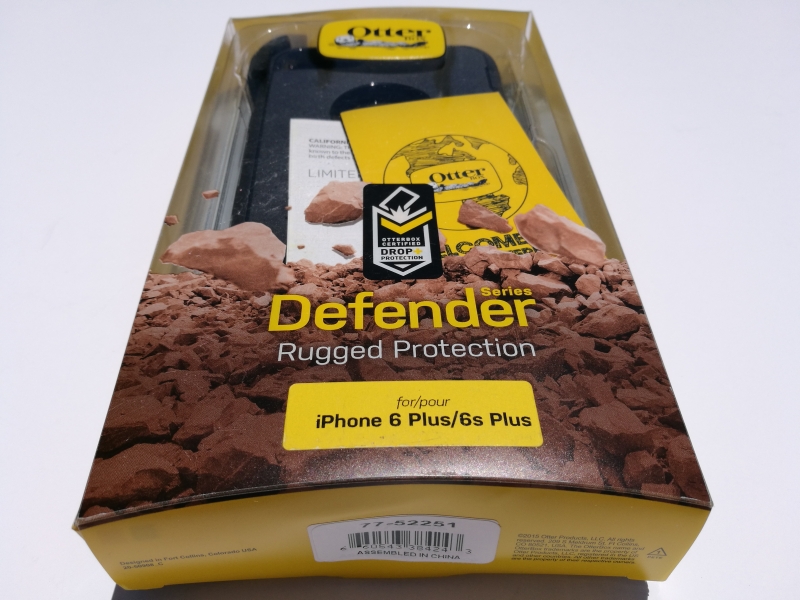
We purchased the OtterBox iPhone 6/6s Defender Series Case online from Best Buy.
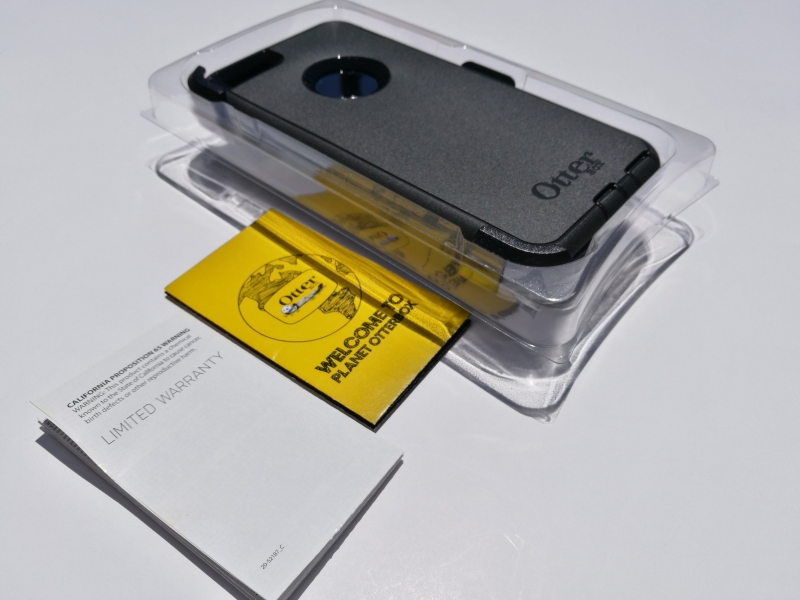
The OtterBox iPhone 6/6s Defender Series Case just comes with some simple instructions on how to use it.
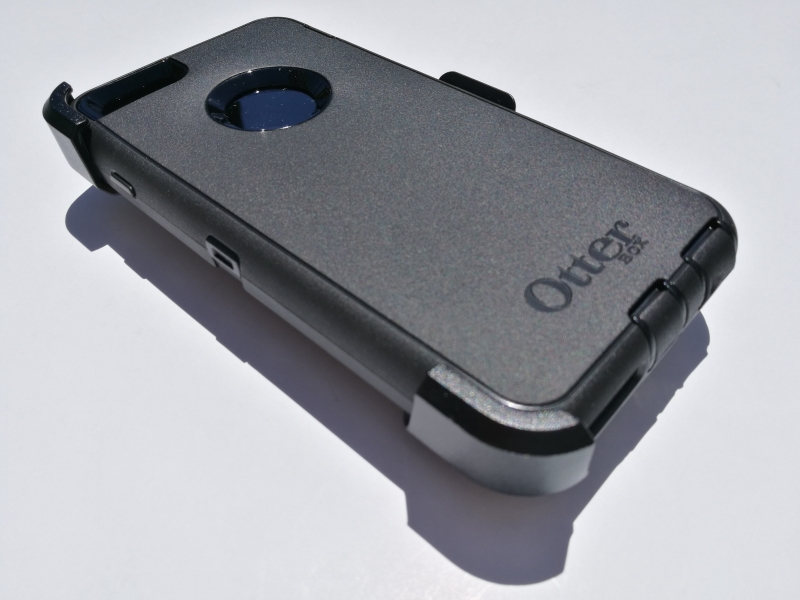
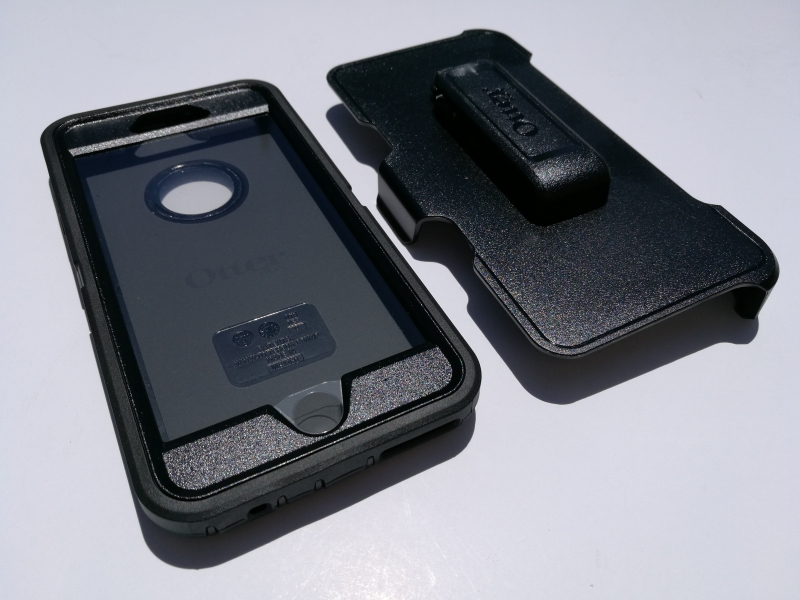
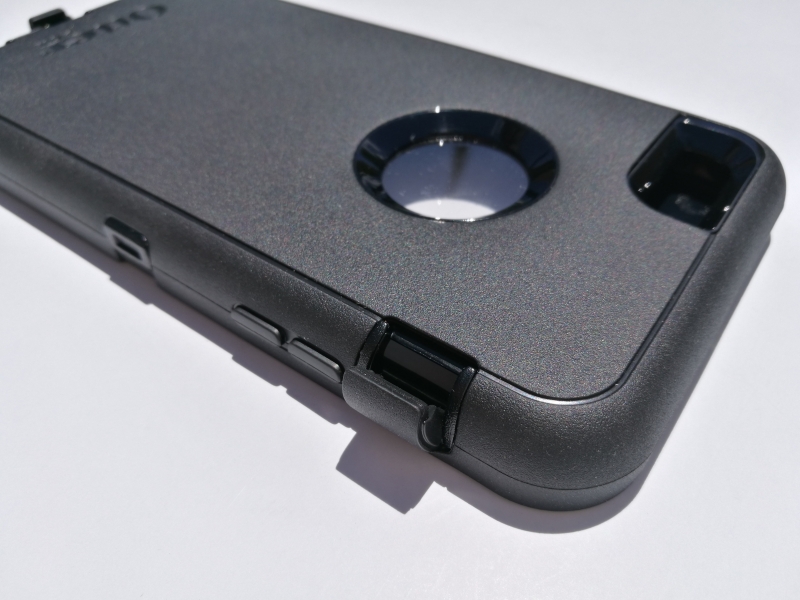
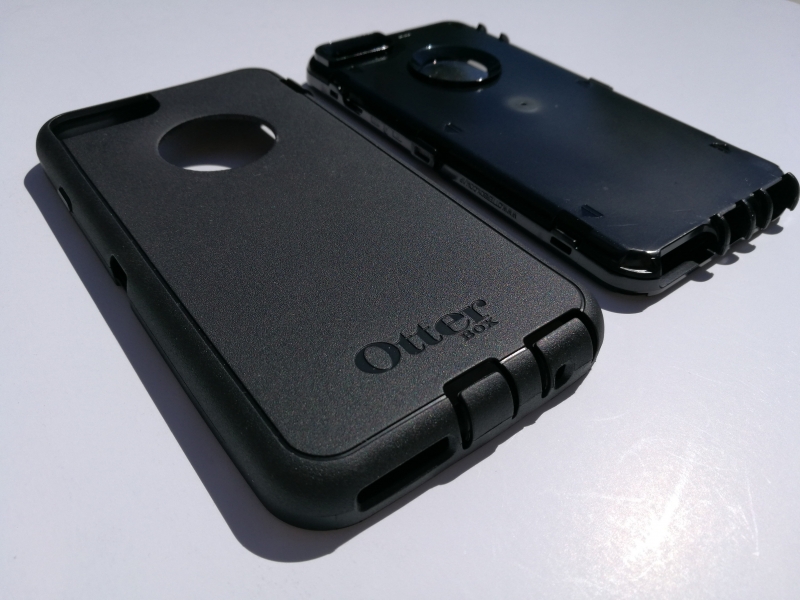
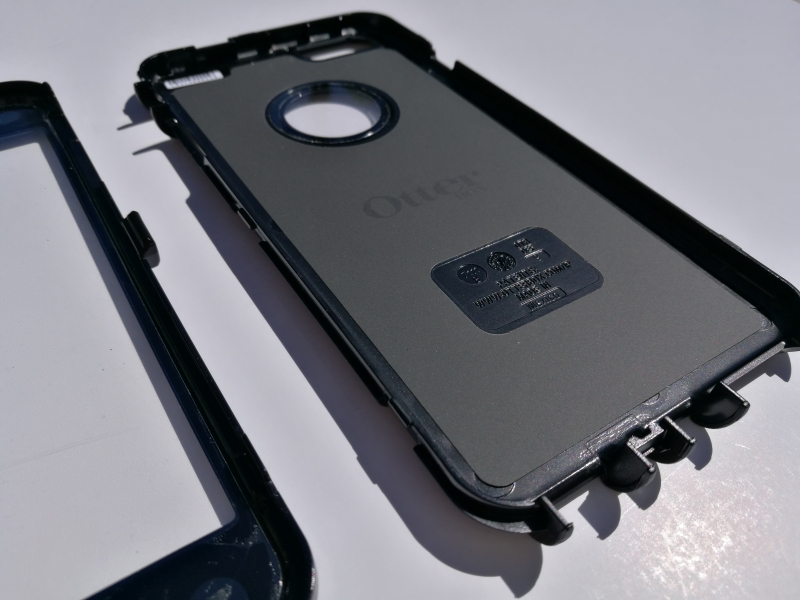
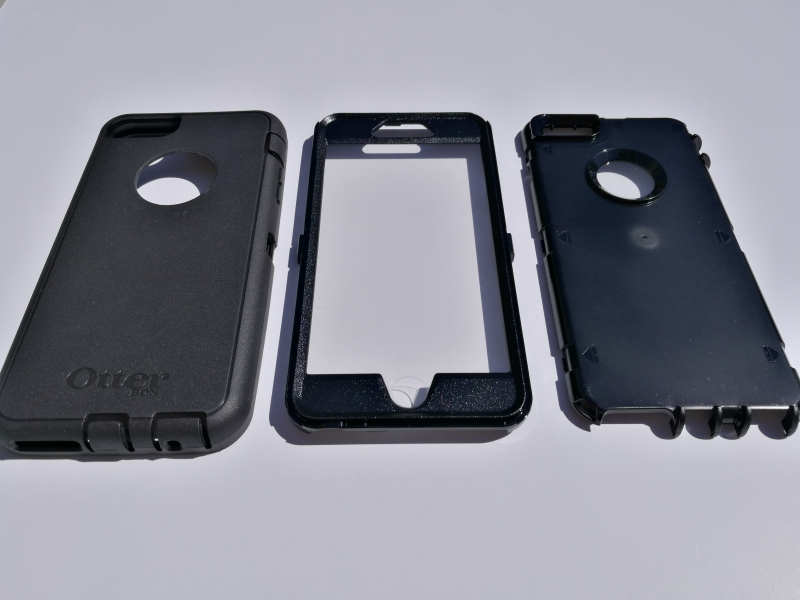
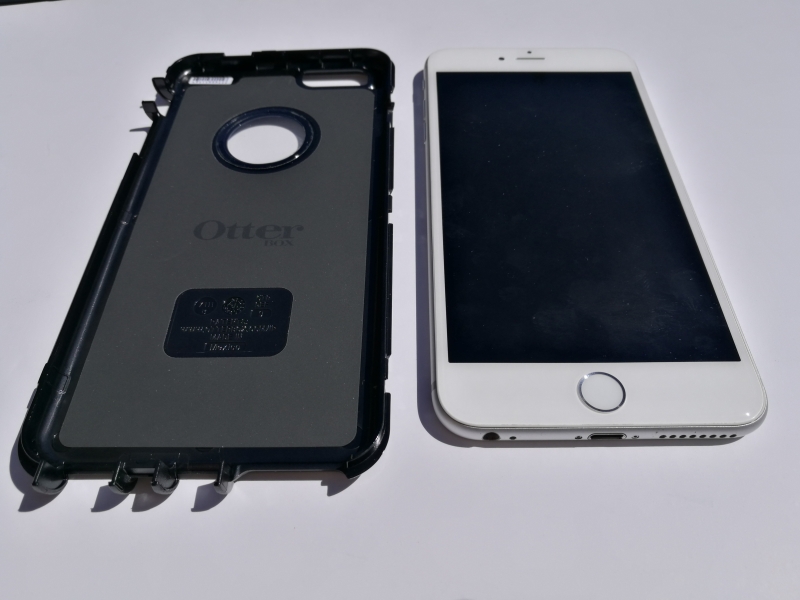
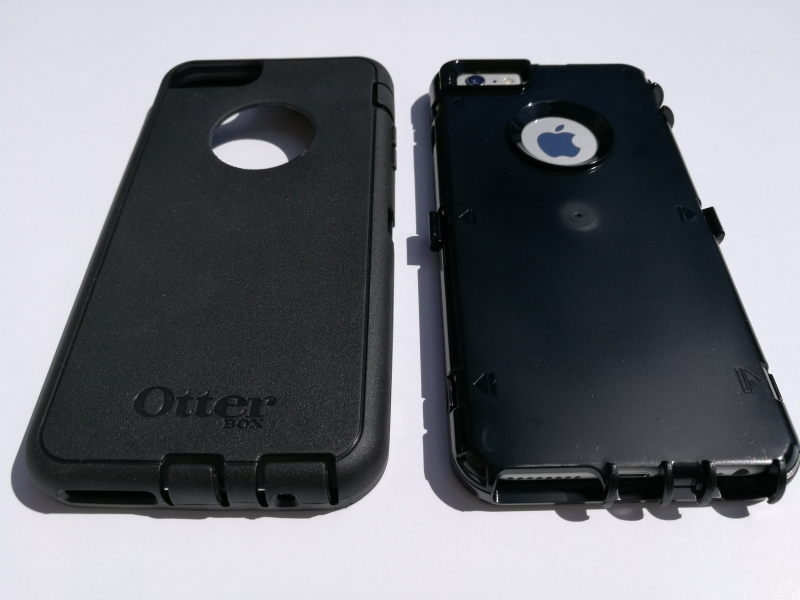
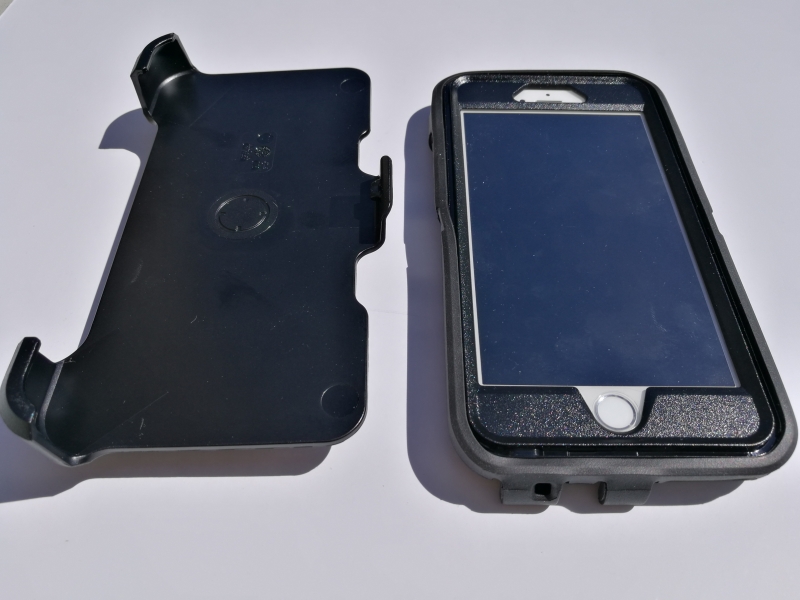
The OtterBox iPhone 6/6s Defender Series Case is made up of three pieces - the outer silicone shell, the hard plastic case, and the belt clipper. The hard plastic case is the part that actually holds the iPhone while the outer silicone shell provides additional cushion and tactile grip.
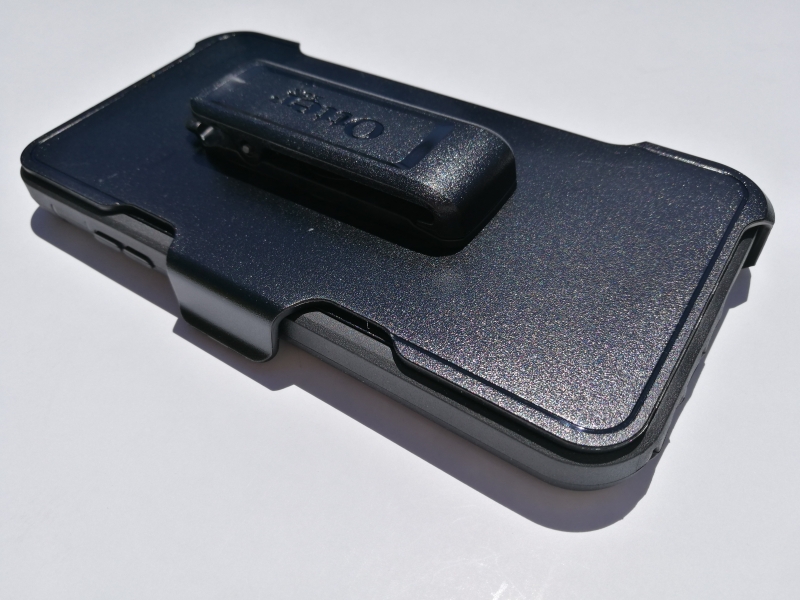
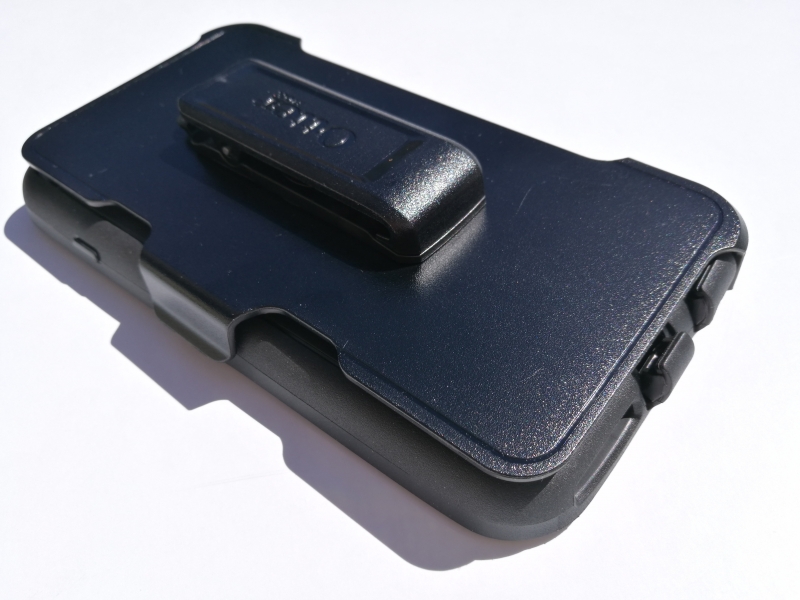
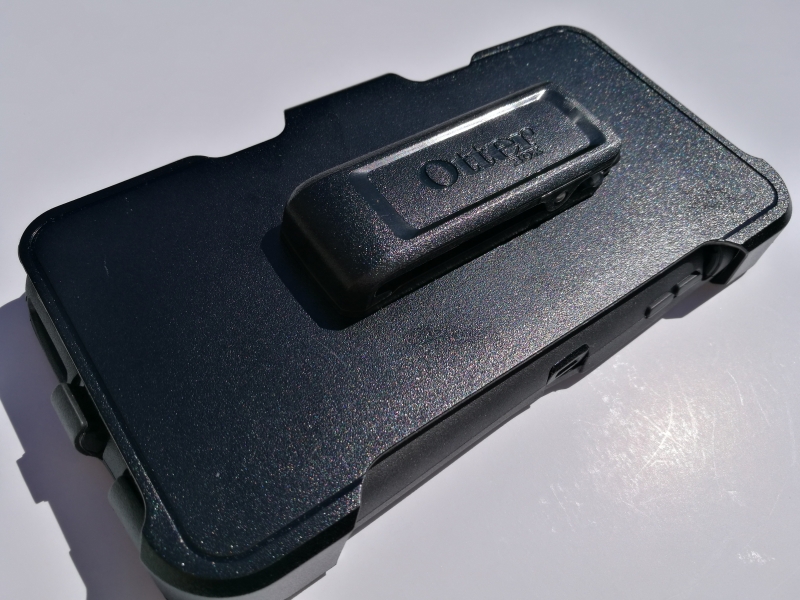
The belt clipper acts like an extra armor for transportation and lets you clip onto a belt (which is obviously geared more for male users).
First you need to remove the belt clipper from the three pieces which are initially already assembled together.
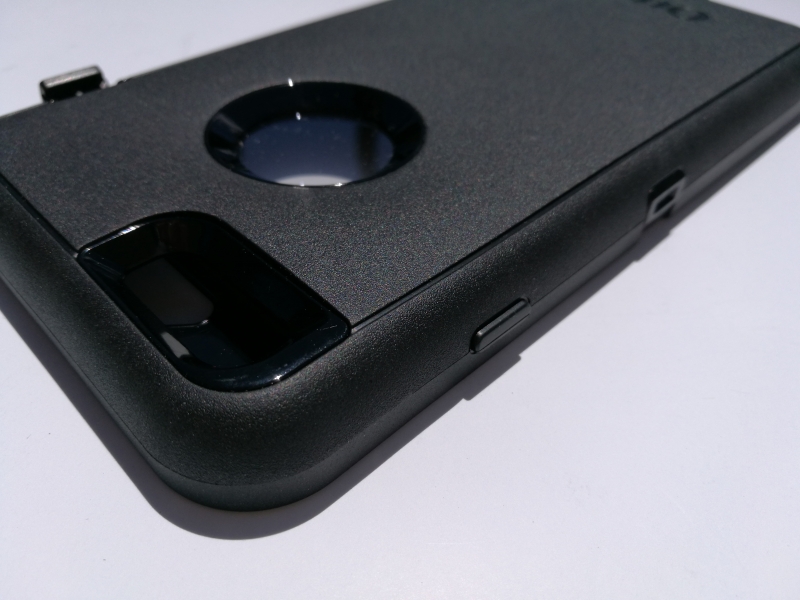
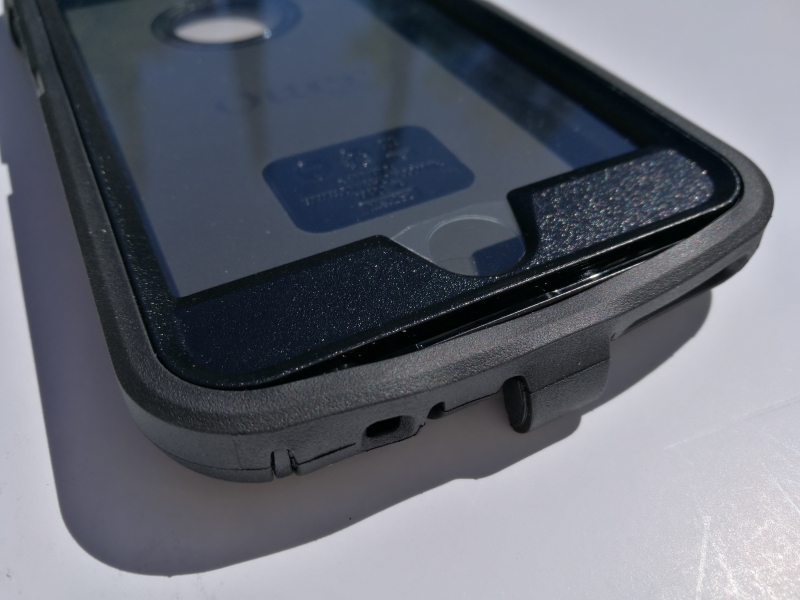
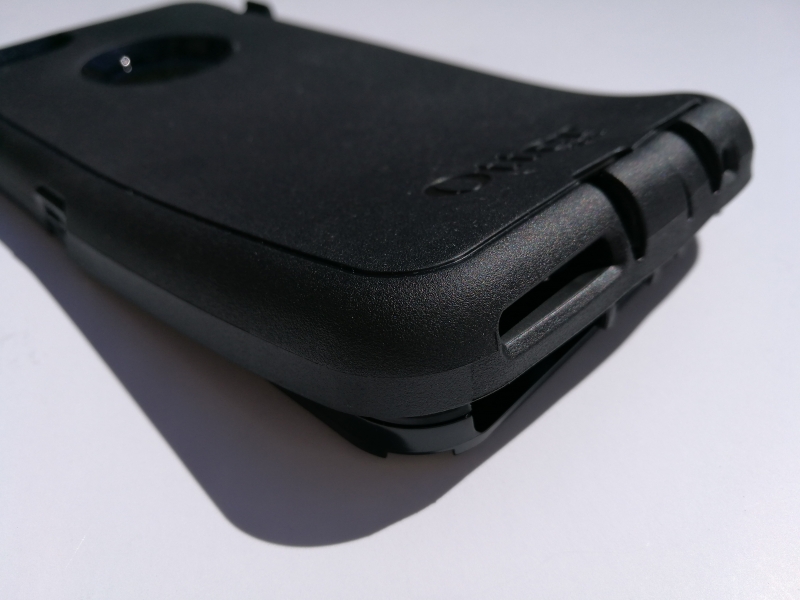
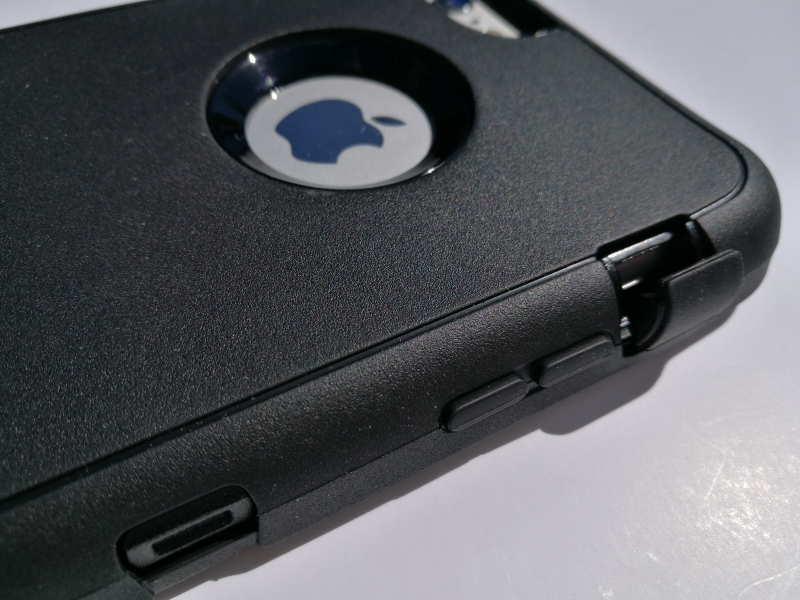
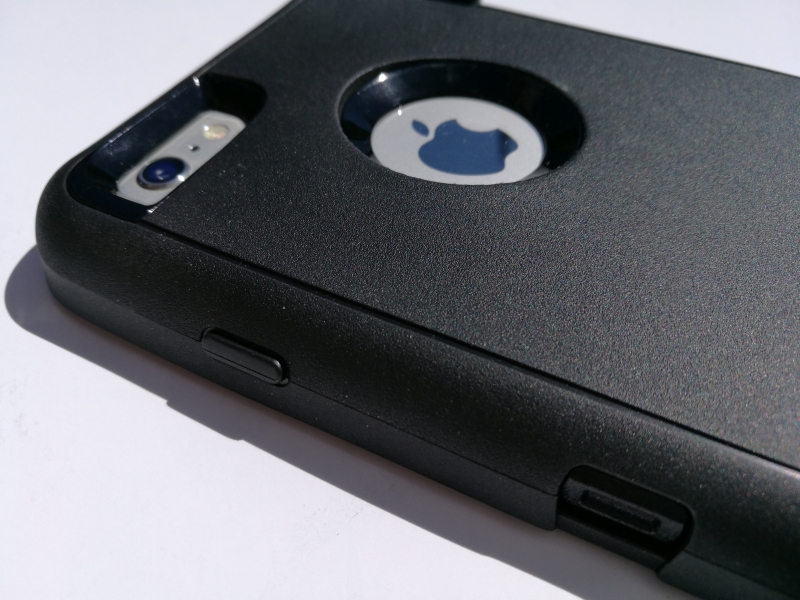
The silicone shell has openings so you can see connect a Lightning cable and 3.5mm audio jack.
All the power, volume, and mute buttons are also still accessible through the silicone shell. The assembly also doesn't impede the camera portion of the iPad.
The hardest part of this procedure is removing the soft outer silicone shell. The picture-only description in the documentation isn't that great in explaining how to do this - having text guiding the user on this would have been a lot more helpful.
After a bit of struggling, we found that the easiest way to remove the shell was from right above the Lightning connector opening. We could peel away the shell just enough to get a finger tip in there and pull the rest of the shell away.
Once the shell was removed, we were next left with figuring out how to remove the lid from the hard plastic case.
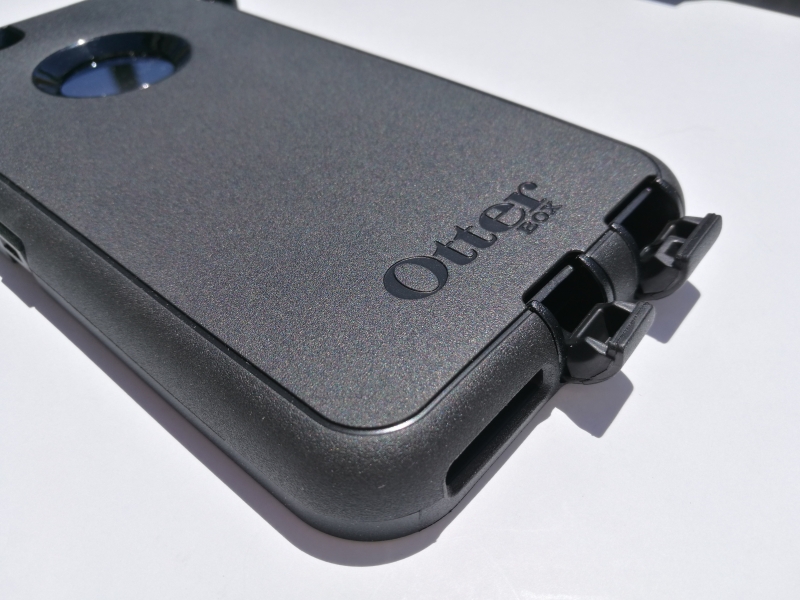
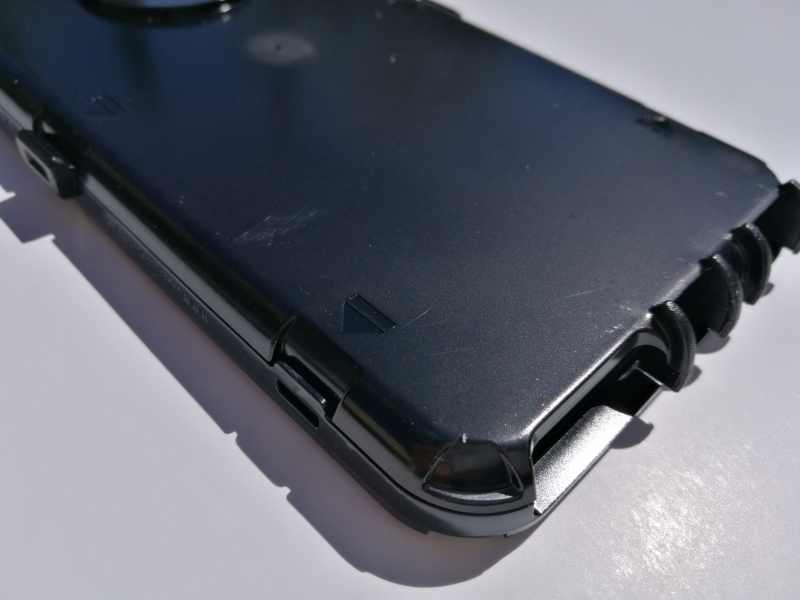
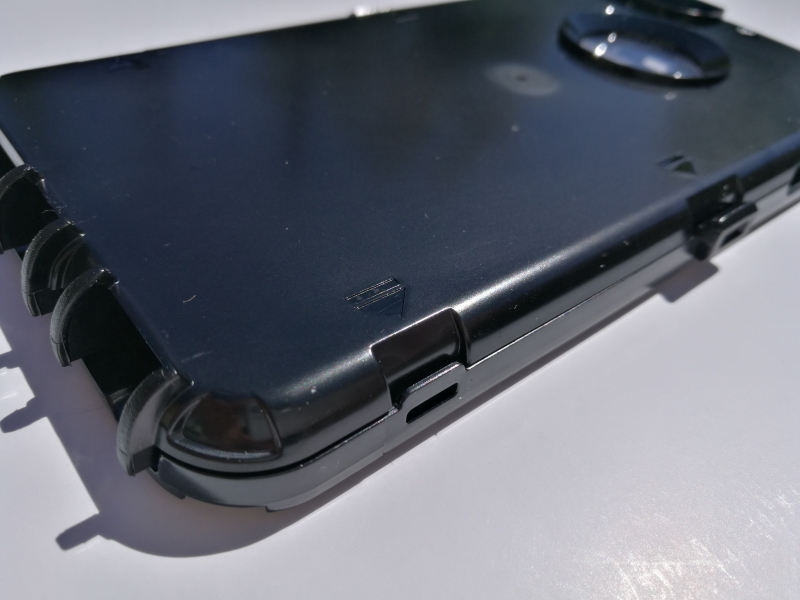
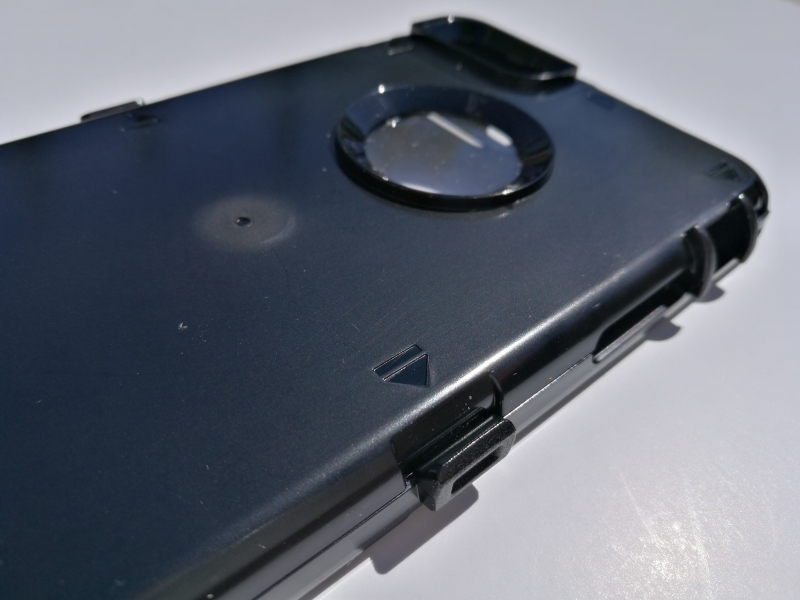
You next need to find the arrows showing the latches which hold the transparent lid of the hard plastic case.
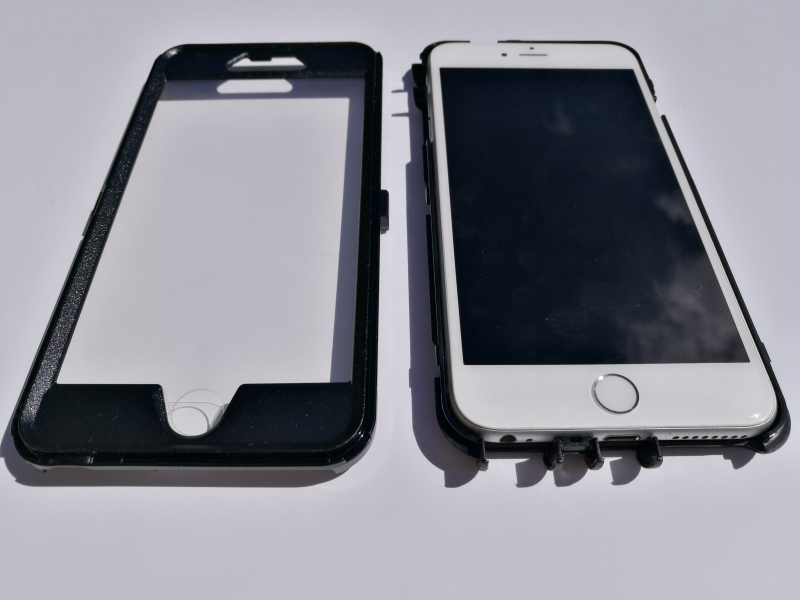
You can then remove the transparent lid by releasing the latches with your finger tips.
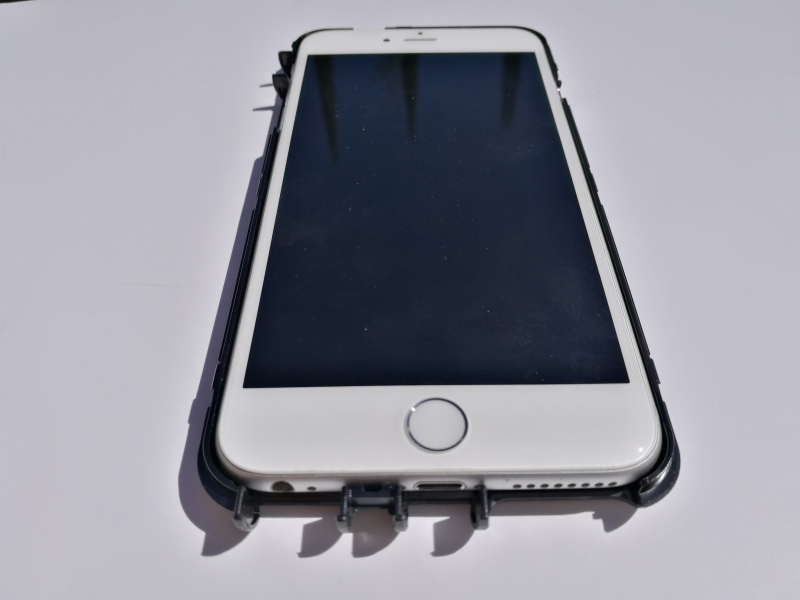
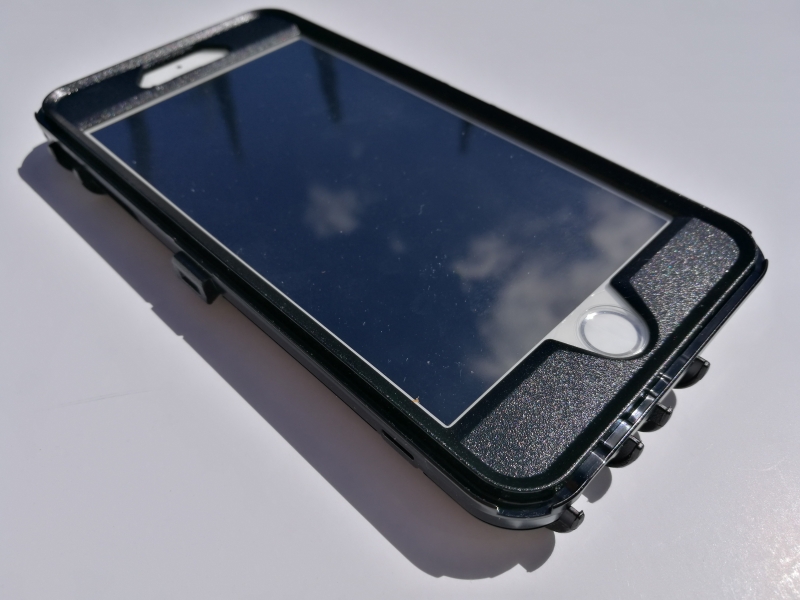
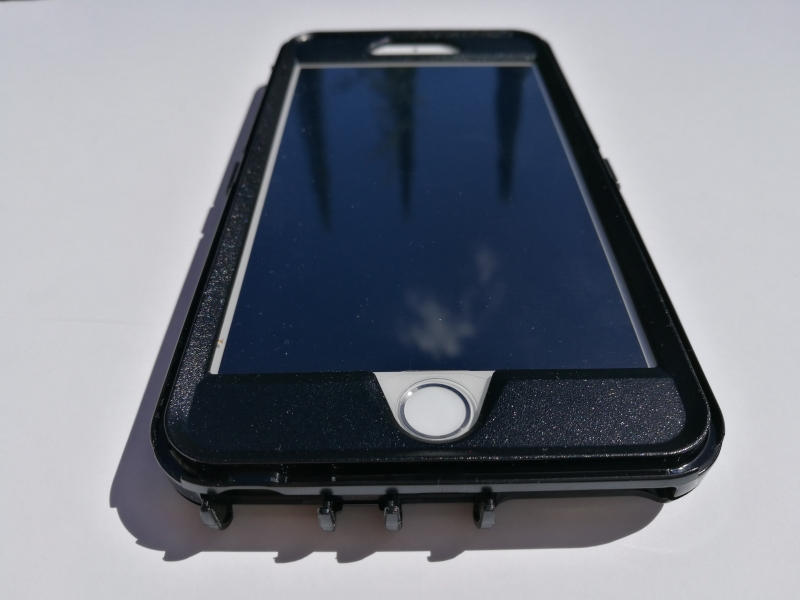
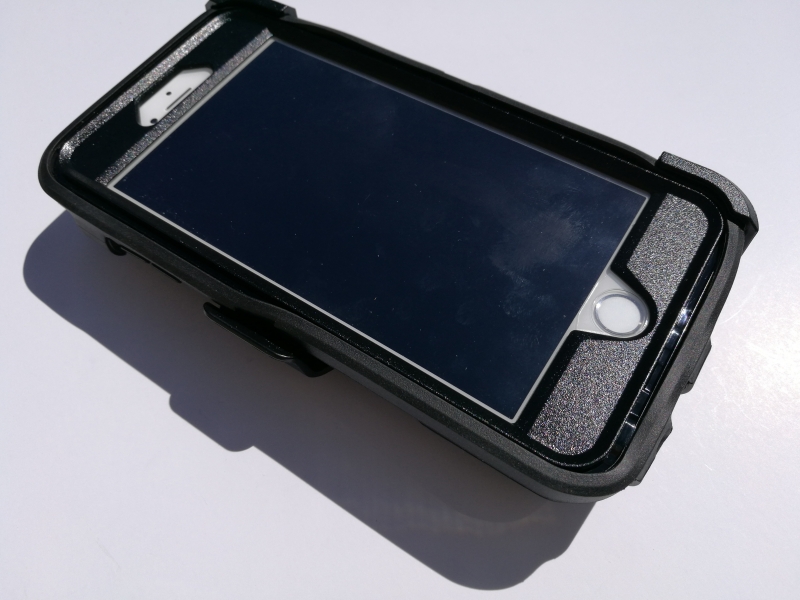
Once the transparent lid is off, you can then place the iPhone into the hard plastic case. Just make sure you orientate the iPhone correctly so that the iPhone button is at the opposite side of the round hole of the case. Note there is also a thin layer of cushion inside the case.
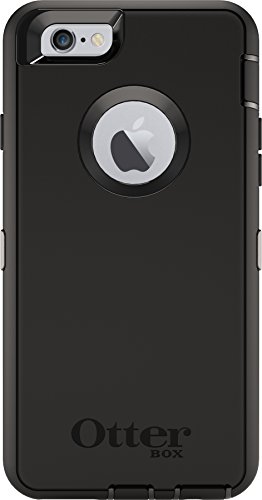
The iPhone should just easily snap into the case and you can see the Apple logo peeking out from the round hole in the back.
Next, you can snap the transparent lid back on to the hard plastic case which locks into the hard plastic case through the corners.
The plastic film protects both the screen and the iPhone button.
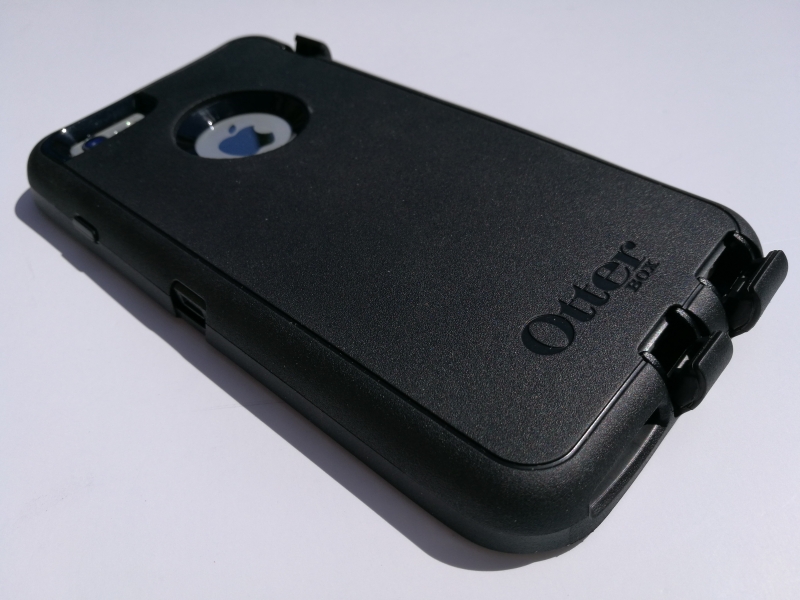
You can then wrap the soft outer silicone shell over the back of the hard plastic case.
Once the iPhone is inside the OtterBox, you can use it normally as before and all your buttons and ports are still accessible.
There is also a hole in the back for the camera area.
If you want even more protection or need to clip the OtterBox when on the move, you can add the Belt Clip to the assembly.
Once the belt clip is on, the entire assembly becomes very bulky and masculine, losing the soft curves of the original iPhone. However, users that have experienced cracked iPhones or shattered screens in the past may be ok with this tradeoff to get peace of mind.
 GTrusted


