GTrusted


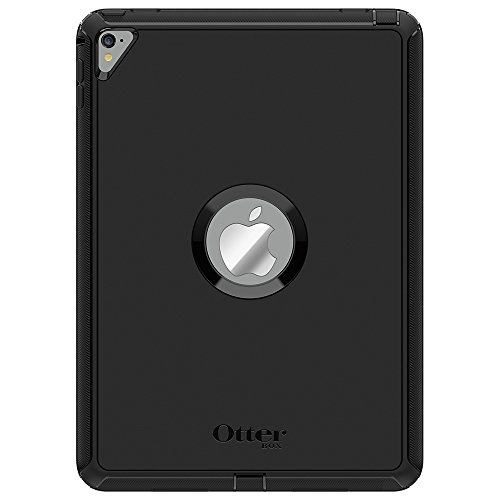

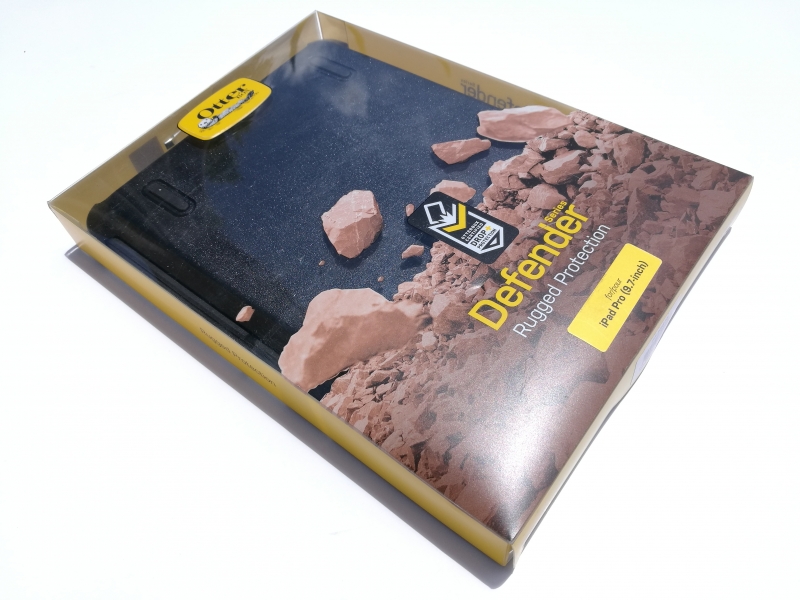
iPads have become thinner, lighter, smoother, and of course more prone to accidents and breakage. Ironically, this has created a demand for products like the OtterBox iPad Pro (9.7-inch) Defender Series Case which provides great protection but adds back bulk and weight that Apple took so much effort to remove.
It can be quite tricky to figure out how to put the 9.7-inch iPad Pro into the OtterBox Defender Series case so let's take a closer look at how to properly do this.
We purchased the OtterBox iPad Pro (9.7-inch) Defender Series Case online through Best Buy.

The OtterBox iPad Pro (9.7-inch) Defender Series Case just comes with some simple instructions on how to use it.
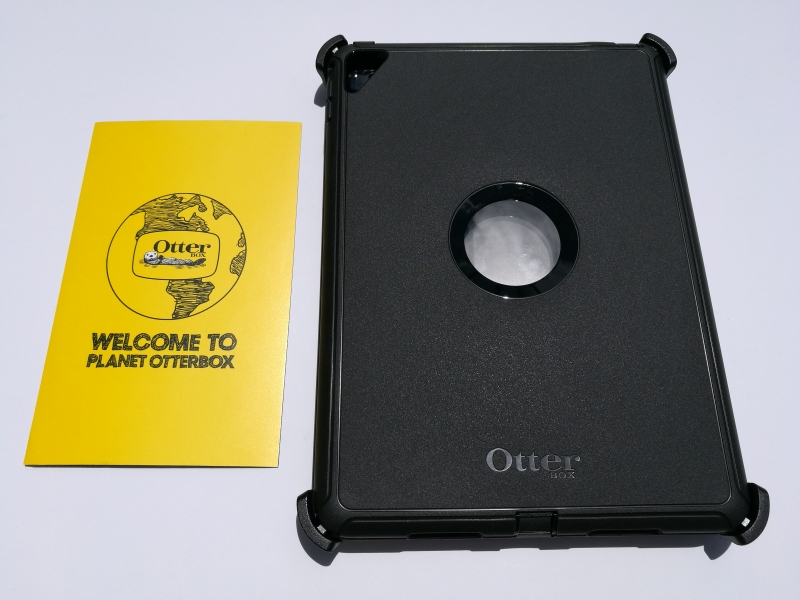
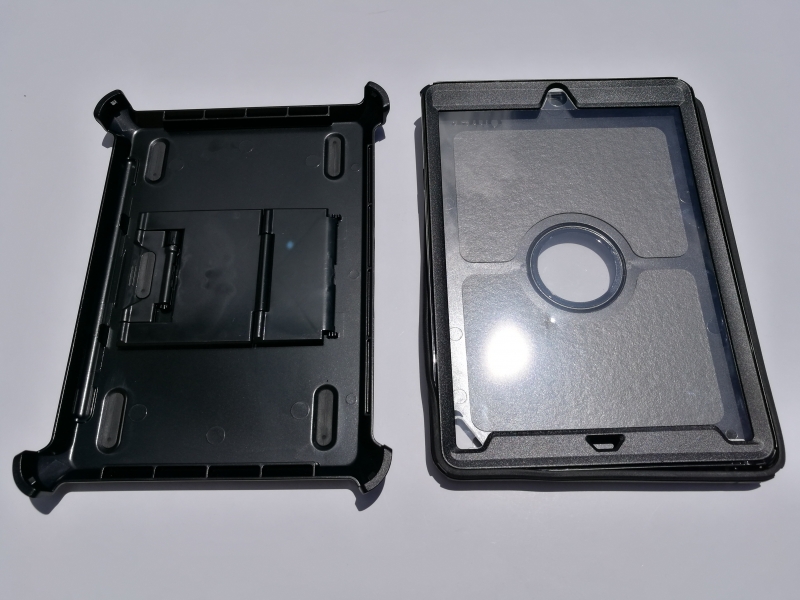
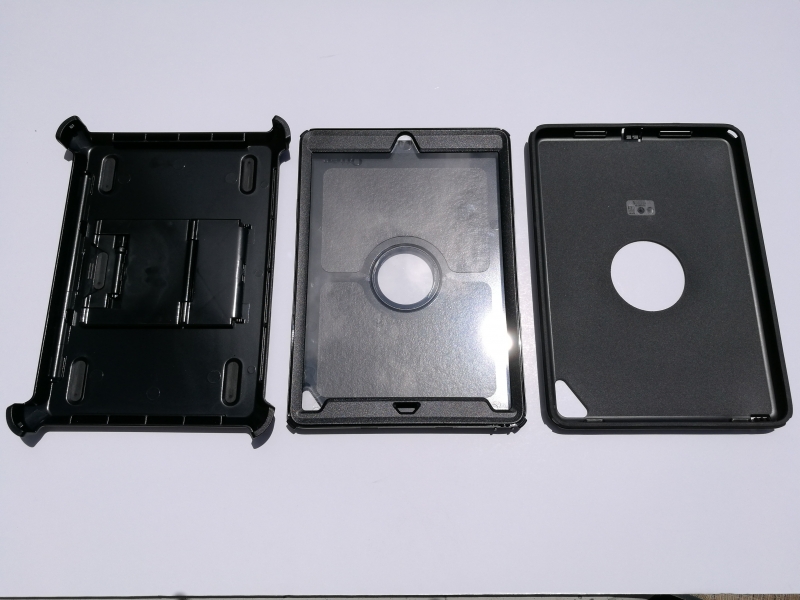
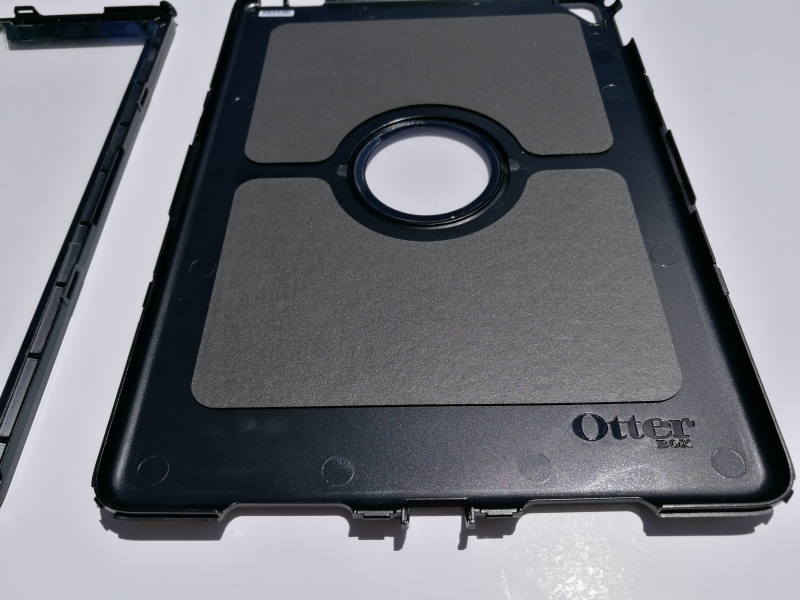
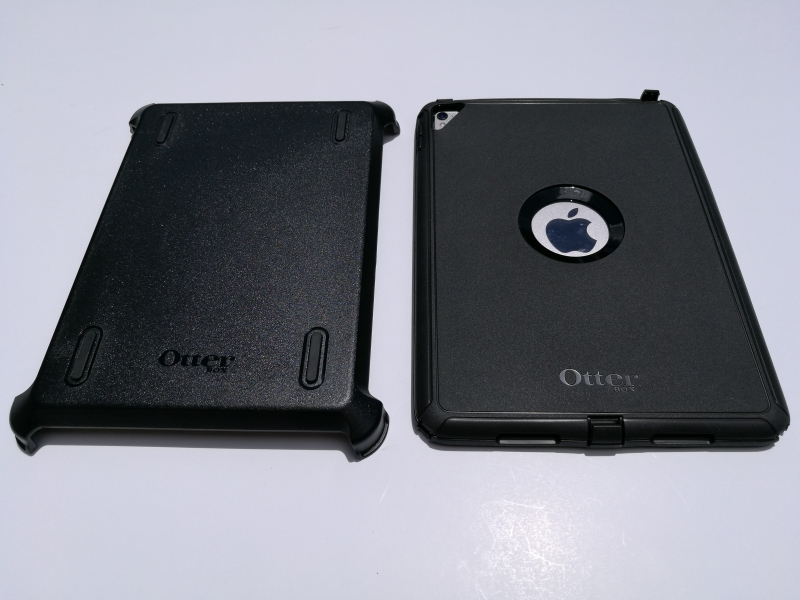
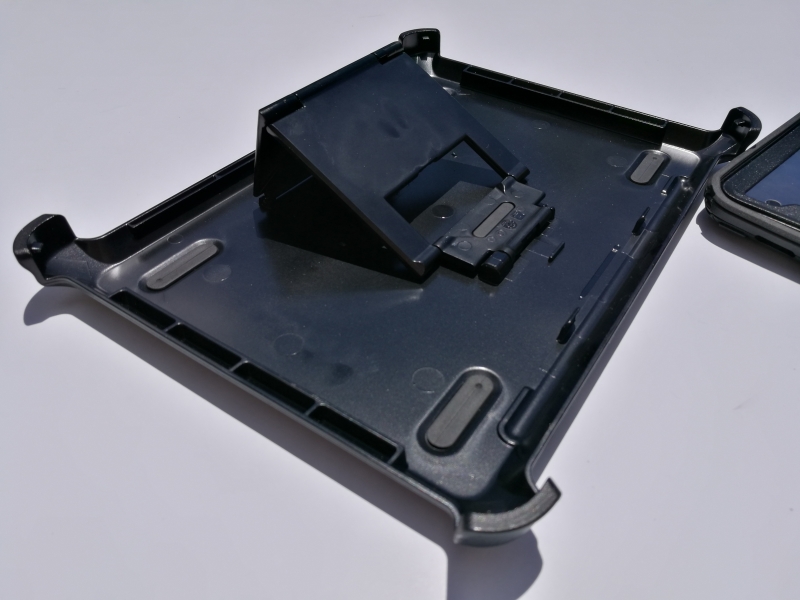
The OtterBox iPad Pro (9.7-inch) Defender Series Case is made up of three pieces - the outer silicone shell, the hard plastic case, and the shield stand. The shield stand acts like an extra armor for transportation and used as a stand for the iPad. The hard plastic case is the part that actually holds the iPad while the outer silicone shell provides additional cushion and tactile grip.
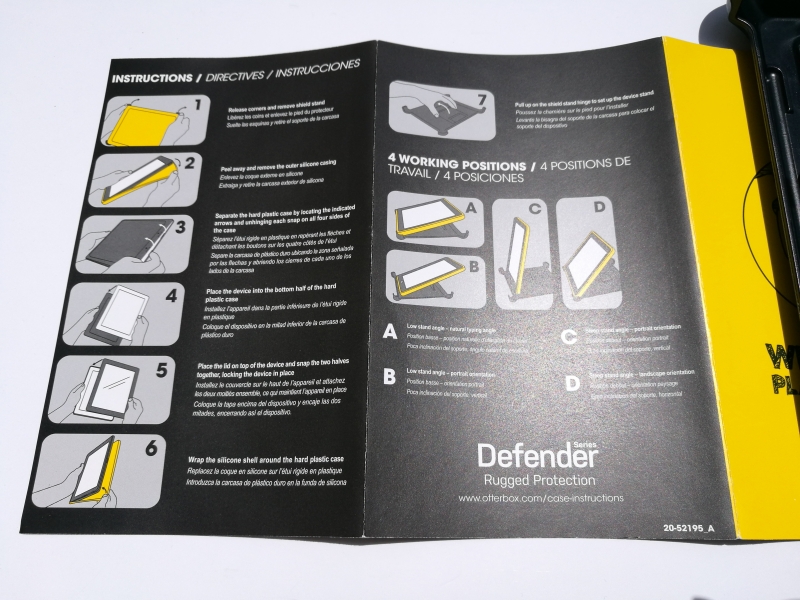
First you need to remove the shield stand from the three pieces which are initially already assembled together. The shield stand is the piece that has a hinge to adjust the height and angle of the stand.
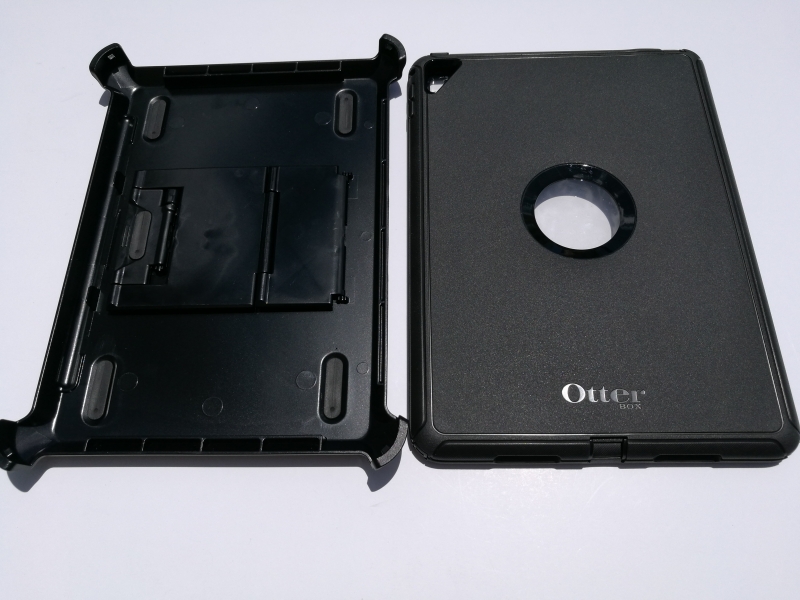
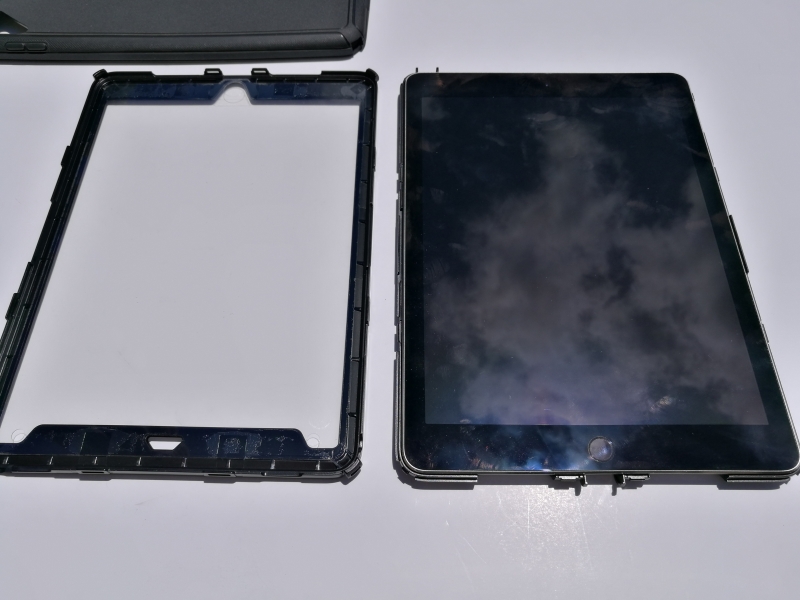
The hard plastic case is the one that has a transparent plastic film which goes against the iPad screen.
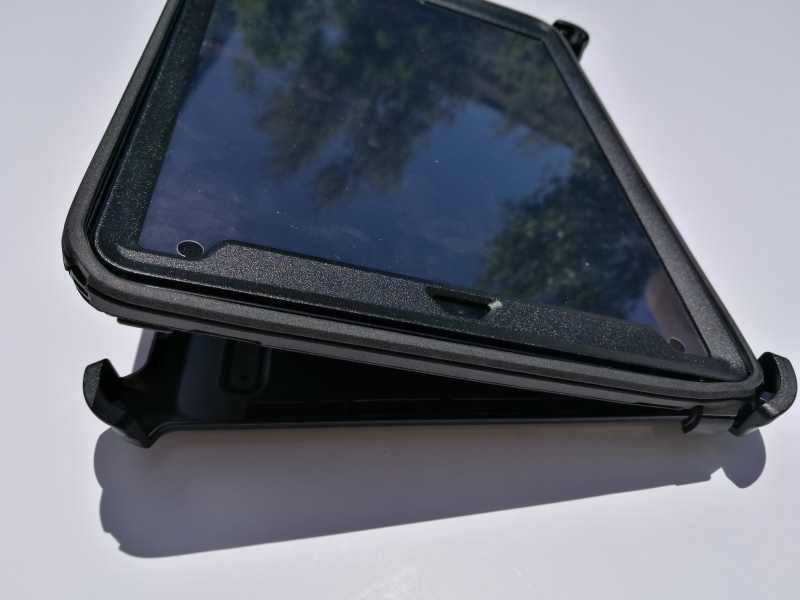
You then need to remove the soft outer silicone shell from the hard plastic case. This can be quite difficult but we managed to peel away the shell from the top corner of the case.
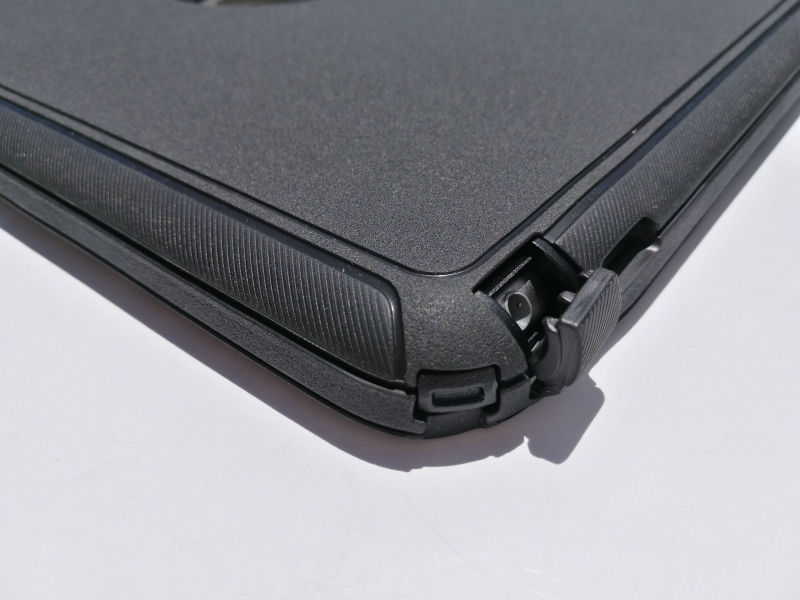
The next part of the process can also be tricky. You need to find the arrows showing the latches which hold the transparent lid of the hard plastic case.
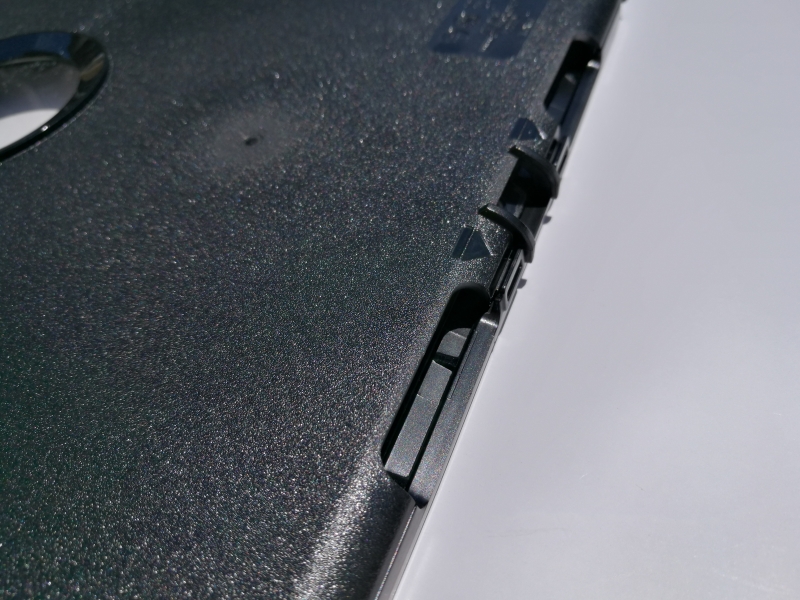

You can then remove the transparent lid by releasing the latches with your finger tips.
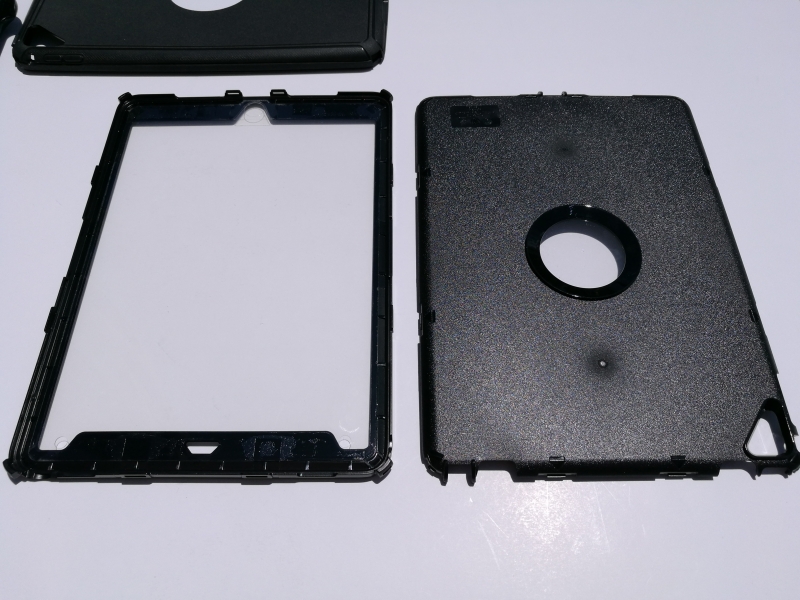
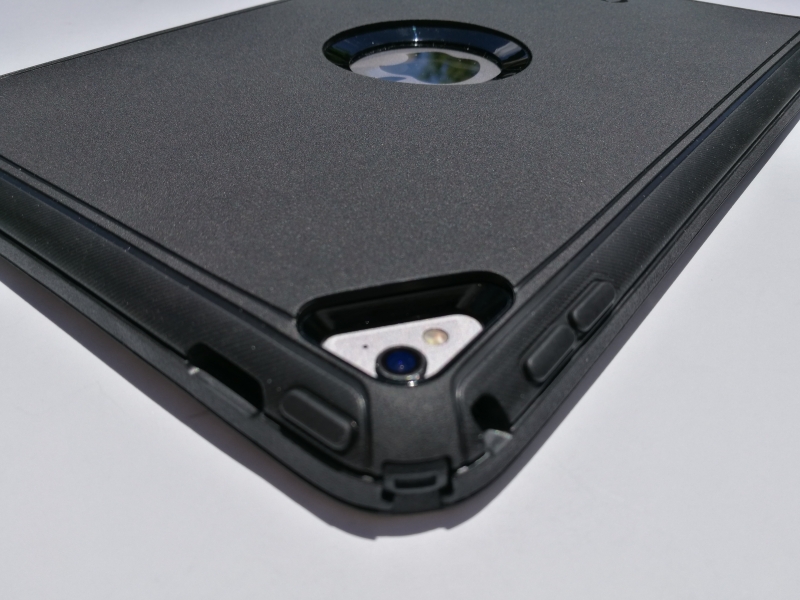
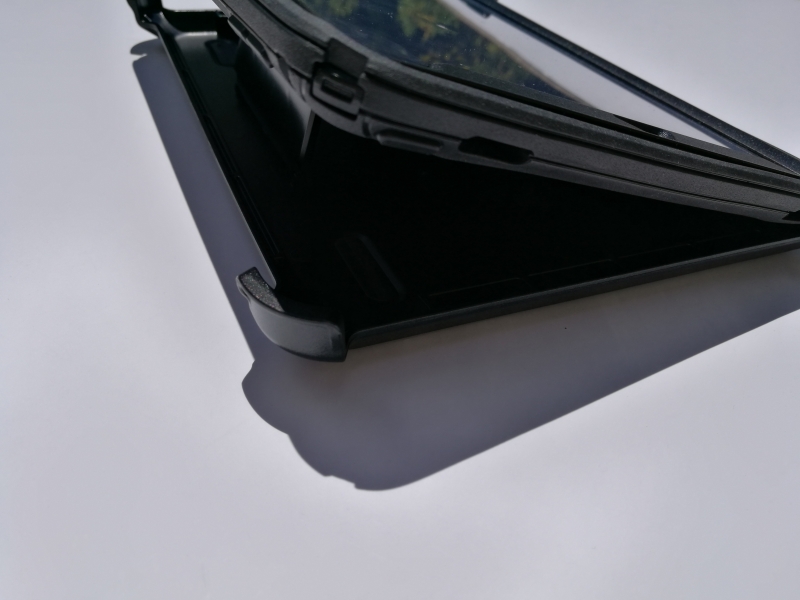
Once the transparent lid is off, you can then place the 9.7-inch iPad Pro into the hard plastic case. Just make sure you orientate the iPad correctly so that the Lightning connector is at the bottom closer to where Otter is printed inside the case. There is also a thin layer of cushion inside the case.
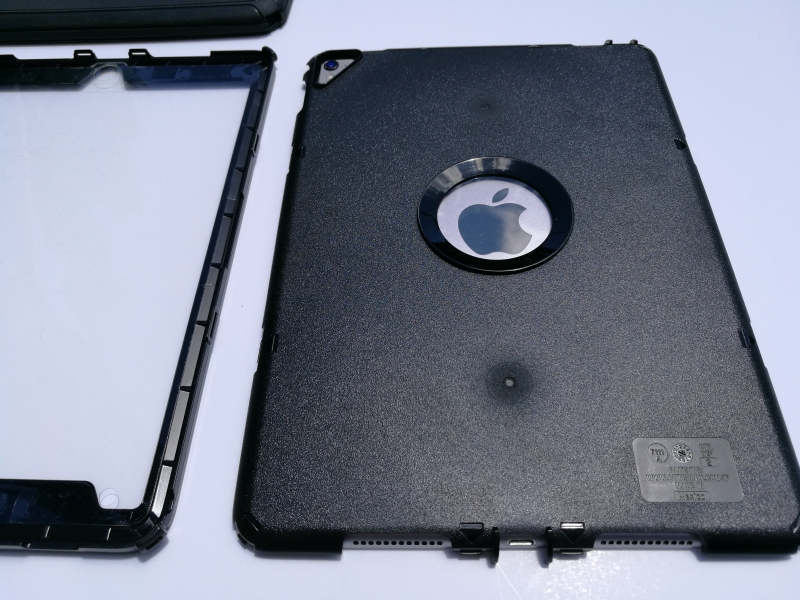
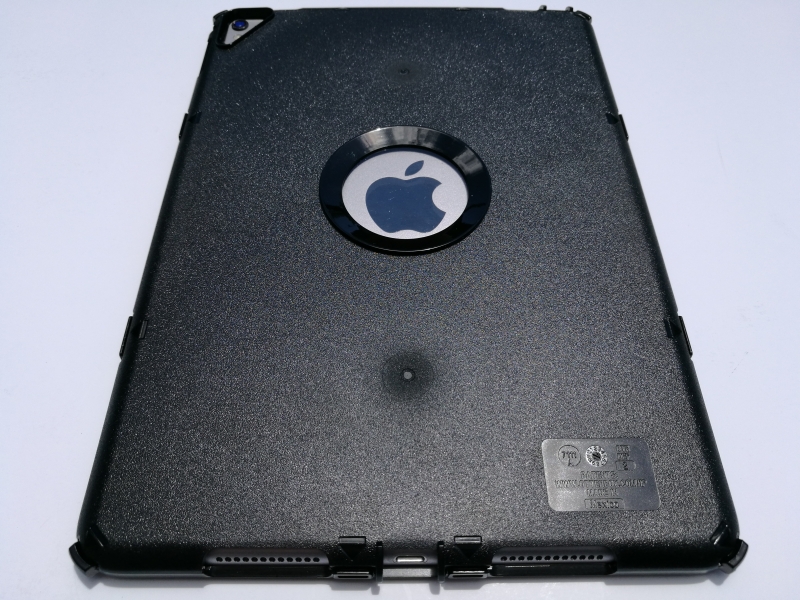
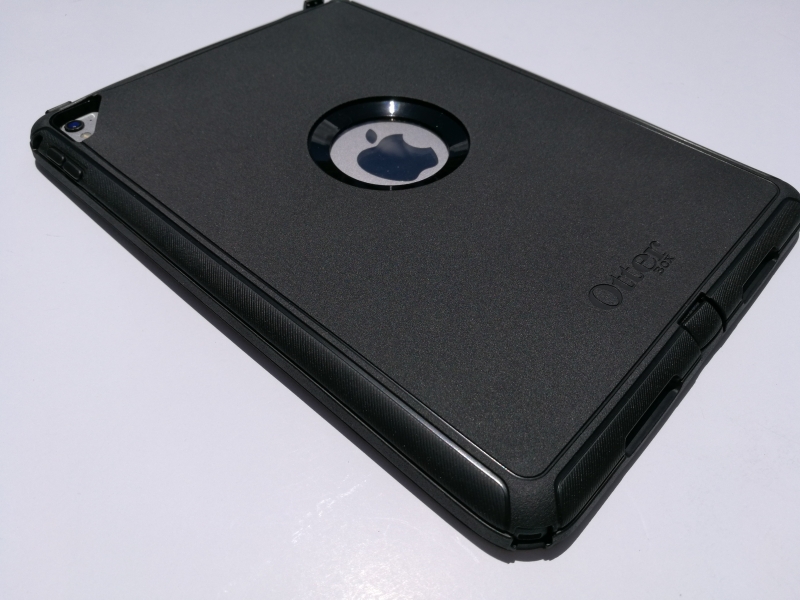
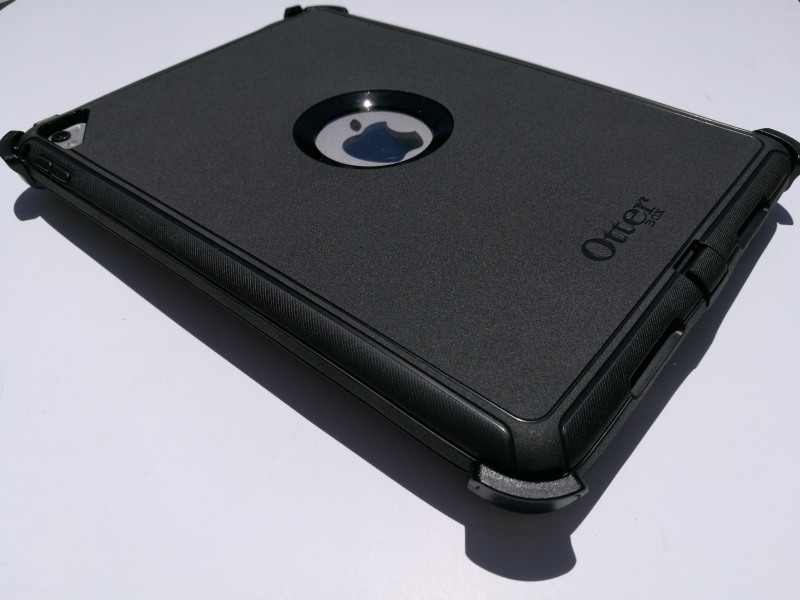
The iPad should just easily snap into the case and you can see the Apple logo from the iPad peeking out from the round hole in the back.
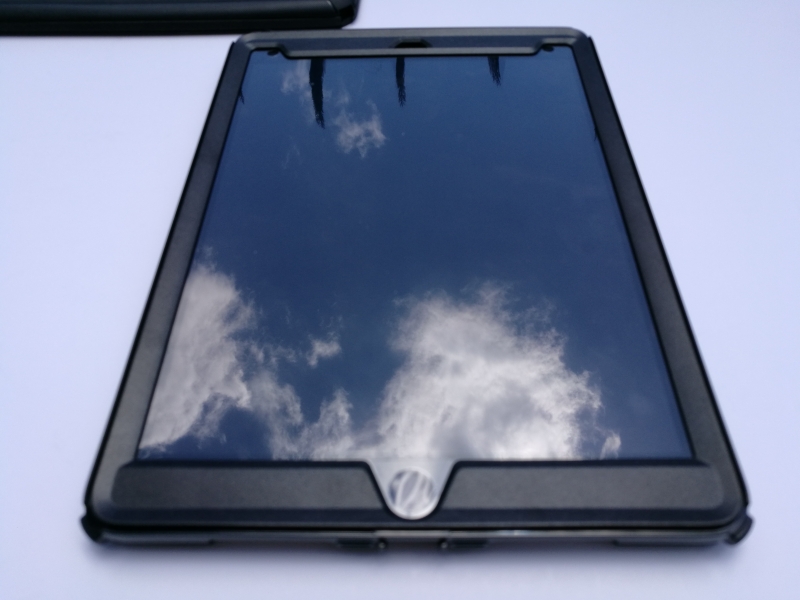
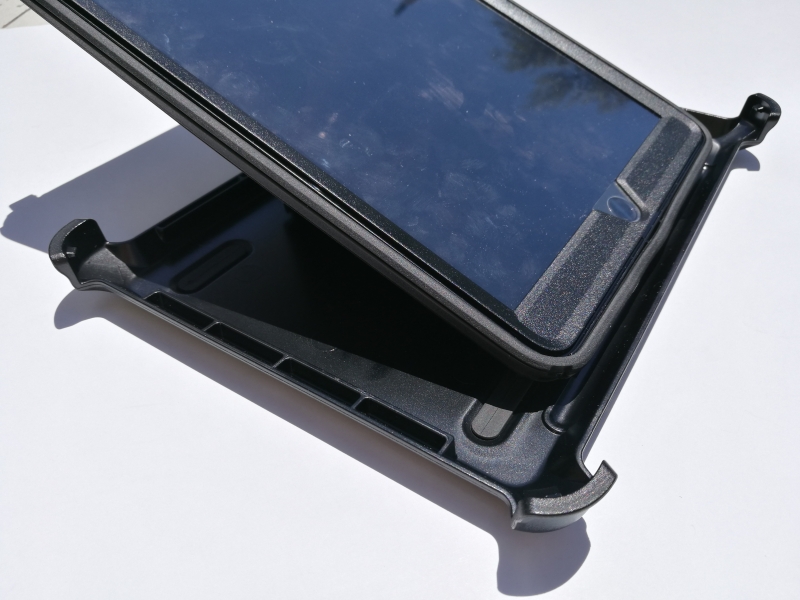
Next, you can snap the transparent lid back on to the hard plastic case which locks into the hard plastic case through the corners.
You can then wrap the soft outer silicone shell over the back of the hard plastic case.

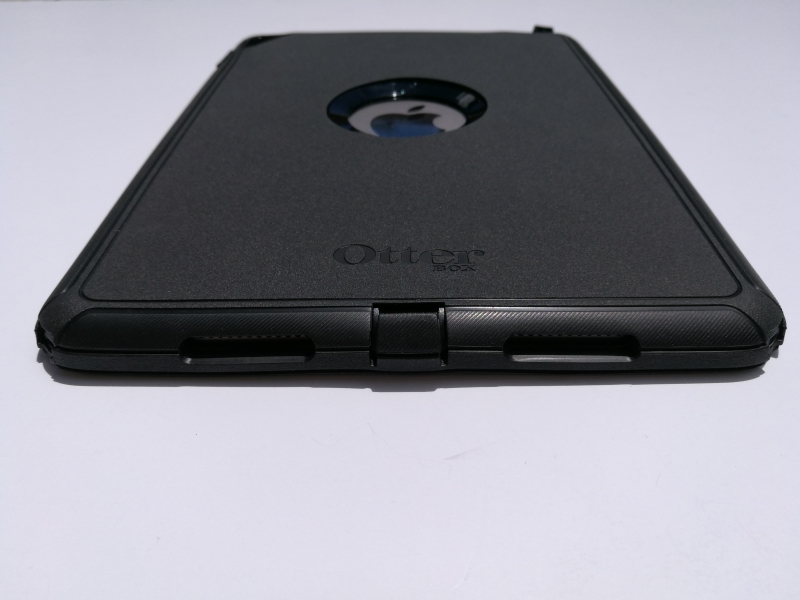
Once added correctly, again you should see the iPad's Apple logo still visible on the back.
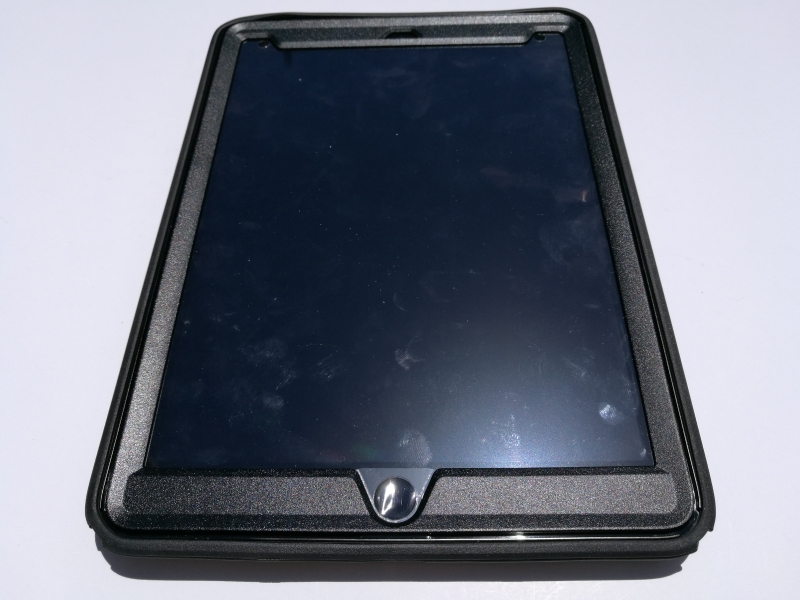
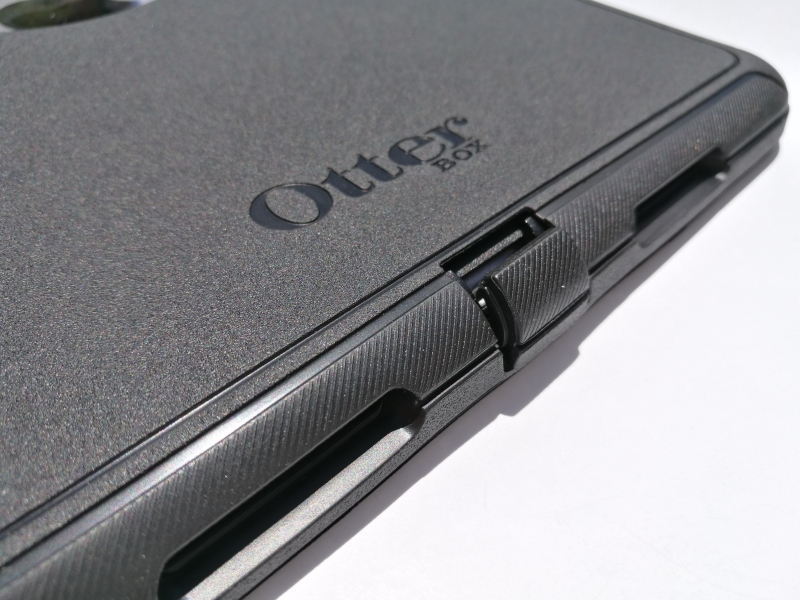
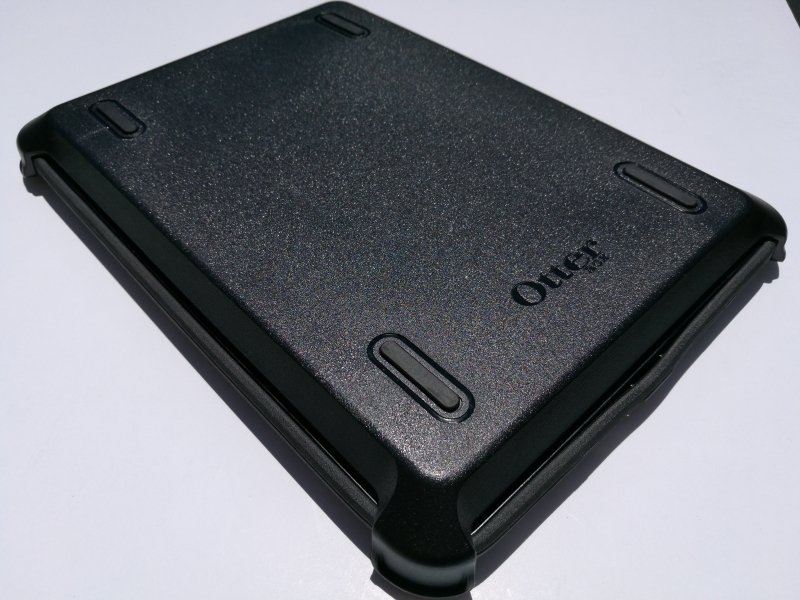
This completes the assembly that you will use most of the time. The silicone shell has openings so you can connect a Lightning cable.
All the power and volume buttons are also still accessible through the silicone shell. The assembly also doesn't impede the camera portion of the iPad.
There is also a hole for adding the 3.5mm audio jack.
This assembly looks good and is comfortable to use, giving you some sense of security there is some protection when it's being handled by kids or in active environments.
If you want even more protection or need a stand for the iPad, you can then add the shield stand.
The hinge in the stand can be changed to adjust to different heights and angles.
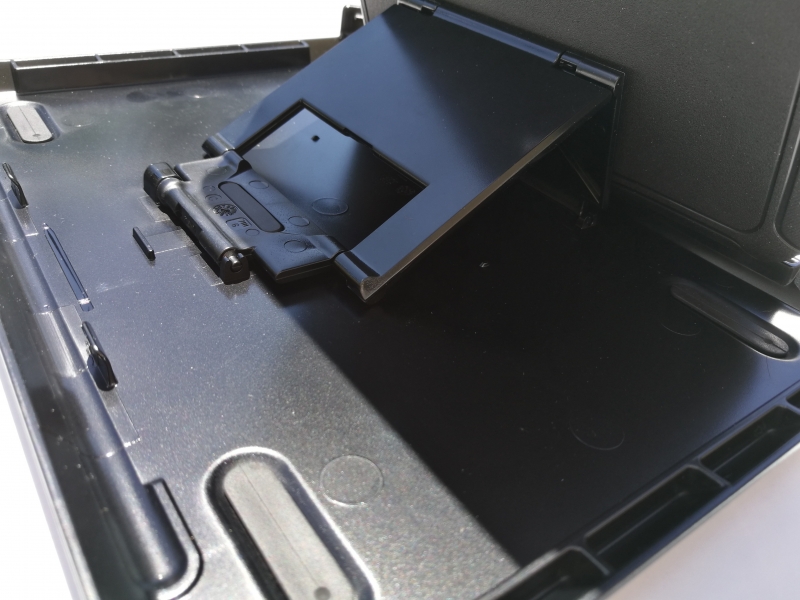
You can also place the iPad on the stand either horizontally or vertically.
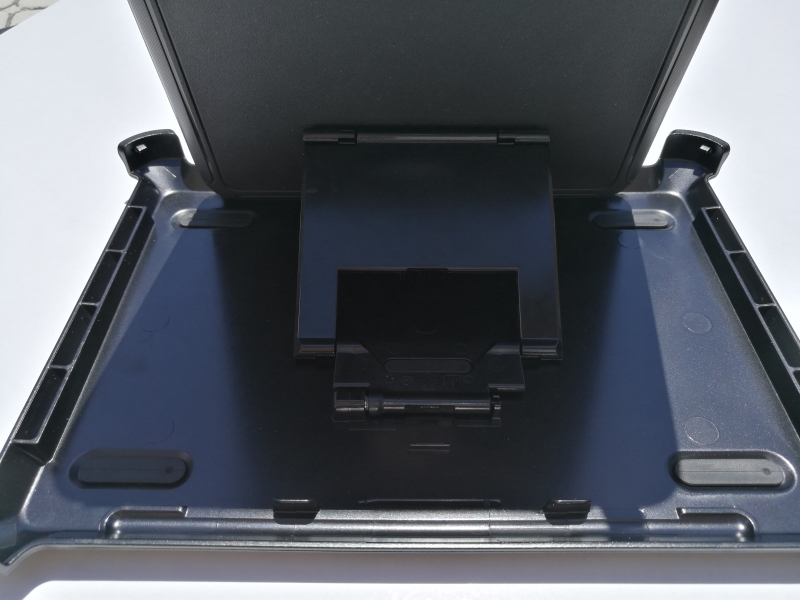

Once you are ready to travel, you can clip the shield stand such that again you can see the Apple logo in the back.
At this point both front and back of the iPad is fully protected.
Once the iPad is inside the OtterBox iPad Pro (9.7-inch) Defender Series Case, you feel like you are carrying a notebook computer from a decade ago but at least there is more peace of mind especially for those that have experienced many cracked iPad screens in the past.