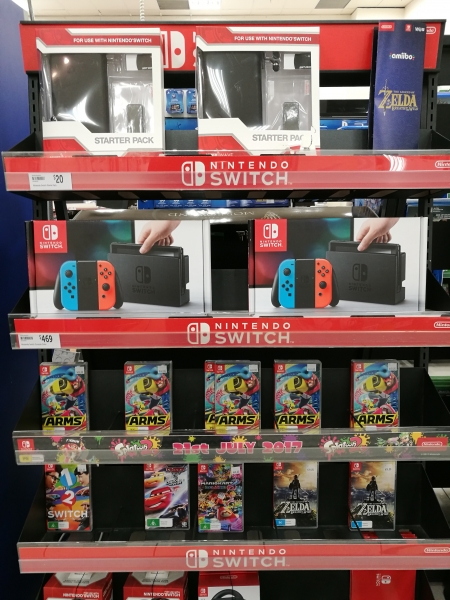
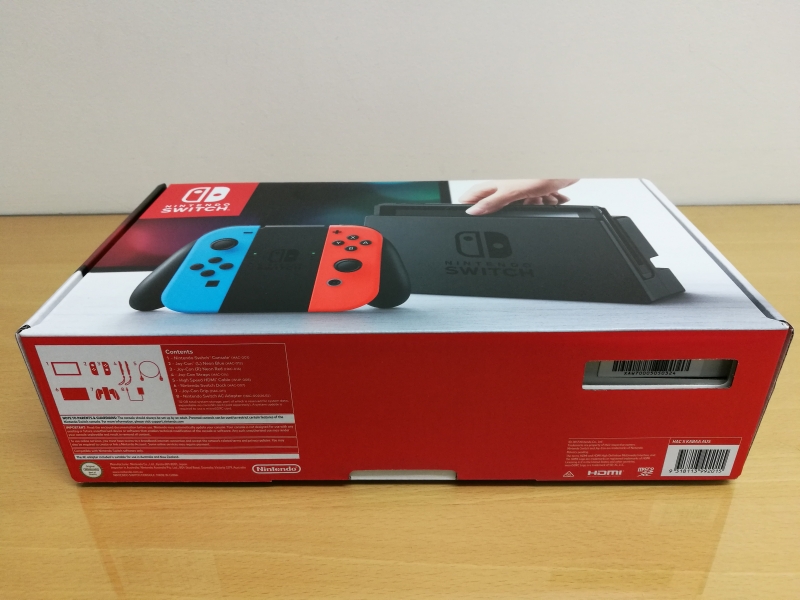
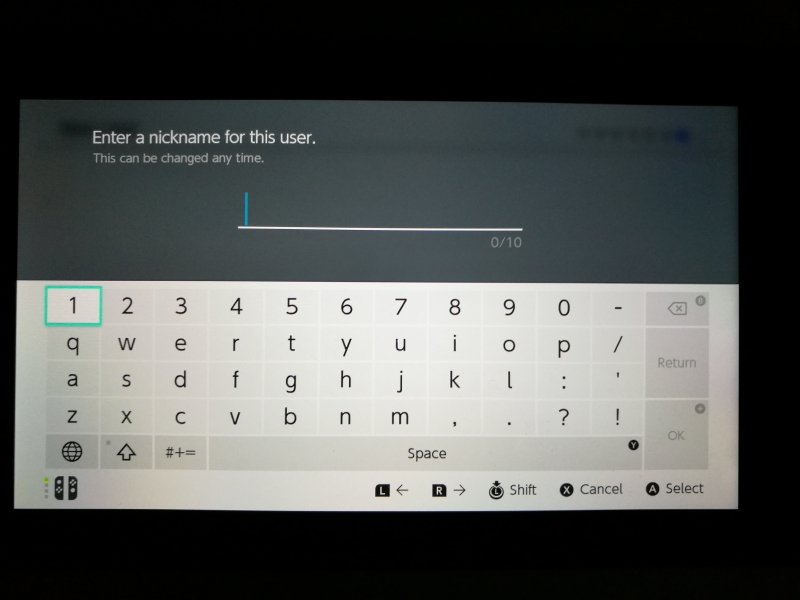
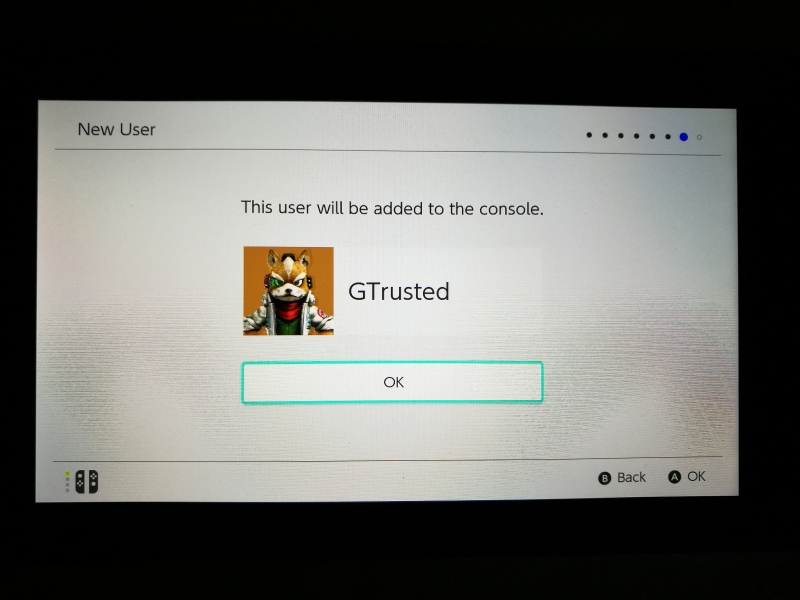
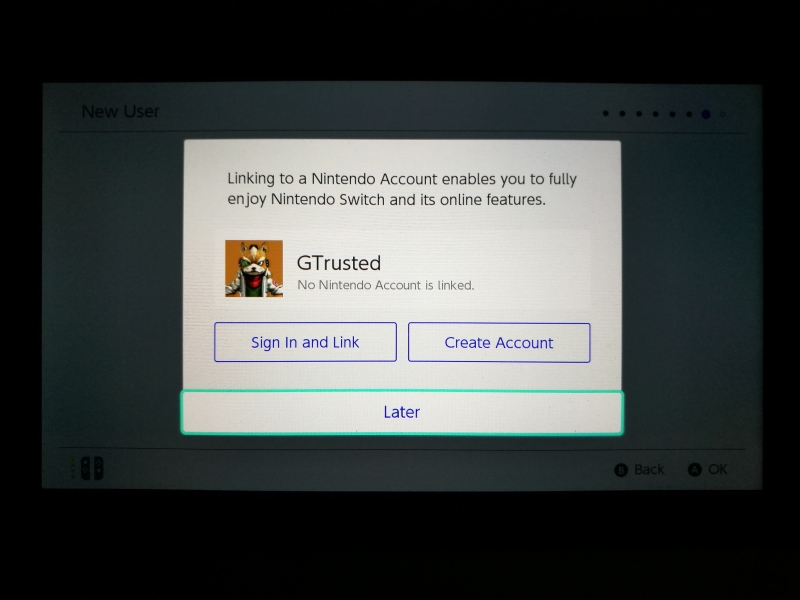
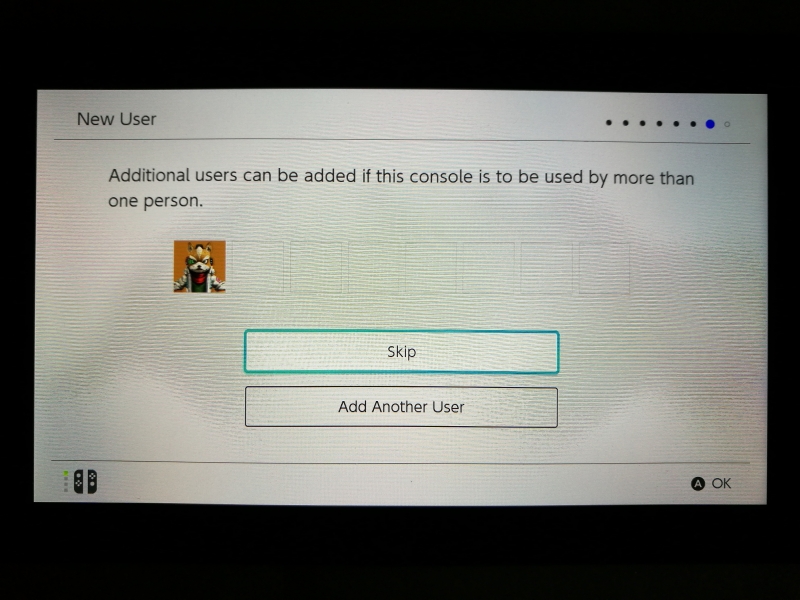
After seeing the Nintendo Switch being continually sold out in US and Japan many months after its first release, we were surprised to see Switch boxes in stock at a Target store in Perth, Australia. Talking to the Target salesperson, we learned that the Nintendo Switch in general hadn't been selling well in Western Australia except during the initial launch and hype apparently due to the more expensive price point, lack of bundling packages and hit games. Unlike large urban areas like Tokyo and San Francisco, it was a harder sell for the Switch in rural Western Australia even in a small city like Perth.
After purchasing the Nintendo Switch at Target, we took a look at what was inside the box.
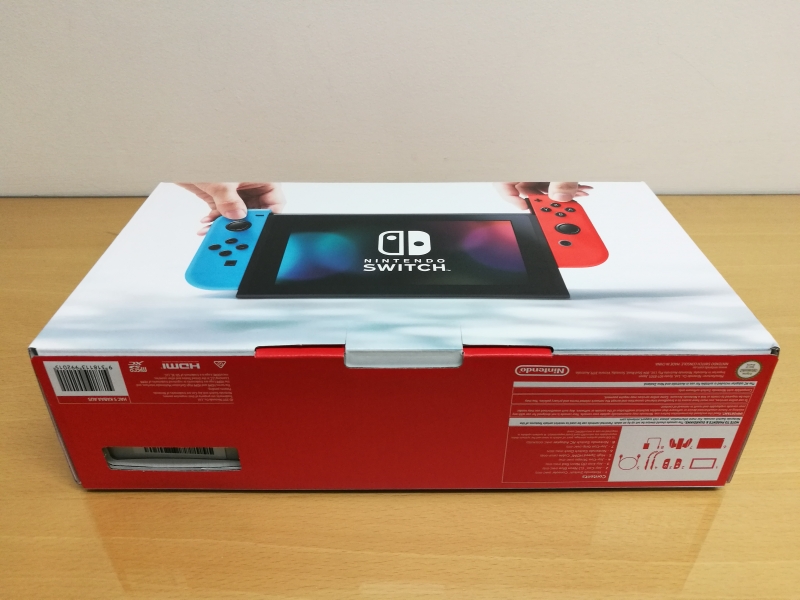
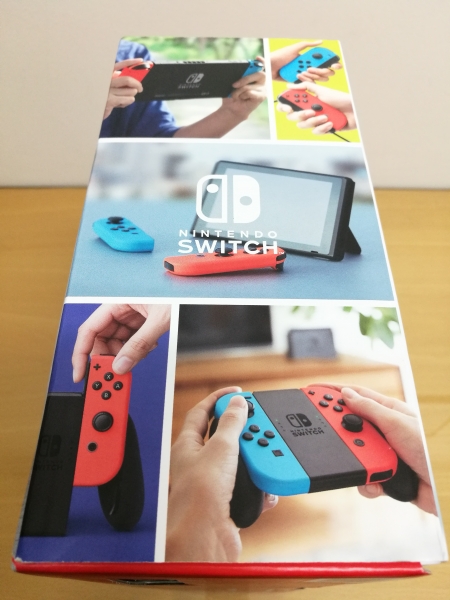
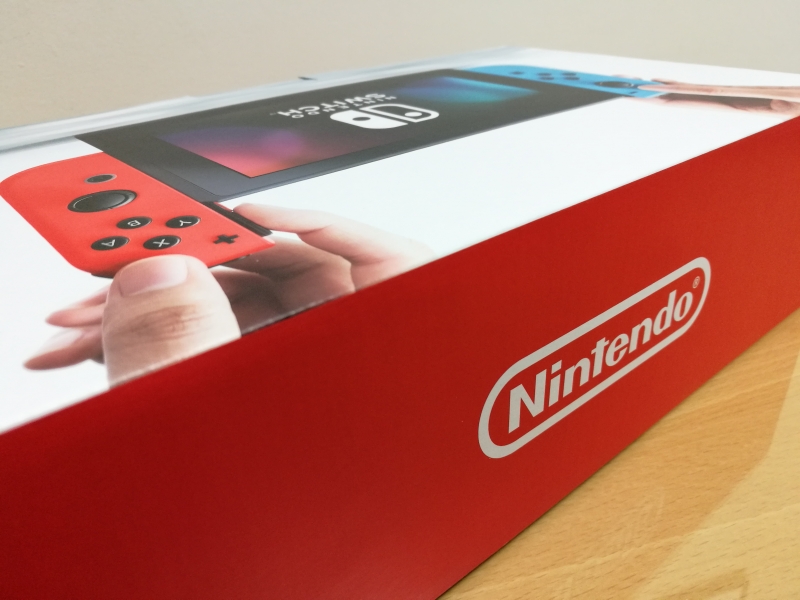
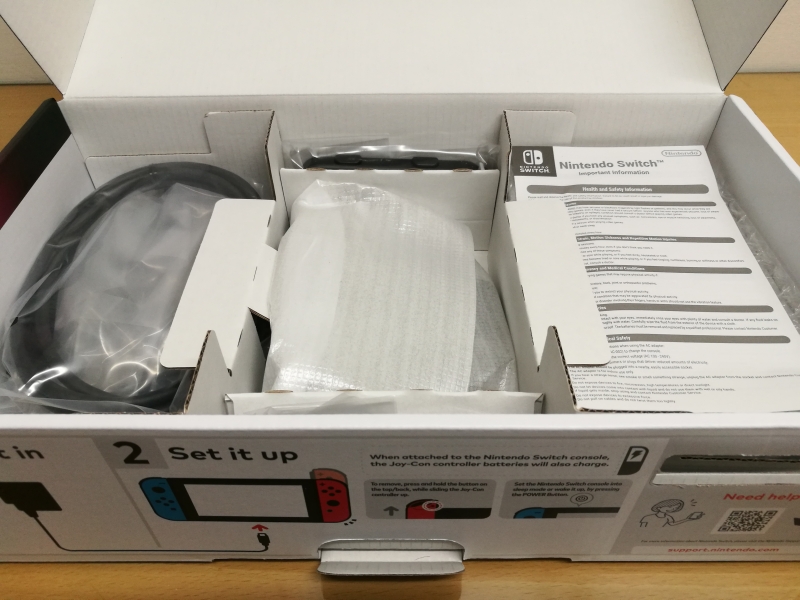
The Nintendo Switch packaging didn't come with glossy finishing and seemed more eco-friendly designed.
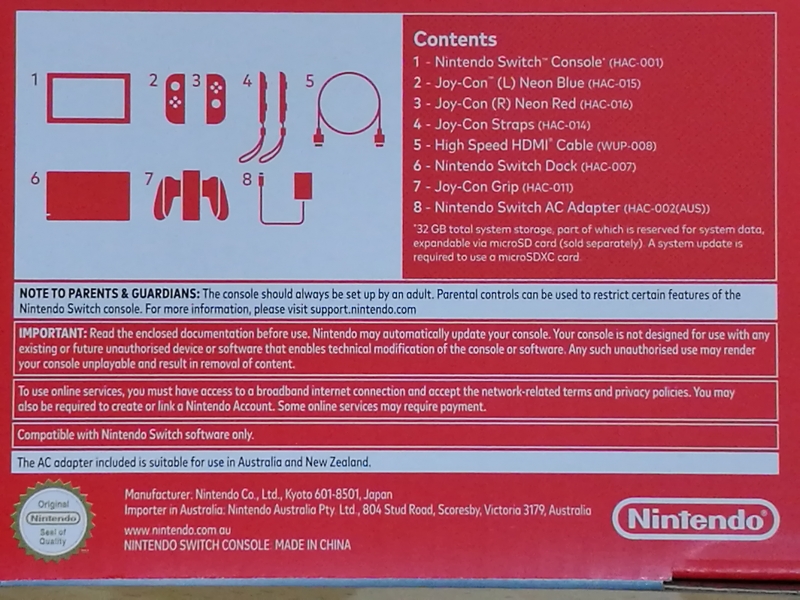
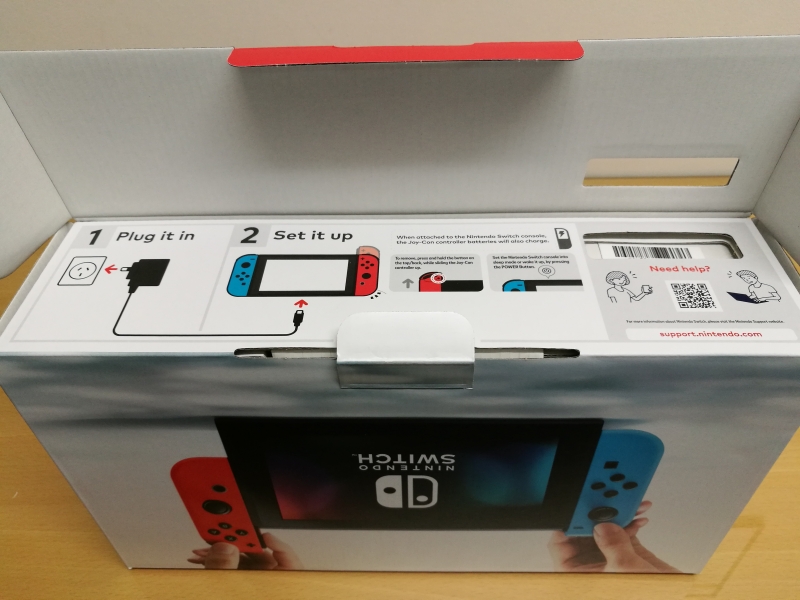
The Nintendo Switch probably has one of the most complex assortment of parts for any electronics gadget, which it lists on the outside of the box.
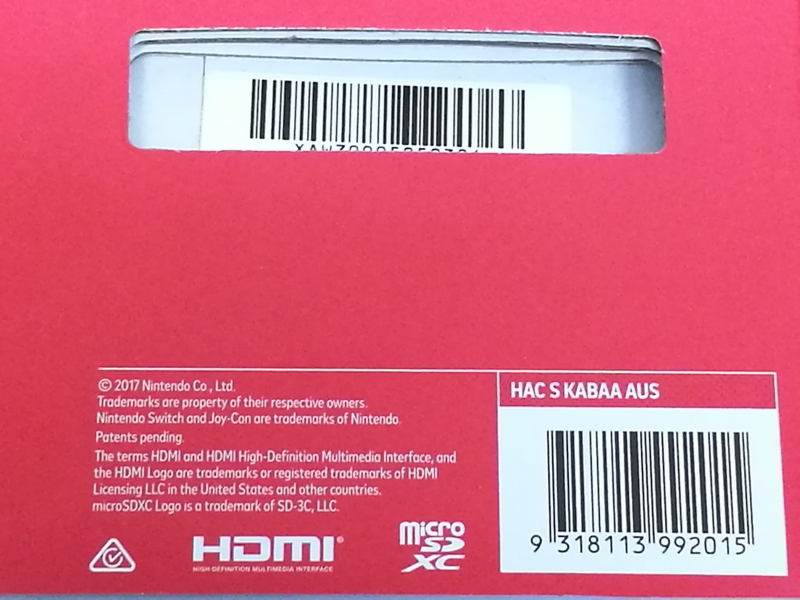
The packaging also shows the Nintendo Switch's support of HDMI and SD card technologies.
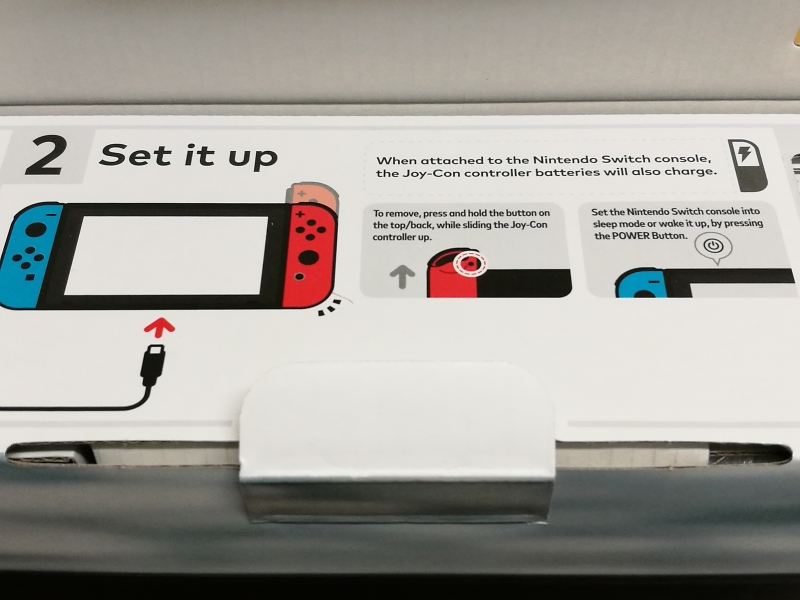
Opening up the box, Nintendo tries to reduce the setup complexity by immediately describing on the cardboard fold to initially plug in the console with the AC adapter and attaching the left and right Joy-Con Controllers to the console.
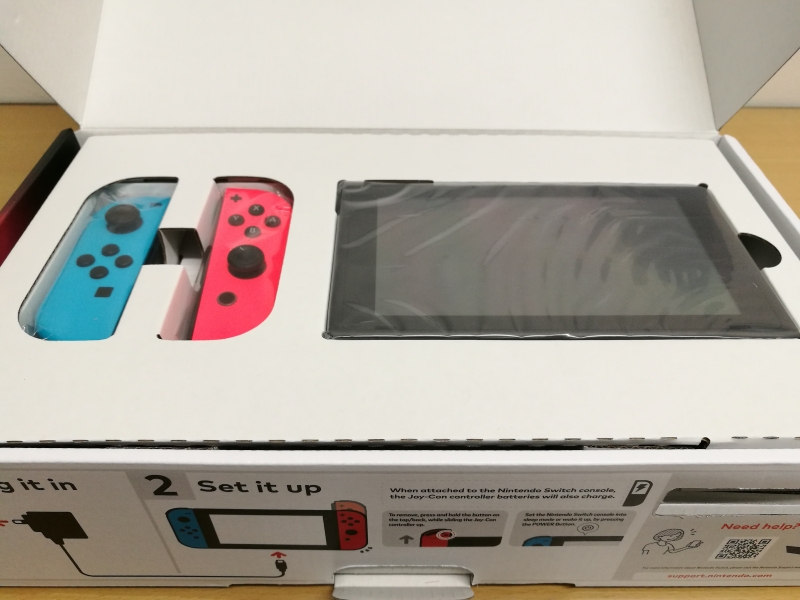
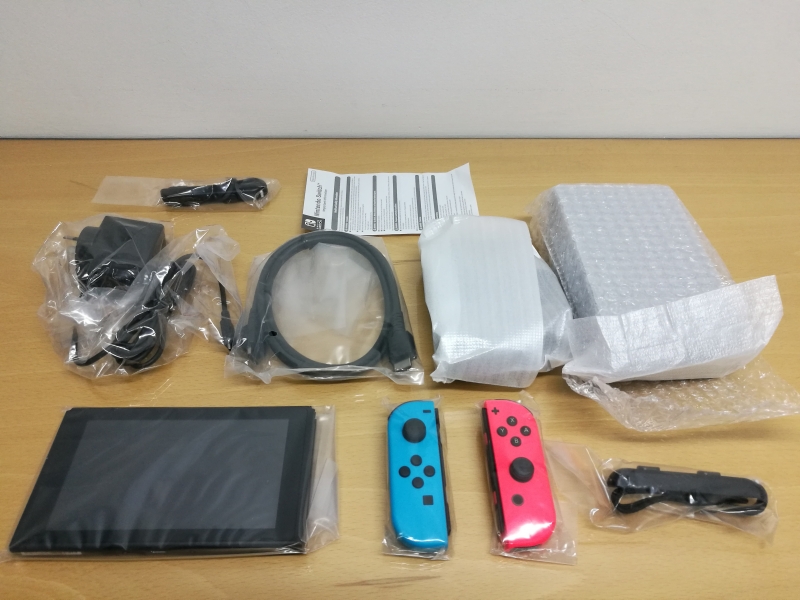
The top layer of the packaging includes just the console and the left and right Joy-Con Controllers.
Underneath this top layer are the rest of the accessories.
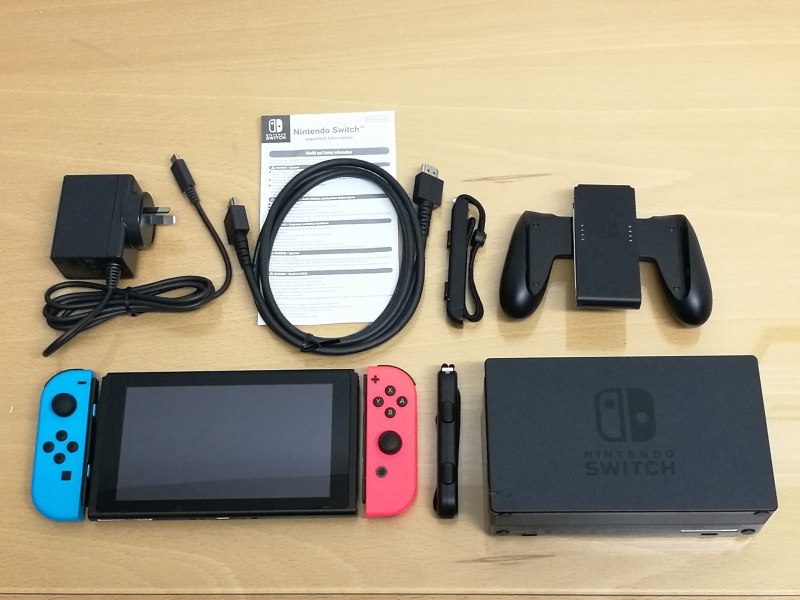
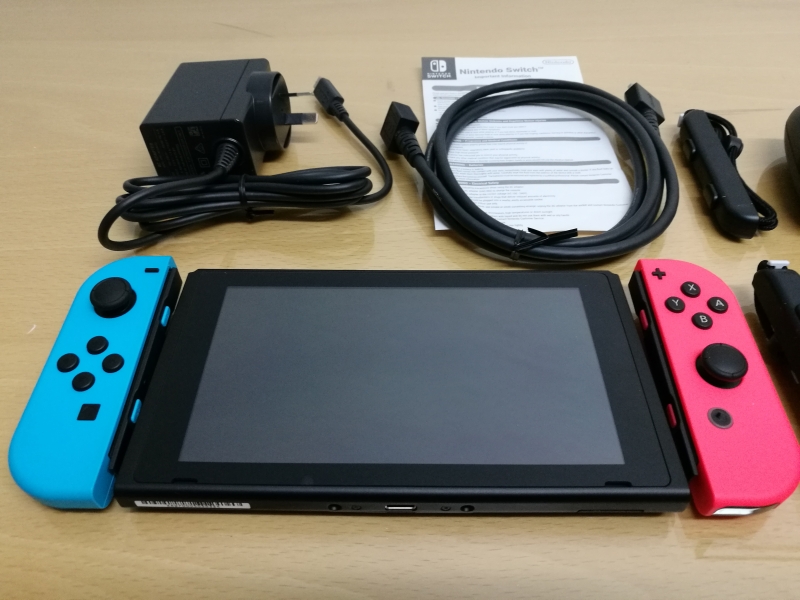
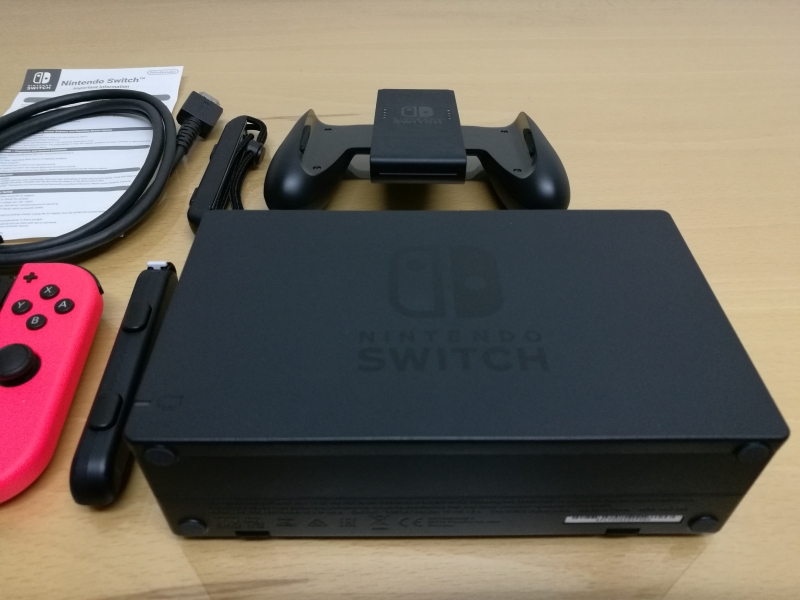
In addition to the Switch console and Joy-Con controllers, the Nintendo Switch comes with the Switch dock, AC adapter, Joy-Con straps and grip, and HDMI cable.
The Nintendo Switch is a great example of integrating together different connectivity interface technologies enabling the Switch to truly transform itself into a mobile gaming platform and living room gaming console with different types of game controller configurations depending on the game and user preference.
The key to enabling the Switch to transform itself from a mobile gaming device to a stationary gaming console is the USB Type-C technology used in its dock.
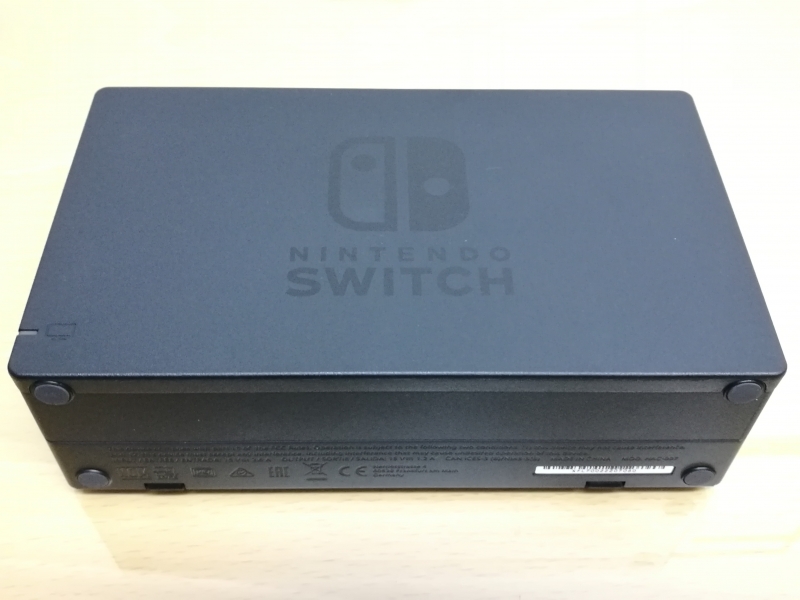
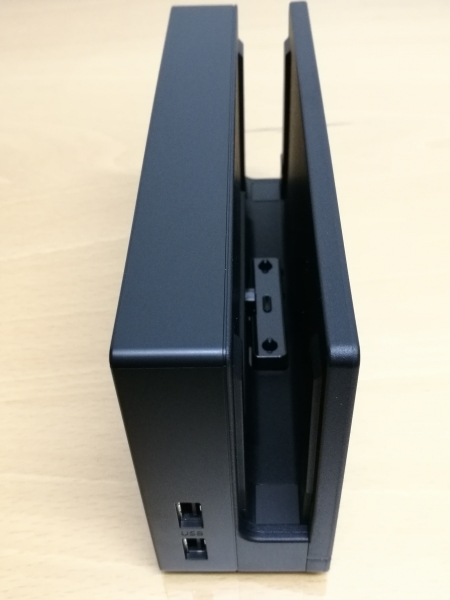
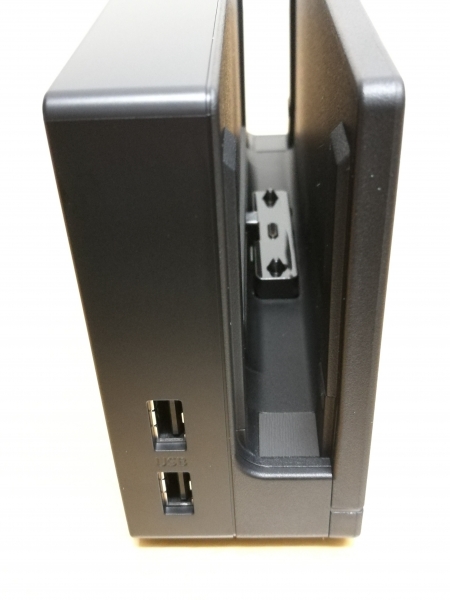
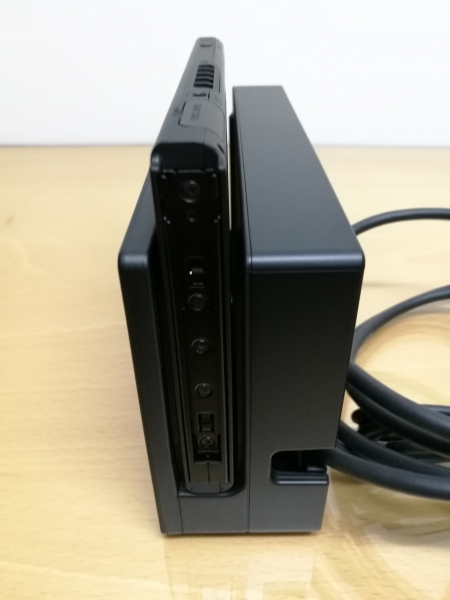
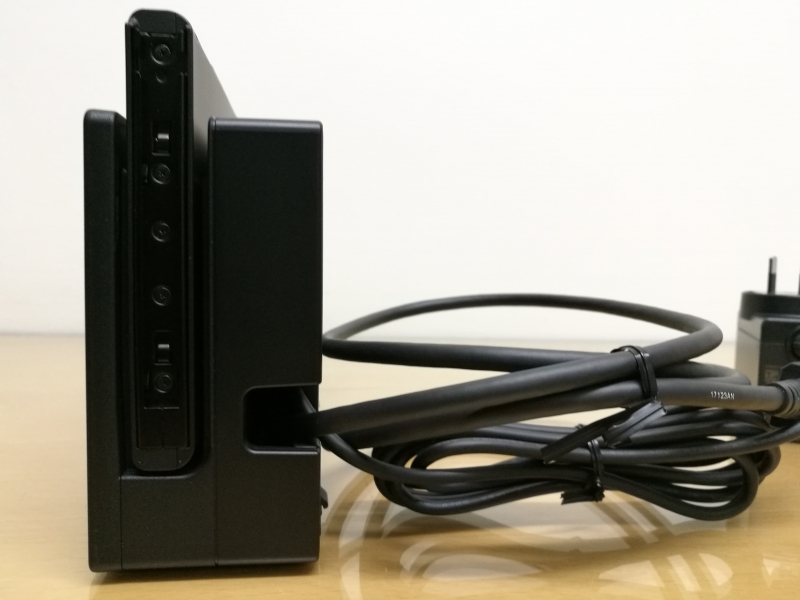
The dock has a USB Type-C connector which initially looks like a receptacle but when the surrounding platform is pressed down with the weight of the console, reveals a USB Type-C plug which inserts into the dock when the console slides into the dock.
Since mating USB connectors can be a tricky process when you can't actually see where you are plugging into, Nintendo makes this easier by providing grooves which allow the console to slide easily into the correct position into the Switch.
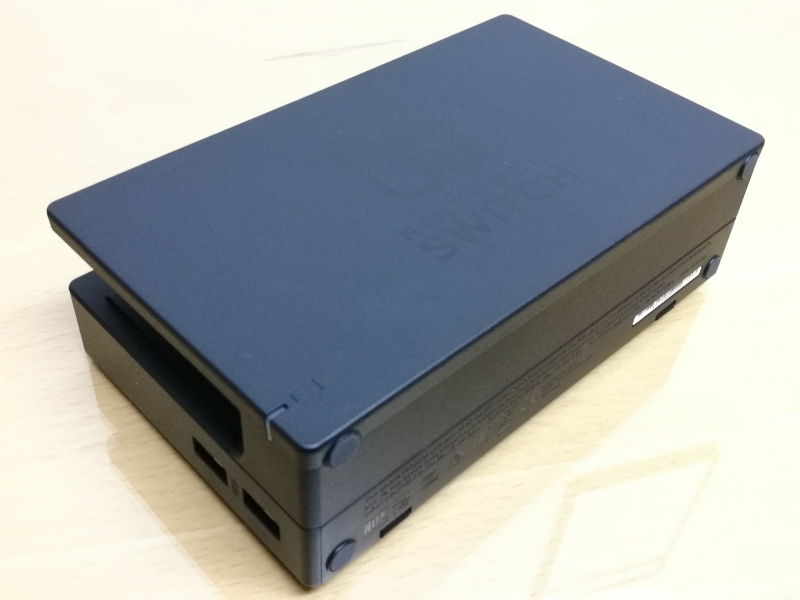
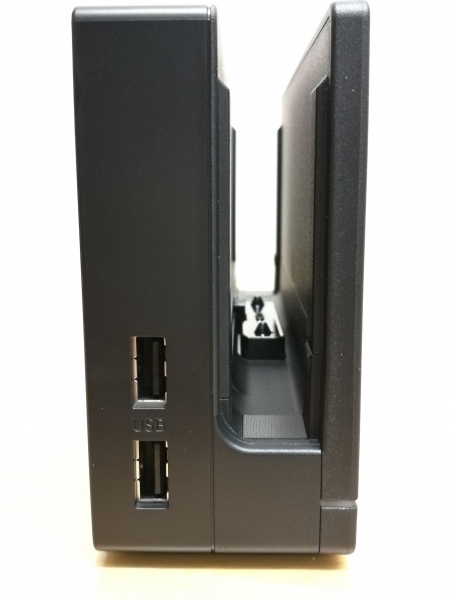
The dock has two USB 2.0 Type-A ports on the side which allow you to connect USB Type-A peripherals to the console.
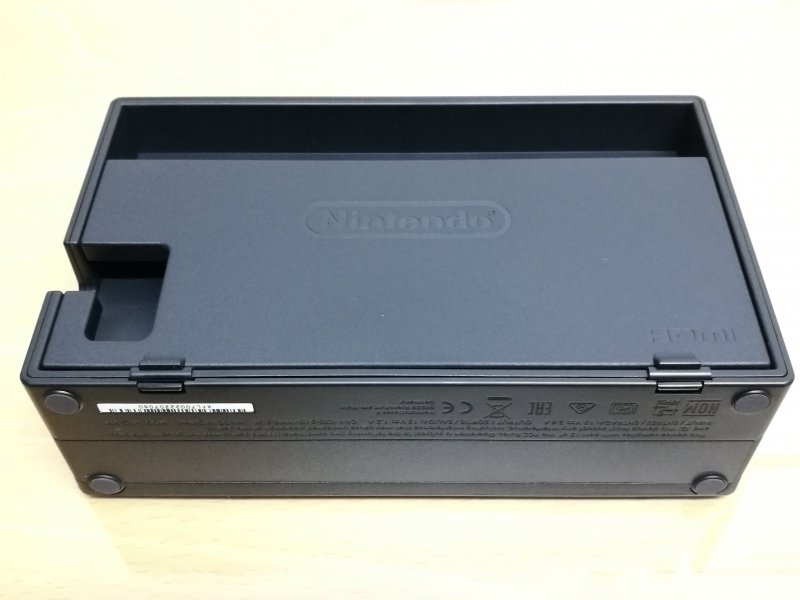
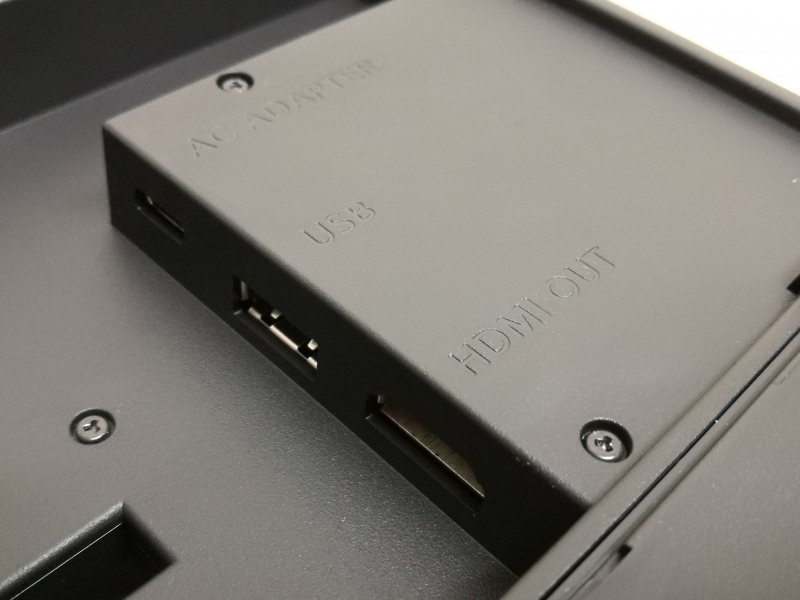
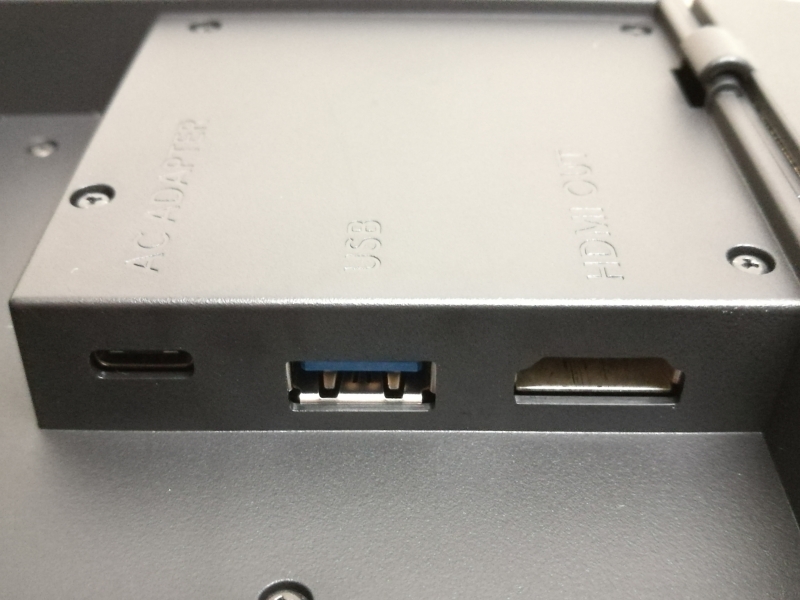
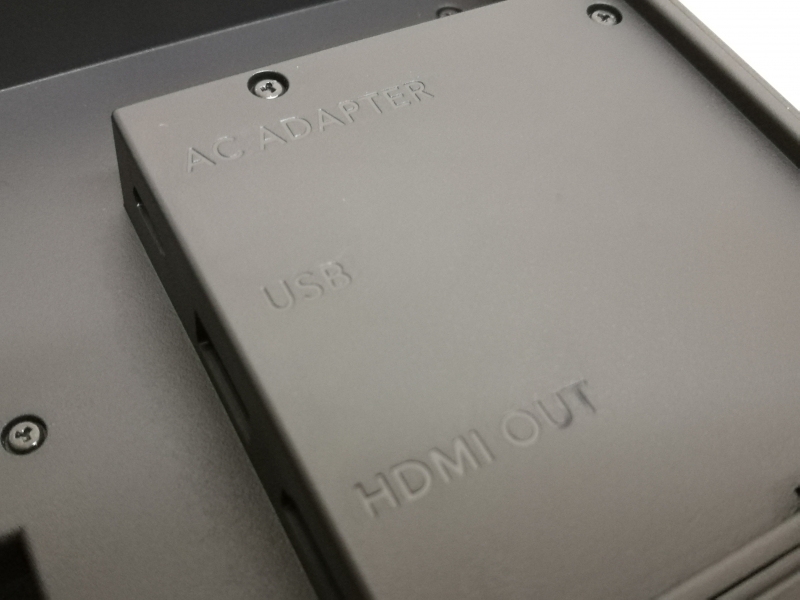
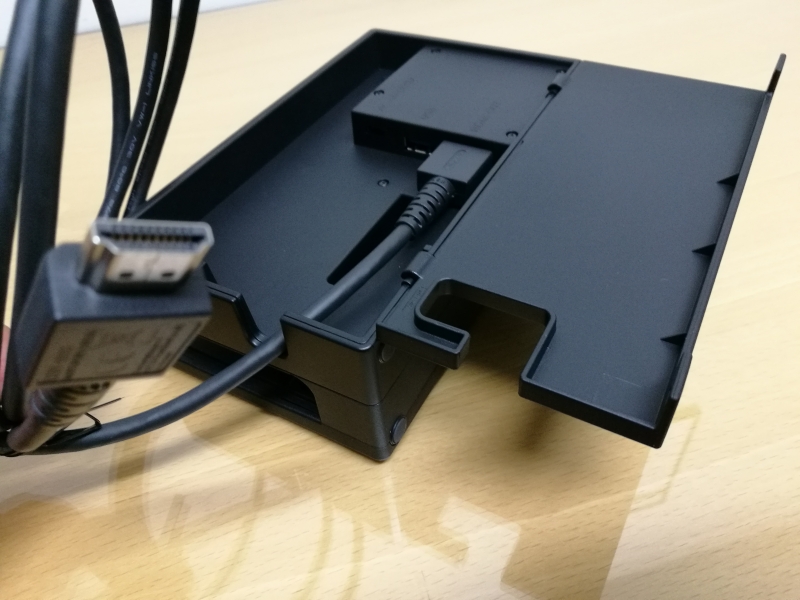
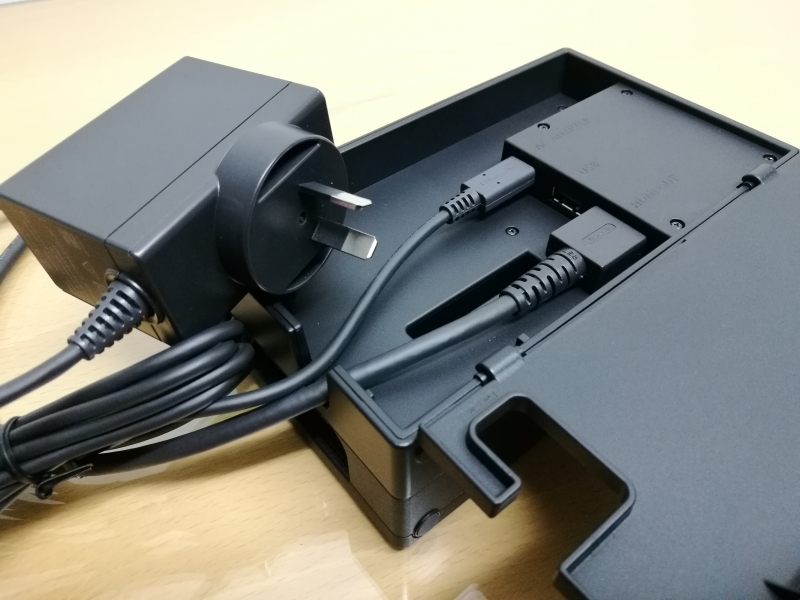
Underneath the dock is a compartment where if you open its lid, reveals a USB Type-C port to connect the AC power adapter for charging, a USB 3.1 Type-A port to connect another USB peripheral, and a HDMI port to connect an external display. The dock uses USB data, USB Power Delivery, and DisplayPort technologies to be able to connect these external peripherals to the console.
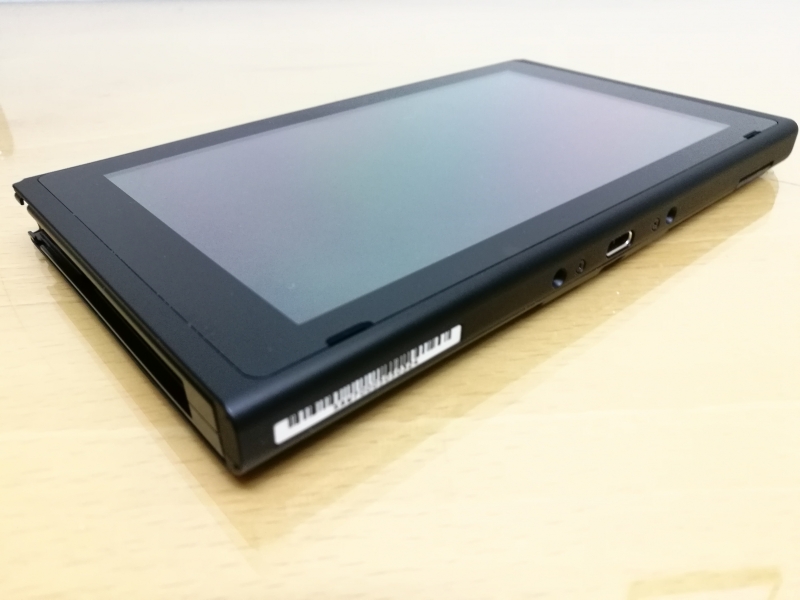
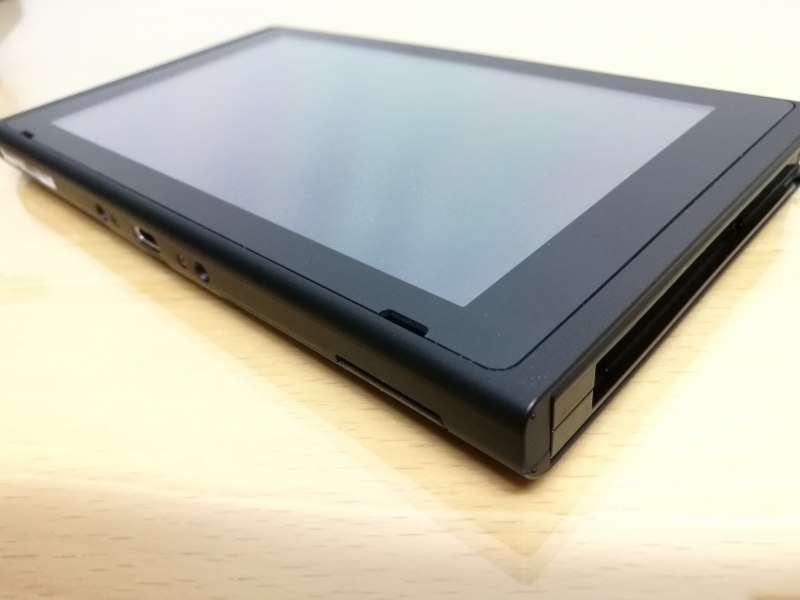
The console itself looks like a tablet rather than what people would think of as a console for Wii, Xbox, or PlayStation.
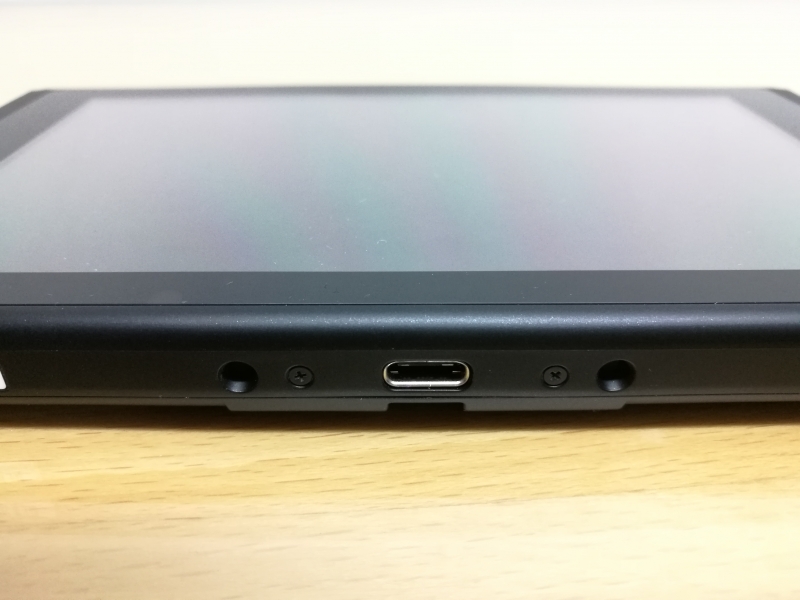
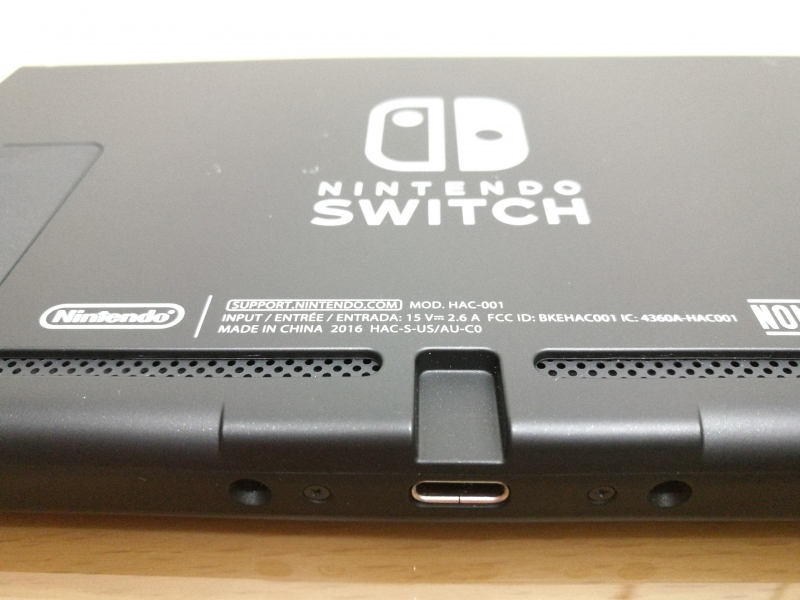
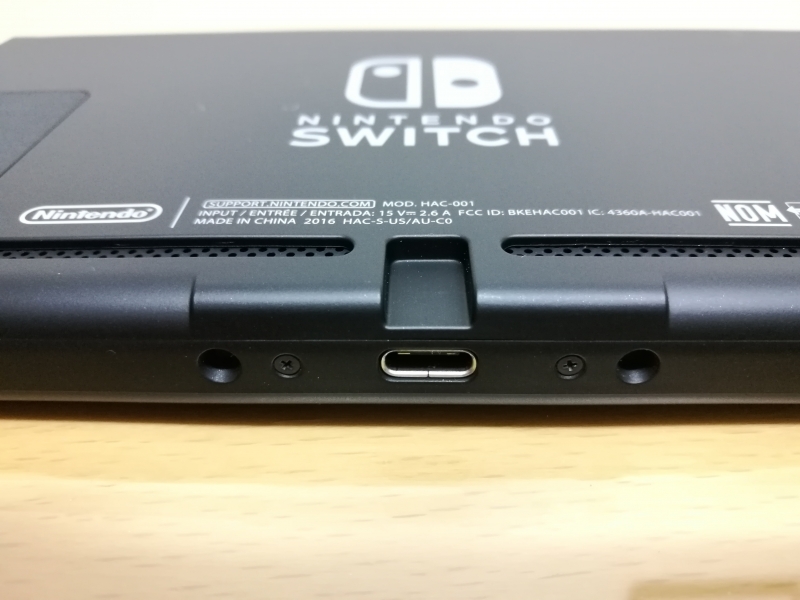
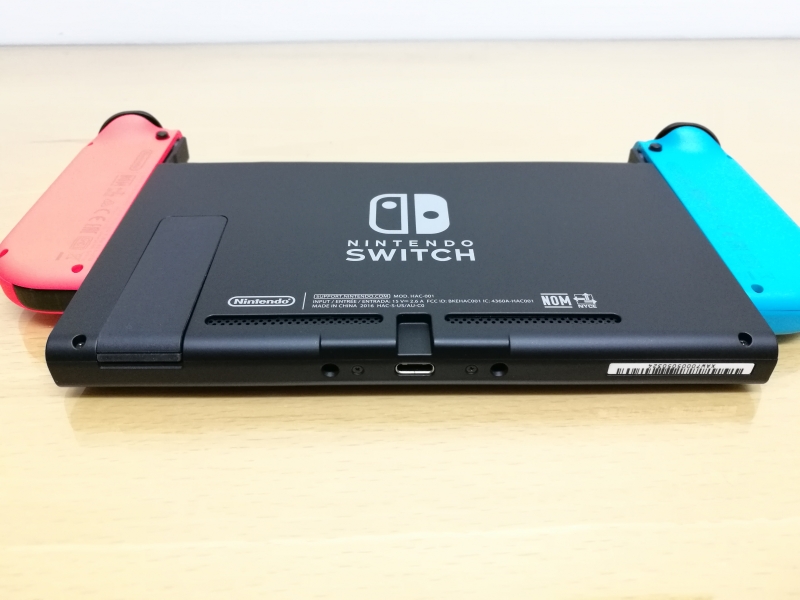
The bottom of the console has a single USB Type-C interface.
The left and right sides of the console contain slots to slide in the wireless Joy-Con controllers and also serve to charge the Joy-Con controllers' batteries.
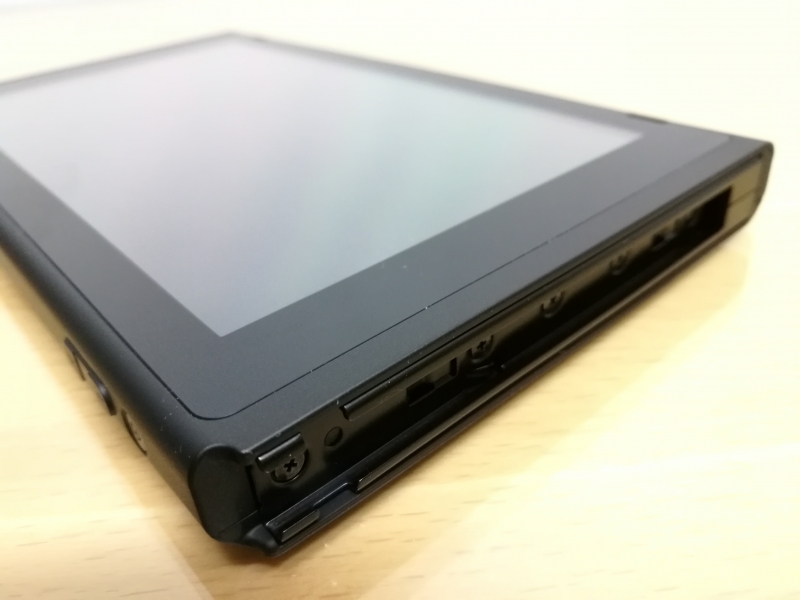
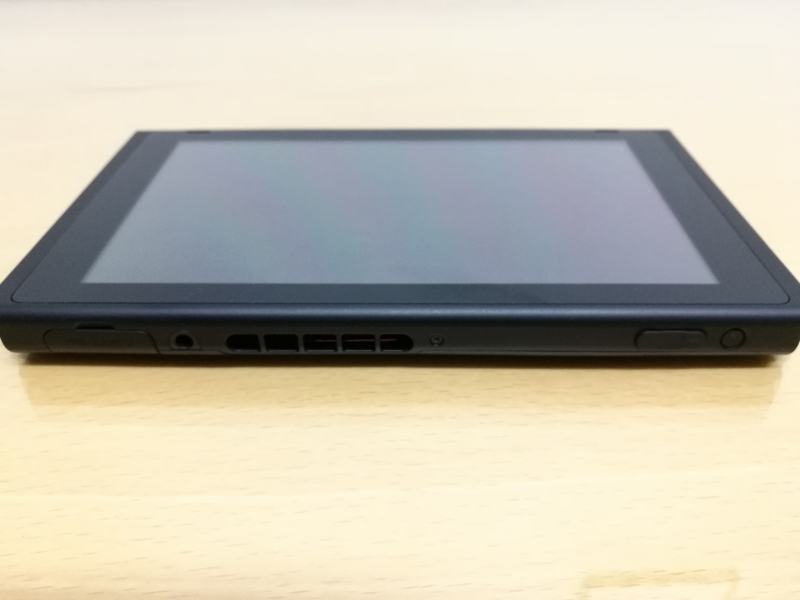
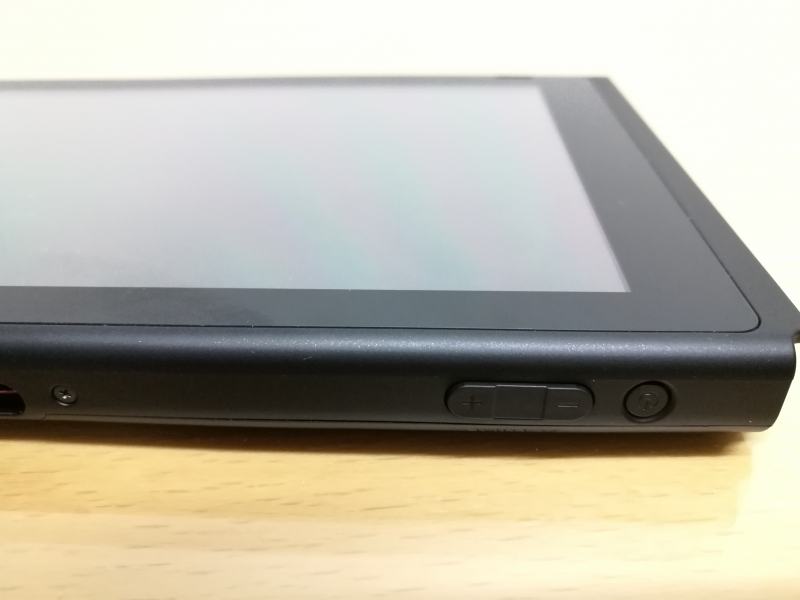
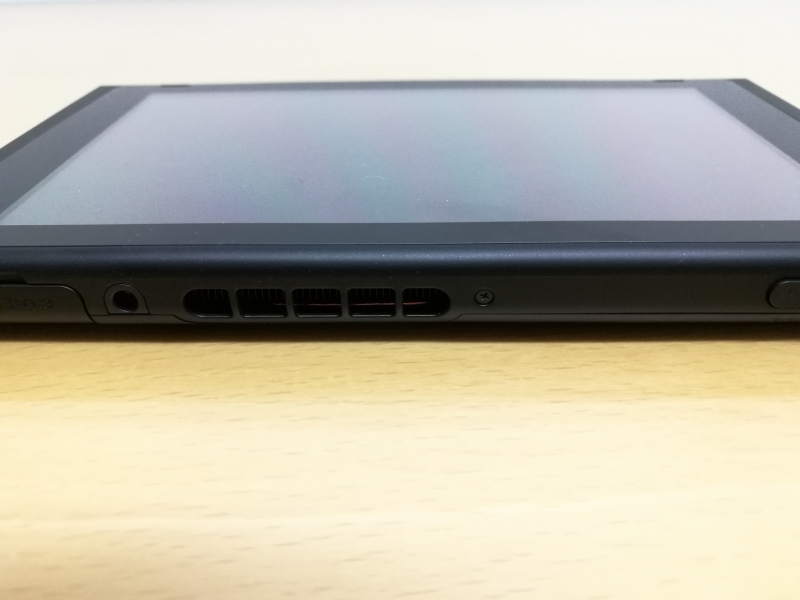
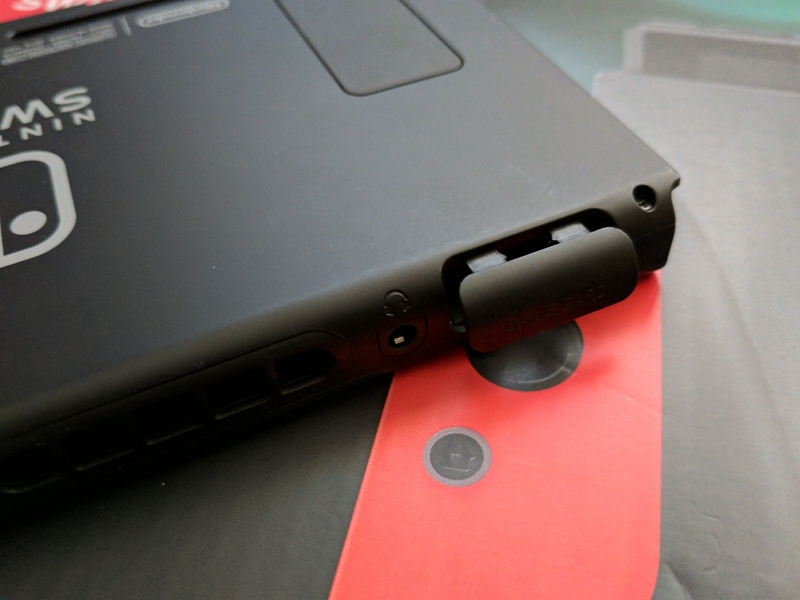
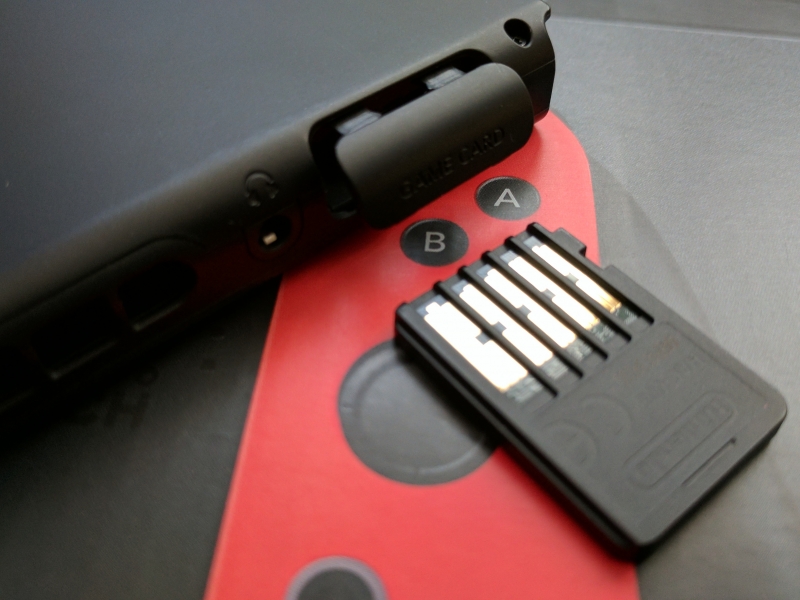
The top of the console provides the power and volume buttons as well as a 3.5 mm audio jack and slot to insert the game cartridge.
To add the game cartridge, you need to pull out the door cover and insert the cartridge with the exposed pins facing the back of the Console.
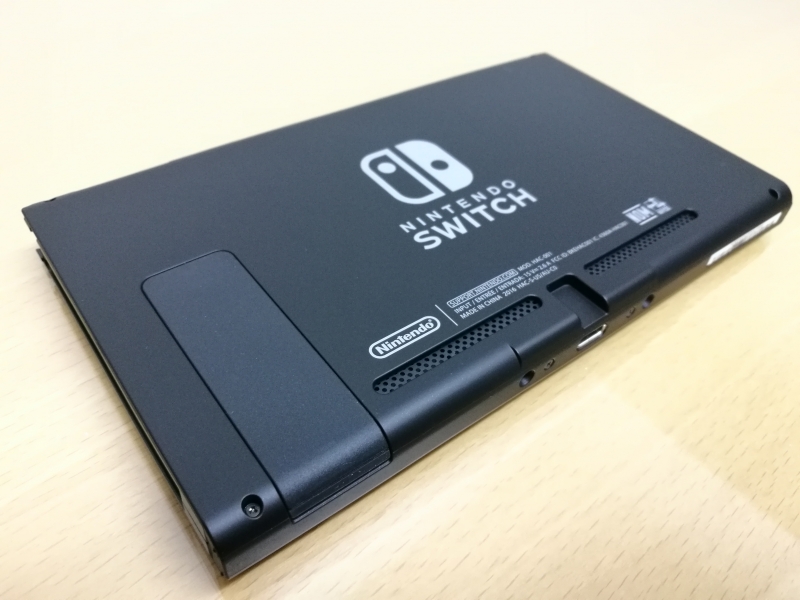
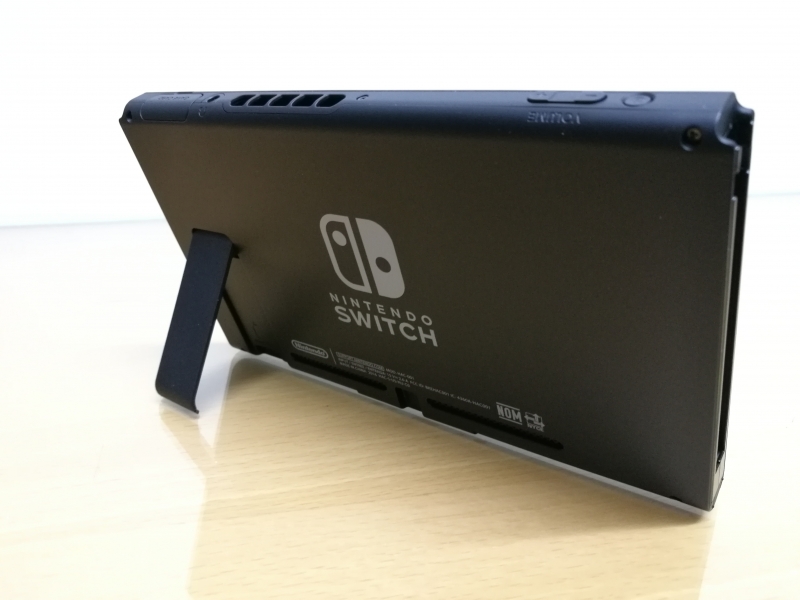
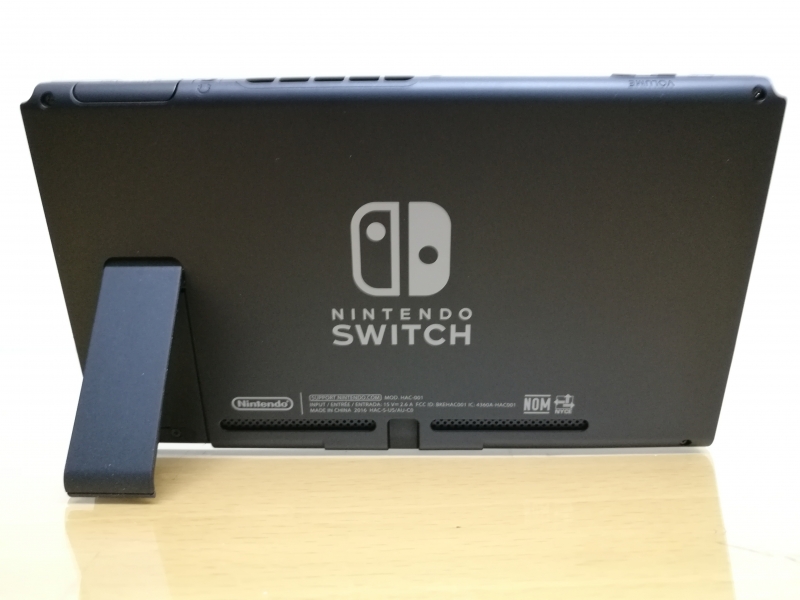
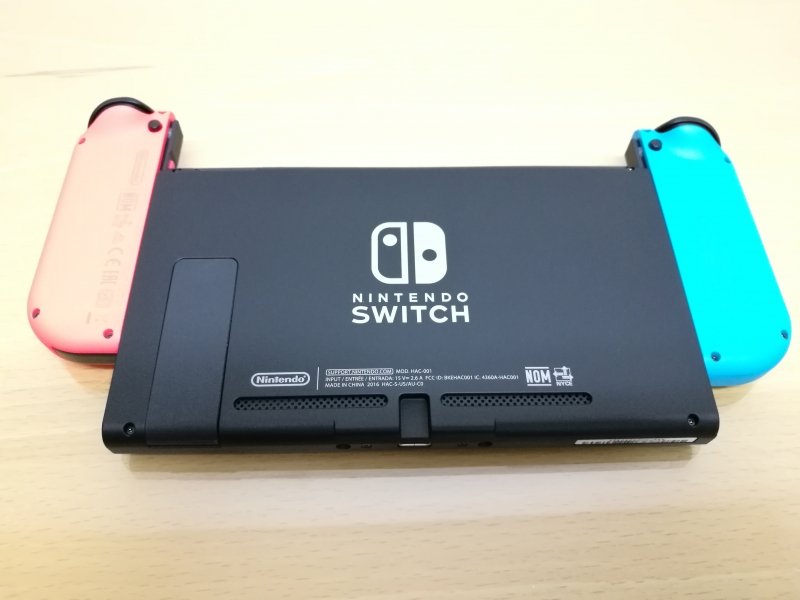
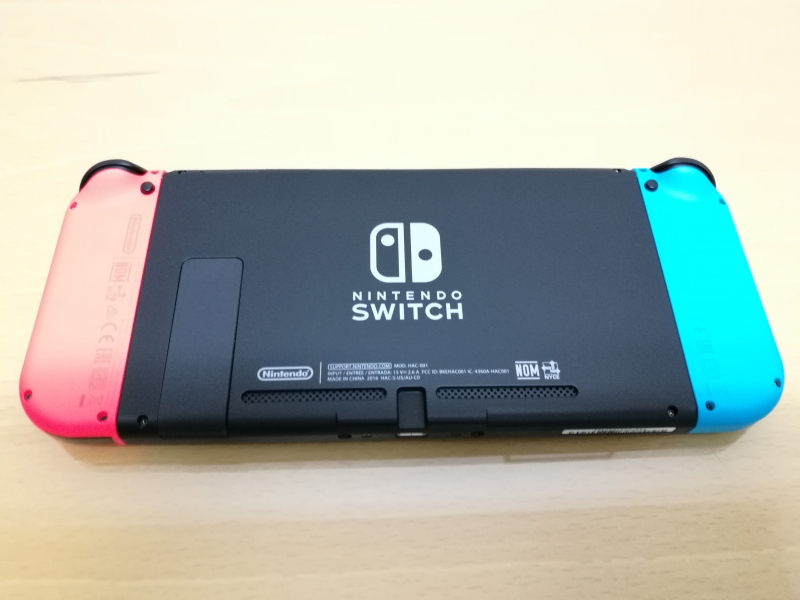
The back of the console has a nice black finish and advertises that the console supports 15 volts @ 2.6 amps of charging in.
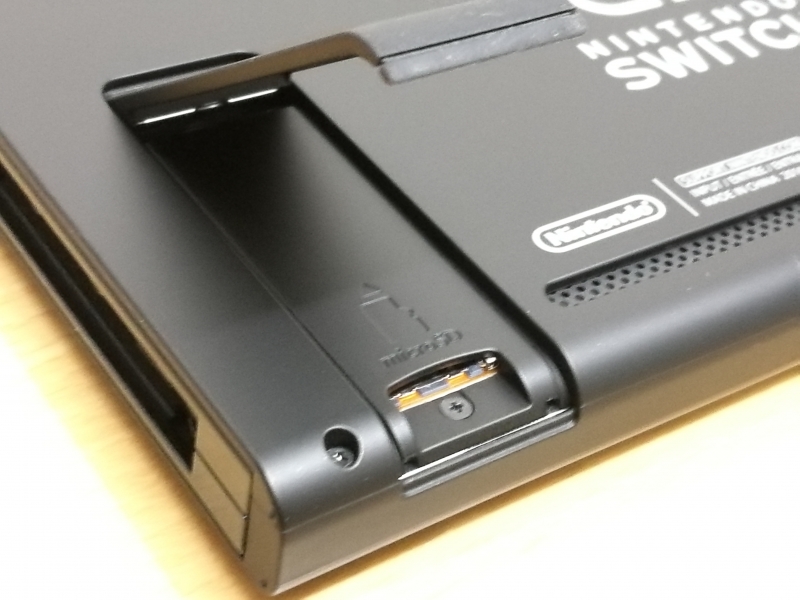
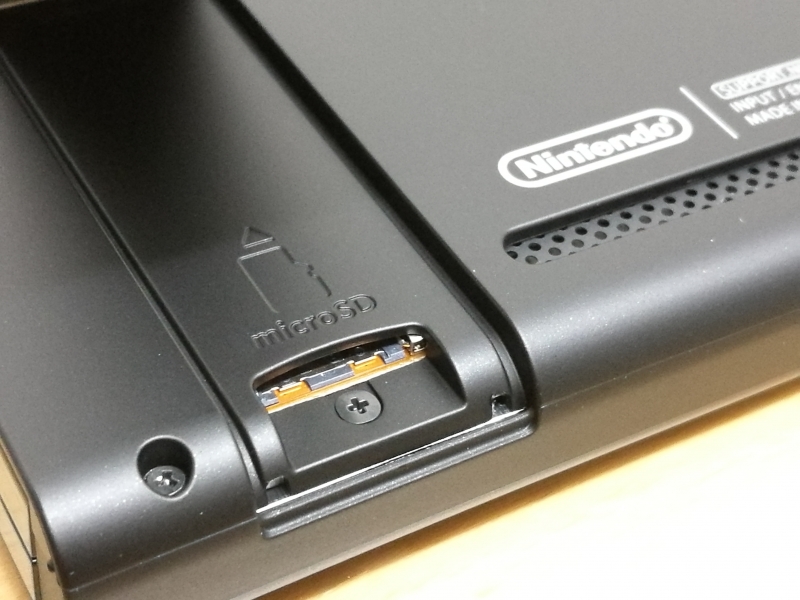
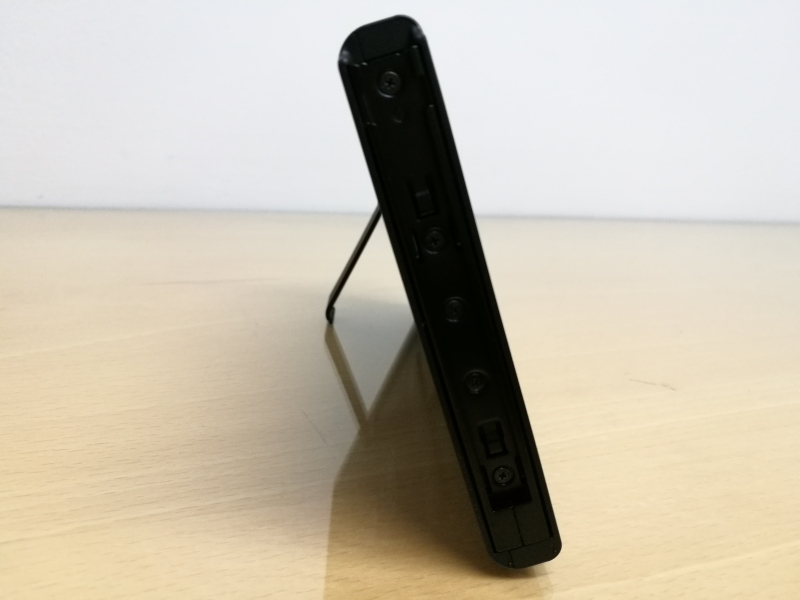
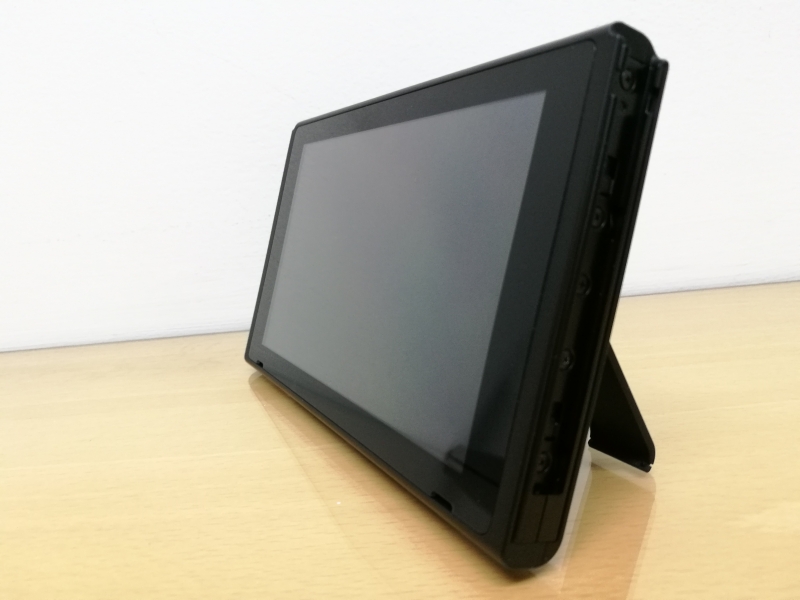
The console also has a stand which you can pull out to reveal the SD card slot.
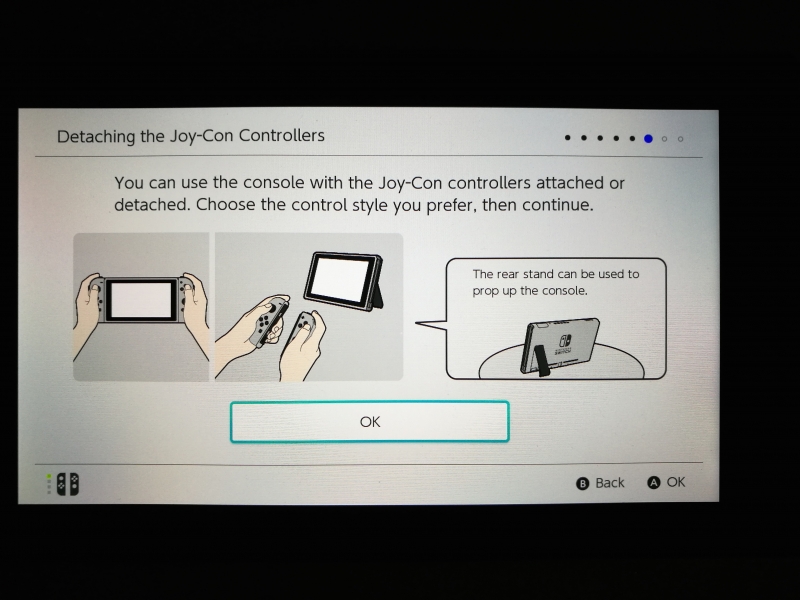
The stand allows the console to stand up on a flat surface and act as a mini-display for game playing.
If you want to use an external display instead, you can slide the console into the dock and connect a HDMI cable from the dock to a TV or monitor.
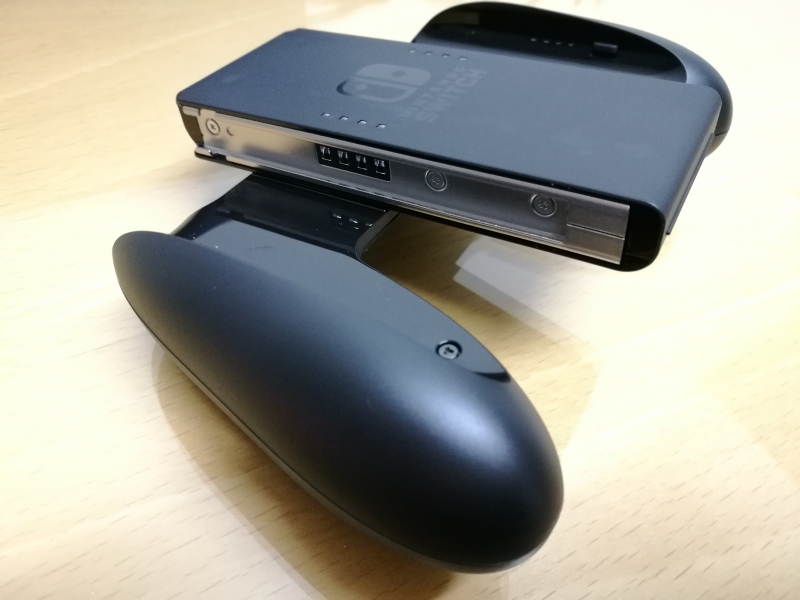
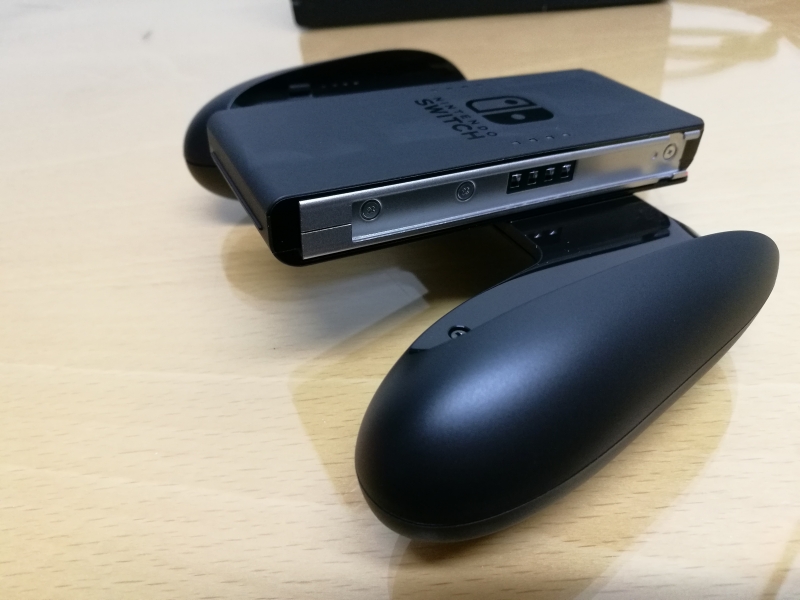
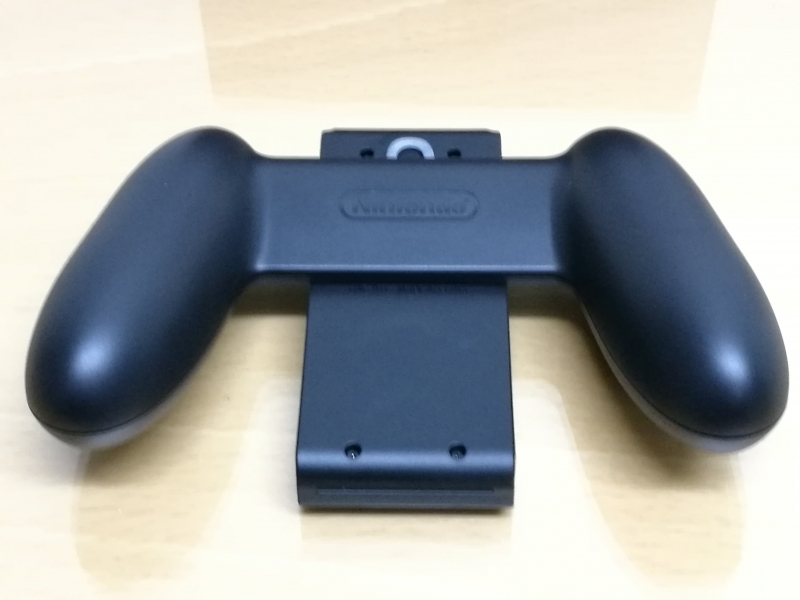
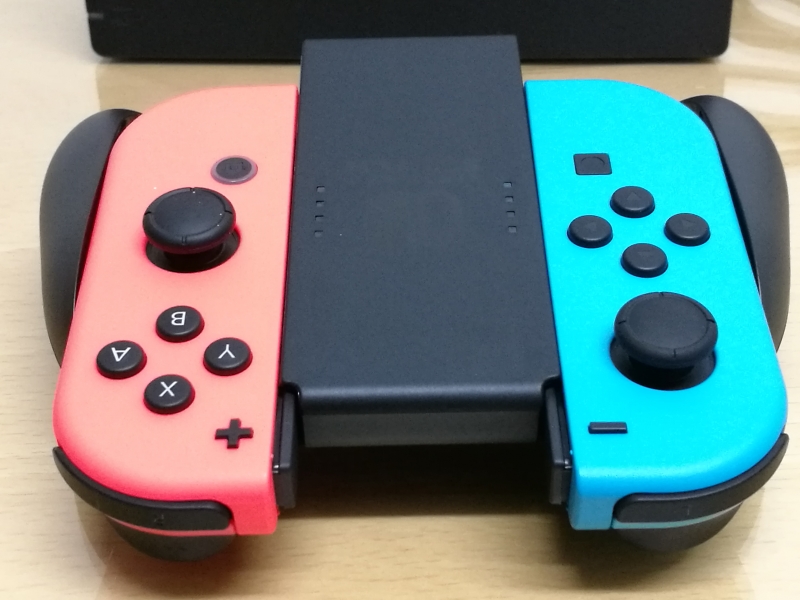
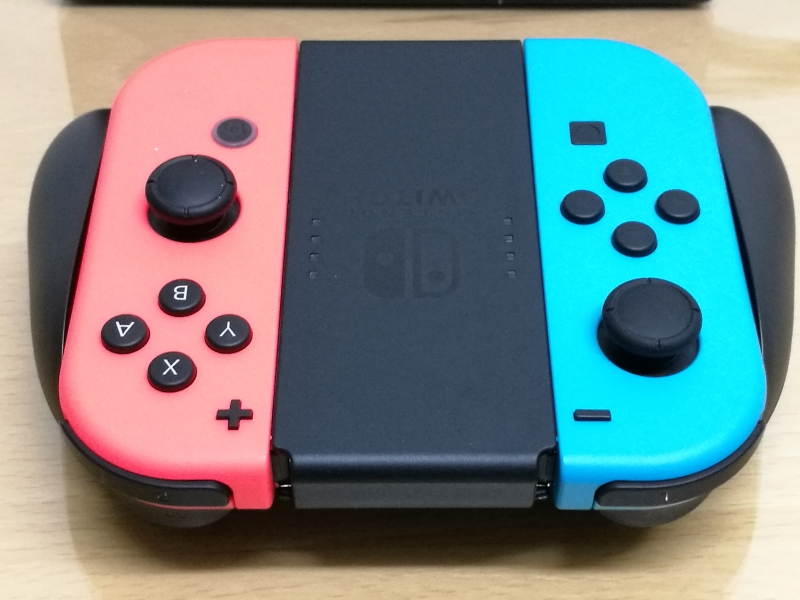
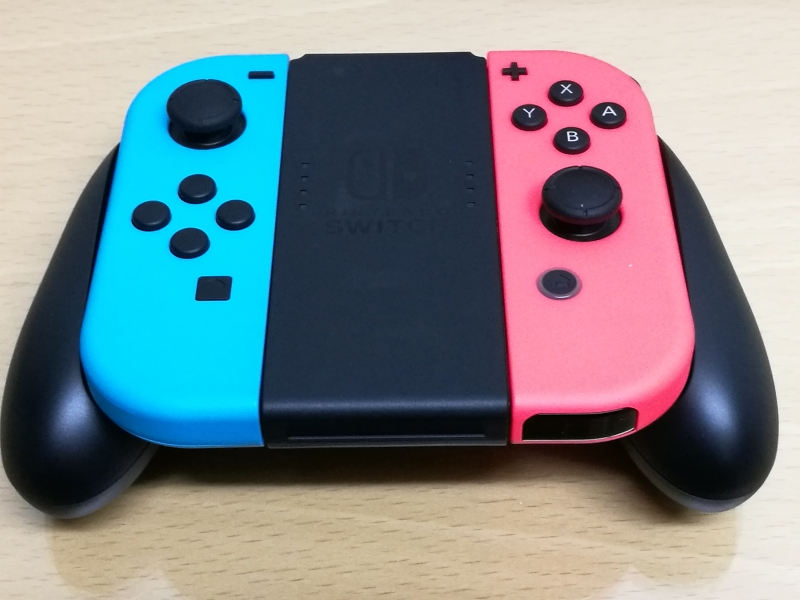
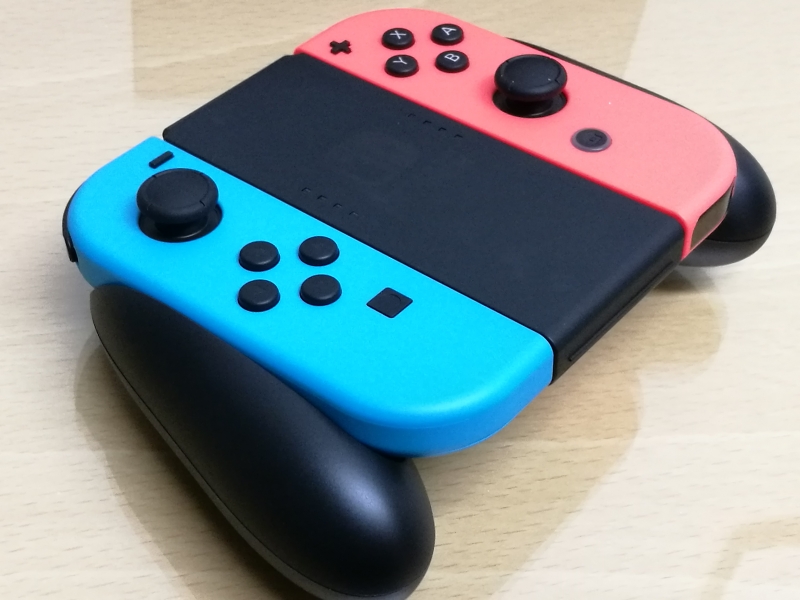
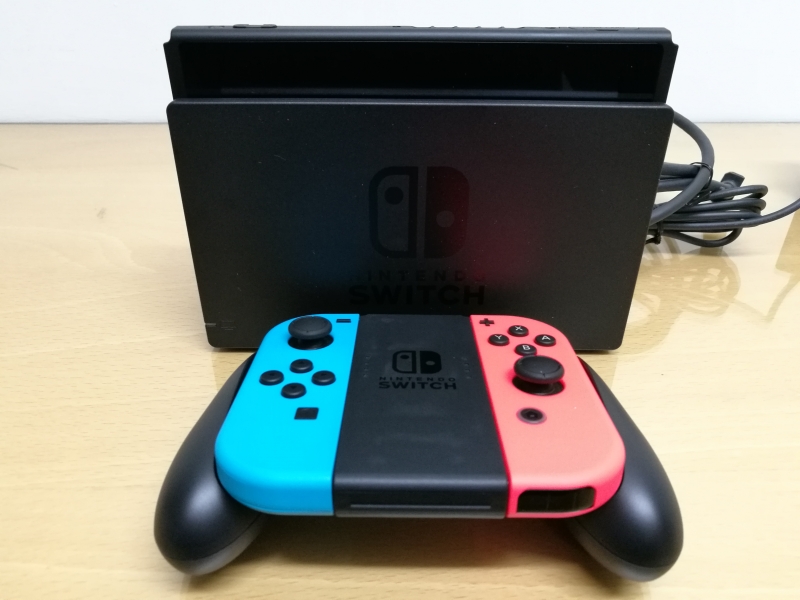
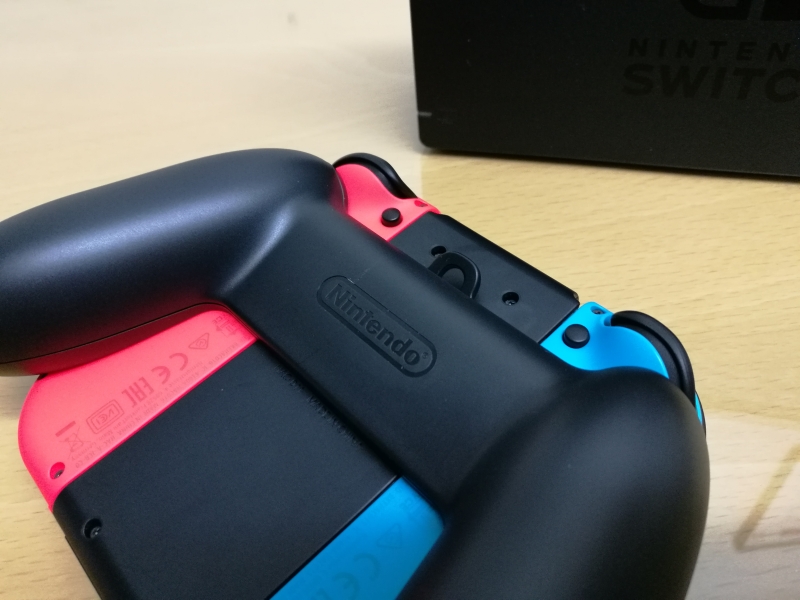
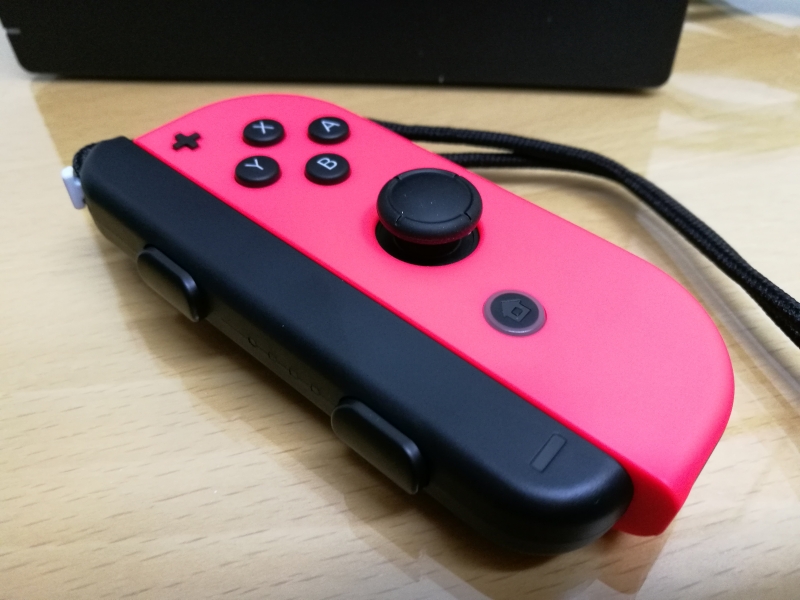
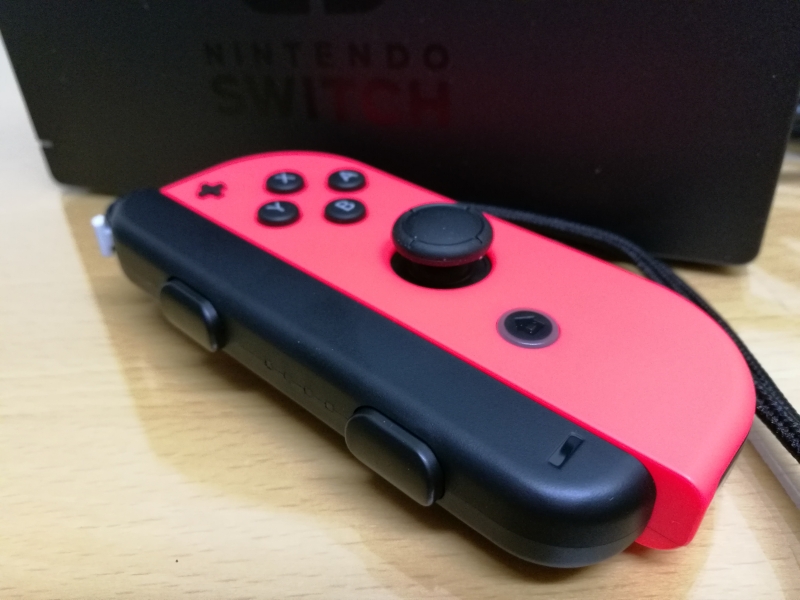
Not only can the console transform but its Joy-Con controllers are also quite adaptable. The Joy-Con controllers can be inserted into the Joy-Con grip to provide a traditional game console experience.
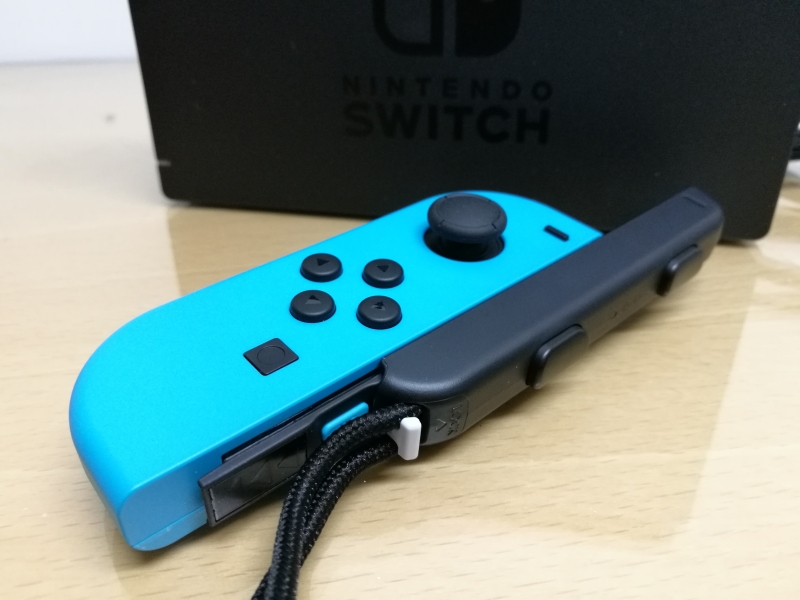
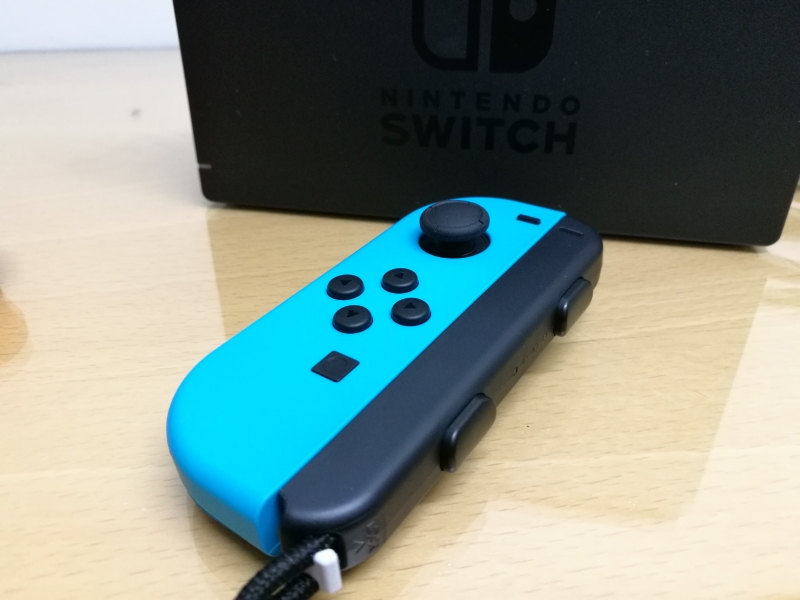
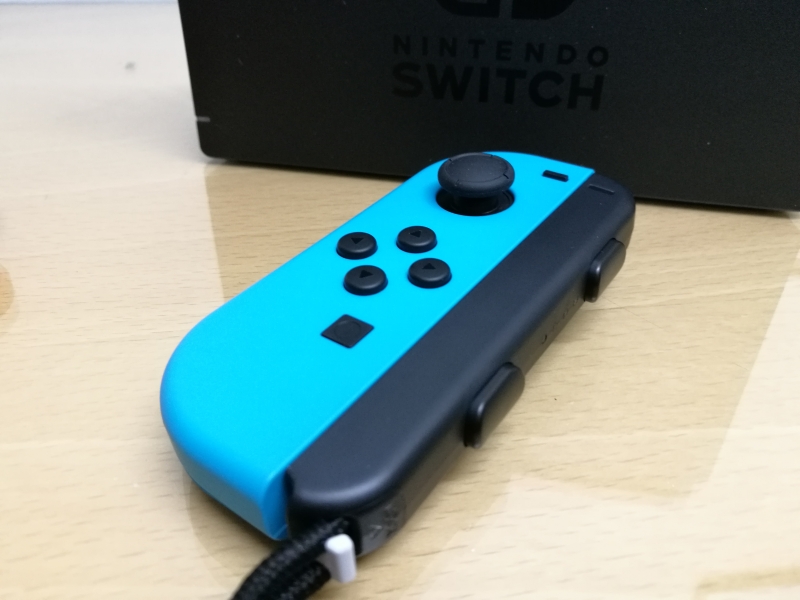
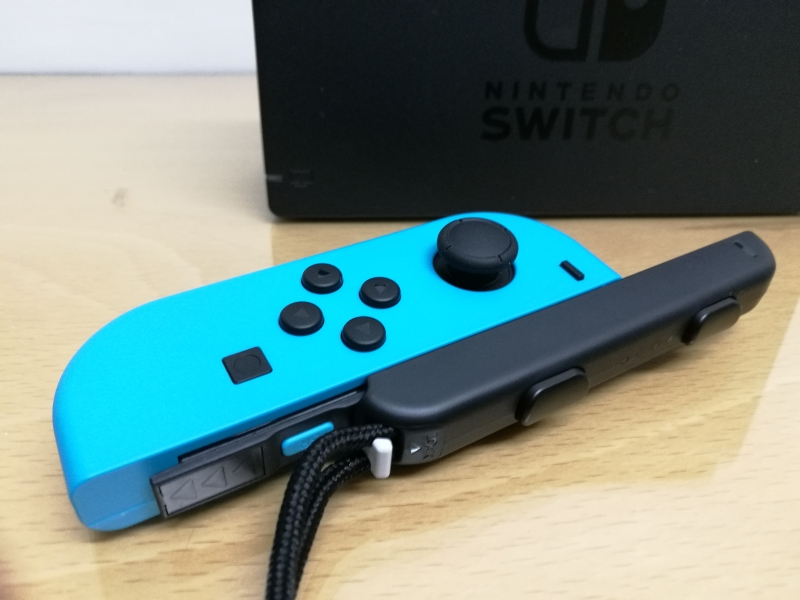
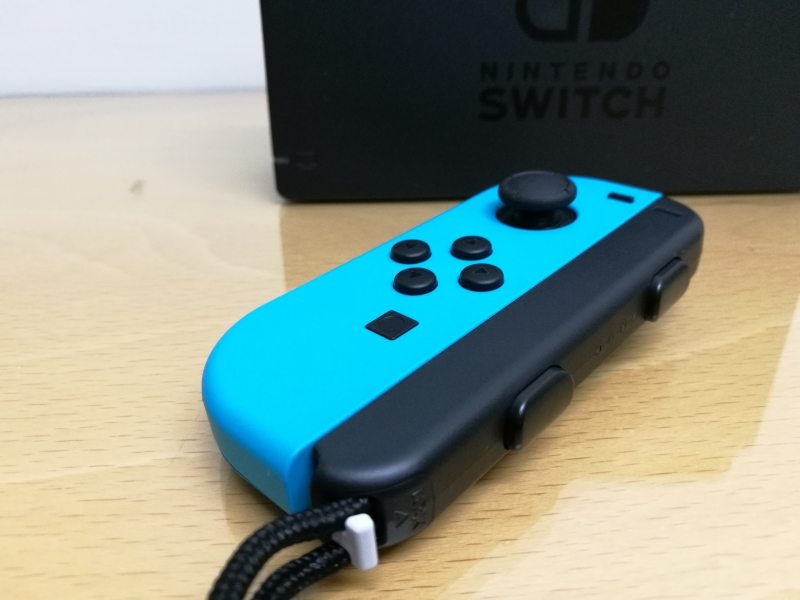
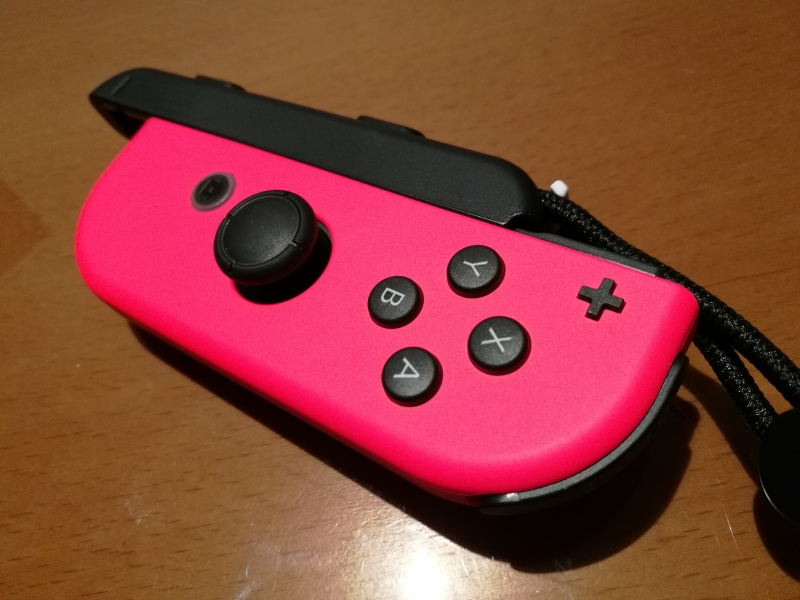
If you want an even more mobile experience similar to the Wii controllers, the Joy-Con controllers can be inserted into the Joy-Con straps which allow you to strap them on your wrists while providing additional top left/right buttons when the Joy-Con is used horizontally.
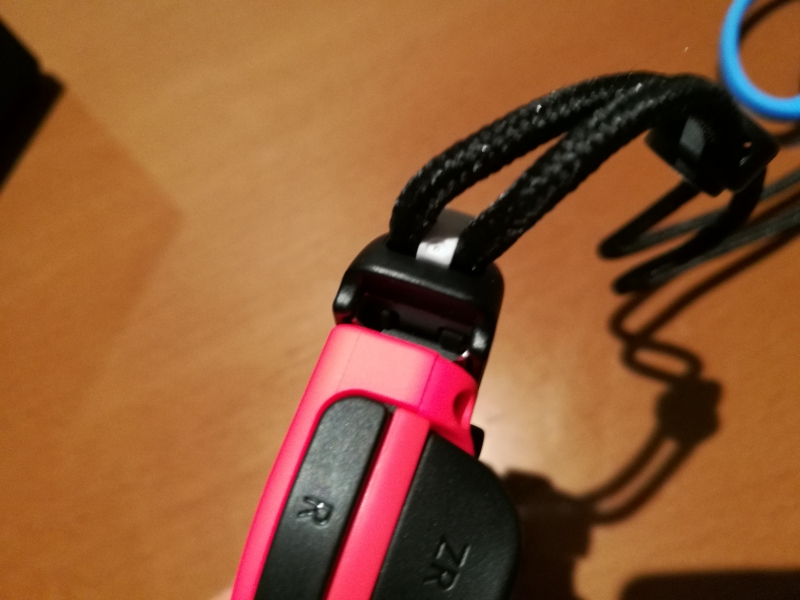
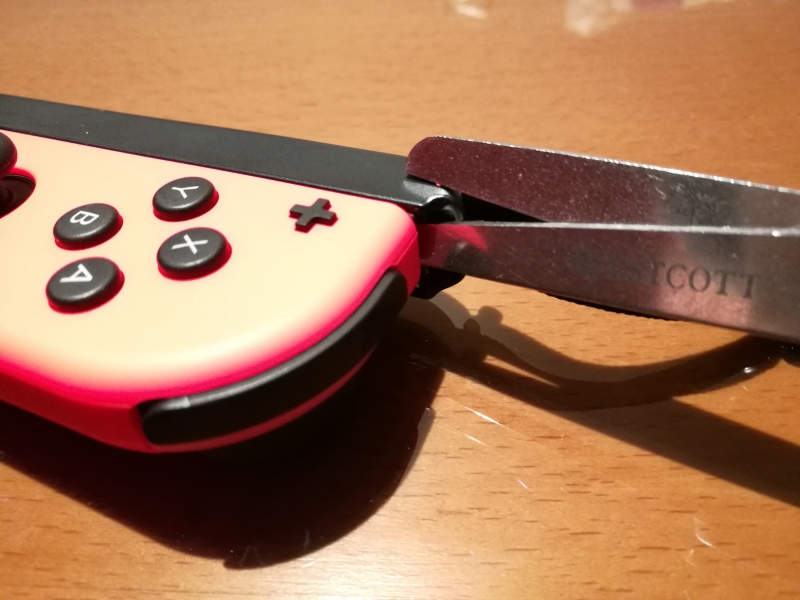
However, one of the most flawed designs in the history of game consoles is the ability for the user to easily insert the strap incorrectly. Usually the plus sign needs to be lined up with the plus sign or the negative sign with the negative sign, but Nintendo makes it too easy for the user to use the strap with the plus sign lined up with the negative sign. When this happens, the strap gets locked into the Joy-Con with no easy way for the user to remove. Using a random test, most of the users who have tried putting together the strap and Joy-Con controller put at least one of the controllers into the strap incorrectly.
In order to unlock the Joy-Con controller when incorrectly inserted into the strap, you need to first flip the white notch holding the black braided cord into unlock position away from the controller.
You then need to find a long object like a flat screw driver or scissors with a square corner to insert into the portion of the strap that is over-hanging the Joy-Con controller, and pressing down the notches which are locking the strap into place.
Once the notches are made flat to the surface, the strap becomes unlocked and can be removed from the Joy-Con controller. Although this fix can be easily done once the user understands what's going on and finds out how to fix it, Nintendo could have easily prevented thousands of wasted hours by its users dealing with this issue by not allowing the strap to be inserted incorrectly in the first place.
The Joy-Con's can also be inserted directly into the sides of the console which is convenient when you are using the Nintendo Switch as a mobile gaming platform.
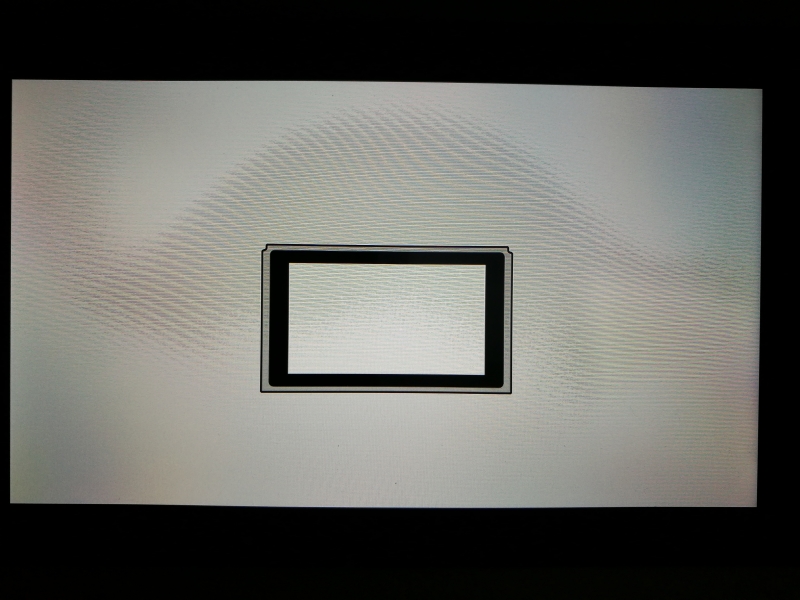
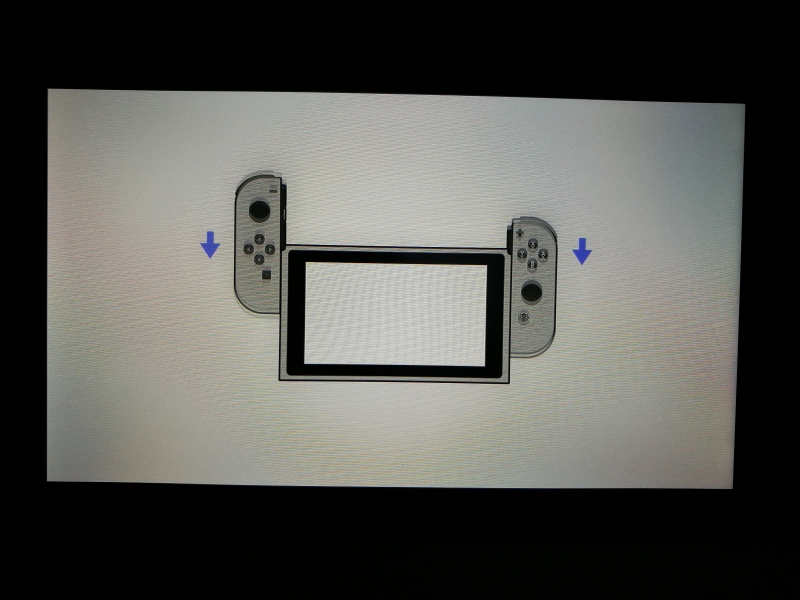
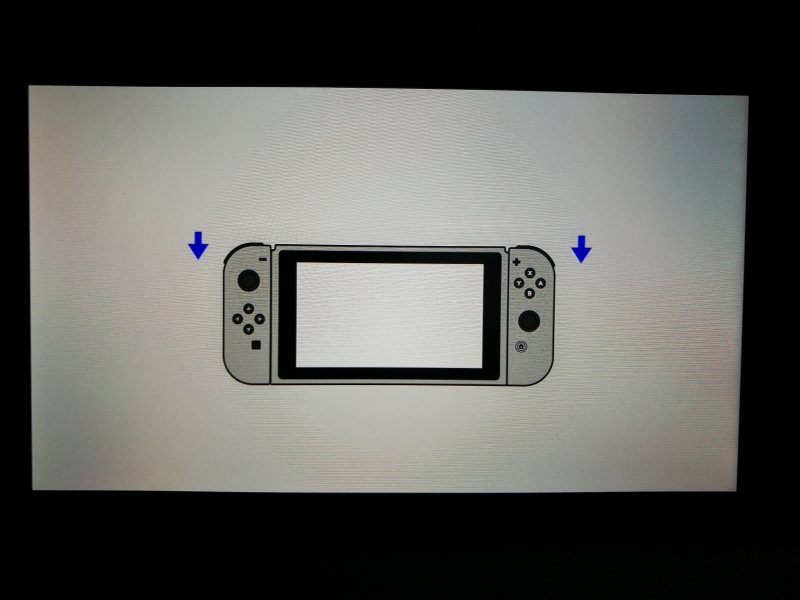
Startup up the Nintendo Switch is relatively easy where after you connect the AC power adapter to the USB Type-C port, you can then switch on the console. The screen will then ask you to add the Joy-Con controllers to the sides of the console.
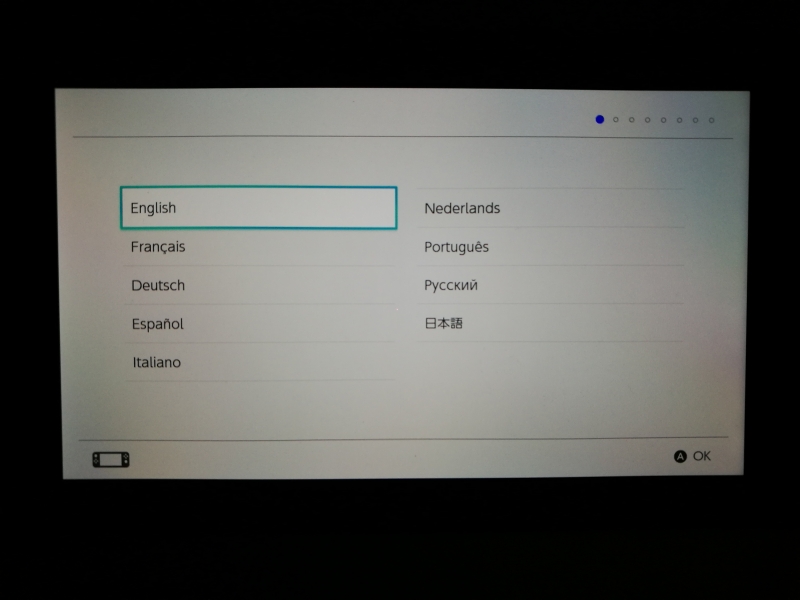
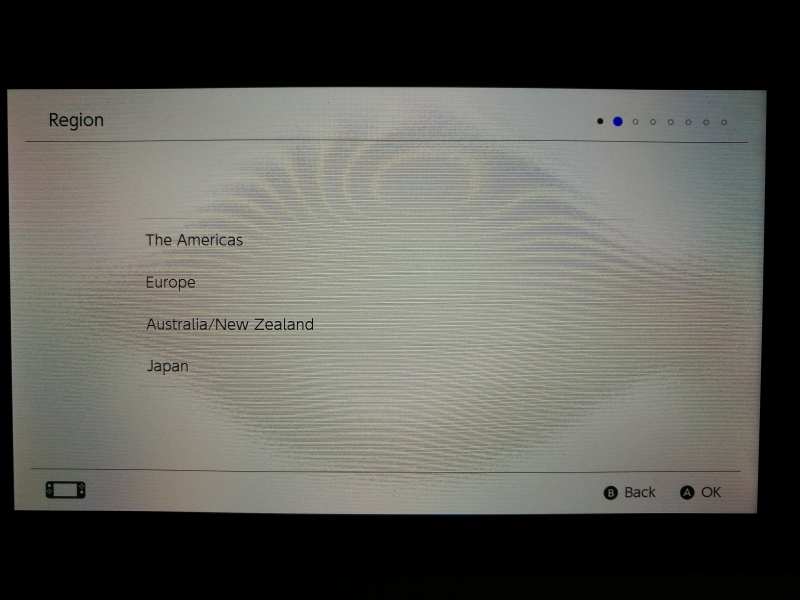
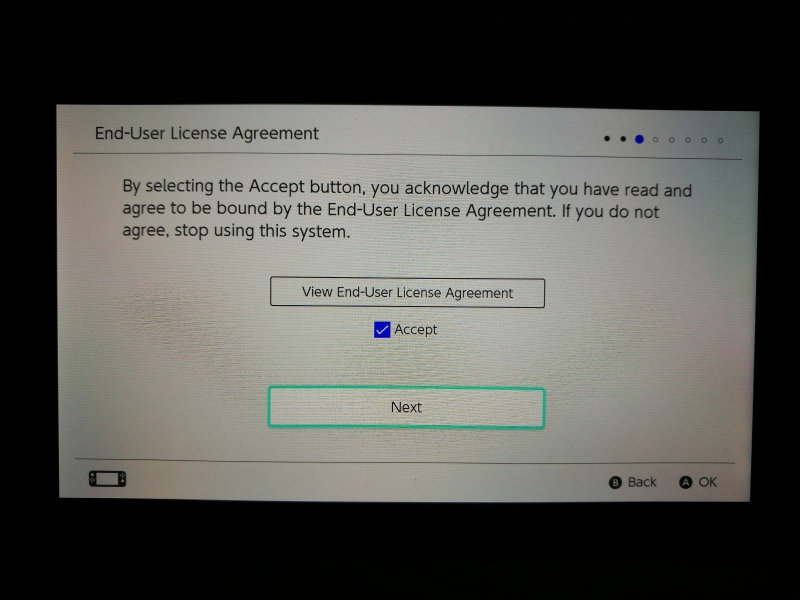
The console will then continue with the setup process where you can choose your language, region, and agree to the end-user license agreement.
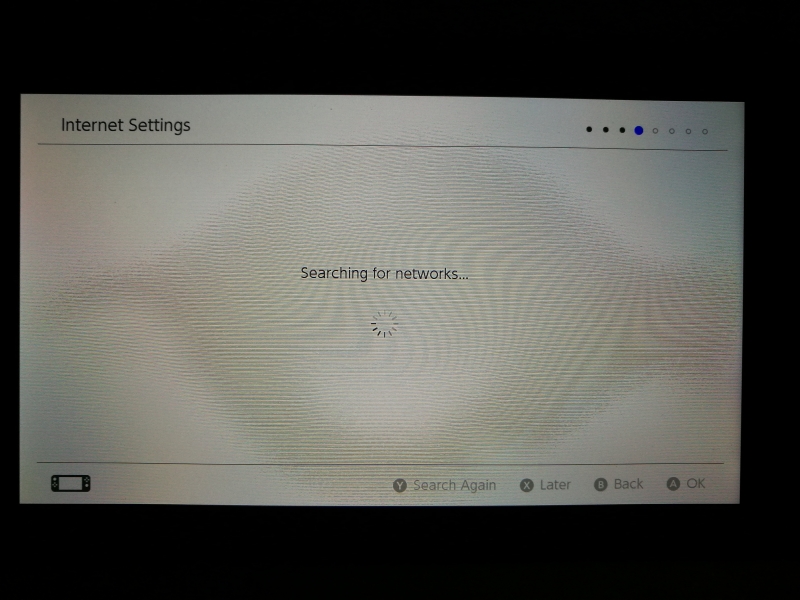
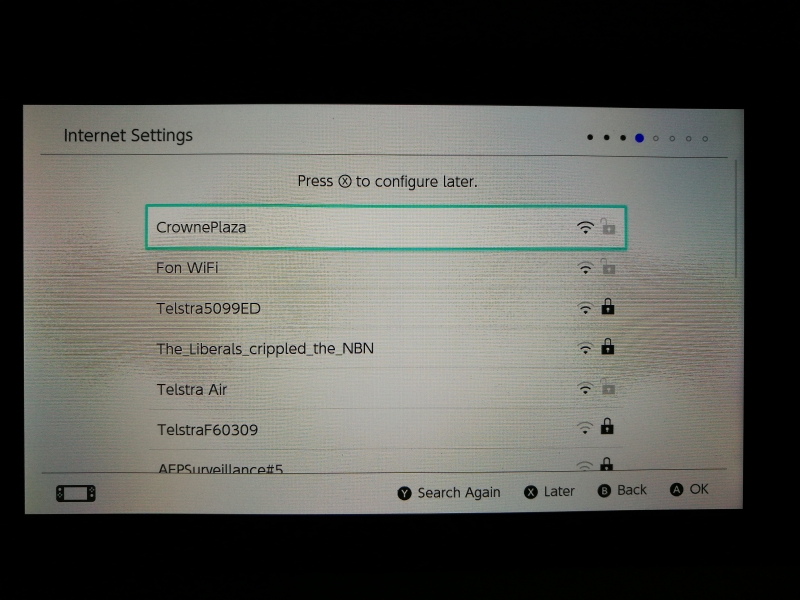
One of the nice things about the Nintendo Switch is that unlike a lot of other Wi-Fi devices out there, it is easy to set up a Wi-Fi network even if you are in a hotel or airport and you need to first go through a sign-on screen. The Nintendo Switch allows you to enter and get through a sign-on screen before continuing with the setup process.
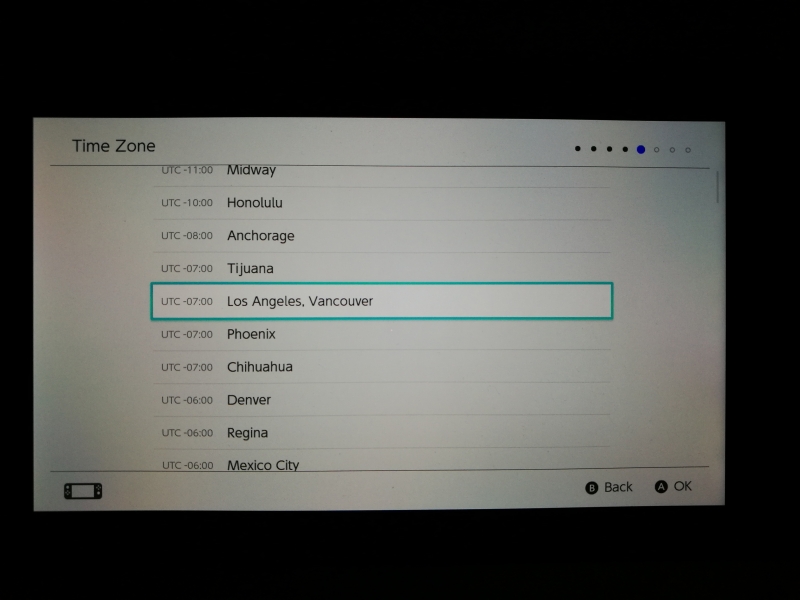
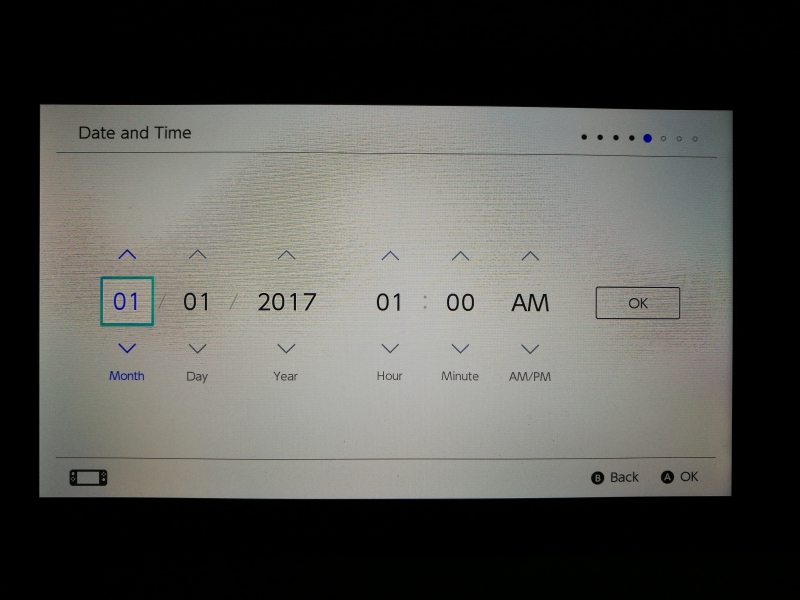
After the network is set up, you can then continue to set up the time zone, and date and time.
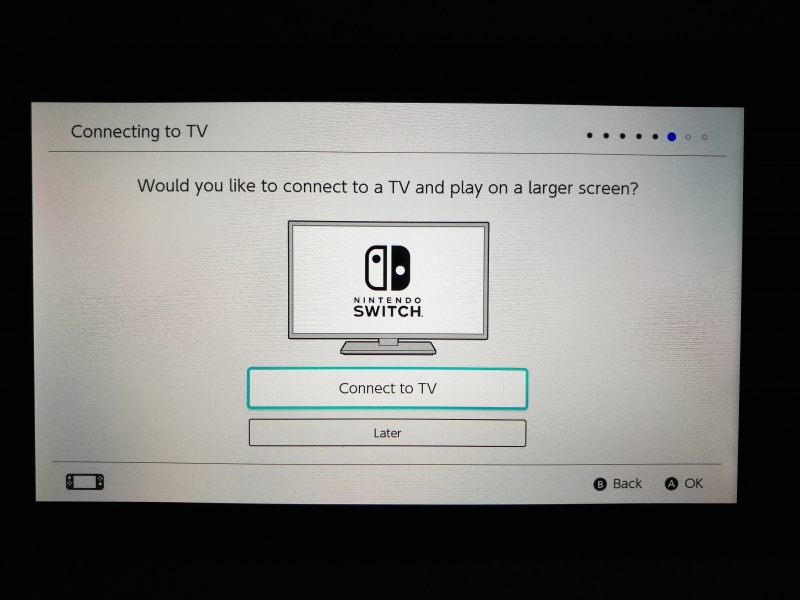
The Nintendo Switch then asks whether you want to connect to a TV through the dock.
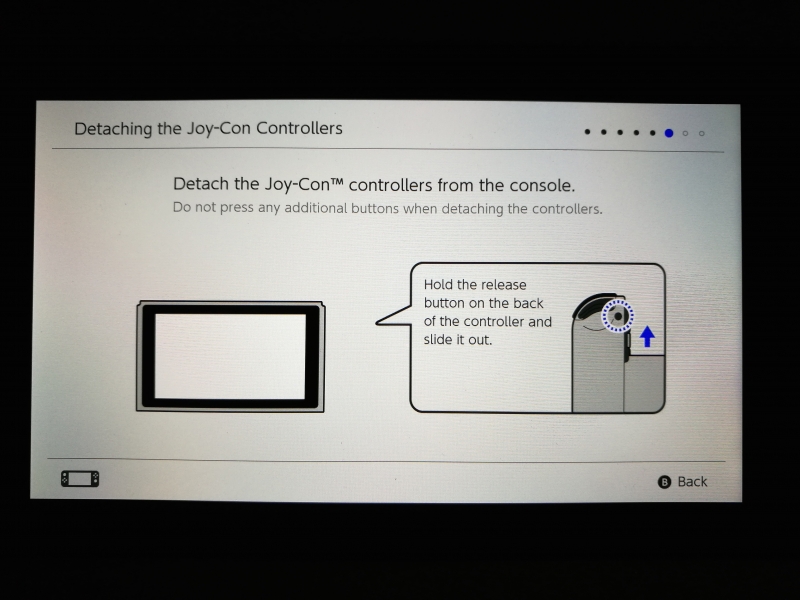
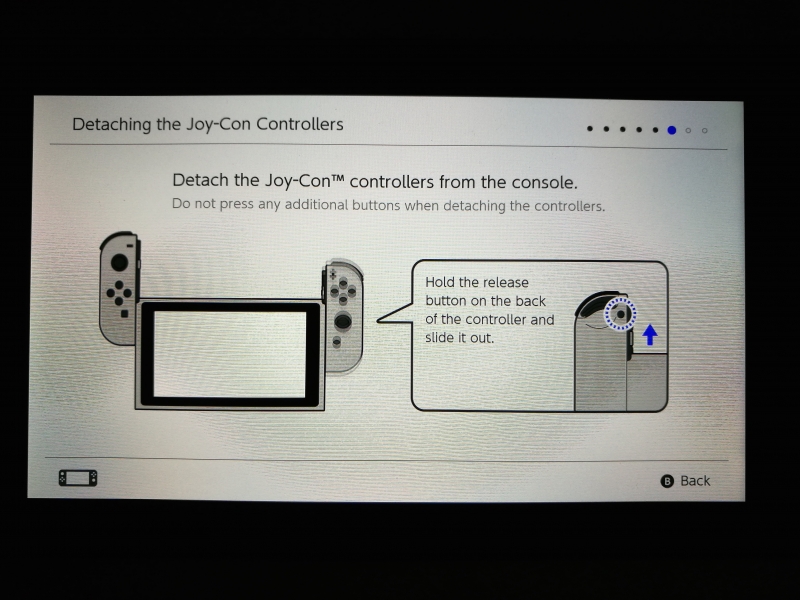
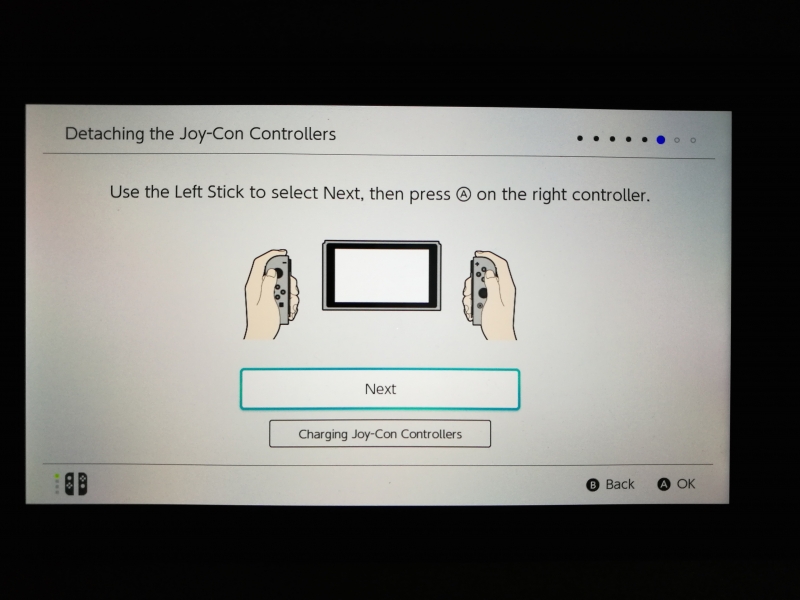
Here we continue the setup without connecting to the dock. The Nintendo Switch then wants you to detach the Joy-Con controllers from the console and show how the controllers can work with the console wirelessly. Note you need to press the round release button on the controller in order to unlock the controller from the console or strap.
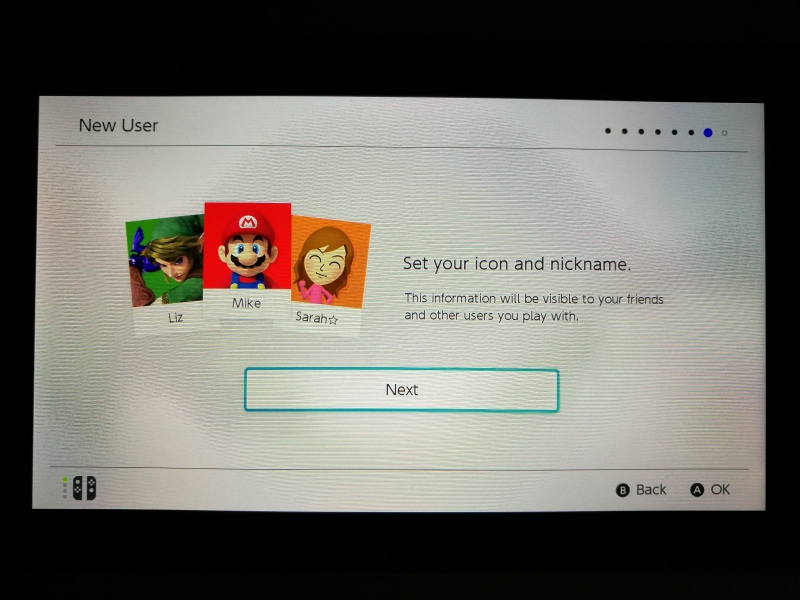
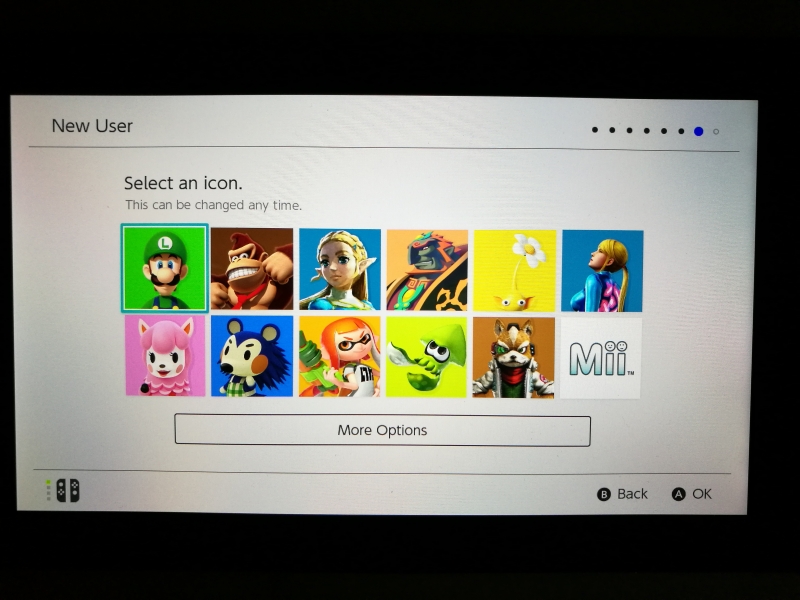
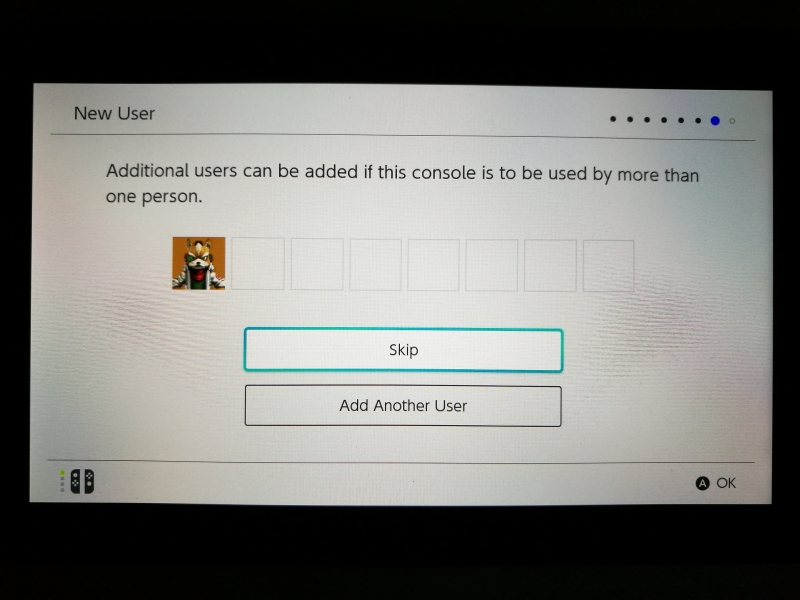
You need to set up a user account and create or link with an existing Nintendo account.
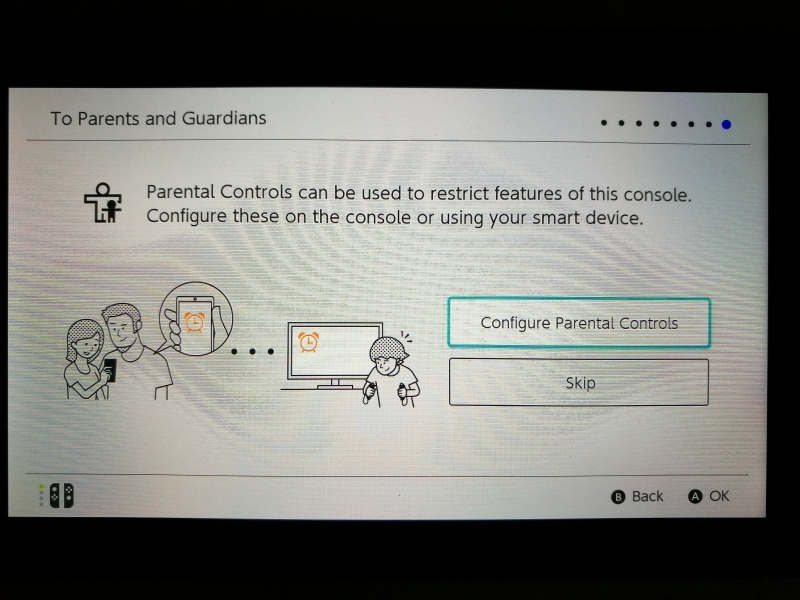
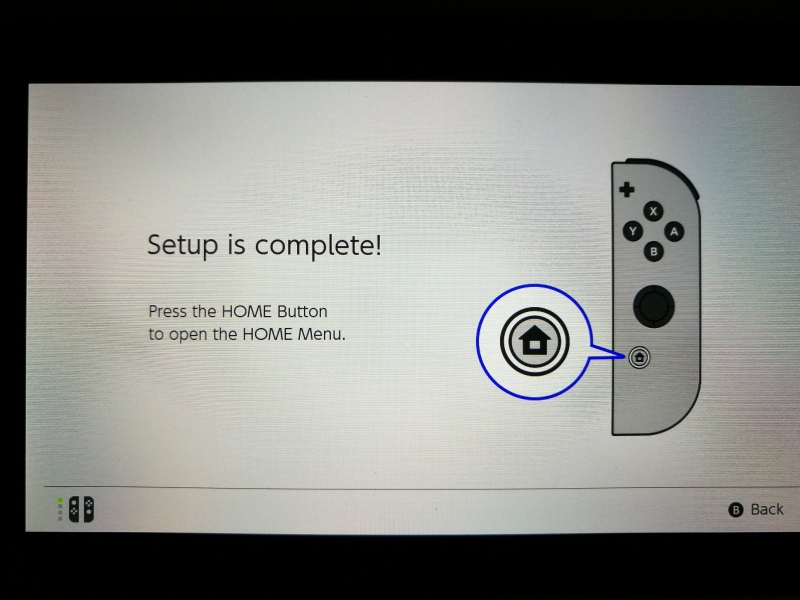
Finally, you can configure Parental Controls and complete the setup.
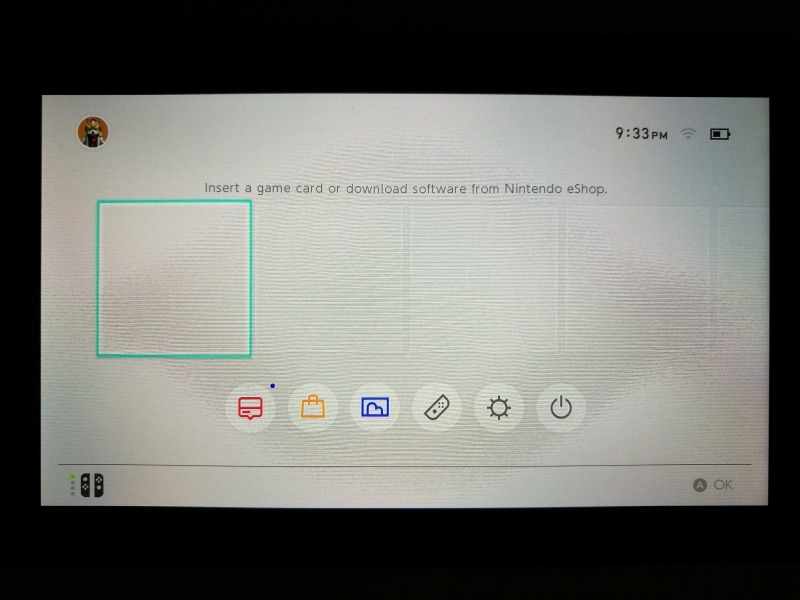
The Nintendo Switch doesn't come with any built-in games meaning you need to download them from the Nintendo eShop or purchase a game cartridge. Unlike casual games on Android phones or iPhones, there aren't many game demo's available meaning to try out the Nintendo Switch you will need to purchase a game.
Using the USB Power Delivery Compliance C2 Tester from Granite River Labs to run just a subset of the full USB Power Delivery compliance test suite, we can see that the Nintendo Switch supports fixed PDO's of 2.5 watts (5 volts @ .5 amps) and 7.5 watts (15 volts @ .5 amps) along with variable power supply of 2.5-7.5 watts range (5-15 volts @ .5 amps) for charging. Note some compliance failures were observed.
DUT Information
Manufacturer
|
Nintendo
|
Model Number
|
Switch Console
|
Serial Number
|
Comm
|
Test Information
Date and Time:
|
20180226_174805
|
Controller and Instrument Information
Parameter
|
Value
|
|---|---|
GRL USB-PD_C2 Serial No.
|
039.019.039.027.062.
|
GRL USB-PD Software Version
|
1.3.3.8
|
GRL USB-PD Firmware Version
|
1.3.3.0.7
|
Board Calibration
|
Calibration Success.
|
App Mode
|
COMMUNICATION_ENGINE_TESTS
|
Tx Mask
|
true
|
Rx Mask
|
false
|
RX mask Power selection
|
Neutral Power
|
Device Type
|
Consumer Only
|
Cable IR drop Imp(R)
|
0
|
Product Capabilities
Parameter
|
GetCapabilities
|
|---|---|
UUT_Device_Type
|
|
Vendor_Name
|
|
Product_Name
|
|
Version_Info
|
|
TID
|
|
Type_C
|
NONE
|
SOP_Capable
|
NONE
|
SOP_P_Capable
|
NONE
|
SOP_PP_Capable
|
NONE
|
SOP_P_Debug_Capable
|
NONE
|
SOP_PP_Debug_Capable
|
NONE
|
Manufacturer_Info_Supported_Port
|
|
Manufacturer_Info_VID_Port
|
|
Manufacturer_Info_PID_Port
|
|
USB_Comms_Capable
|
NONE
|
DR_Swap_To_DFP_Supported
|
NONE
|
DR_Swap_To_UFP_Supported
|
NONE
|
Externally_Powered
|
NONE
|
VCONN_Swap_To_On_Supported
|
NONE
|
VCONN_Swap_To_Off_Supported
|
NONE
|
Responds_To_Discov
|
NONE
|
Attempts_Discov
|
NONE
|
Chunking_Implemented_SOP
|
NO
|
Unchunked_Extended_Messages_Supported
|
NO
|
Accepts_PR_Swap_As_Src
|
NONE
|
Accepts_PR_Swap_As_Snk
|
NONE
|
Requests_PR_Swap_As_Src
|
NONE
|
Requests_PR_Swap_As_Snk
|
NONE
|
XID
|
|
Structured_VDM_Version
|
|
Data_Capable_as_USB_Host
|
NONE
|
Data_Capable_as_USB_Device
|
NONE
|
Product_Type_UFP_SOP
|
|
Product_Type_DFP_SOP
|
|
Modal_Operation_Supported
|
NONE
|
Security_Msgs_Supported_SOP
|
NO
|
USB_VID
|
|
PID
|
|
bcdDevice
|
|
SVIDs Min
|
0
|
SVIDs Max
|
0
|
SVID Fixed
|
NONE
|
Power Capabilities
Parameter
|
GetCapabilities
|
|---|---|
PD_Power_as_Sink
|
|
No_USB_Suspend_May_Be_Set
|
NO
|
GiveBack_May_Be_Set
|
NO
|
Higher_Capability_Set
|
NO
|
Num_Snk_PDOs
|
|
Supply Type #1
|
Fixed
|
Voltage #1
|
0x64(5V)
|
OP Current #1
|
0x32(.5A)
|
Supply Type #2
|
Fixed
|
Voltage #2
|
0x12C(15V)
|
OP Current #2
|
0x32(.5A)
|
Supply Type #3
|
Variable
|
Min Voltage #3
|
0x64(5V)
|
Max Voltage #3
|
0x12C(15V)
|
Op Current #3
|
0x32(.5A)
|
PD_Power_as_Source
|
|
Rp Value
|
|
USB Suspend may be cleared
|
NONE
|
Send Ping
|
NONE
|
No of Source PDOs
|
|
Supply Type #1
|
-
|
Min Voltage #1
|
-
|
Max Voltage #1
|
-
|
Supply Type #2
|
-
|
Min Voltage #2
|
-
|
Max Voltage #2
|
-
|
Supply Type #3
|
-
|
Min Voltage #3
|
-
|
Max Voltage #3
|
-
|
Supply Type #4
|
-
|
Min Voltage #4
|
-
|
Max Voltage #4
|
-
|
Supply Type #5
|
-
|
Min Voltage #5
|
-
|
Max Voltage #5
|
-
|
PD_Power_as_Sink
|
|
No_USB_Suspend_May_Be_Set
|
NO
|
GiveBack_May_Be_Set
|
NO
|
Higher_Capability_Set
|
NO
|
Num_Snk_PDOs
|
|
Supply Type #1
|
Fixed
|
Voltage #1
|
0x64(5V)
|
OP Current #1
|
0x32(.5A)
|
Supply Type #2
|
Fixed
|
Voltage #2
|
0x12C(15V)
|
OP Current #2
|
0x32(.5A)
|
Supply Type #3
|
Variable
|
Min Voltage #3
|
0x64(5V)
|
Max Voltage #3
|
0x12C(15V)
|
Op Current #3
|
0x32(.5A)
|
Result Summary
Sl No
|
Test ID
|
Test Name
|
Test Result
|
|---|---|---|---|
1
|
TDA.2.1.1.1
|
BMC-PHY-TX-EYE
|
FAIL
|
2
|
TDA.2.1.1.2
|
BMC-PHY-TX-BIT
|
PASS
|
3
|
TDA.2.1.2.2
|
BMC-PHY-RX-INT-REJ
|
FAIL
|
4
|
TDA.2.1.2.1
|
BMC-PHY-RX-BUSIDL
|
FAIL
|
5
|
TDA.2.1.3.1
|
BMC-PHY-TERM
|
PASS
|
7
|
TDA.2.2.1
|
BMC-PROT-SEQ-GETCAPS
|
FAIL
|
10
|
TDA.2.2.5
|
BMC-PROT-DISCOV
|
FAIL
|
13
|
TDA.2.3.3.1
|
POW-SNK-TRANS-C-CP
|
FAIL
|
BMC Eye Diagram
The Nintendo Switch shows how USB Type-C can create very portable gaming platforms that are more competitive to smartphone based games, while still allowing you to use as a game console when back in your living room playing with friends. We'll be taking a look at how the Nintendo Switch works with various USB Type-C chargers and adapters in the market.
View Recommended Products for Switch
 GTrusted


