GTrusted


Apple iPads like the iPad Pro is a convenient way to control all your Apple HomeKit compatible devices in your home and can also act as a HomeKit hub to keep your HomeKit devices connected to the cloud for automation and remote access.
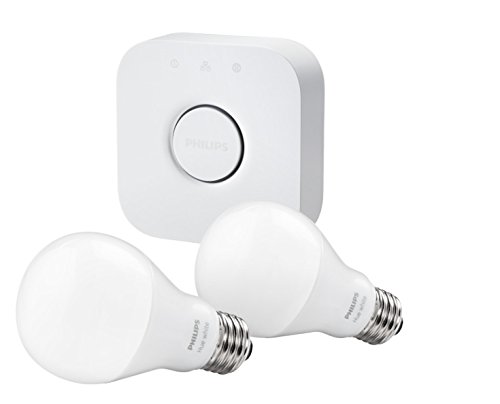
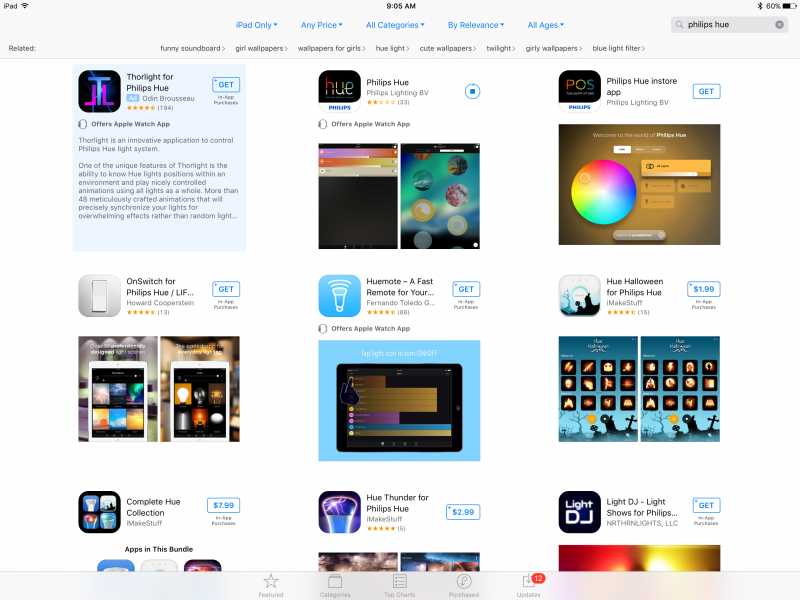
One popular smart home device is the Philips Hue Starter Kit, which supports many different home automation platforms including HomeKit. The Philips Hue Starter Kit only uses Ethernet to connect through your home network to phone and Apple servers. Rather than using the Apple Home App to directly pair the Philips Hue Starter Kit, you need to first download and install the Philips Hue App.


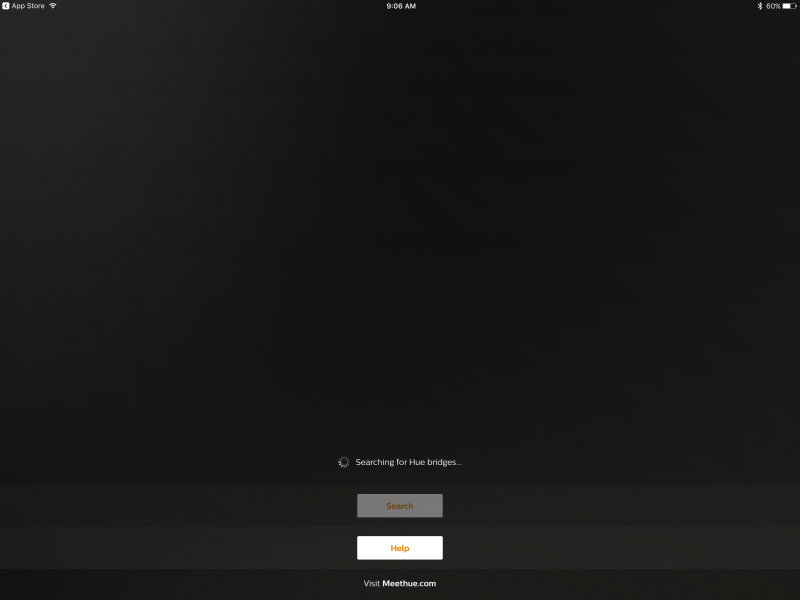
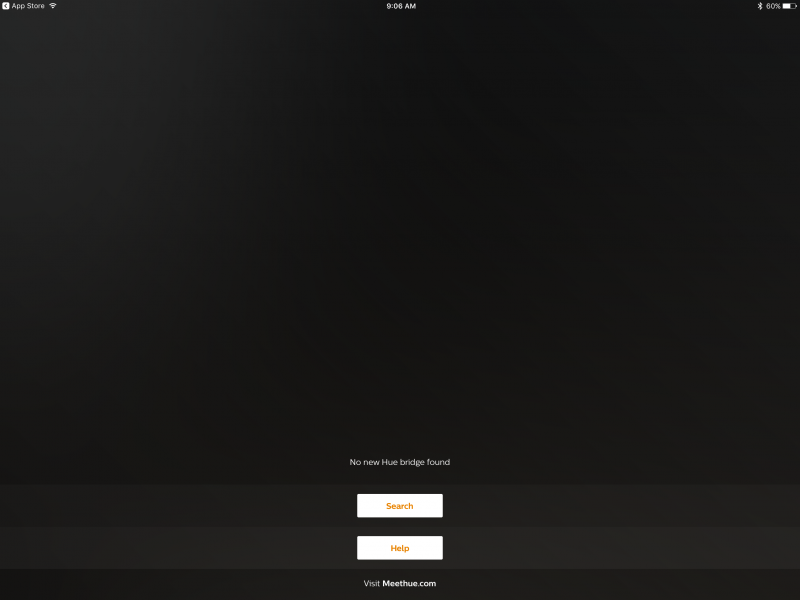
Once you open the Philips Hue App, the App will immediately start searching for Hue bridges. Unlike many IoT devices which use wireless to connect to your phone or network, the Philips Hue assumes the user has access to the Ethernet port of his or her router. Here we didn't have the bridge connected over Ethernet so the App couldn't find the bridge.
Once you connect the Philips Hue Starter Kit's bridge through Ethernet to the router, the Hue App will automatically find the bridge.


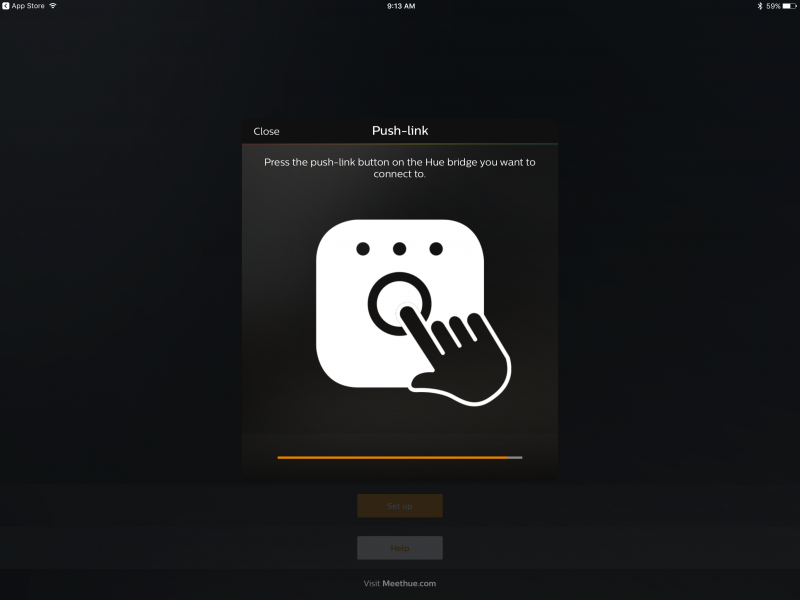
The Hue App also requires you to press the main round button of the bridge in order to start the pairing process. Perhaps the Hue assumes that there might be multiple bridges on the network, so you need to select which one you need to pair.
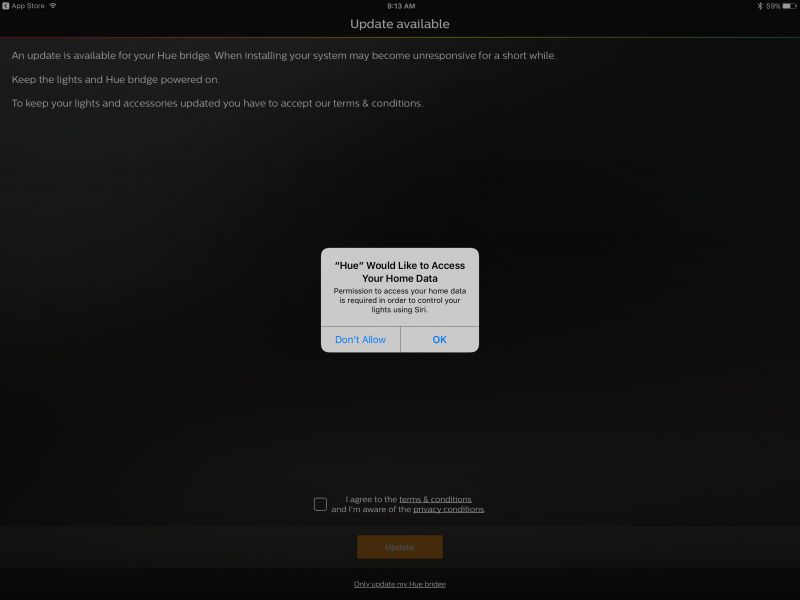
After pairing is completed, you will need to perform an update of the bridge.


Even though we had purchased the Philips Hue Starter Kit from the Amazon Pop-Up Store promoting Amazon Alexa, the Hue App is very HomeKit and Siri centric and includes HomeKit and Siri setup screens. If you don't plan to use HomeKit or Siri, you can skip this section.


You next need to select Pair bridge to pair the bridge to HomeKit (even though you have already paired the bridge to the Hue App).


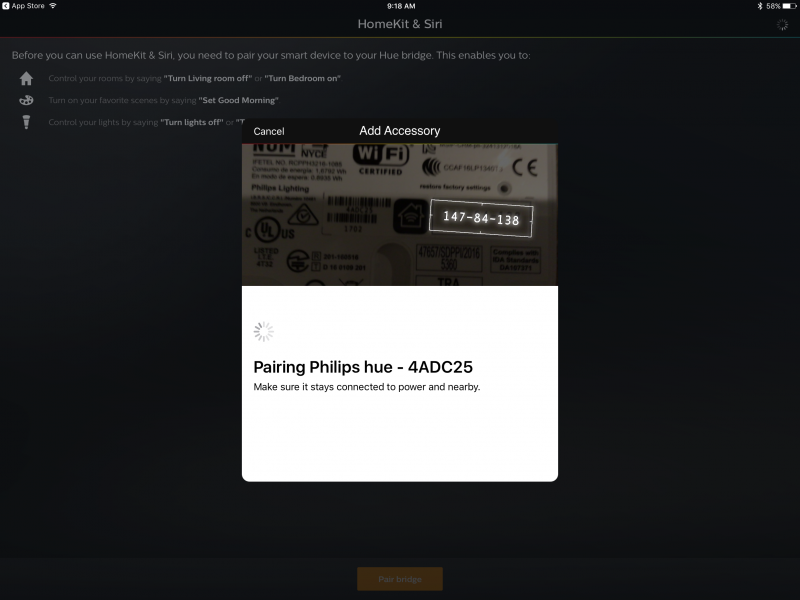
Once you select the home entity that you set up in HomeKit that you want to pair to, you then need to scan the HomeKit code at the back of the bridge. Apple HomeKit is unique in having to scan this code given that other platforms from Google and Amazon don't use a printed code for setup.
Once the Philips Hue Starter Kit bridge is paired through HomeKit, the Hue App automatically finds the light bulbs which are using wireless mesh based Zigbee technology to connect to the bridge. The App should automatically find the two light bulbs that came with the Philips Hue Starter Kit as long as they are inserted into the light sockets and powered.


You can then associate each light bulb to rooms that you can define in the Hue App.


Here we associate the Hue white lamp 1 to the Bathroom.


We then set up the Hue white lamp 2 to the Bedroom.


Once the light bulbs are associated to the rooms, the setup process is complete.

The Home screen of the Hue App allows you to directly turn on and off the light bulbs.


The Hue App also allows you to automate simple routines, explore different ways to use the Hue App, and change various settings.


You can also check the hardware models and software versions in the About screen.

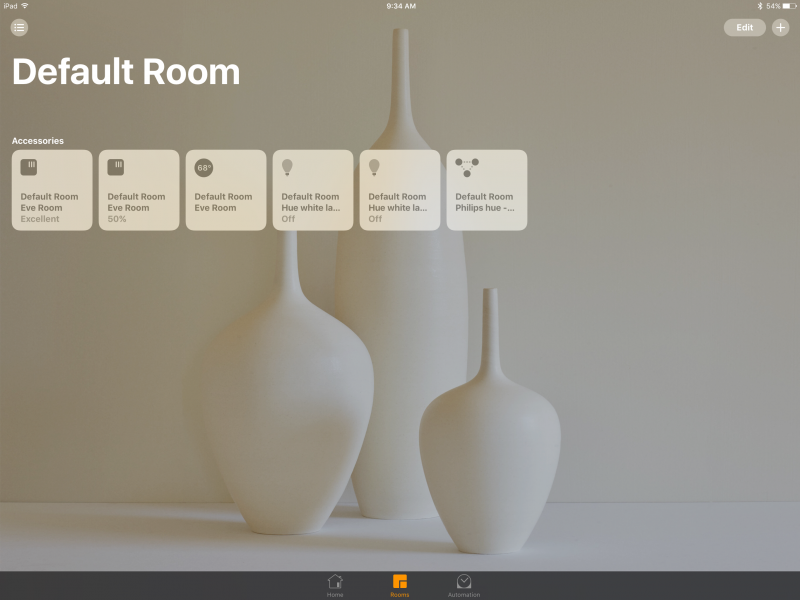
If you go back to the Apple Home App, the Philips Hue devices may show up but the rooms may not show up.
You will need to go back to the Hue App in the Room Setup and press the Update button to sync the rooms created in the Hue App to the Apple Home App.

You'll then go to the Update screen to confirm which rooms you want to sync with HomeKit and press the update button to continue.

For some reason the update didn't happen, and we had to go back to the update screen to try again before it finally was updated successfully.


This time we could see the rooms update in the Home App.


The Philips Hue Starter Kit uses Zigbee to connect the bridge with the light bulbs, but if you have problems with the Zigbee network, the Hue App does have a way to change the Zigbee channel. Just go to Settings -> Hue bridges and select your Hue bridge.

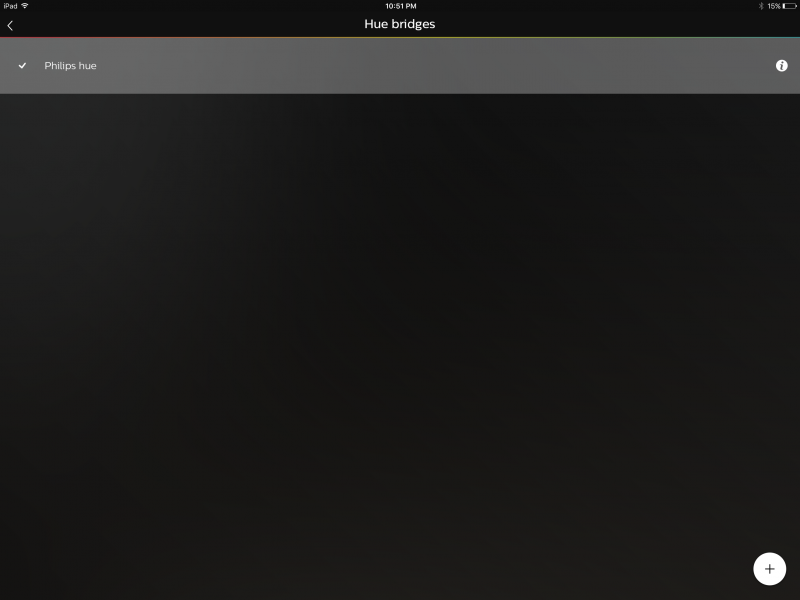
Then select ZigBee to go into the ZigBee screen where you can change your channel (make sure all your Hue light bulbs are turned on first).


Once you have set up the Philips Hue Starter Kit with HomeKit, you can start to use Siri voice commands to control it.


At the price of needing an Ethernet cable and wired access to your router or home network, the Philips Hue Starter Kit is relatively easy to set up since it hides the complexity of setting up wireless connections to the user.
Click here to see what other types of automation are available through the Hue App.