GTrusted


When you first turn on the Google Pixel 2 XL phone, you need to select the language and mobile network. If you are using Project Fi, you no longer need to insert a SIM card and can choose the account your Project Fi is associated with.
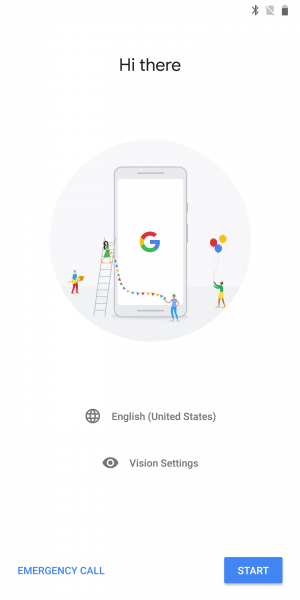


You then need to connect to your Wi-Fi network.

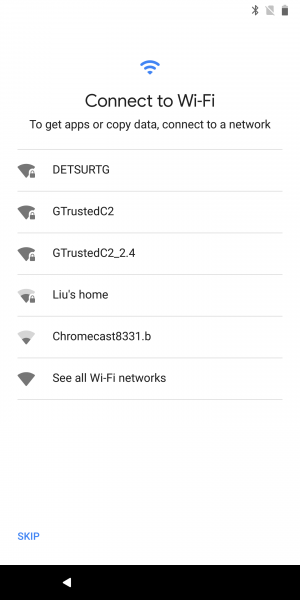
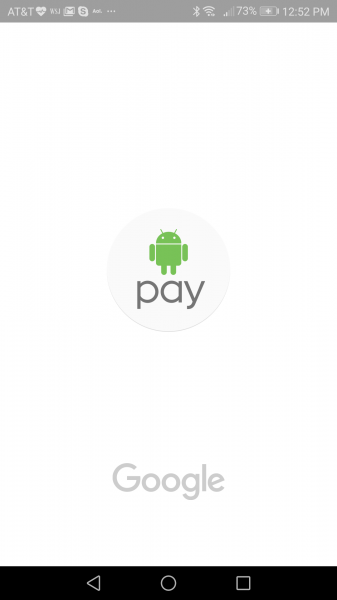
Interestingly, Google then inserts installation of Android Pay into the setup process.


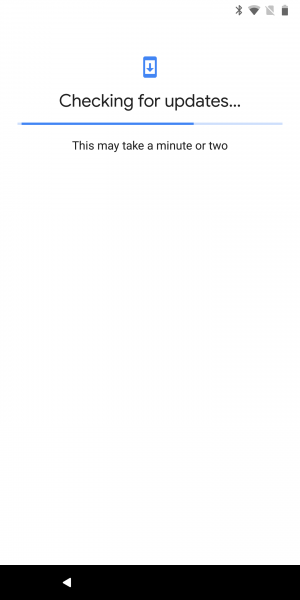
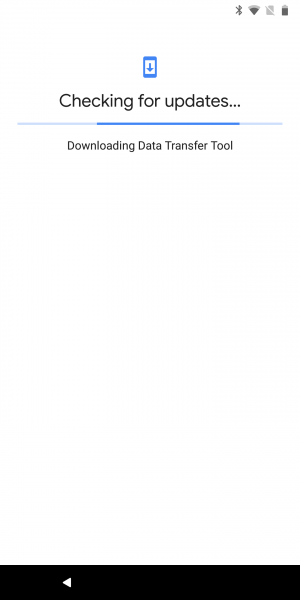
The setup will then continue to check for updates and automatically download the Data Transfer Tool which you will need to migrate from the original Google Pixel.


You can then directly connect a USB Type-C to Type-C cable between the Google Pixel 2 XL and Google Pixel. You can use a USB 3.1 cable to get a faster transfer rate.


You can then choose what files to copy from the older Pixel.


You can then set up your fingerprint and PIN for security.


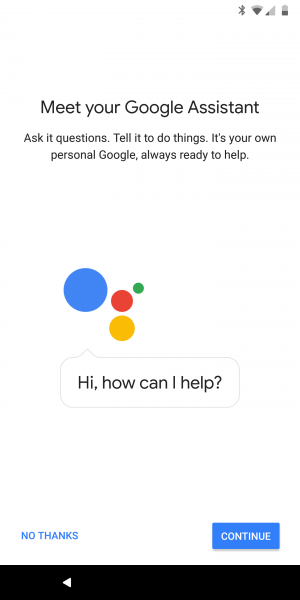
Next, you can set up Google Assistant to recognize your voice.

You then can select what Google services to provide permission to.


Google then completes the setup process and you can start using the phone.


Even after you can start using the Google Pixel 2 XL, in the background Google will continue the setup process by installing the apps that had been previously installed on the previous Pixel phone.


Google will also provide a notification asking you to perform a system update.


Setting up the Google Pixel 2 XL and transferring your settings from the Google Pixel is relatively straightforward although you have to put up with a lot of updates throughout the entire setup process.