GTrusted
44
High Trust Products
Chargers and Power Banks
Headphone & Speakers
Cases & Covers
Virtual Reality
Cables & Adapters
Media Player
Laptop
Tablet
Desktop
Cell Phone
Printers & Copiers
Memory Cards
TV
Computer Display
Game Console
Smart Home
Wearable Technology
Photo & Video Camera
Car Electronics
Car
Networking Equipment
Smart Toys
Home Audio & Video
Professional & Industrial
Storage Drive
Docking Station
Game Console Controllers
Set-top box
Keyboard, Mice, & Stylus
Portable Music Player
Computer Parts & Components
Cordless & Speakerphones
Projector
Software
Reporting
Arlo Wire-Free Security System
by NETGEAR


Interested in this product?


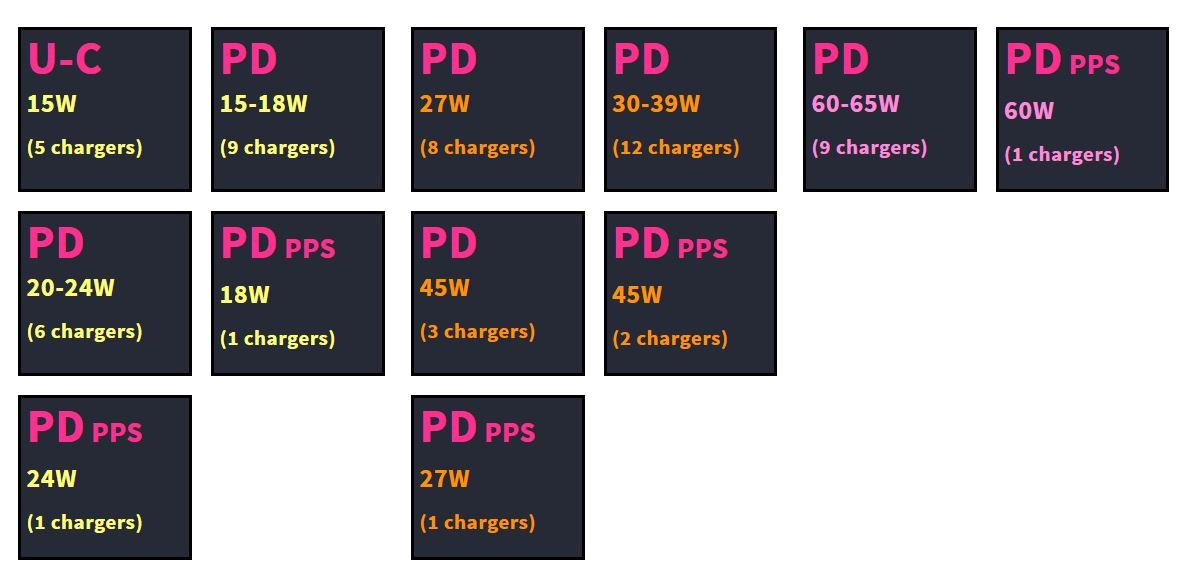
Select a product category to see which devices type we recommend to use with the Arlo Wire-Free Security System:
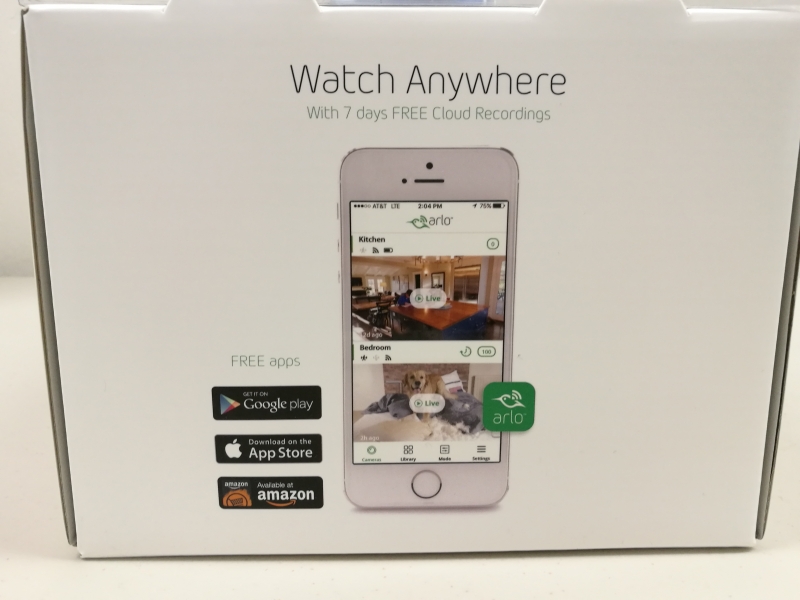
How to Set Up the NETGEAR Arlo Wire-Free Security System
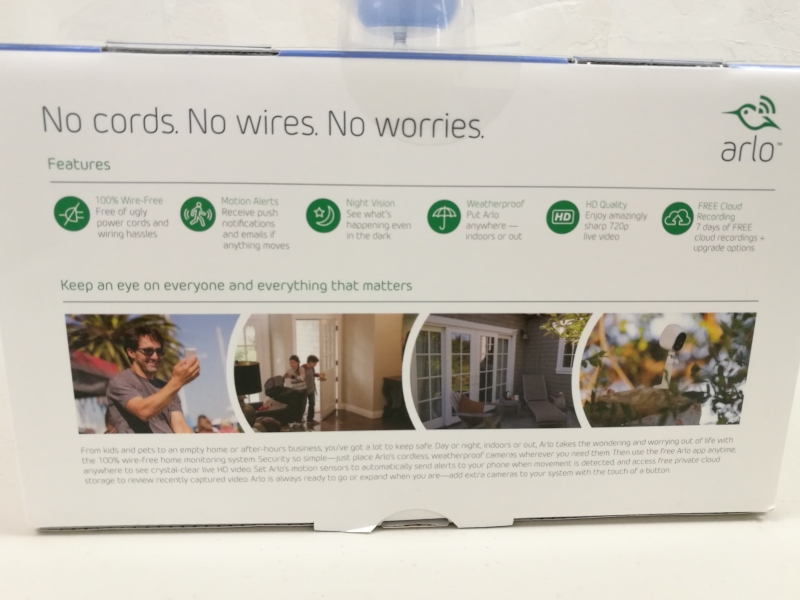
NetGear's Arlo Wire-Free Security System has turned heads by creating an easy to use, wire-free, free cloud based home and small office security camera solution. A lot of security camera solutions out there have monthly service fees, requiring wiring up your home, need access to power outlets, or just difficult to use. The Arlo Wire-Free Security System removes all these barriers and now you can set up multiple security camera anywhere inside or outside the house and access 7 days of cloud based recording for free in an easy to use App or browser.
To try it out, I purchased the 1 camera version of the Arlo Wire-Free Security SystemArlo Wire-Free Security System from Fry's Electronics in San Jose, California.
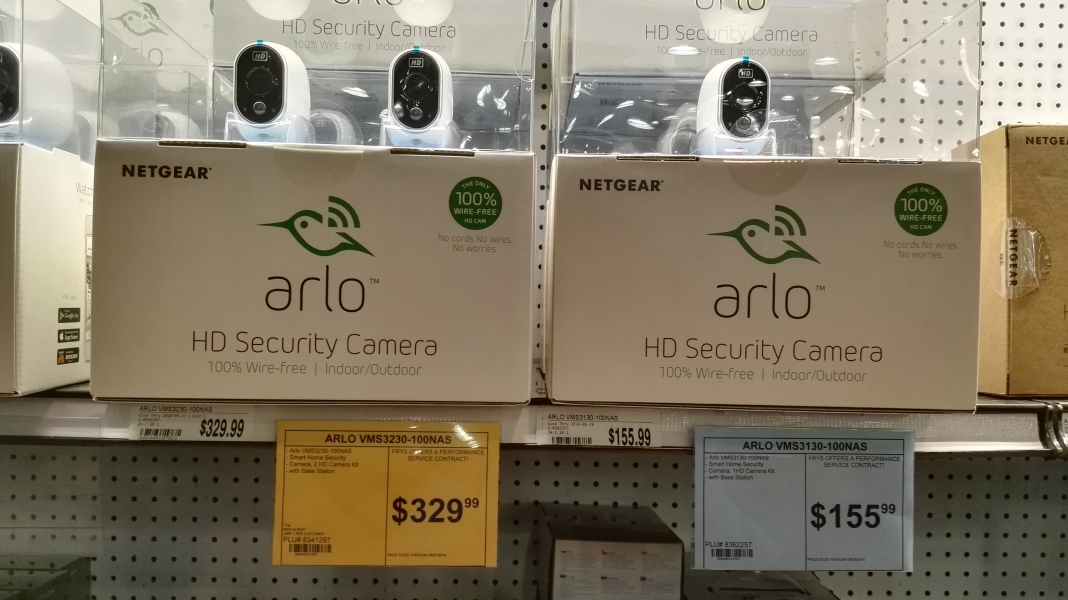
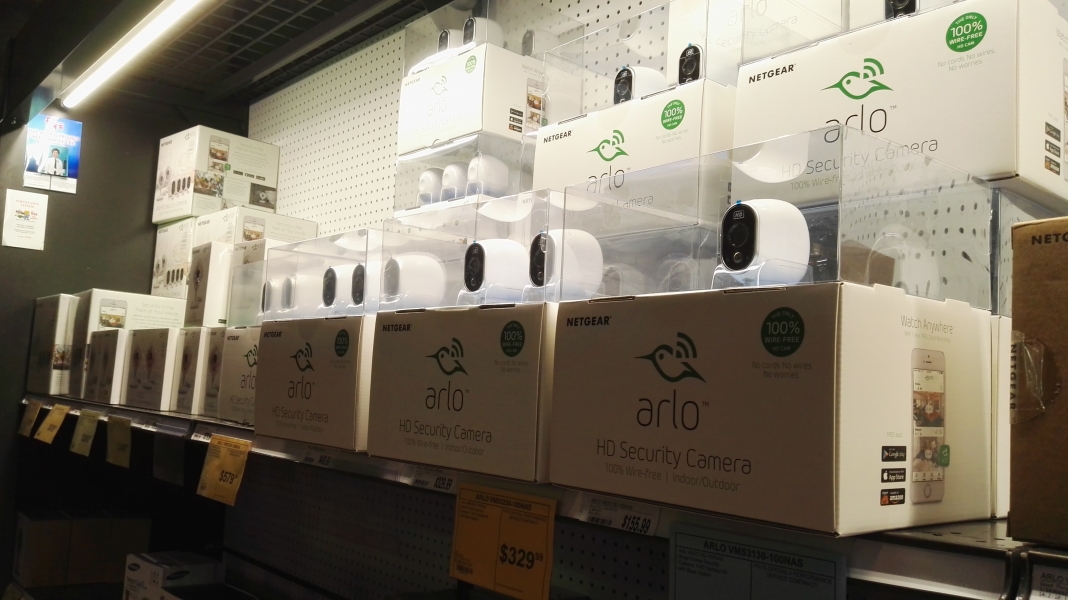
Fry's had an entire shelf dedicated to NETGEAR Arlo products, showing how popular it has become. You can even purchase skins to customize the look of your security camera which a unique concept in the typically more mundane security camera space.
The easiest way to start with the Arlo Wire-Free Security System is to purchase of the kits that come with both camera(s) and base station. You can start with one camera if you are just seeing if Arlo works for you or purchase kits that come with multiple cameras.
One way that NETGEAR makes it easy to set up the Arlo is that it comes bundles with its own wireless base station. Using its strength as a wireless networking company, NETGEAR bundles the base station to significantly reduce any potential interoperability issues with third party wireless routers, dedicate wireless bandwidth for the cameras, and provide easier to follow setup instructions for the user.
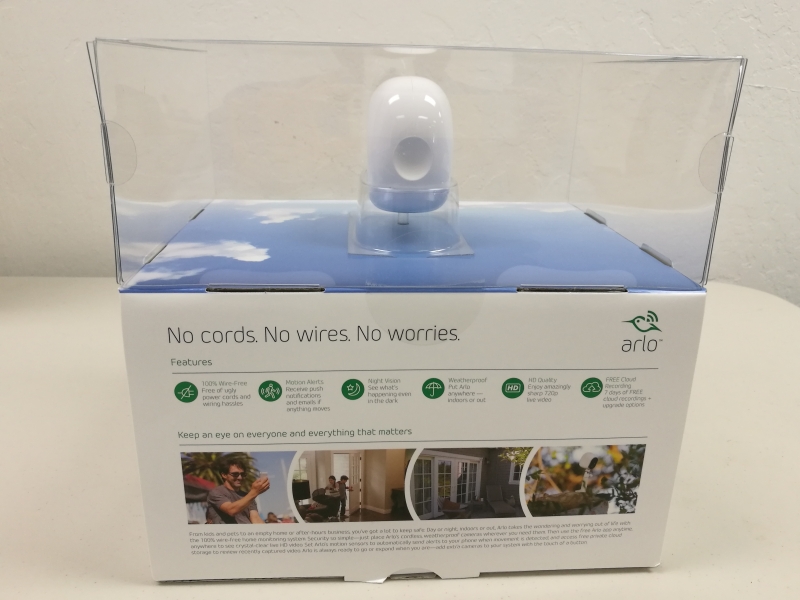
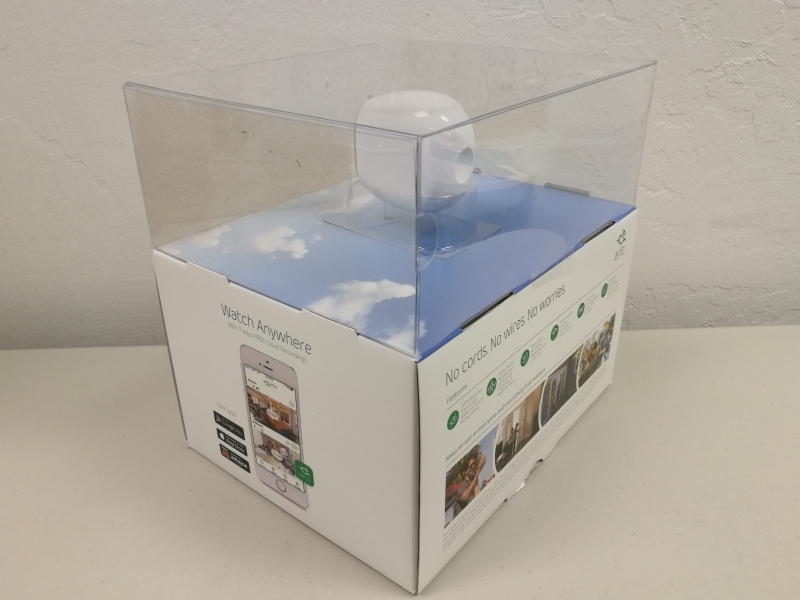
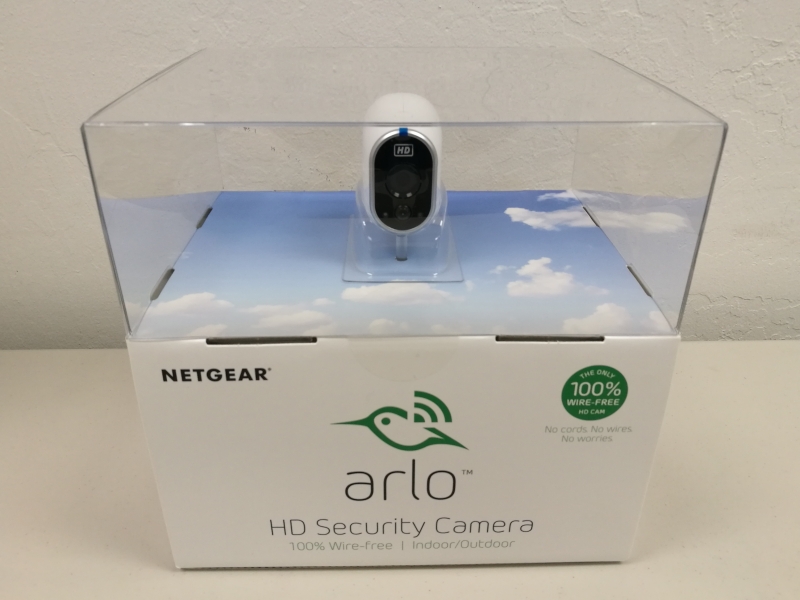
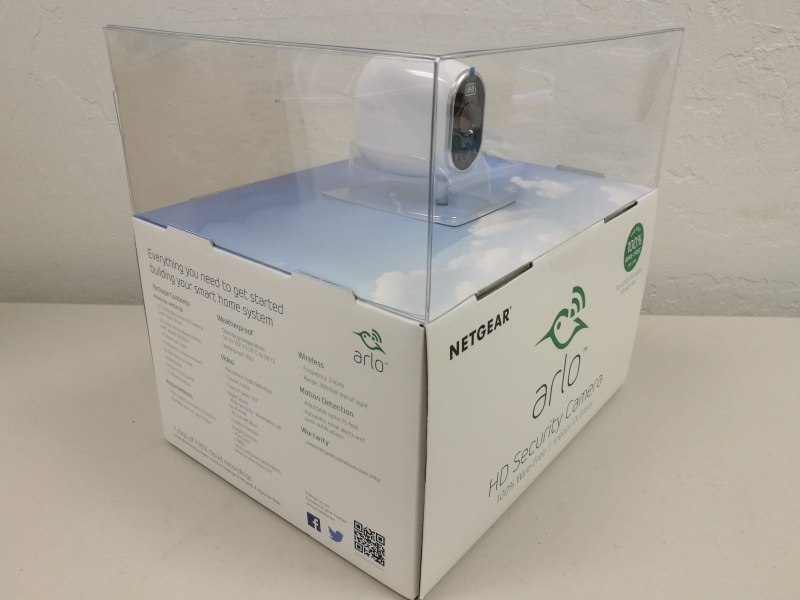

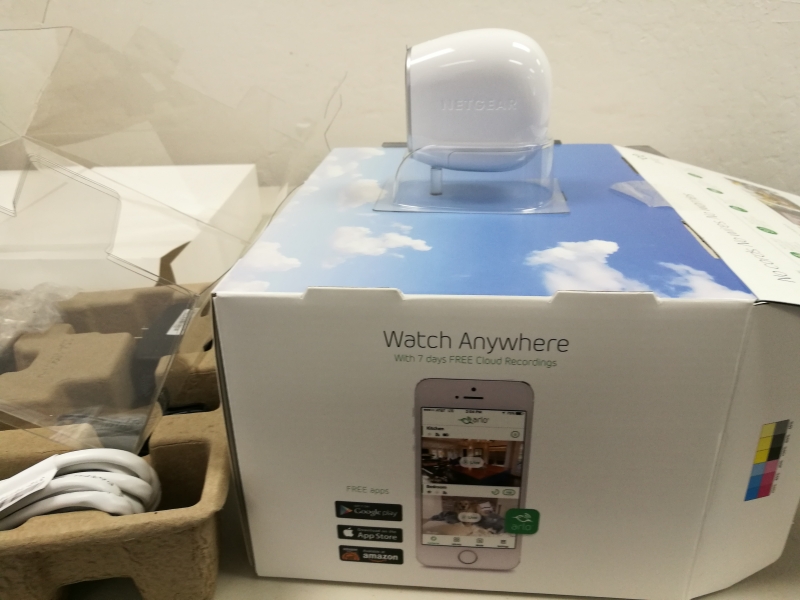
Each kit comes in a rather large box which is a bit difficult to open.
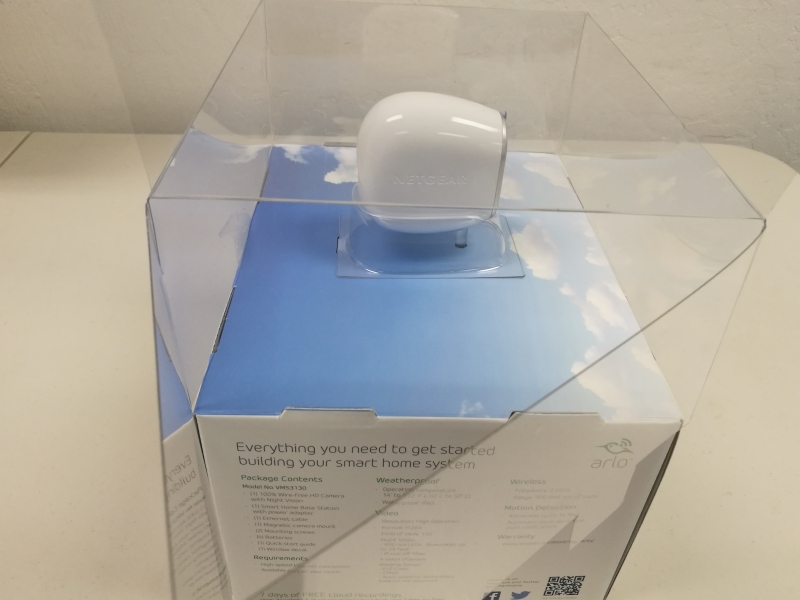
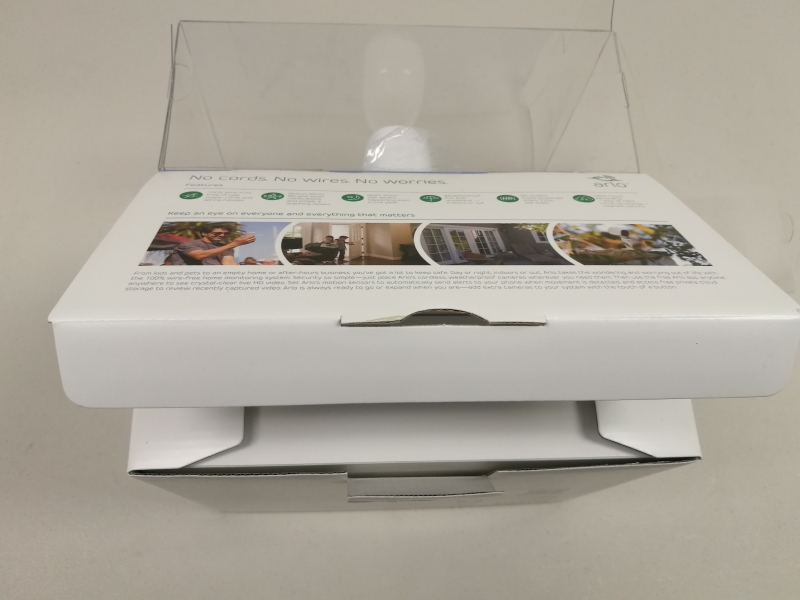

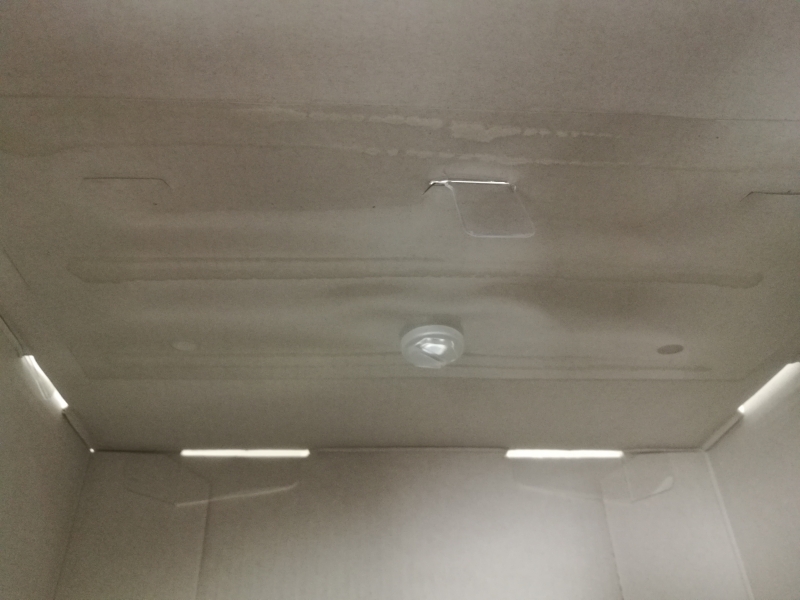
The most challenging part of opening the box is that the camera is locked to the box with a plastic screw.
You'll need to find some short screwdriver to unscrew the camera out from inside the box where there isn't a lot of room.
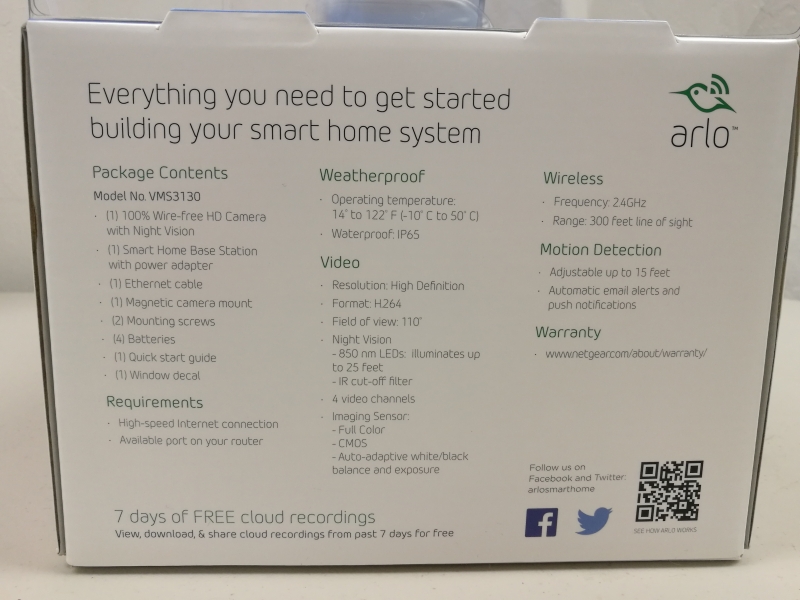
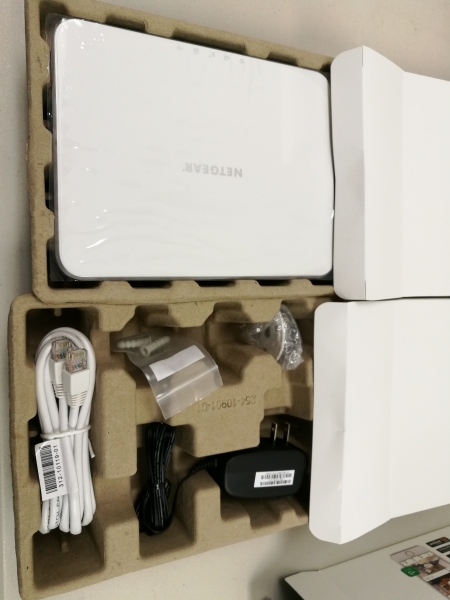
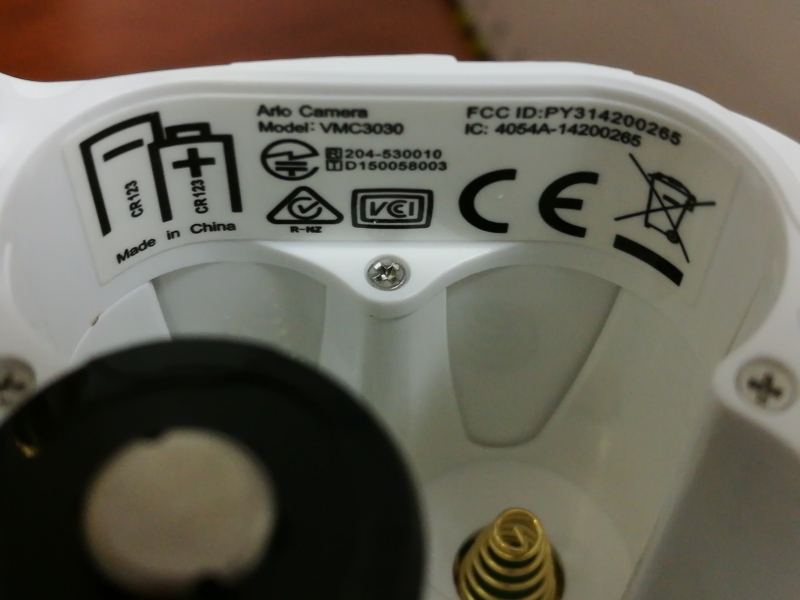
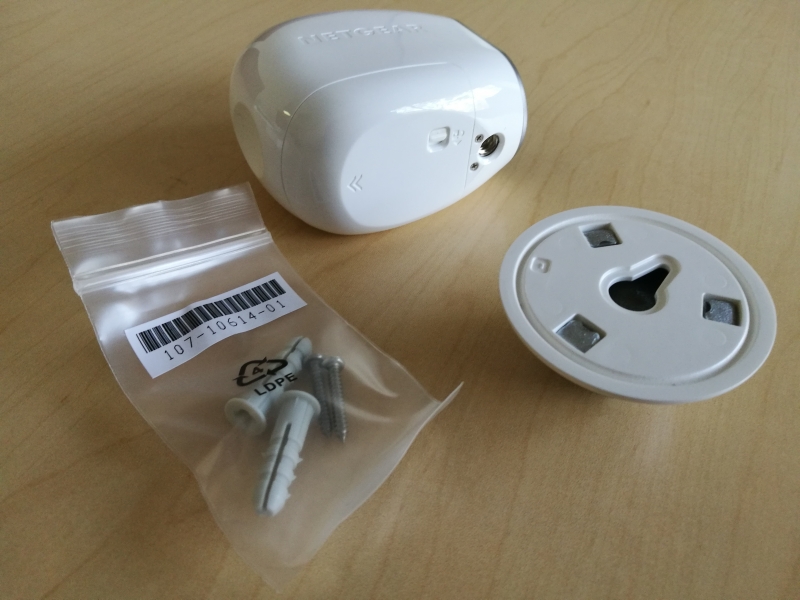
Other than the camera and base station, the main accessories of the Arlo Wire-Free Security System include a magnetic holder, screws to connect the magnetic holder to a wall, batteries for the camera, an Ethernet cable, an AC power adapter for the base station, warning stickers and Quick Start Guide.

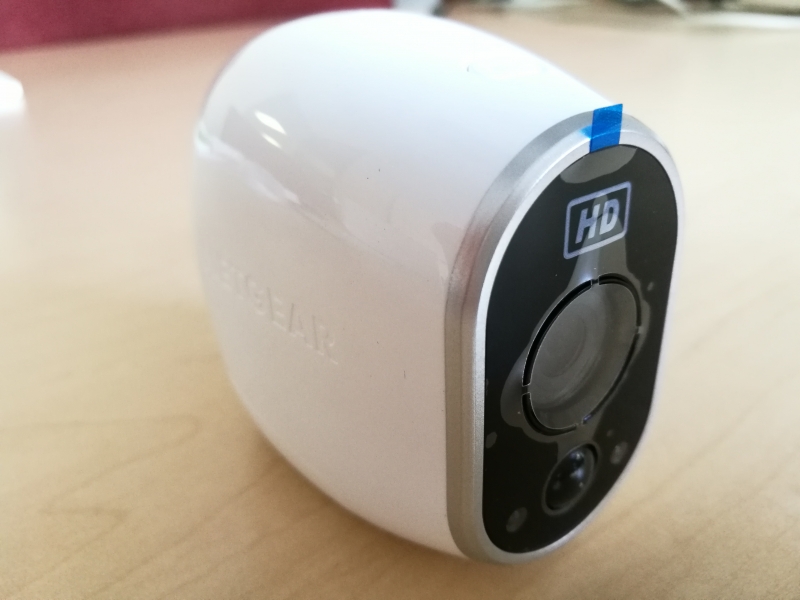
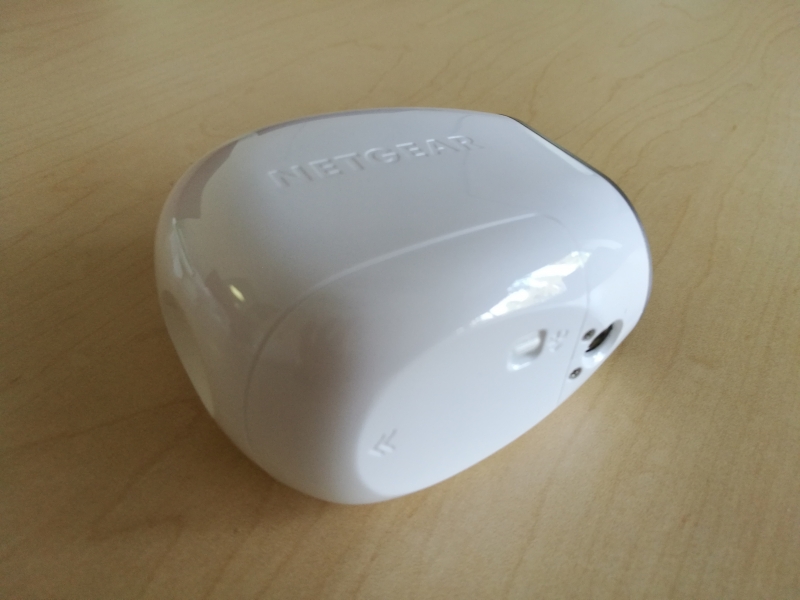
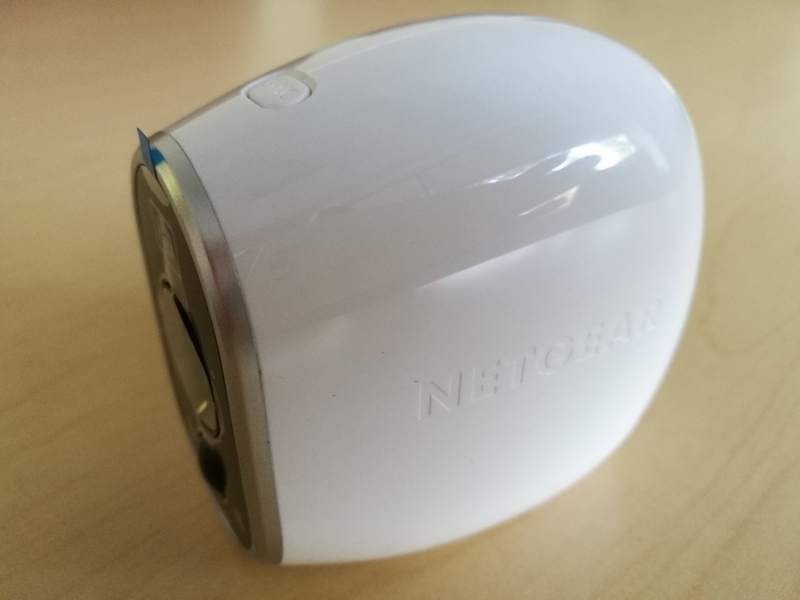
Unlike other security cameras, the Arlo Wire-Free camera is very pleasing to the eye and would fit nicely anywhere in the home.
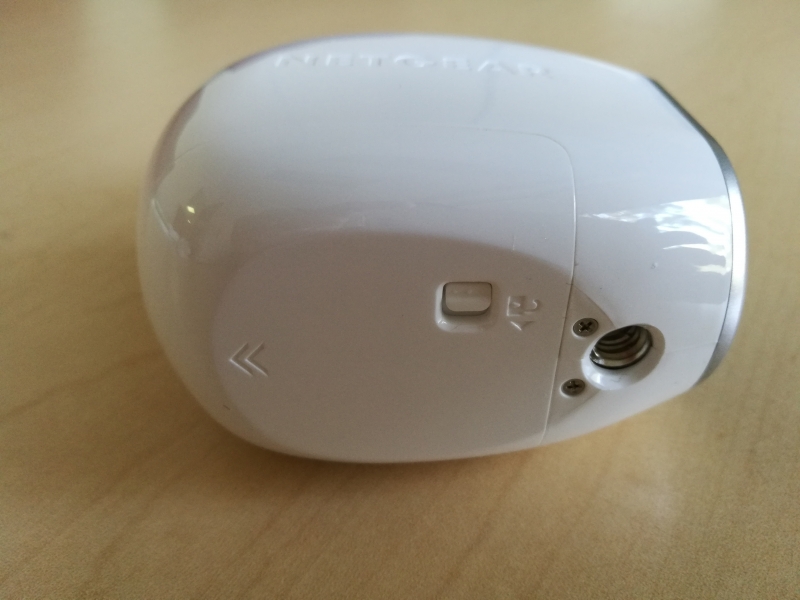
To use the camera, you'll need to first pop open the battery door at the bottom.
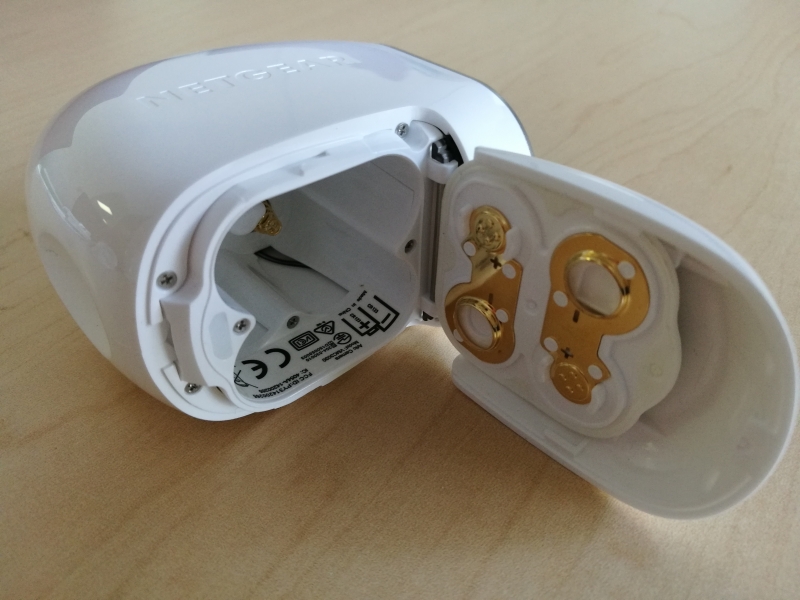
Ignore the plus and minus symbols of the lid which could mislead you on how to install the batteries. For example, the pictures below show the wrong way to insert the batteries.
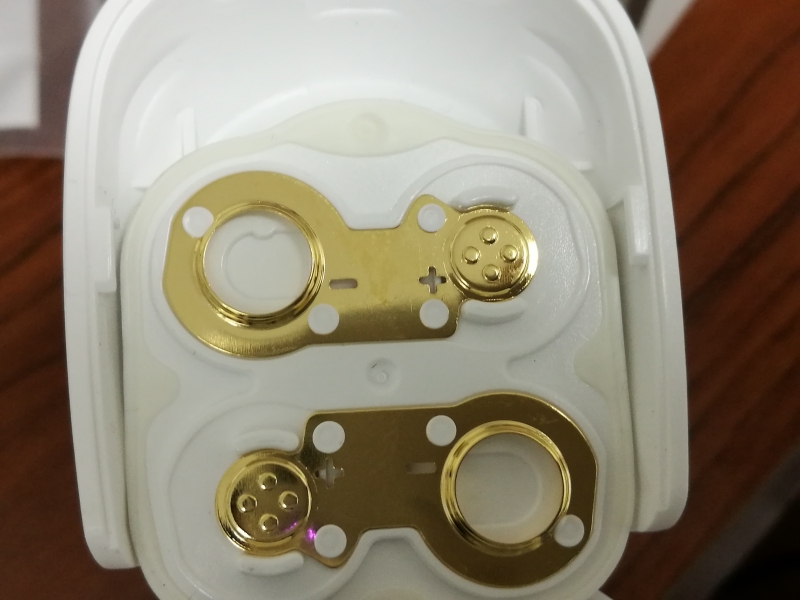
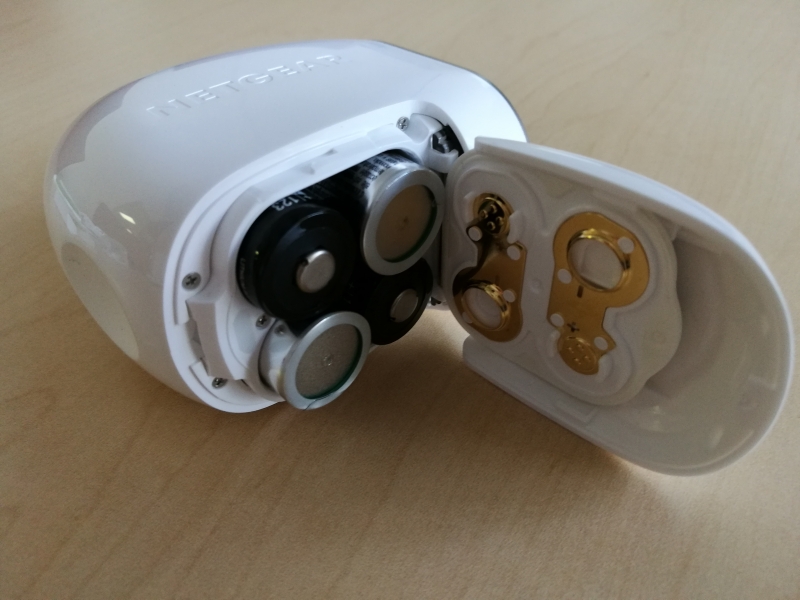
Instead, follow the instructions inside the area the batteries slip into. The pictures below show the correct way to insert the batteries.
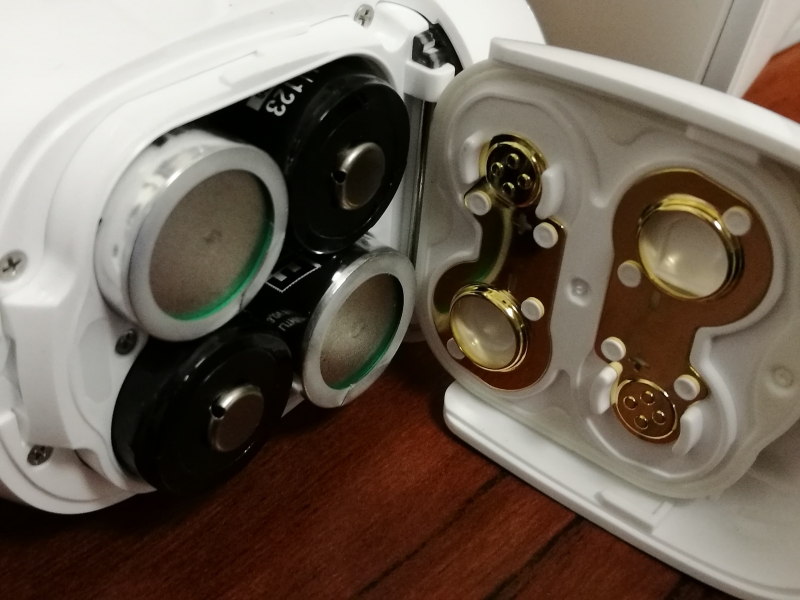
Once the batteries are inserted, you can close the lid back up.
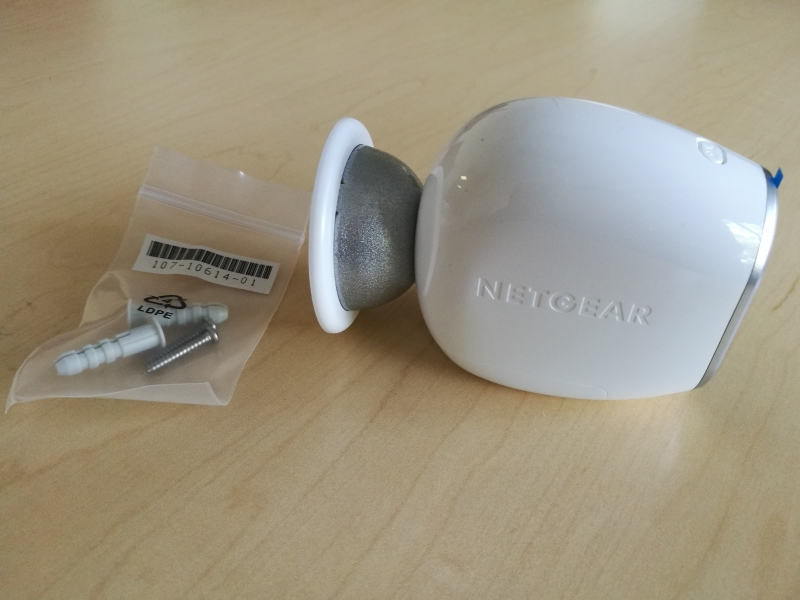
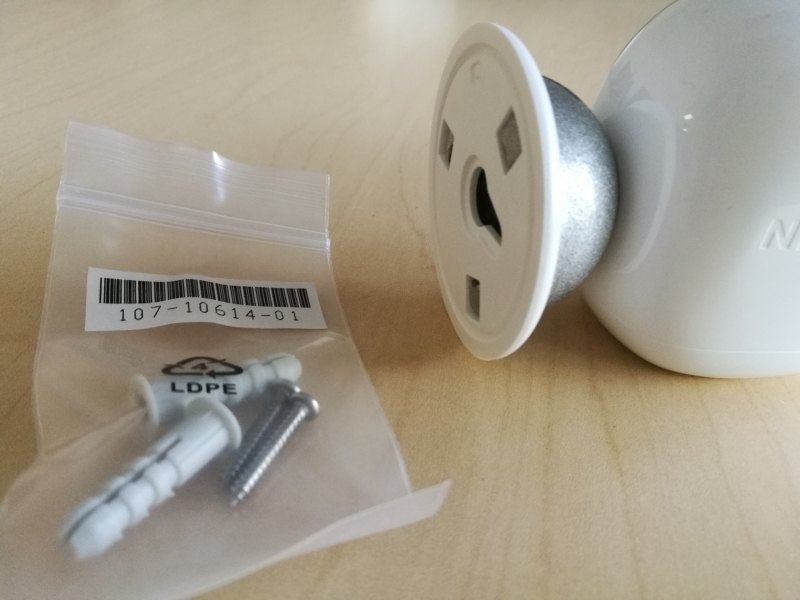
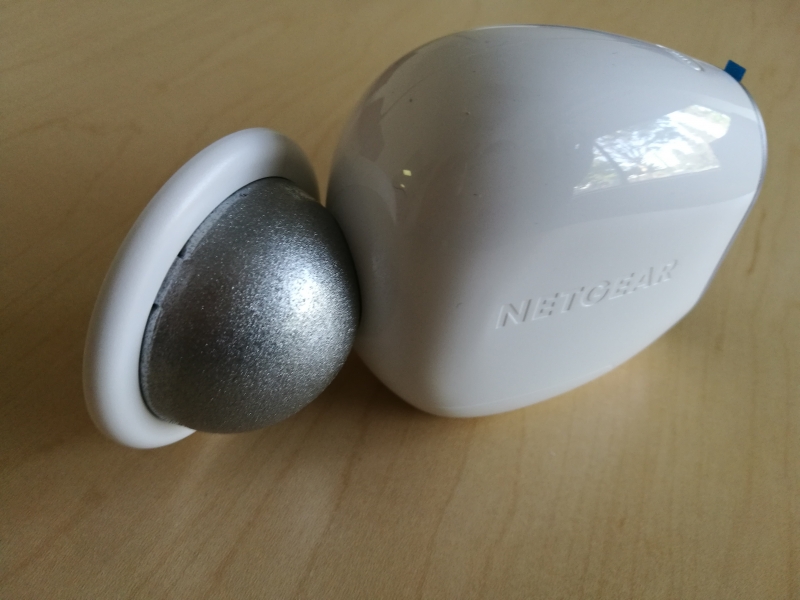
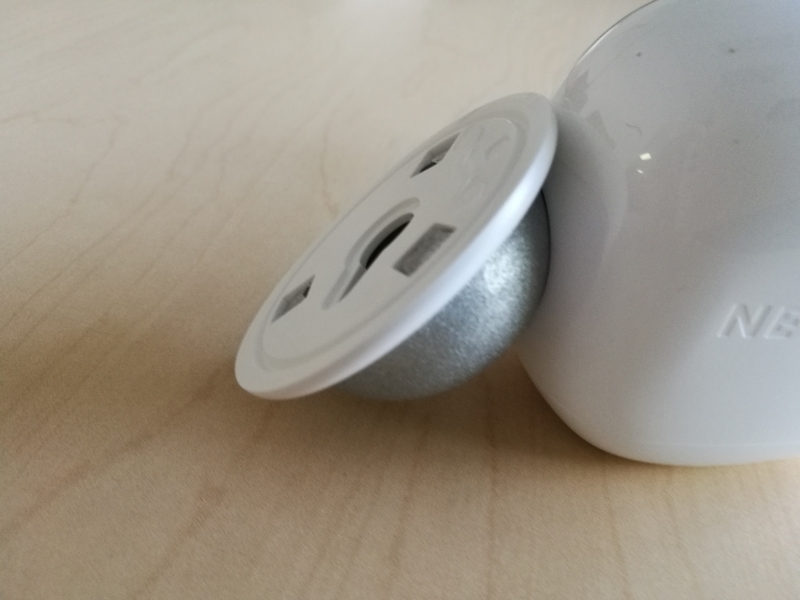
Another convenient feature of the Arlo Wire-Free Security System are the magnetic holders which you can screw into walls.
These magnetic holders stick to the back of the camera and you can orient them at different angles.
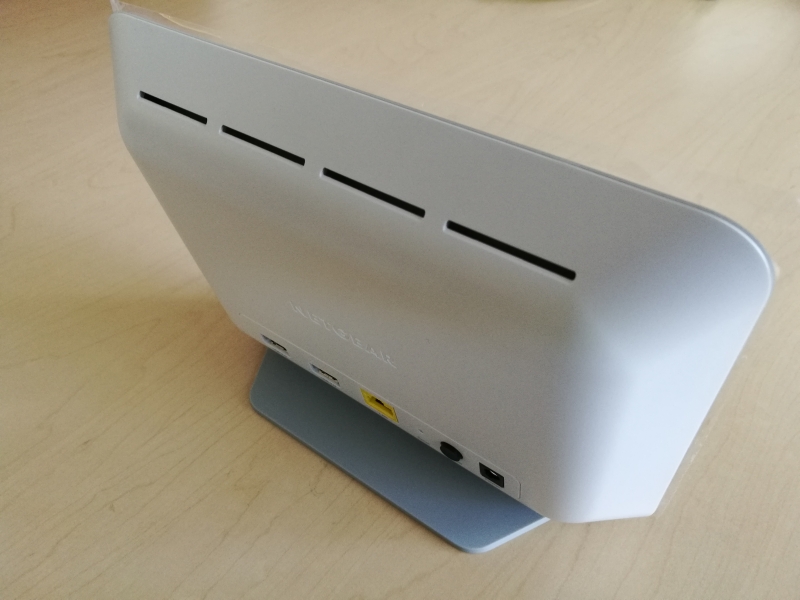
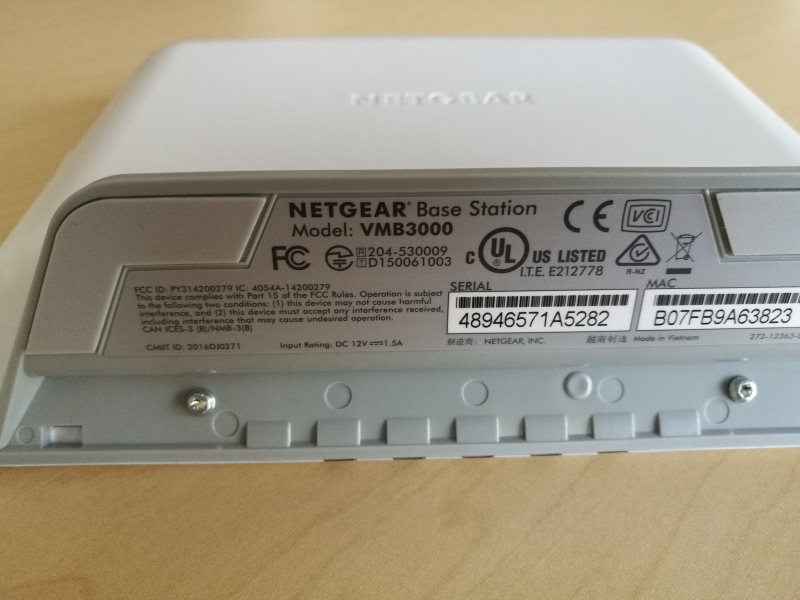
The Arlo Wire-Free Security System's wireless base station is also designed attractively and stands up vertically.
The back of the wireless base station consists of two USB 2.0 Type-A ports and an Ethernet port. The power button and AC power connector is also on the back.
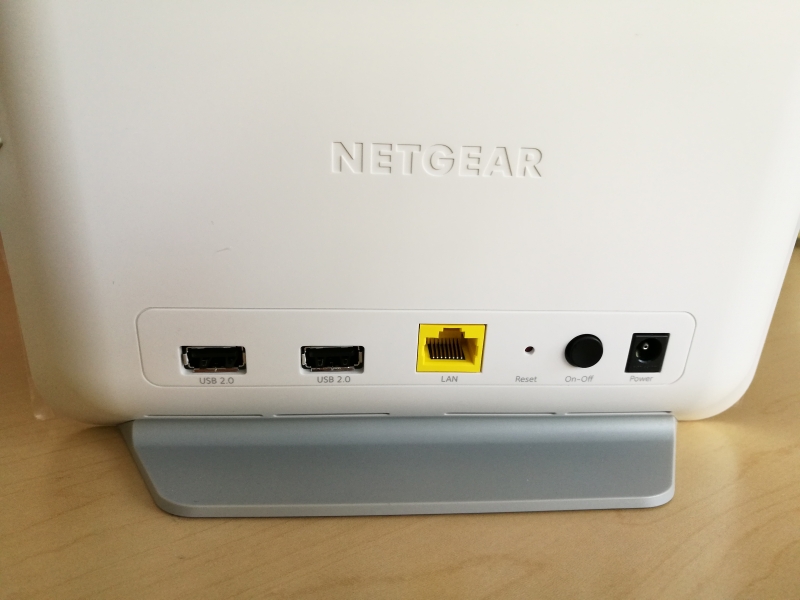
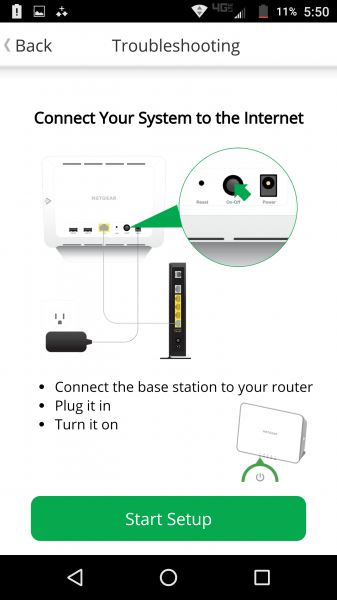
Once you plug the AC power adapter into the base station and press the power button to on, you'll see a green light next to the power icon in the front.
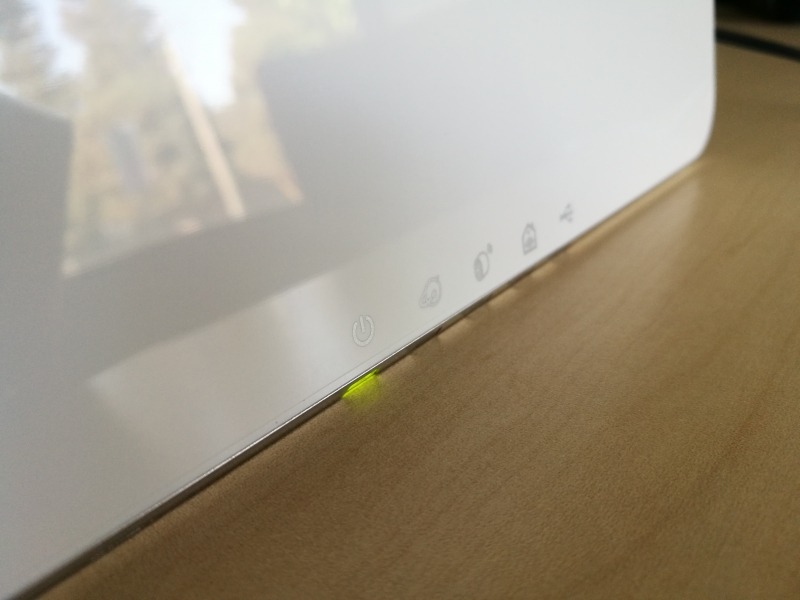
You should then connect the wireless base station to your Internet router using the Ethernet cable. Once the base station can access the Internet, you should see a green light underneath the Internet icon to the right of the power button.

The easiest way to set up the wireless base station is to just directly connect a computer to the same router using another Ethernet cable.
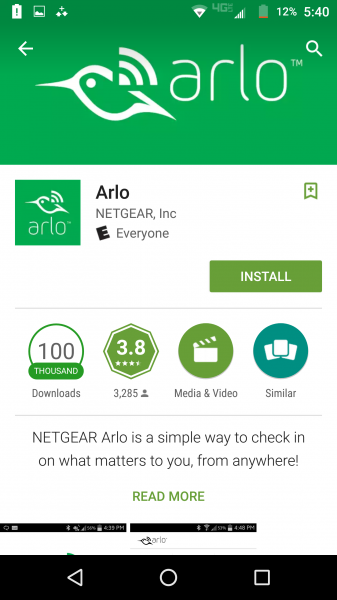
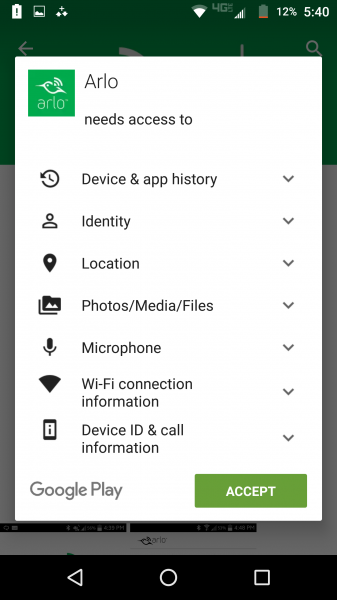
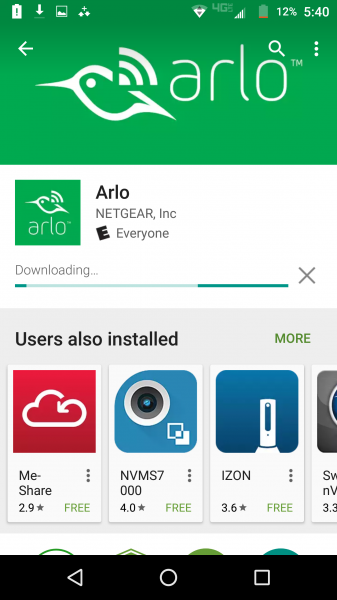
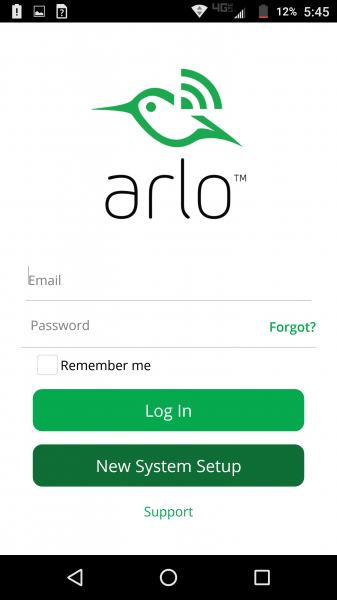
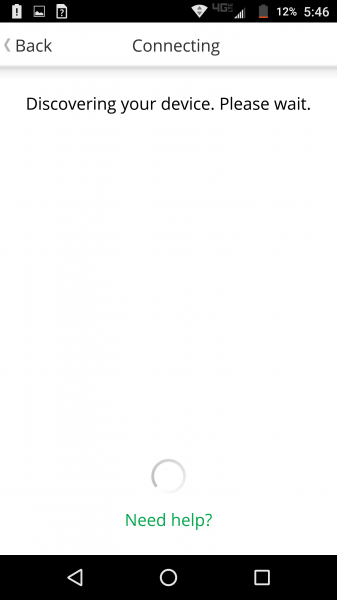
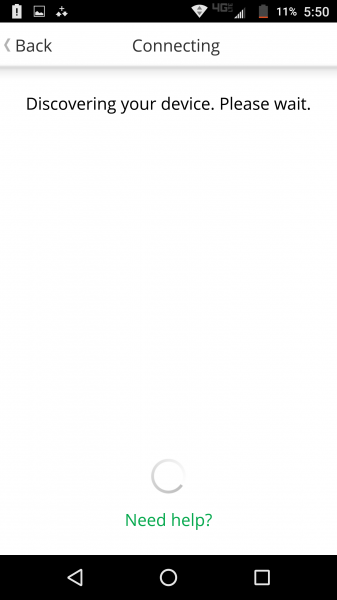
At first I tried to set up the Arlo Wire-Free Security System through a WI-FI network with the Android based Moto Z Droid, probably due to the WI-FI router being set up as bridge and not being a DHCP server itself. After installing the Arlo App and going through the setup screens, the App was unable to find the Arlo Wire-Free Security System despite multiple attempts.


Once I connected a Mac directly to the same router using Ethernet, things got a lot easier. On the Mac I first went to arlo.netgear.com in Safari.
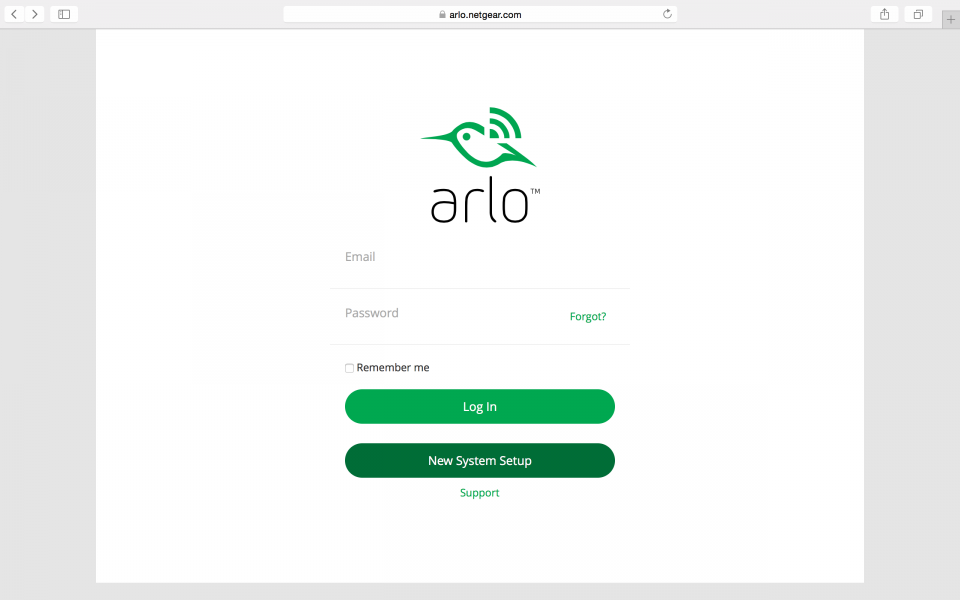
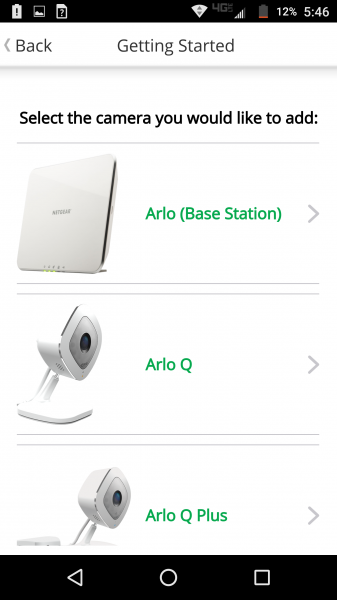
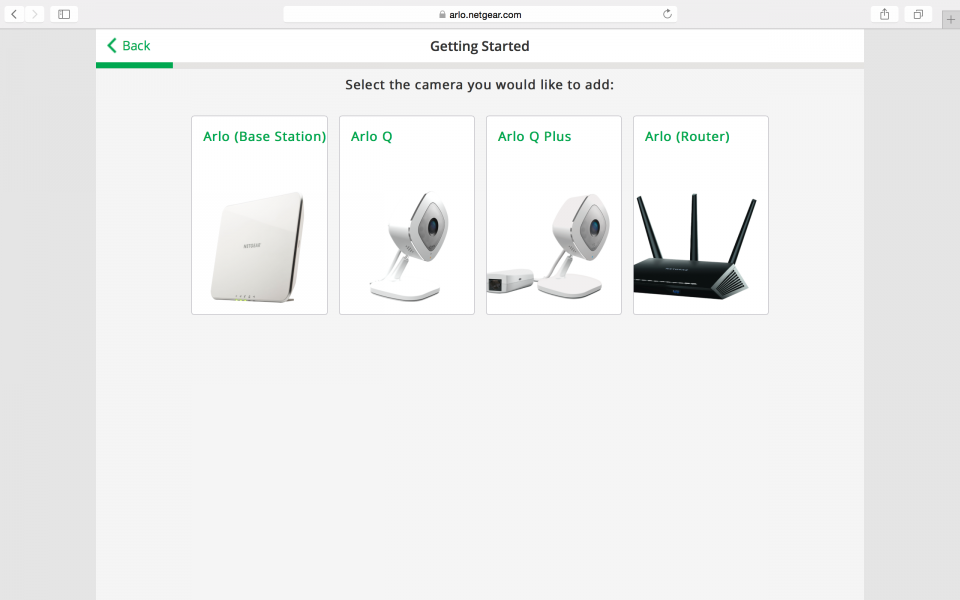
After selecting New System Setup, I selected the Arlo (Base Station) and the browser starting looking for the base station.
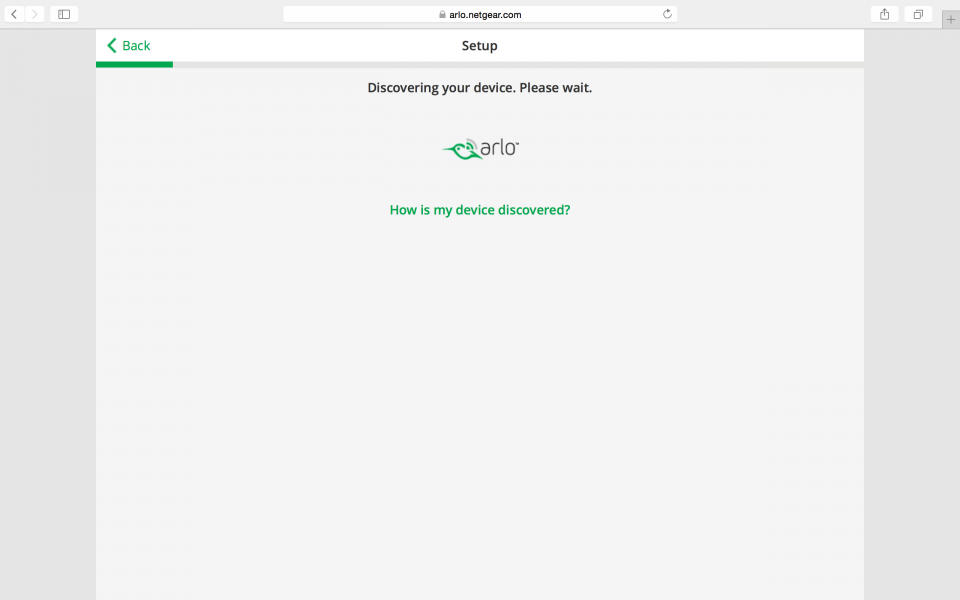
Once the base station was found, I could confirm its identity and set the timezone.

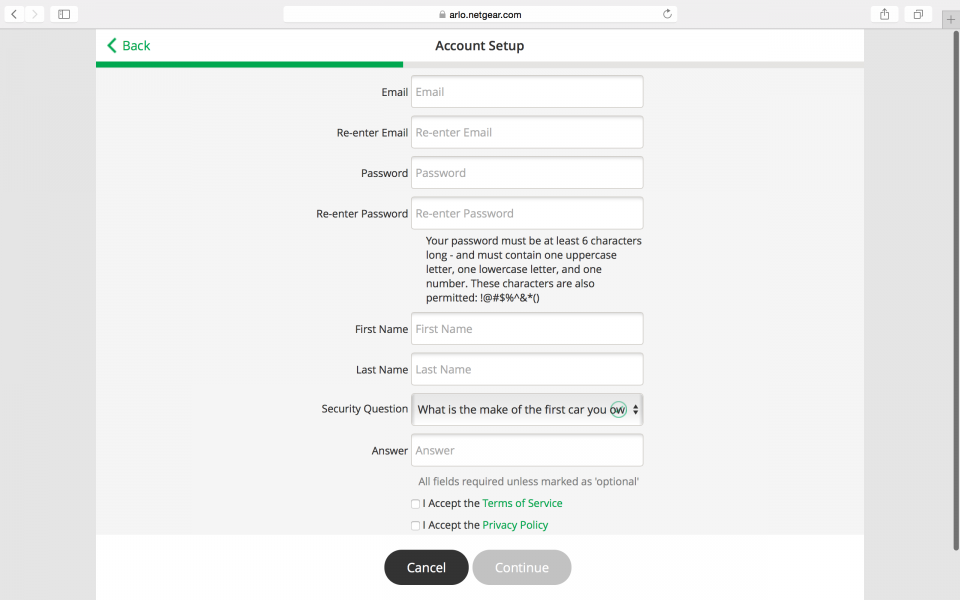
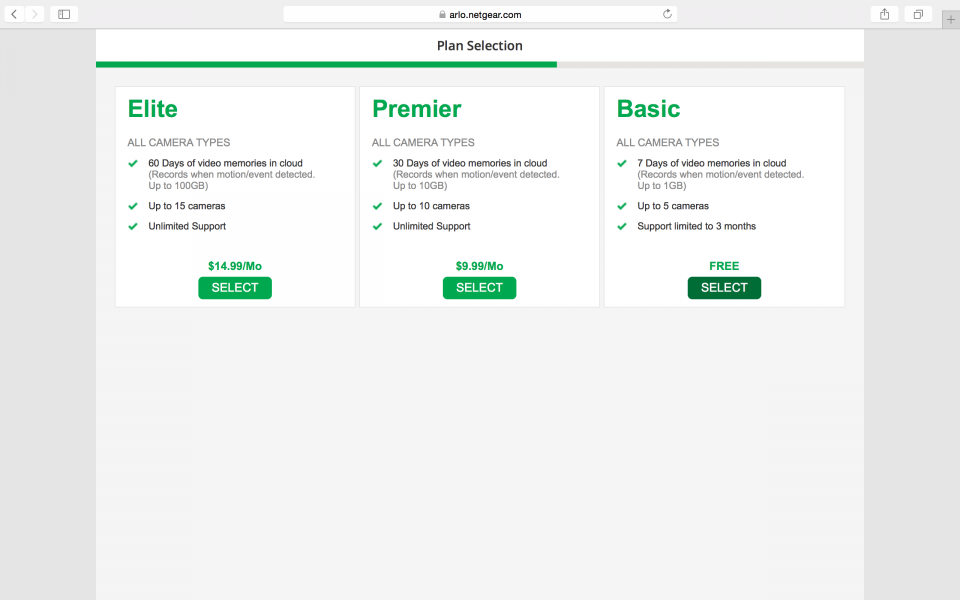
Next, I had to set up a new account with NETGEAR Arlo as well as select which plan to subscribe to. Note you can select the Basic plan if you need up to 5 cameras and just 1 week of recording.
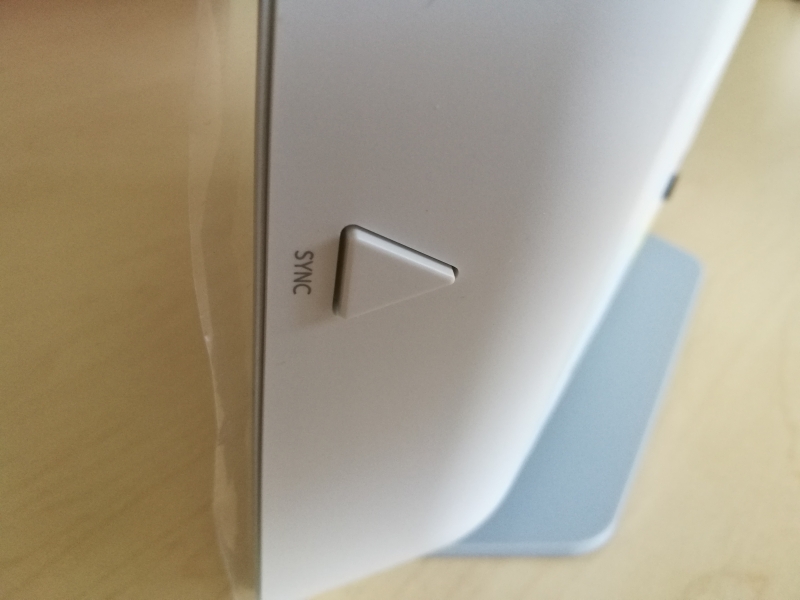
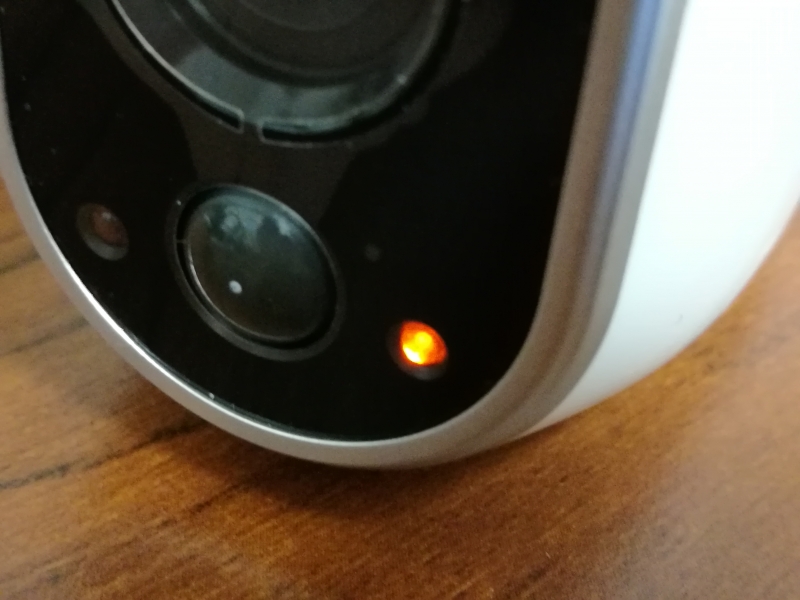
Next I had to sync the cameras with the base station. To do this, press the SYNC button on the side of the base station while pressing the button on the of the camera for a few seconds.
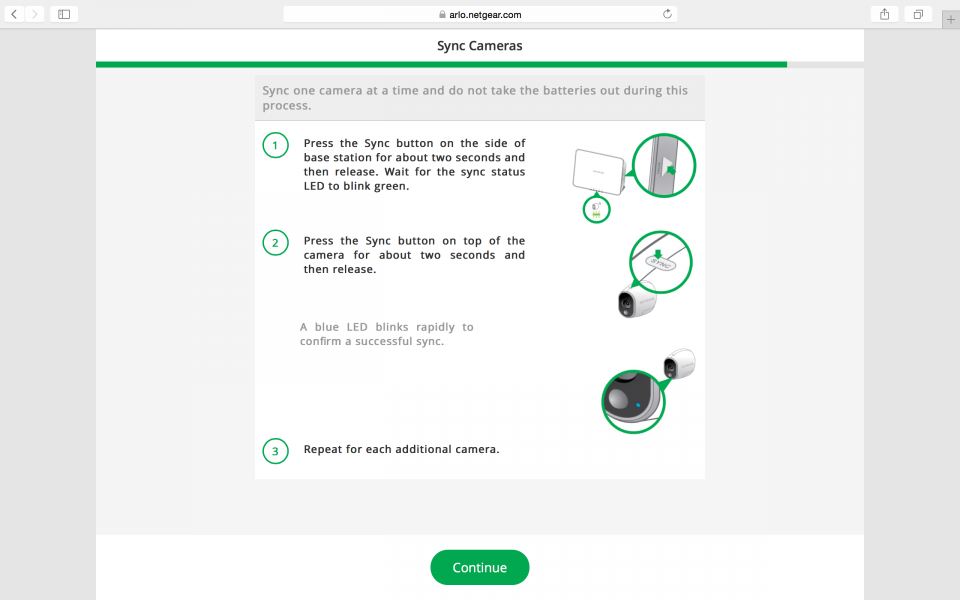
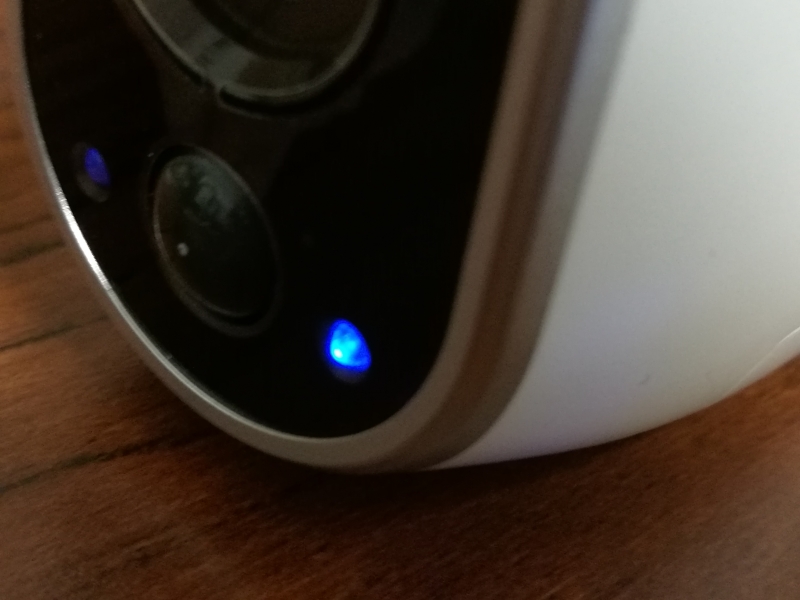
After doing this a few times, eventually I was able to get the camera lights to go from blue to blinking rapidly yellow and then rapidly blue to show the base station was successfully linked to the camera.


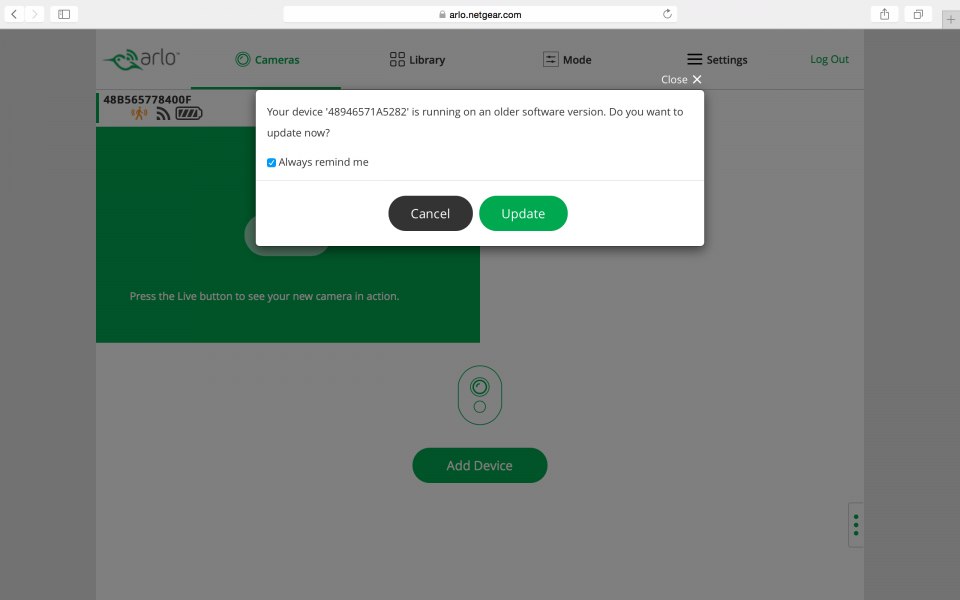
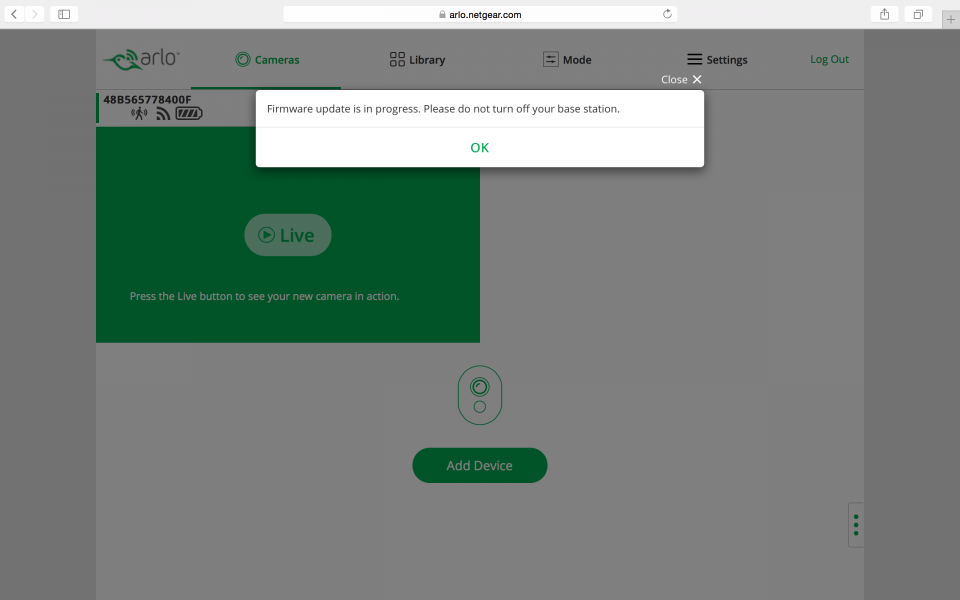
Next, the browser proceeded to update the camera with new firmware.
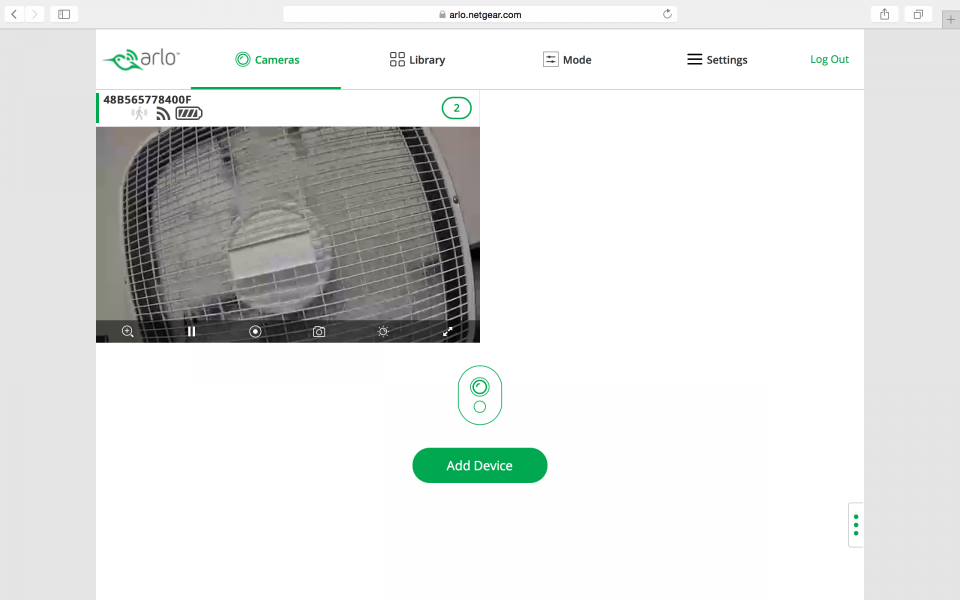
After the firmware update, through the browser you can look at a live stream from the camera.

In order to keep the batteries lasting for a year, the Arlo Wire-Free Security System will only start to record and notify you by e-mail once it detects motion. You can review what it recorded in browser's Library section. You can also enjoy these functions by downloading the Arlo App on your Apple or Android phone.
The Arlo Wire-Free Security System has intelligently taken away a lot of the hassles and costs that used to be involved with setting up a wireless security camera and I suspect other companies will follow this wire-free trend in future products as well.
View Full Article


Featured Products

by Apple