GTrusted
1
High Trust Products
Chargers and Power Banks
Headphone & Speakers
Cases & Covers
Virtual Reality
Cables & Adapters
Media Player
Laptop
Tablet
Desktop
Cell Phone
Printers & Copiers
Memory Cards
TV
Computer Display
Game Console
Smart Home
Wearable Technology
Photo & Video Camera
Car Electronics
Car
Networking Equipment
Smart Toys
Home Audio & Video
Professional & Industrial
Storage Drive
Docking Station
Game Console Controllers
Set-top box
Keyboard, Mice, & Stylus
Portable Music Player
Computer Parts & Components
Cordless & Speakerphones
Projector
Software
Reporting
Canon Lasers color imageCLASS MF726Cdw Wireless color Photo Printer with Scanner, Copier & Fax
by CANON


Interested in this product?


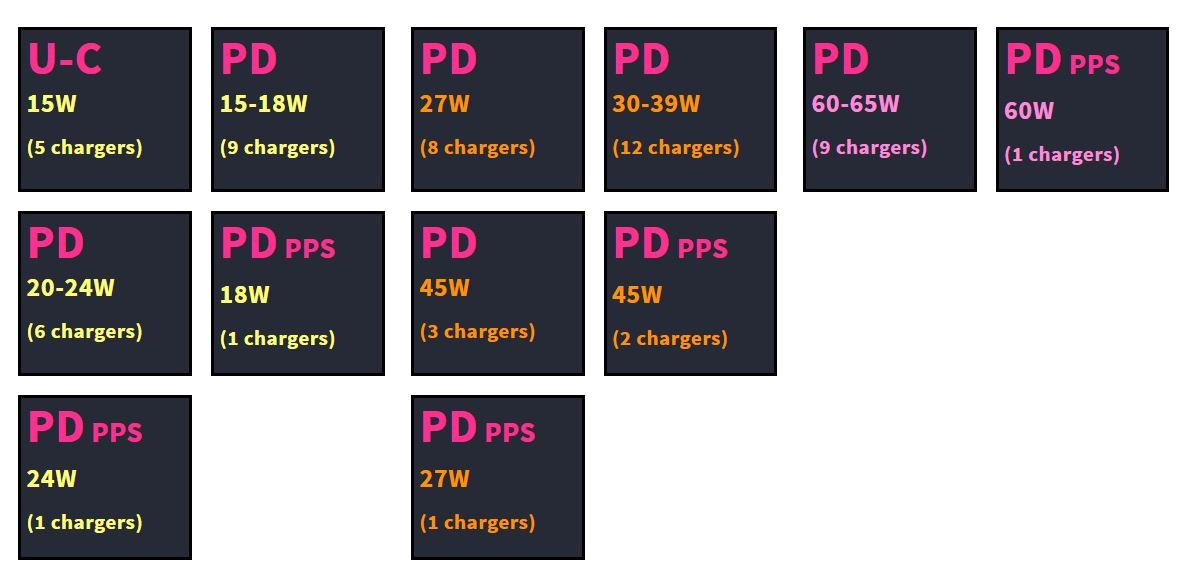
Select a product category to see which devices type we recommend to use with the Canon Lasers color imageCLASS MF726Cdw Wireless color Photo Printer with Scanner, Copier & Fax:
Color imageCLASS MF726Cdw
When it comes to printer brands, Canon has long established itself as one of the best out there. The Color imageCLASS MF726Cdw, one of the best 4-in-one color laser printers from Canon, supports basic printing, copying, faxing, and scanning but can do much much more.
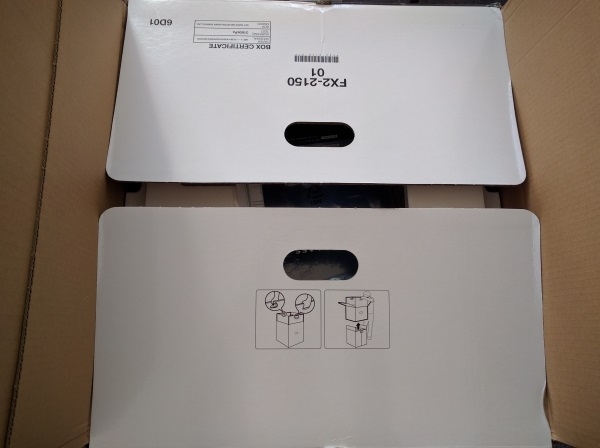
I purchased the Color imageCLASS MF726Cdw through Amazon Prime and it arrived in a large box that was slightly beat up but intact.
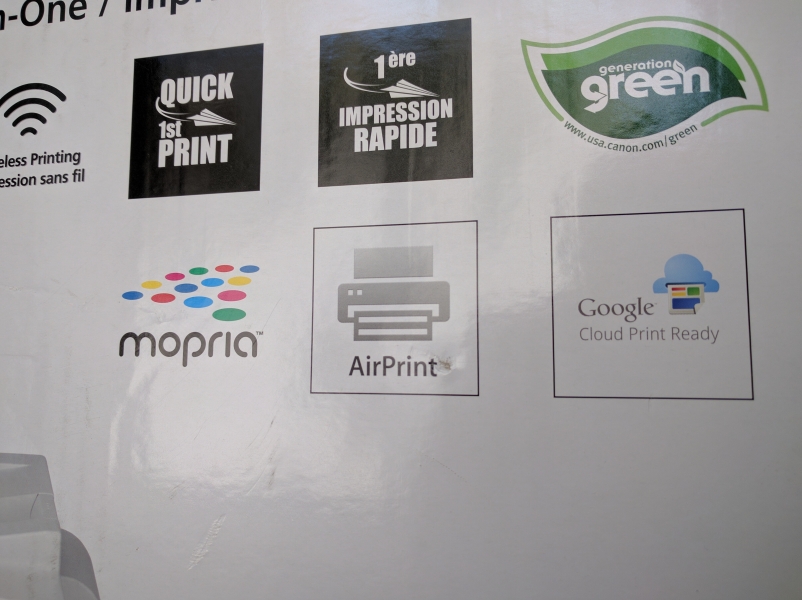
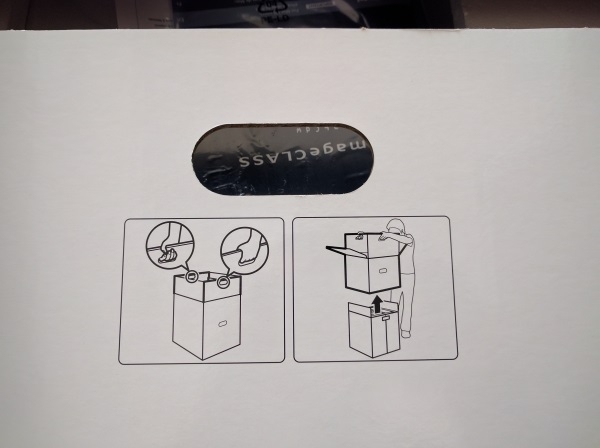
One side advertises its compatibility with some of the more popular mobile printing options.
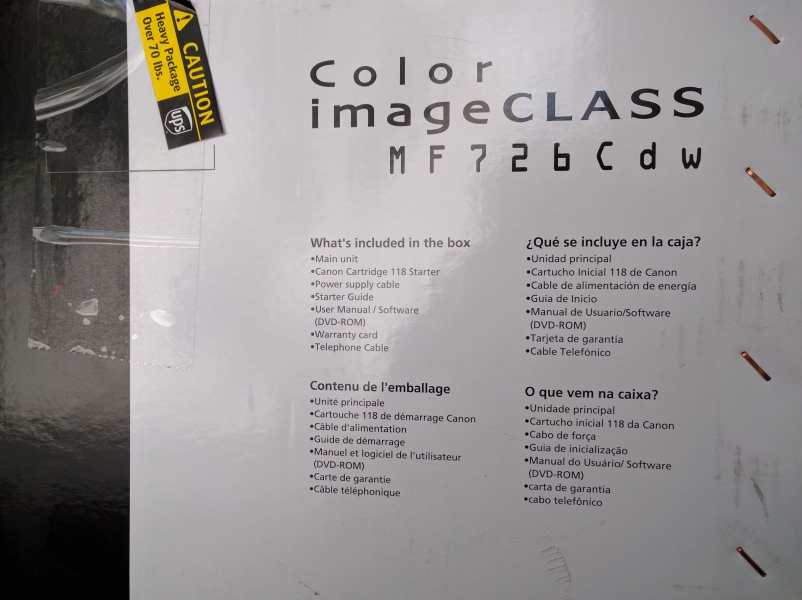
A list of the included items can be found on another face of the box.
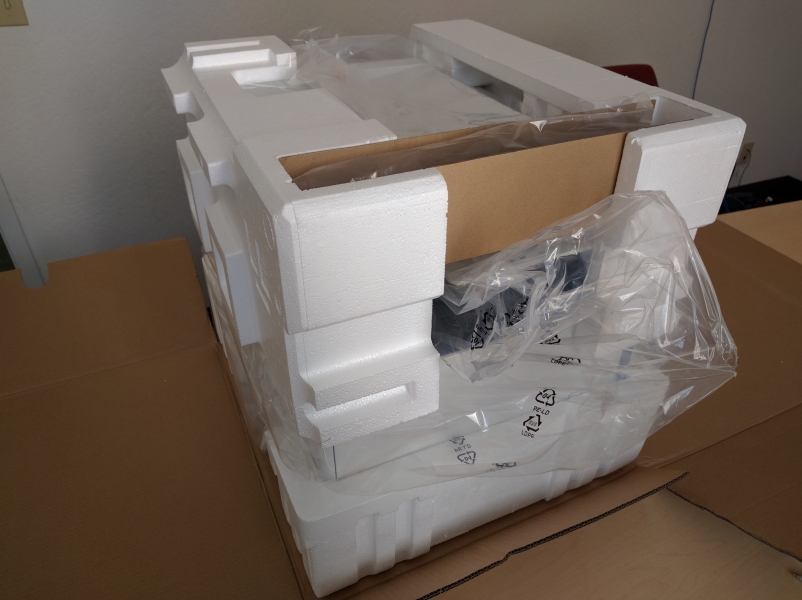
Opening the top of the package, we are greeted with this view.
A closer inspection of the image reveals that the exterior layer of the box is actually a sleeve and can be removed by grasping the handles and lifting upwards.
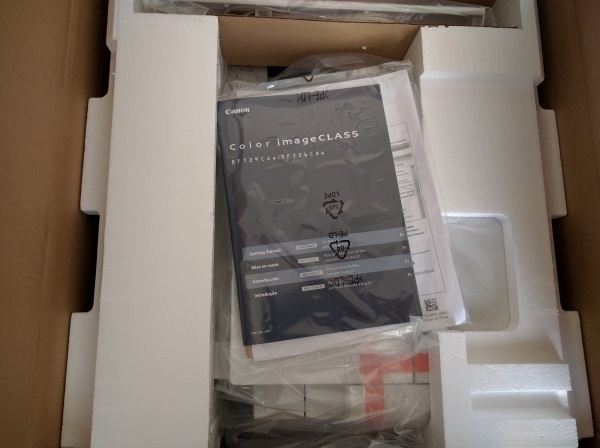
Having opened the rest of the flaps on top, we can now see the foam-clad printer as well as the manual and other documents wrapped in plastic.
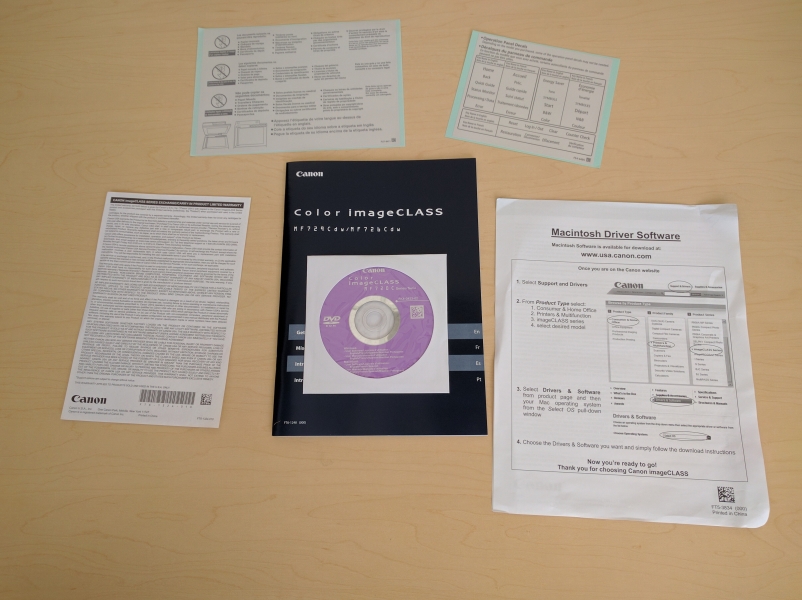
More specifically, items included are the manual, windows driver CD, mac driver directions, and some label stickers.
Further deconstruction of the cardboard container unveils the printer protected by foam on every corner.
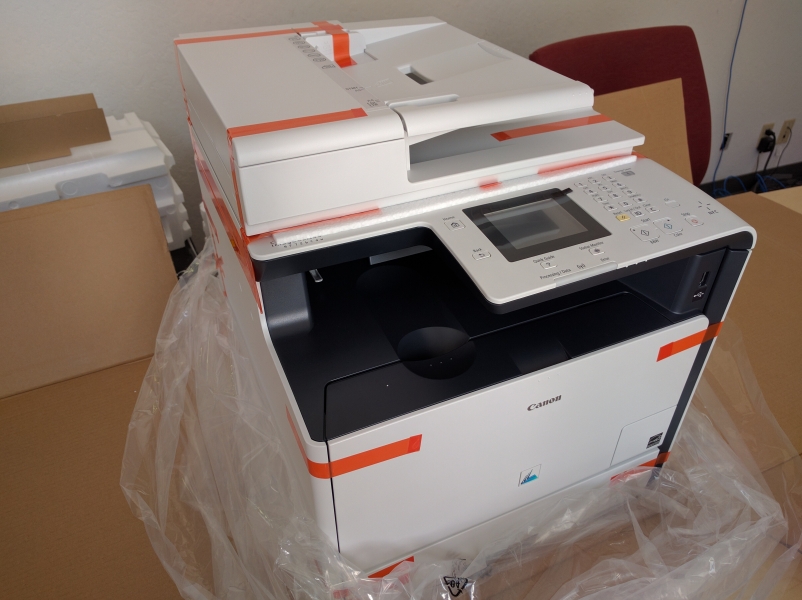
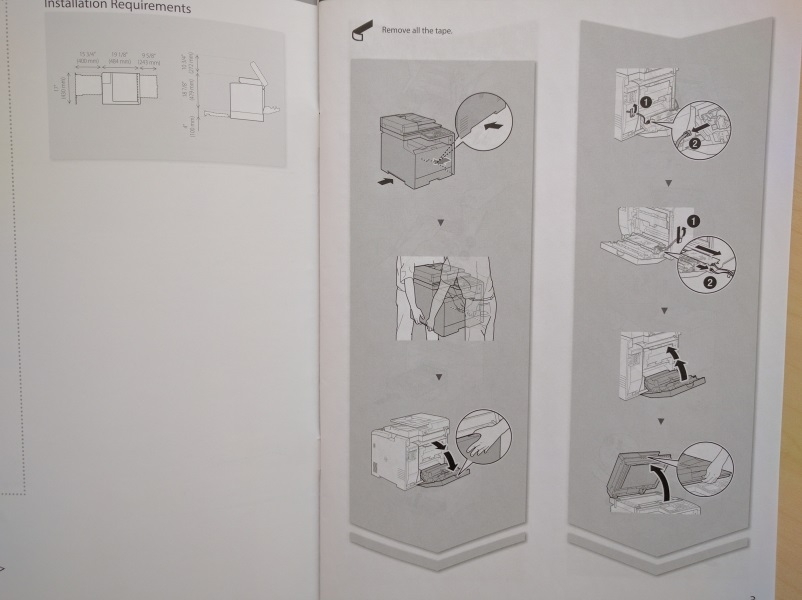
Removing the foam and most of the plastic treats us with a good first look at the printer. There is a lot of orange tape to be removed, something that the manual mentions.
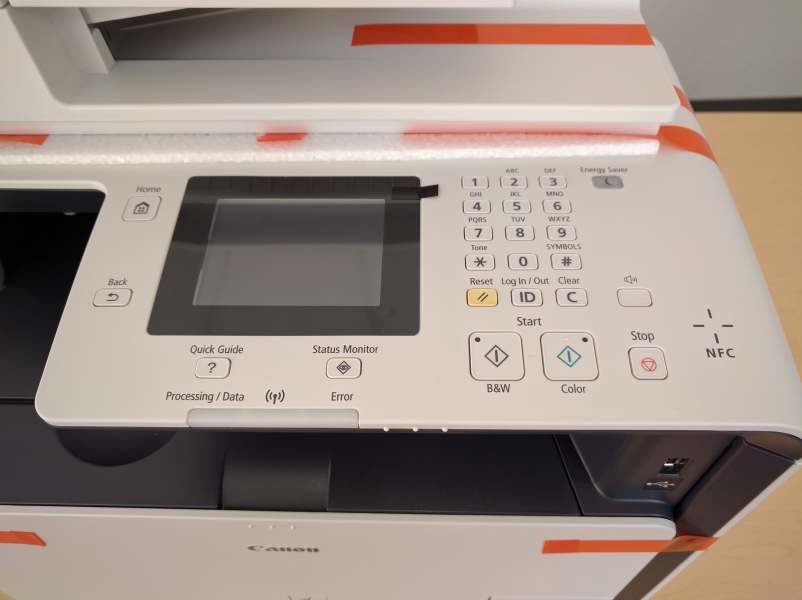
Here's a closer look at the main control panel. The screen is touch-enabled and there is a designated NFC area in the event that such a method of printing is preferred.
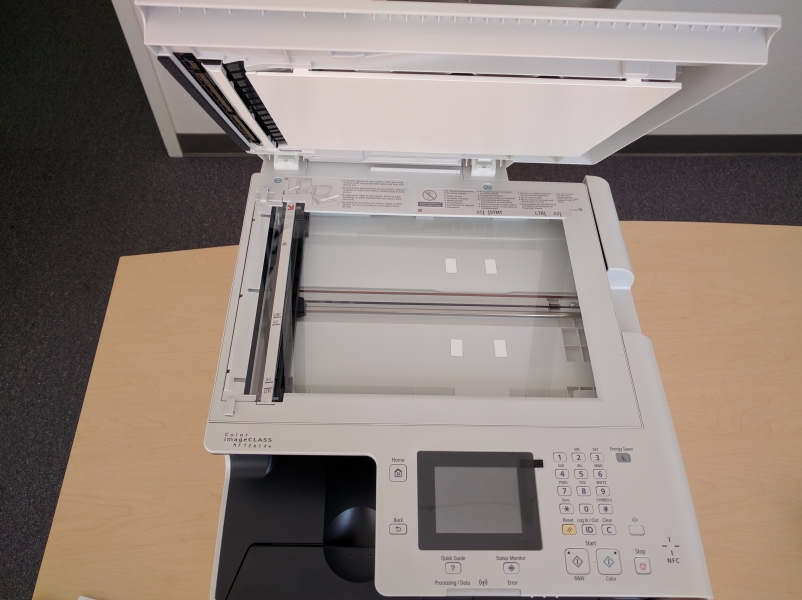
A view from above shows us the feeder tray where we can place documents that are to be scanned en masse.
Here are the ports on the back, with their functionalities indicated by the icons next to them.
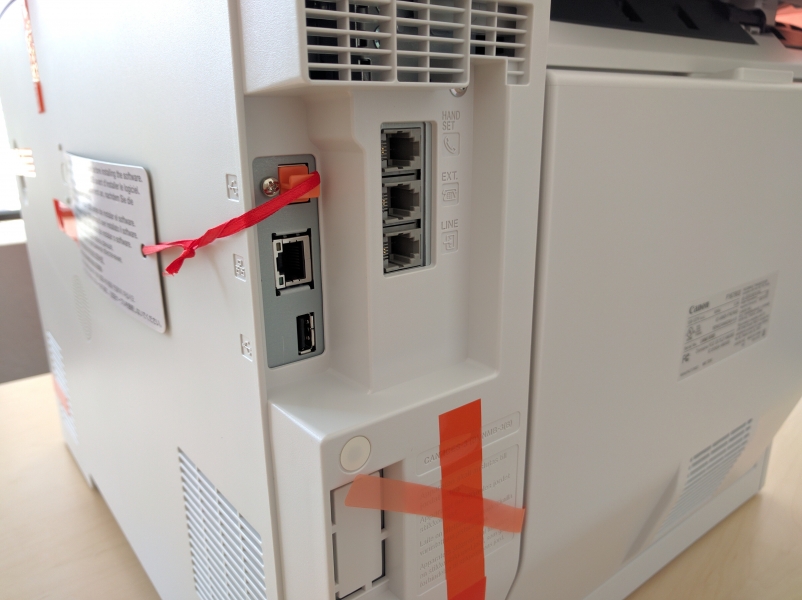
The USB Type-B port had a plug in it with a red ribbon tied to this card.
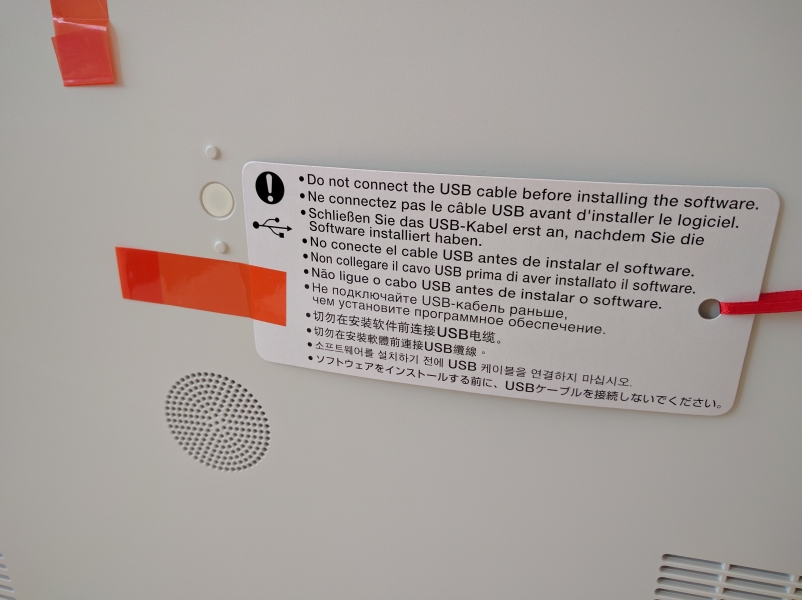
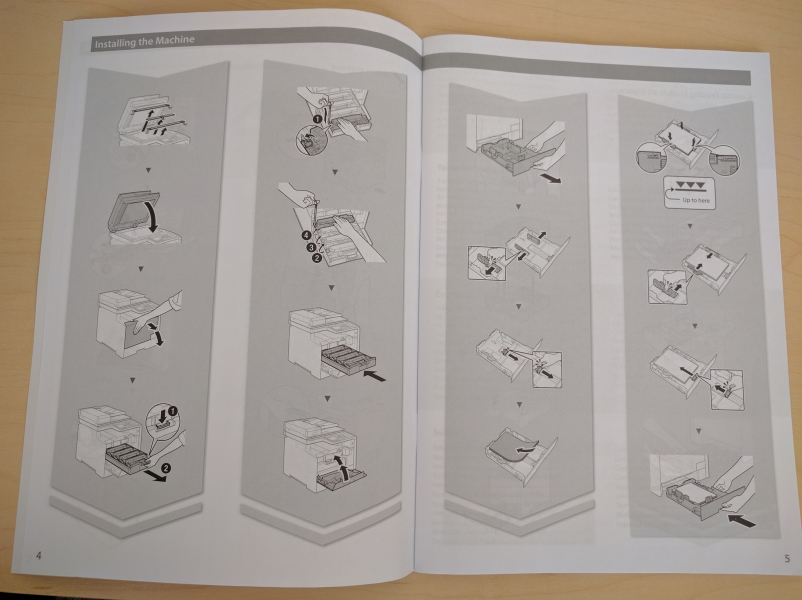
The instructions manual mentions this, informing us of additional locations that include things to be removed that are a little less obvious. It also demonstrates how to open various compartments of the printer, suggesting that we do so. This was very useful to familiarize ourselves with the machine.
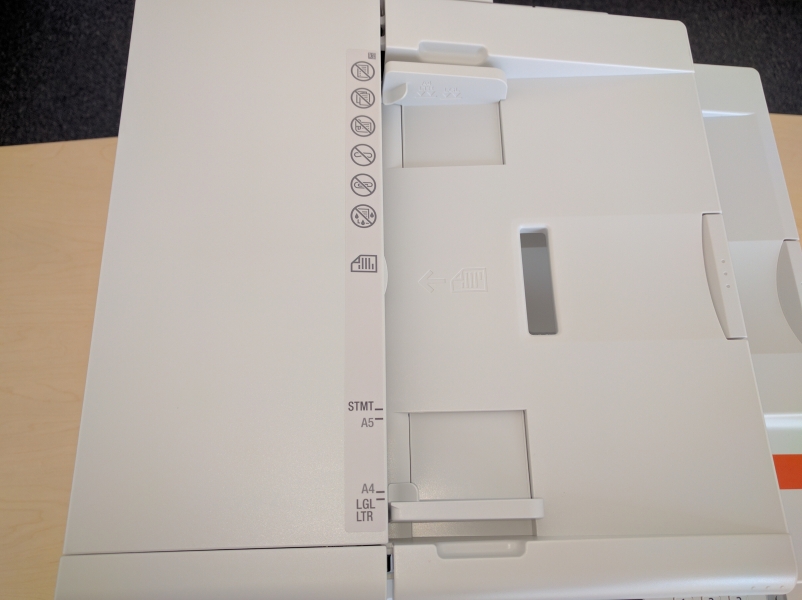
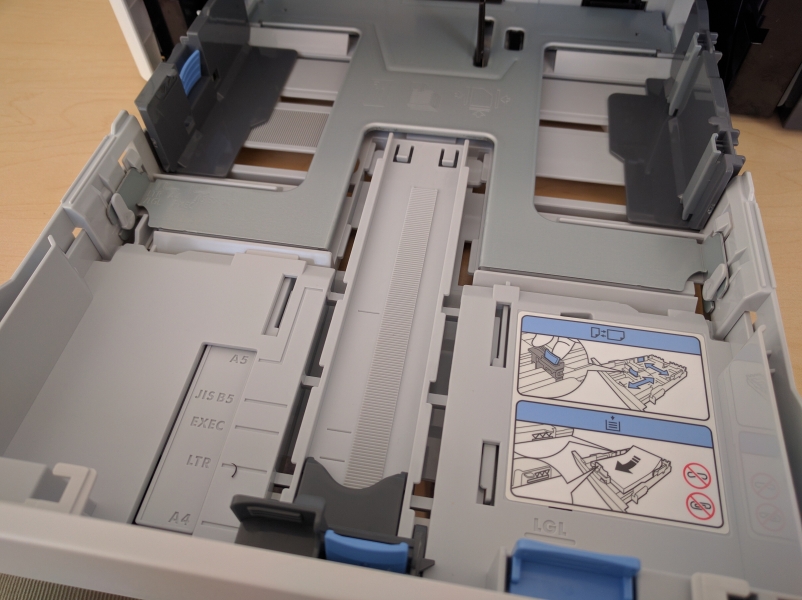
First we opened the paper tray. The grey guidance barriers help determine what size the paper is.
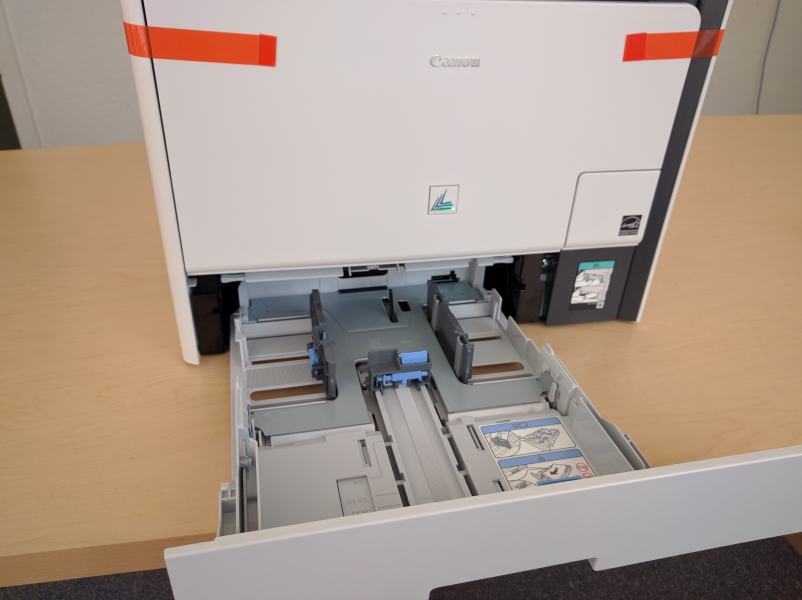
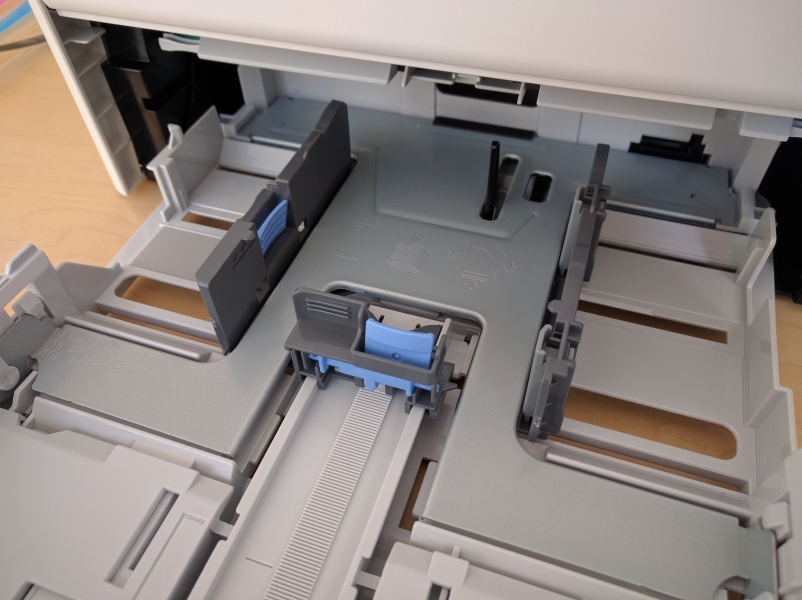
Pressing the blue hinges on the inside allows for readjustment of the paper's width
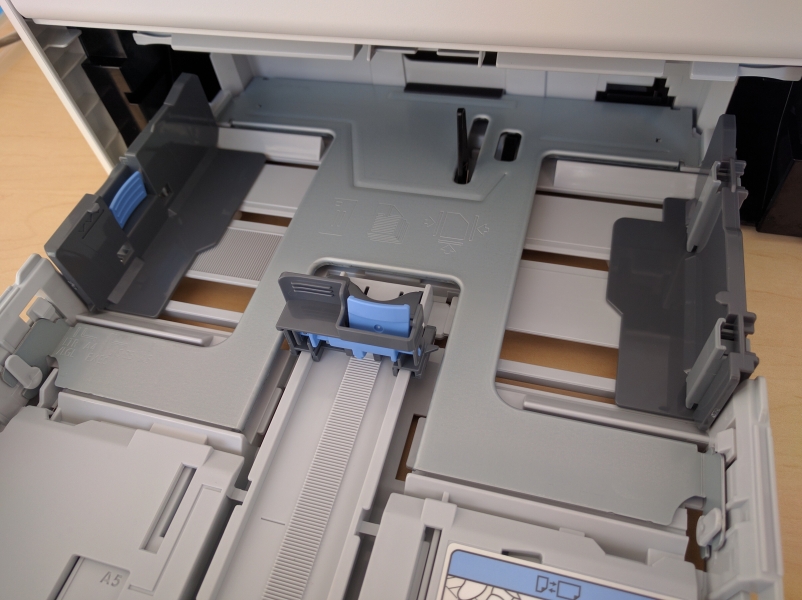
The blue part on the middle component allows for longer sheets of paper to be inserted.
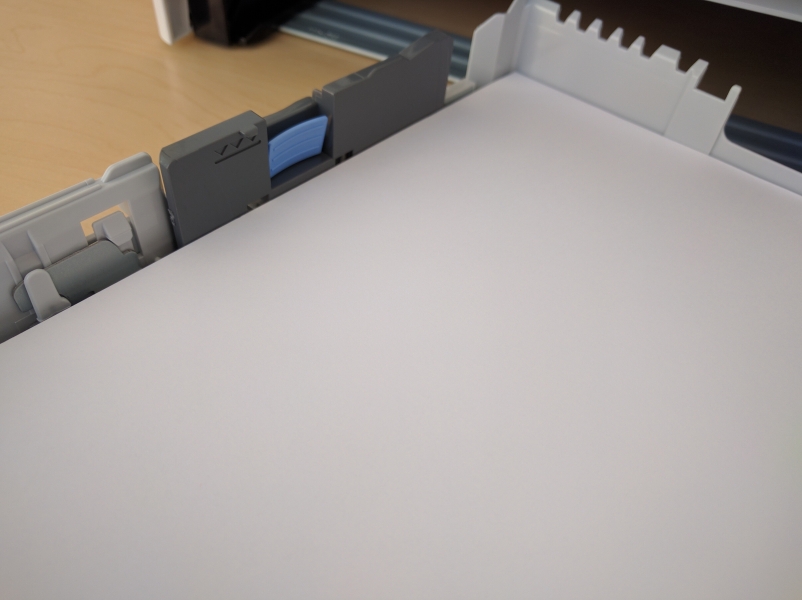
Having placed paper into the tray, we readjust the grey parts to be flush against the edges of the pages.
Here we can see one of the scanners. This printer can scan one page at a time if the paper were placed here, but it can do multiple pages at once if placed in the feeder tray on the top of the printer.
Opening the back, we can see some of the internals. As far as I am aware, this accessibility is solely for the purpose of clearing paper jams.
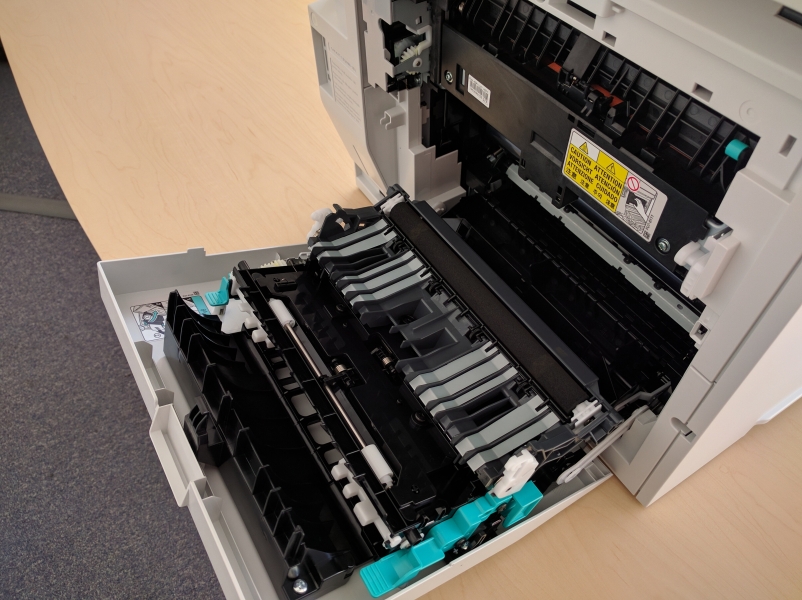
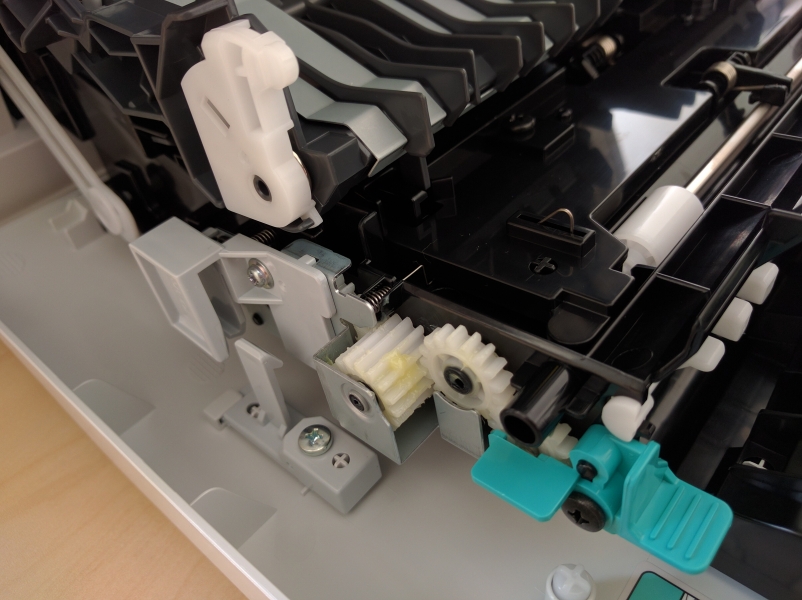
Upon closer inspection we find that the gears are well oiled!
Opening up the front provides a means of changing the toner.

To access the toners, clutch the blue handle and pull the tray outwards much like a drawer.
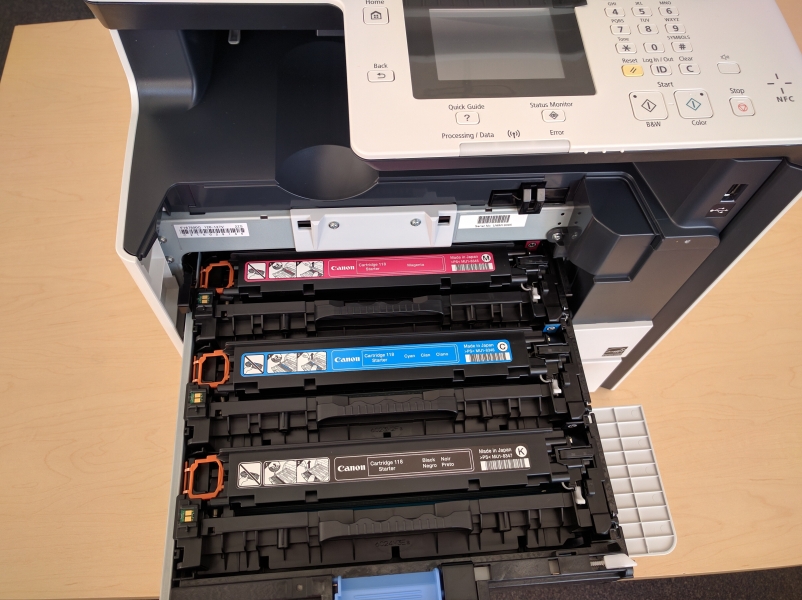
There are orange tabs, mentioned on the setup manual, that we are supposed to remove.
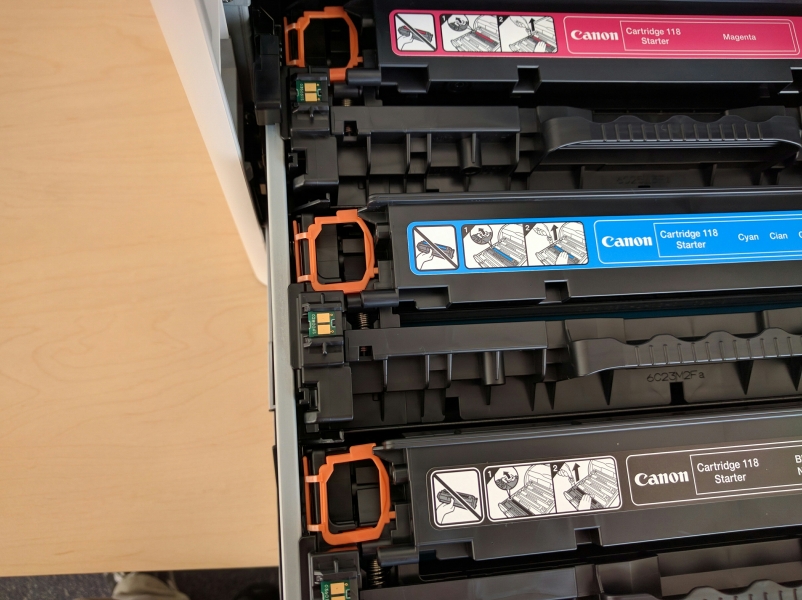
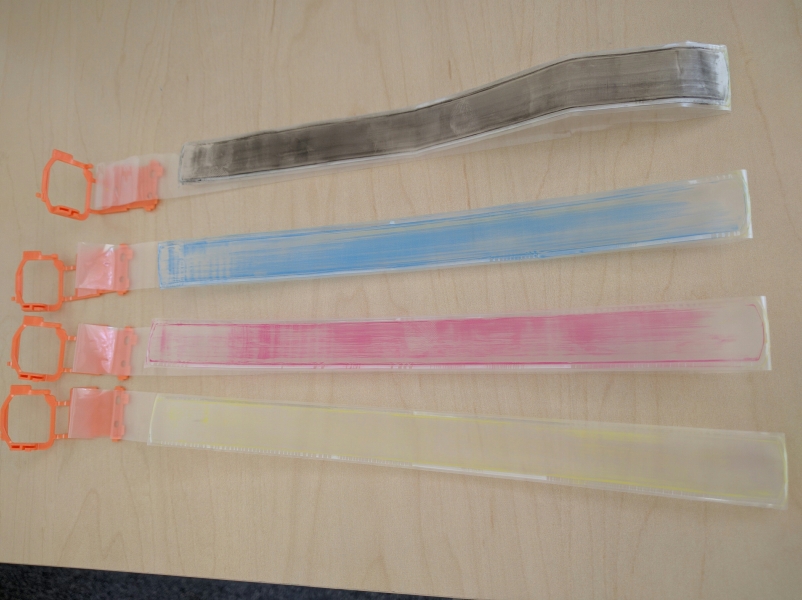
Detaching the tab and pulling straight up, all the while bracing the tray so it doesn't get pulled up as well, allows us to remove the tab, followed by a strip of plastic painted in the color that each cartridge provides.
After all of the tape has been removed I decided that it was about time to install drivers onto our computers.
Meanwhile, a first time power-on of the printer was also underway.
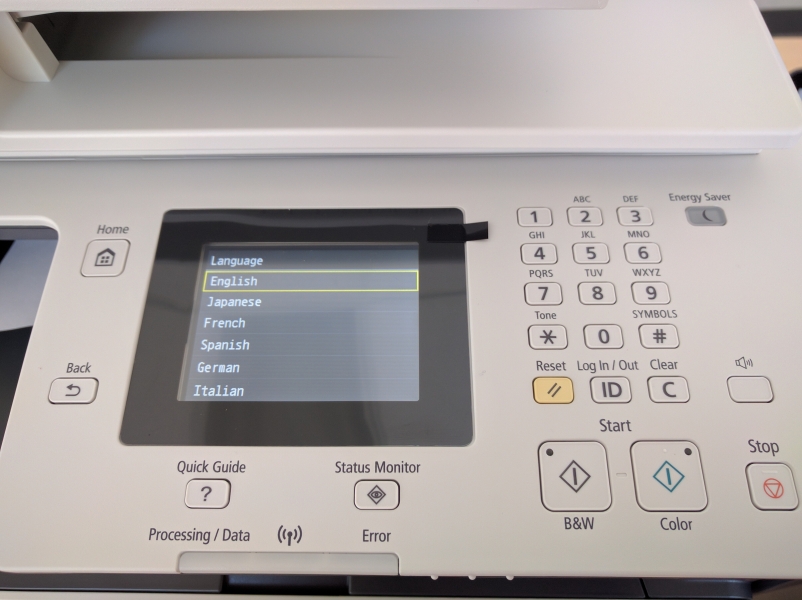
The standard device options were available, such as the language of the user.

Note that this is a touch screen, and we do not need the keys on the right to navigate these menus.

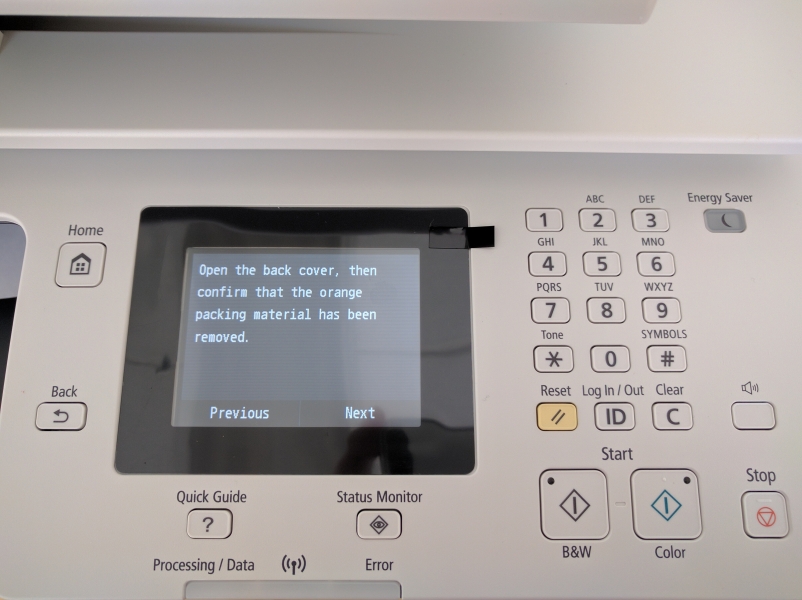
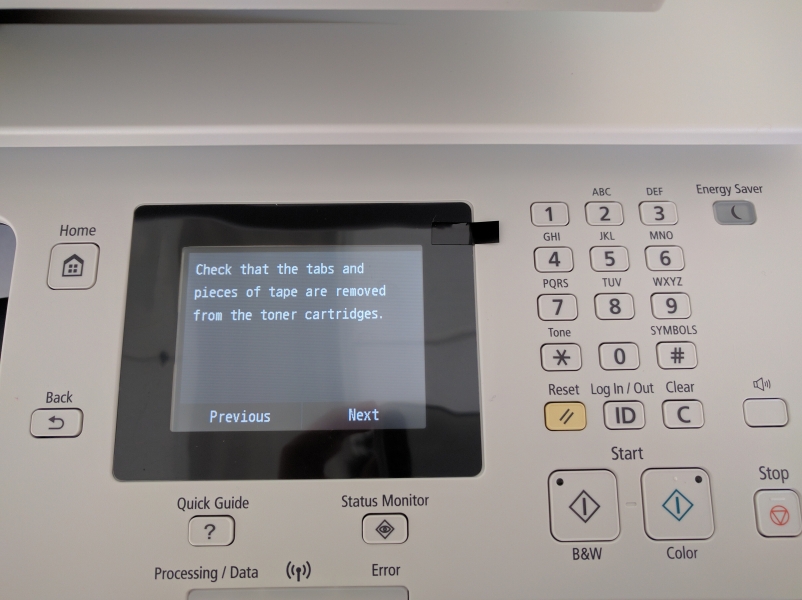
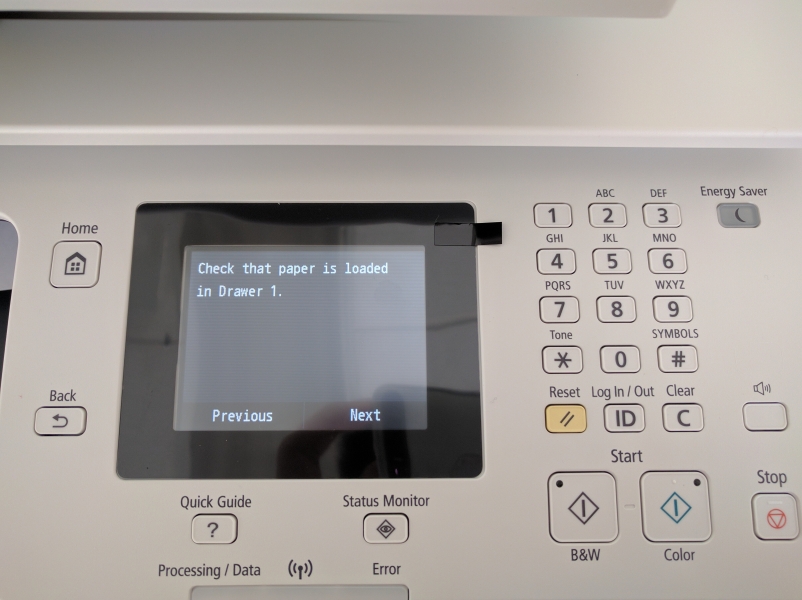
Just to make sure we followed the instructions carefully, we were told to make sure tape and packaging materials were removed and paper was loaded.
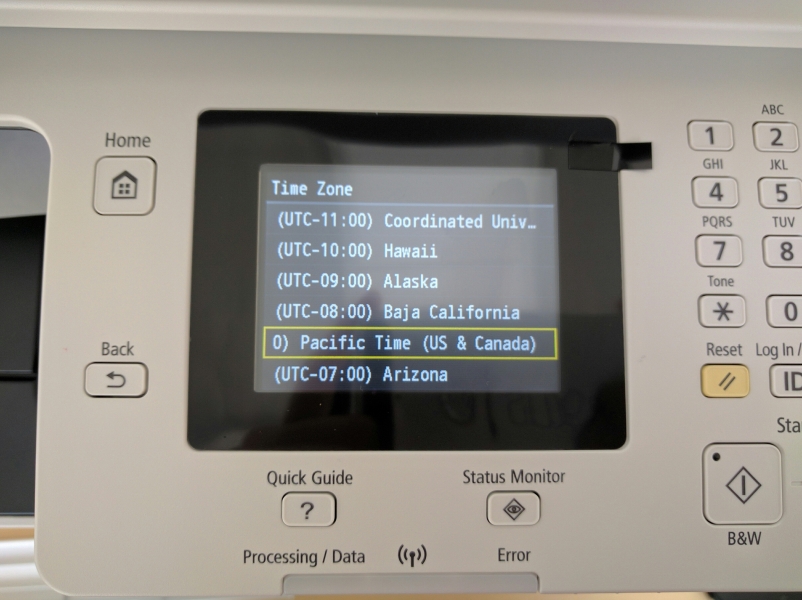
Now satisfied, the printer allows for us to continue our setup. Time zone is configured.
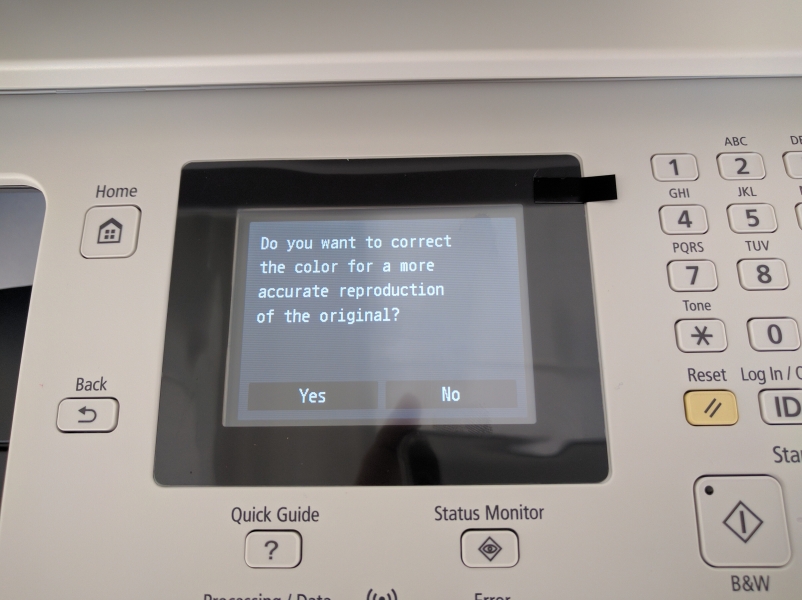
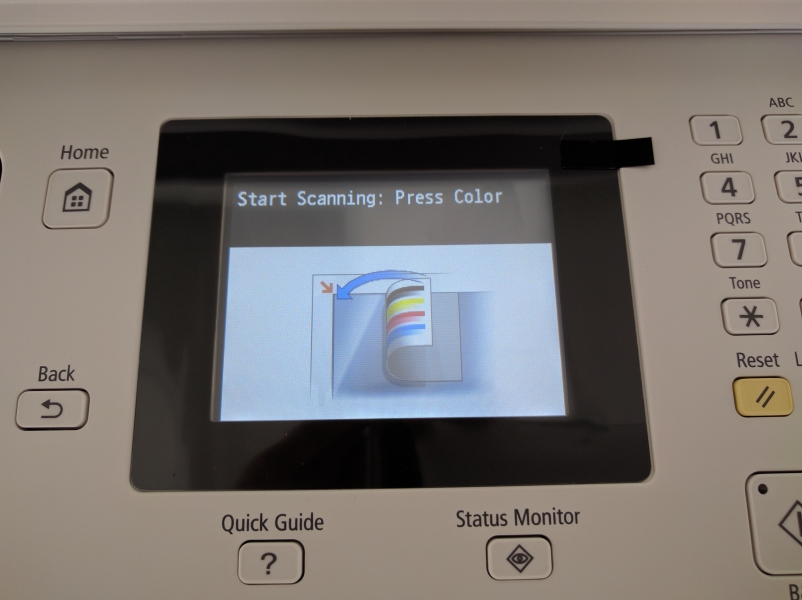
At one point we are asked to do color correction. The printer prints out a range of colors from each toner and asks us to scan it.

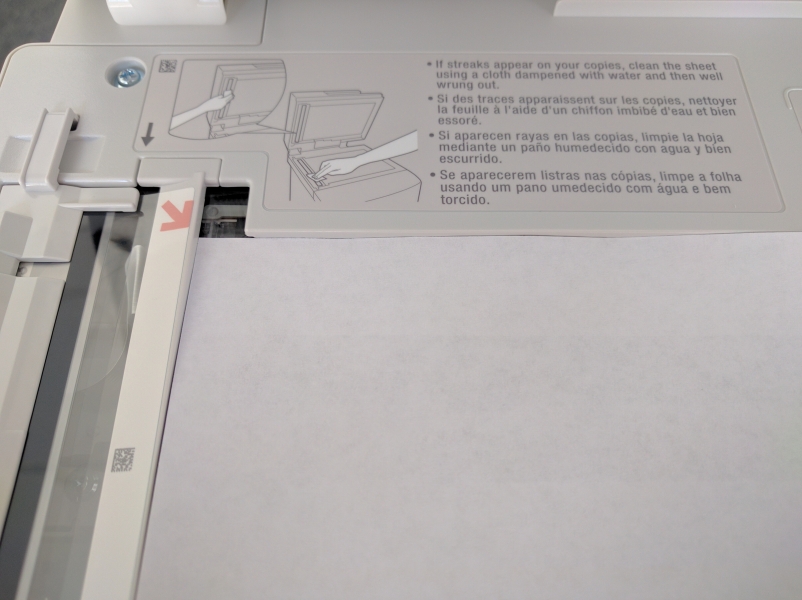
The orange arrow on the screen corresponds to a physical orange arrow on the scanner. This helps orient the page as the arrow is supposed to be where the black spectrum is.
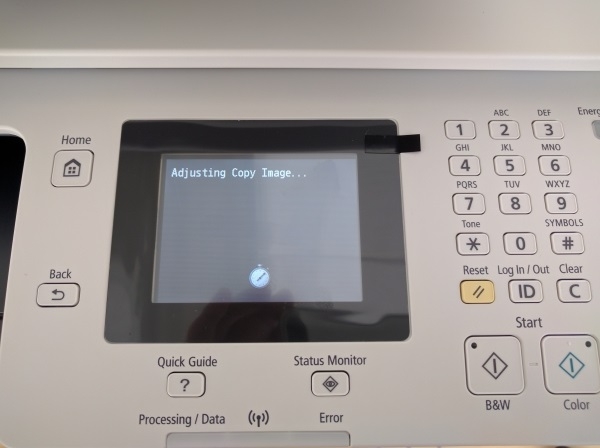
Having closed the lid for scanning, I press a button labeled "Color" to initiate the scan.
 `
`
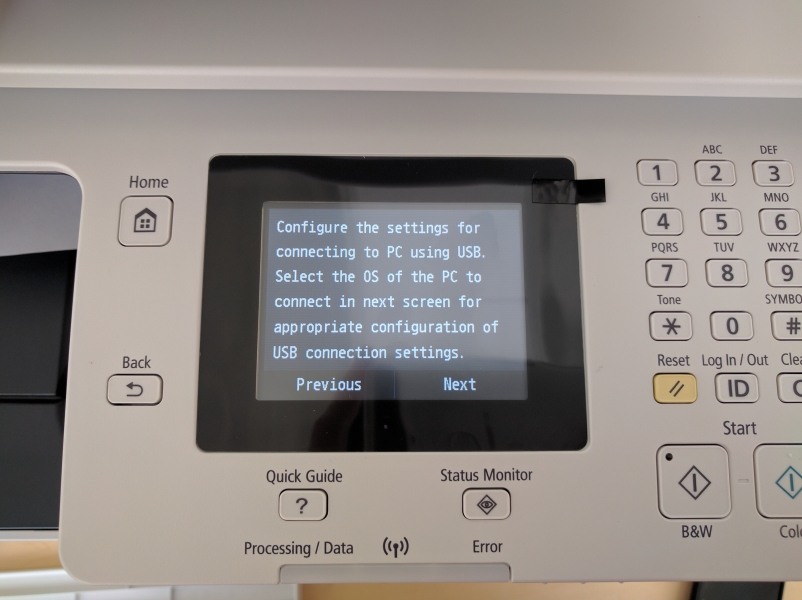
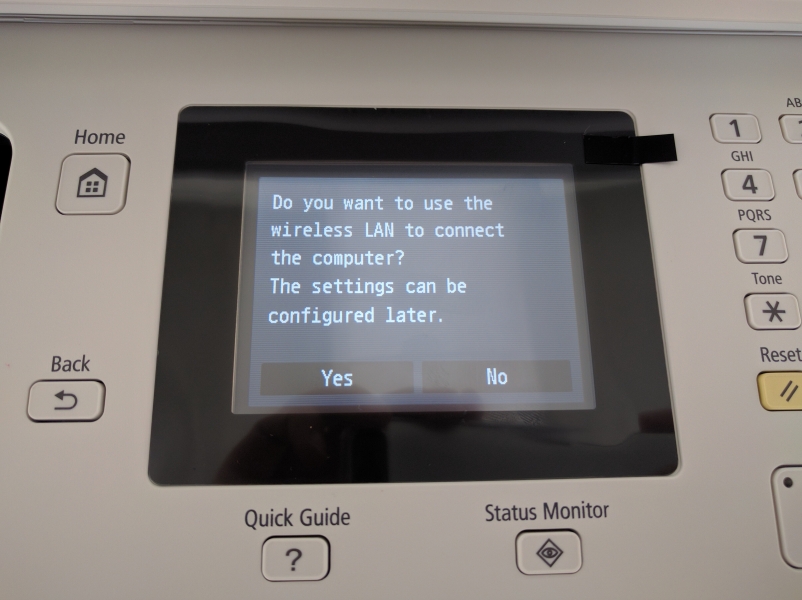
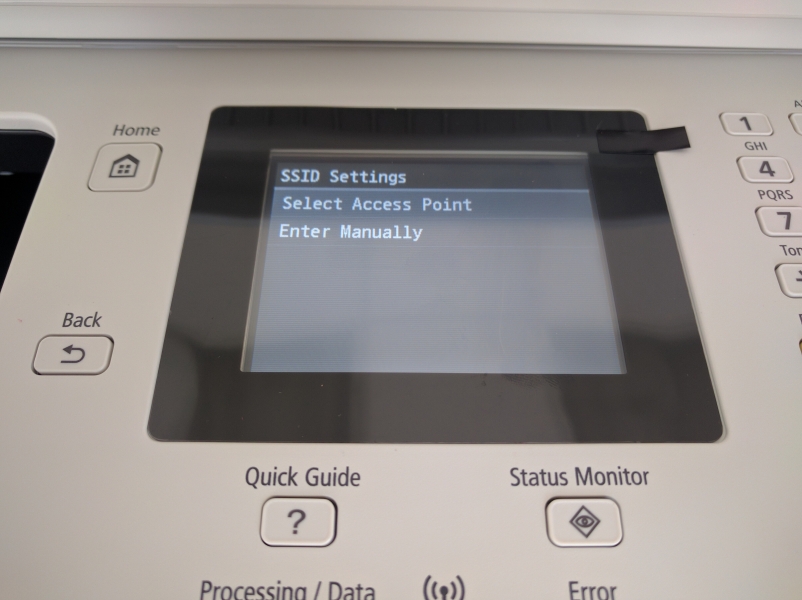
After the adjustment, we must choose how we are going to connect other devices to the printer (something that can be changed later on, of course).
Going to SSID settings allows for us to search for detectable wireless networks and connect to them.
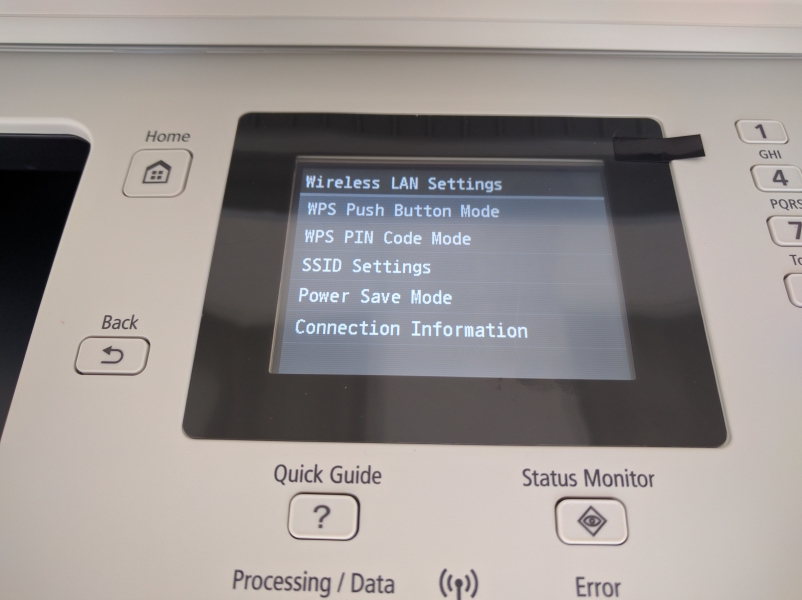
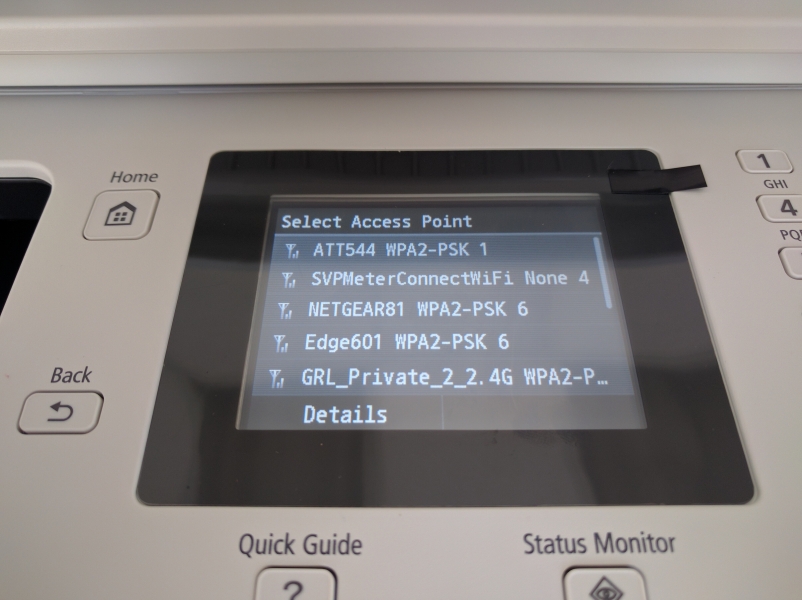
Pressing on "Select Access Point" allows us to see the available wireless networks.
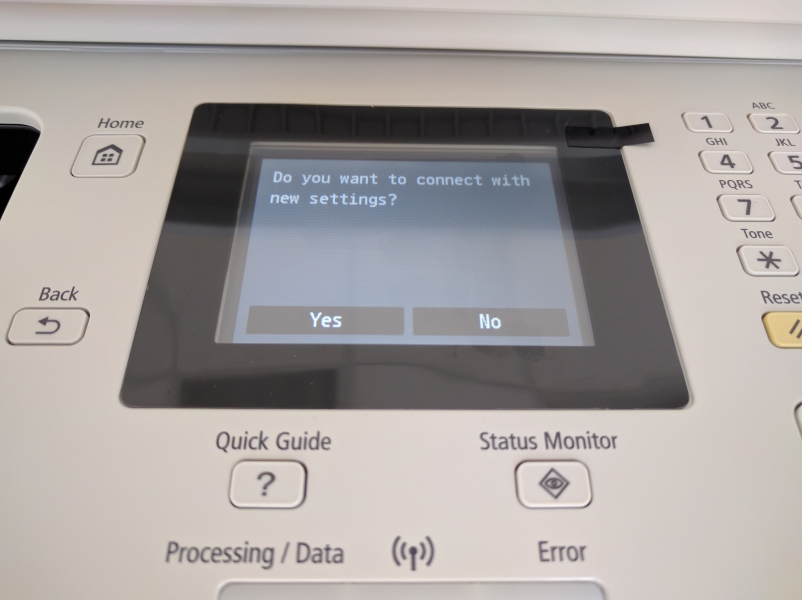
Having entered the details of our network, the printer asks if we would like to connect using the new settings.
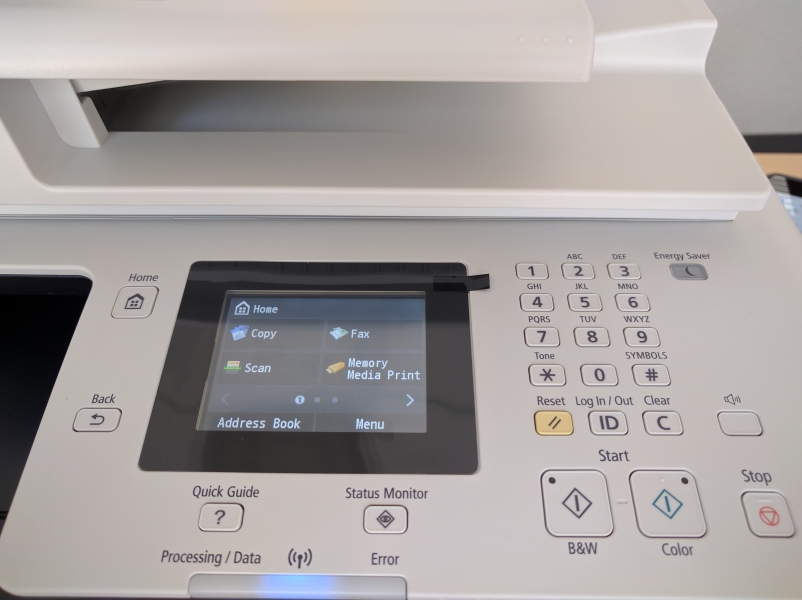
At last, we are presented with the default home screen that is usually seen on startup. The blue light signaling the use of WI-FI is lit, and the printer is discoverable by other devices on the same wireless network.
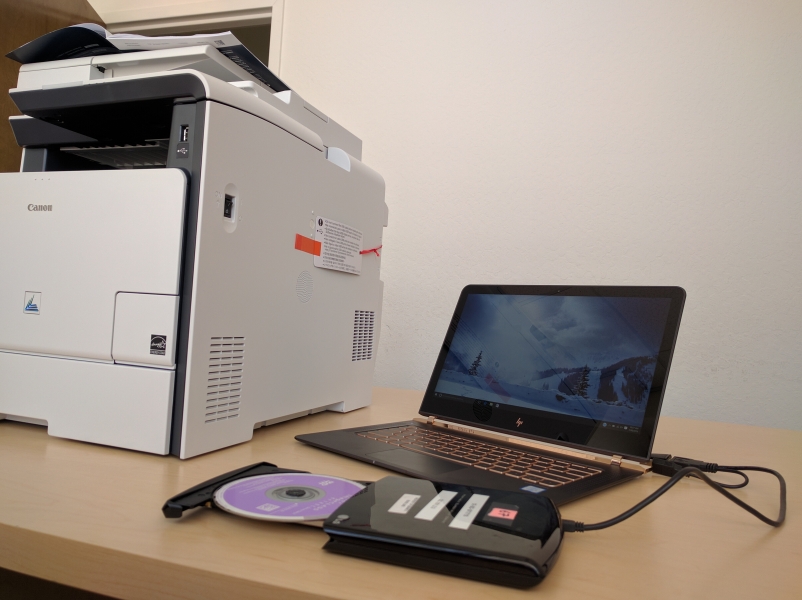
Now that the printer is ready, the next step is to download drivers on the computer. Using the included CD, the easiest way to download drivers is by running the executable program.
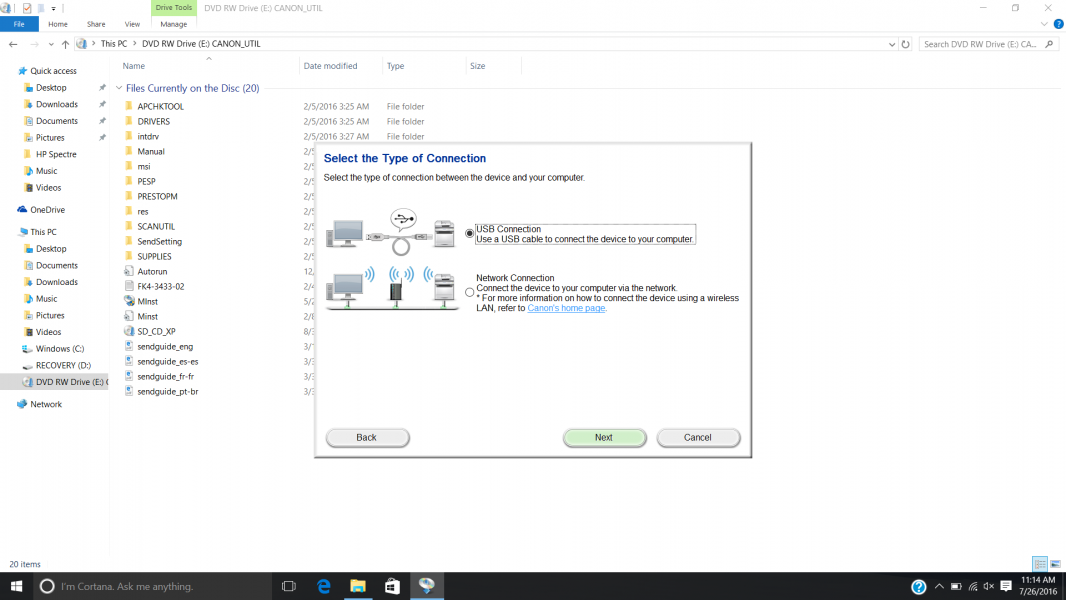
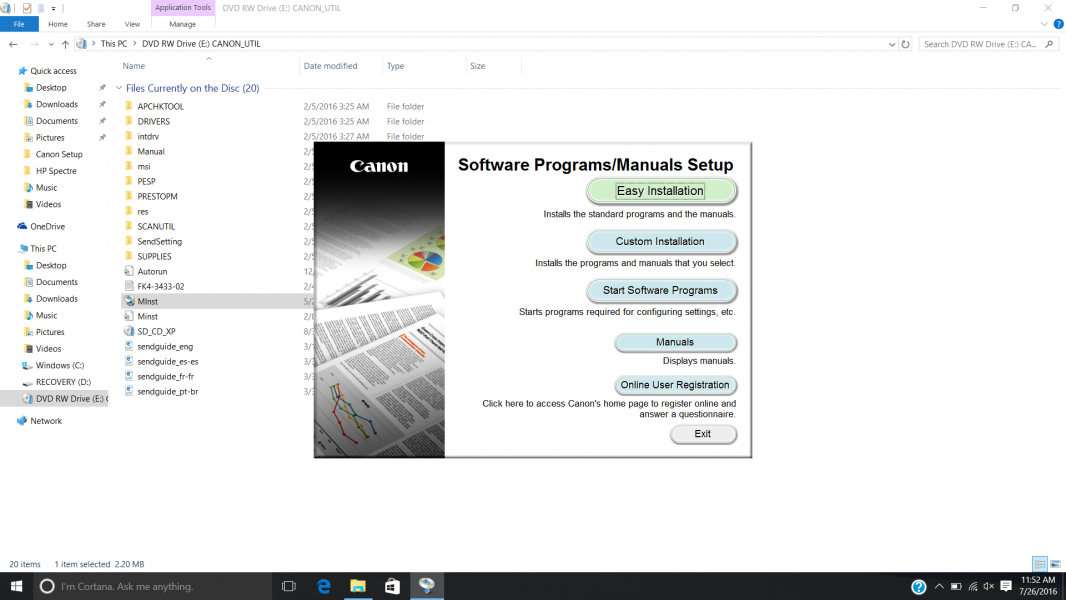
Clicking "Easy Installation" installs the drivers as well as some manuals for whatever printer you select that the software detects to be on your network. First the software needs to know where to look for the printer.
We selected the "network connection" option. Alternatively, "USB connection" is also available.
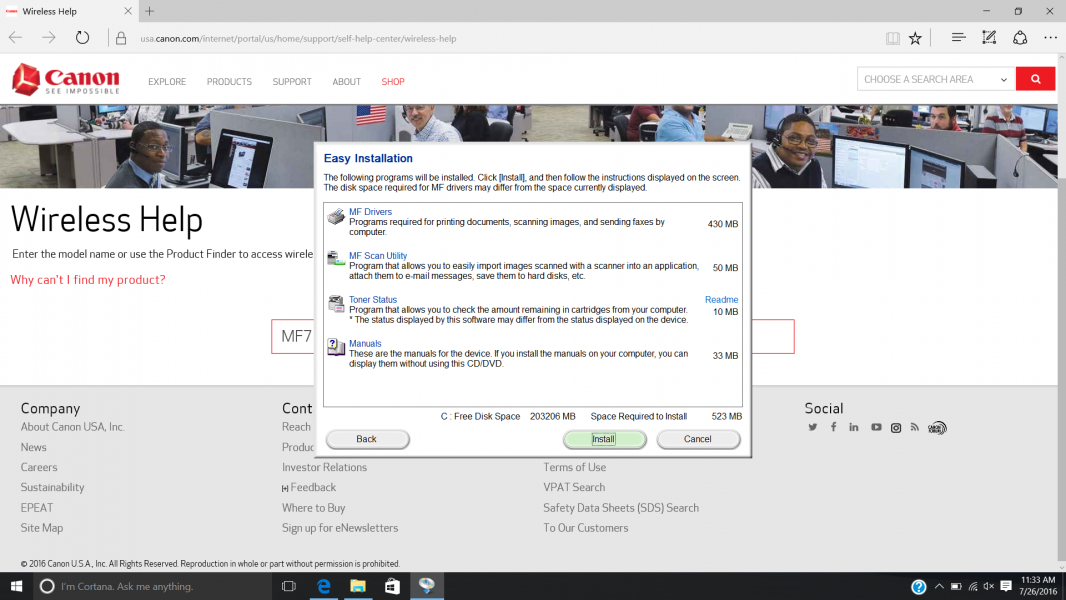
Here is a summary of what gets installed when "Easy Installation" is selected.
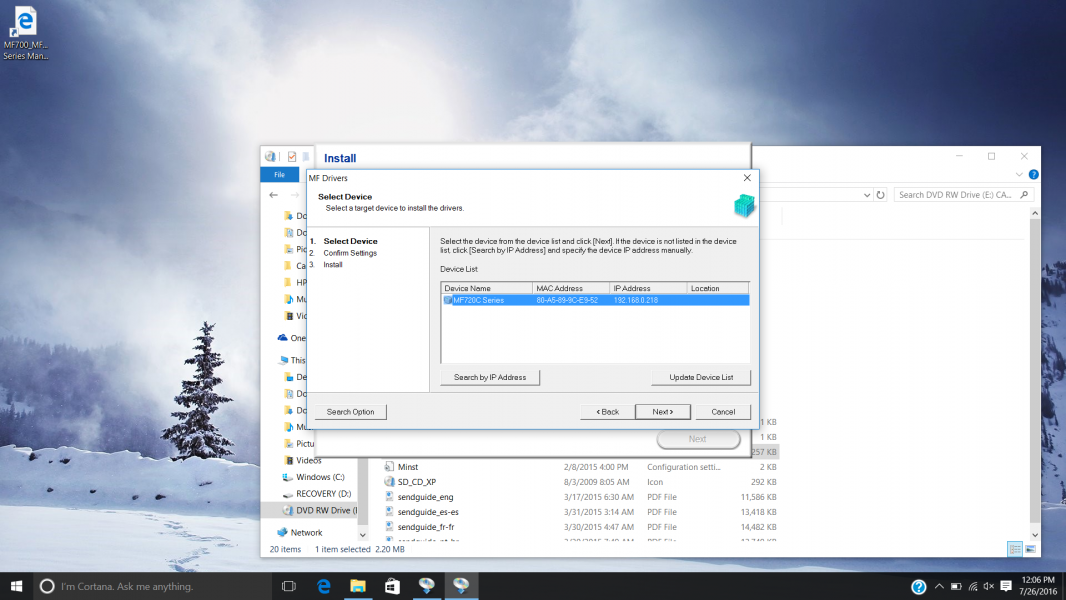
The printer was quickly found, enabling us to continue.

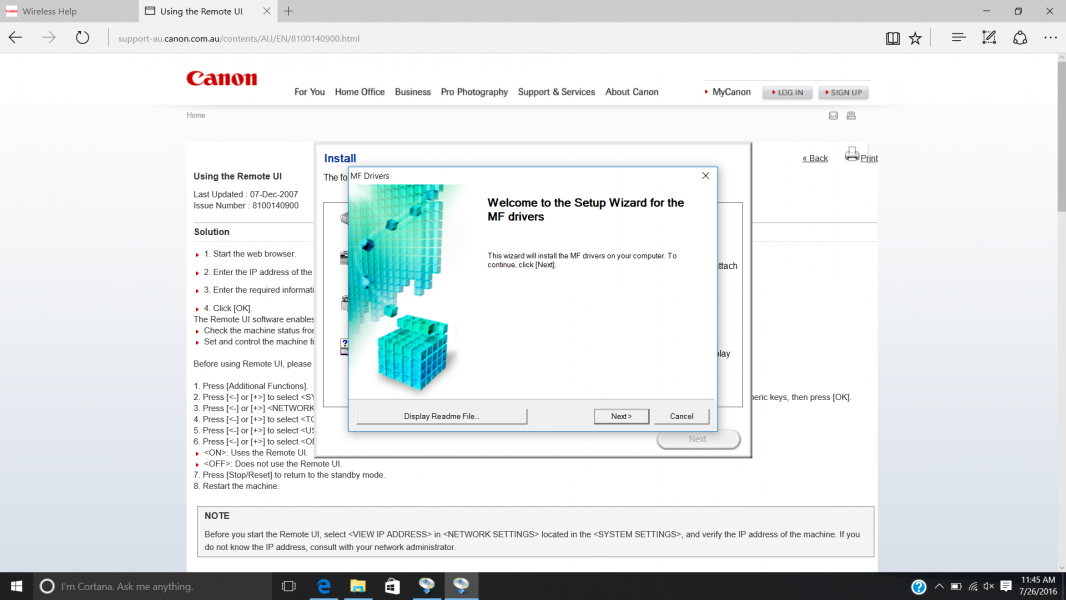
Soon the driver was downloaded, as was the scanner utility, and some manuals.
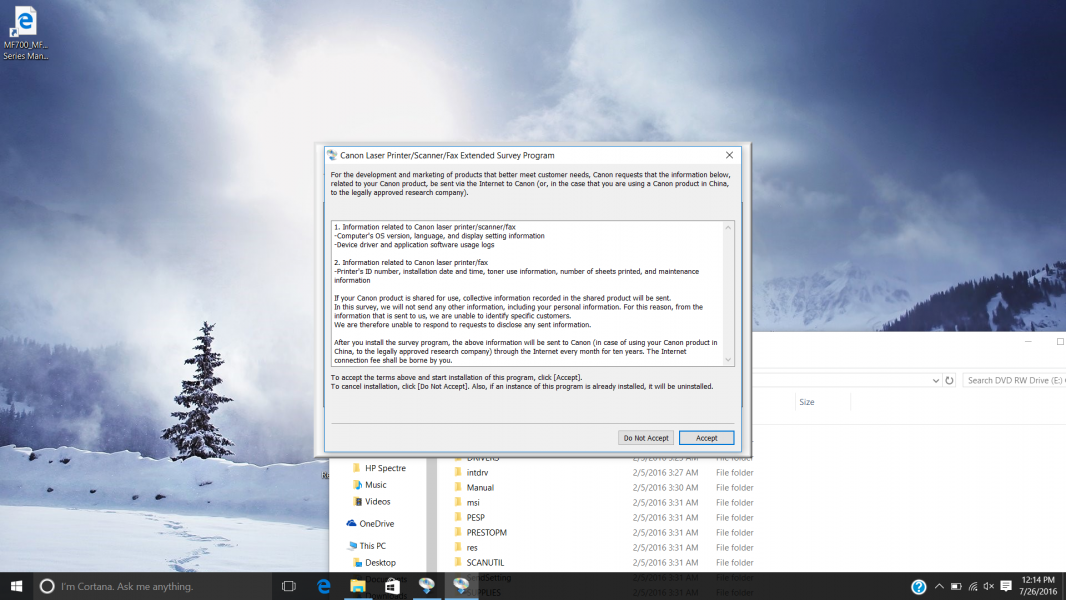
After the drivers have been downloaded and the above agreement has been confirmed, it is recommended to restart the computer but thus far I have not found it to be necessary. An additional tool that may be useful is found if we clicked "Start Software Programs" instead of "Easy Installation" when first running the executable.
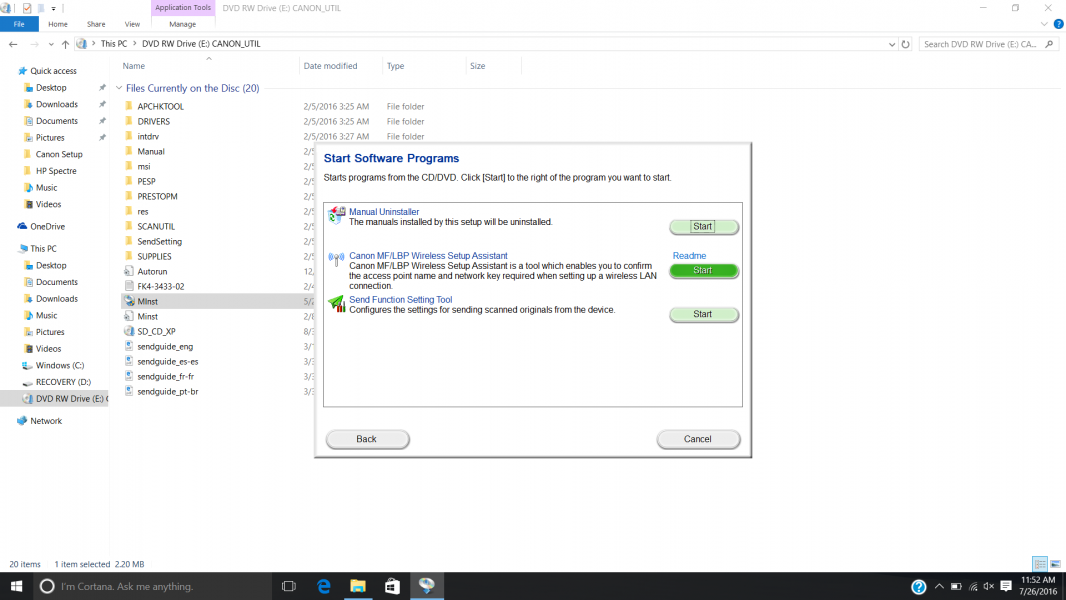
The Canon MF/LBP Wireless Setup Assistant can tell you what network your computer is connected to as well as the password to that network. However, this begs the question as to whether or not this counts as a breach of security, as the password is unencrypted and visible to any who may glance at the screen.
Later on, I connected the printer by Ethernet cable to the router. One must be careful as the cable included is a telephone cable for faxing, and not an Ethernet cable despite the similarities between their plug connectors.
After connecting to the router and switching the printer to "wired" mode, all computers on the same network could quickly use the included software and detect the printer. Subsequently, this led to a quick installation of the required drivers and soon a good number of computers were capable of printing from this new printer. This was one of the easiest printer setups I've ever experienced, and most of the difficulty arose from human error or faulty Ethernet cables.
One of the selling points of this new printer is its ability to create accounts with different printing privileges. For example, certain accounts may be limited to only printing in black and white, in effort to save toner and reduce wastefulness.
The Color imageCLASS MF726Cdw demonstrated to me why Canon printers are known to be among the best available. This printer provides a large range of functionalities in addition to printing, such as faxing, copying, and scanning. The automatic document feeder works quickly and the CD included with the printer also has a scanner utility application that enables users to initiate scanning from their computer. The touch screen user interface was intuitive and I could navigate through the menus to find settings or information without needing to make leaps and bounds in logic.
One of my personal favorite features was the ability to access the printer online, by inputting its IP address into the search bar. There, I could monitor toner level, create new "departments" and do other administrative work regarding the printer.
After hearing the glowing reviews from my coworkers who are enjoying this new printer (I believe one person used the words 'The Cadillac of Printers'), I have no doubt that should you need a 4-in-1 printer, especially if you want to set up departments, the Canon Color imageCLASS MF726Cdw is an excellent choice.
View Full Article
Featured Products
by Apple