One of the nice perks of the Mac is being able to easily migrate from your old Mac to a new one. Apple addresses moving large amount of data and media content using Thunderbolt, an extremely fast multi-purpose interface that also supports direct Mac to Mac file transfers.
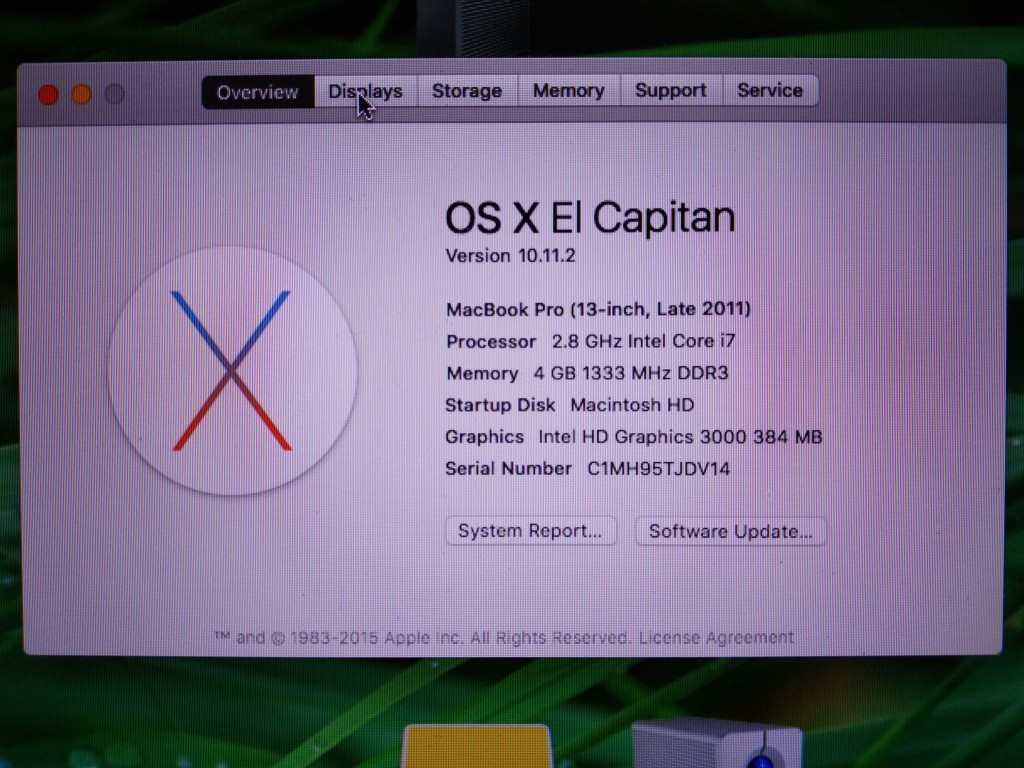
I recently purchased a 21.5" Apple iMac with Retina 4K Display (Late 2015) to replace an aging 13" MacBook Pro from Late 2011. I'll use this iMac and MacBook Pro as examples for how to migrate all your files and application to a new Mac using Thunderbolt.
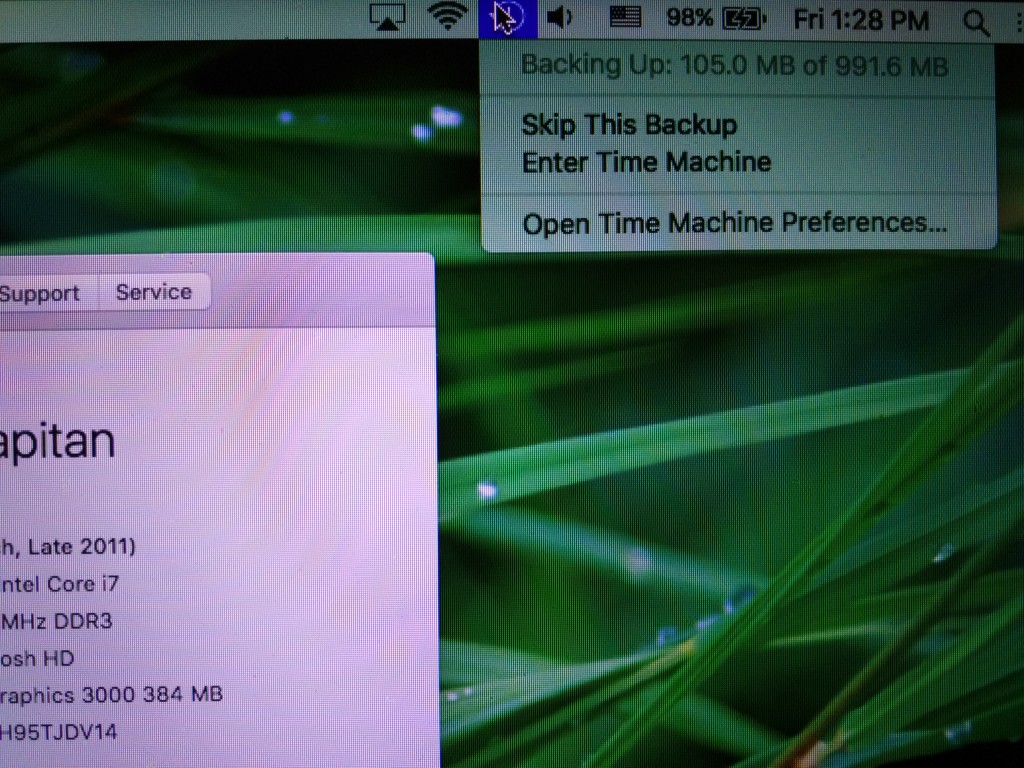
Before starting the migration process, first back up the old MacBook Pro on Time Machine.
After the backup is complete, connect the MacBook Pro and the new iMac together using a Thunderbolt cable.
Next turn on the new iMac where you are asked to turn on the power for the iMac's wireless mouse and keyboard.
The mouse and keyboard should automatically connect with the Mac, allowing me to continue the new Mac setup process. From here I can choose your language, location, keyboard, and WI-FI network.

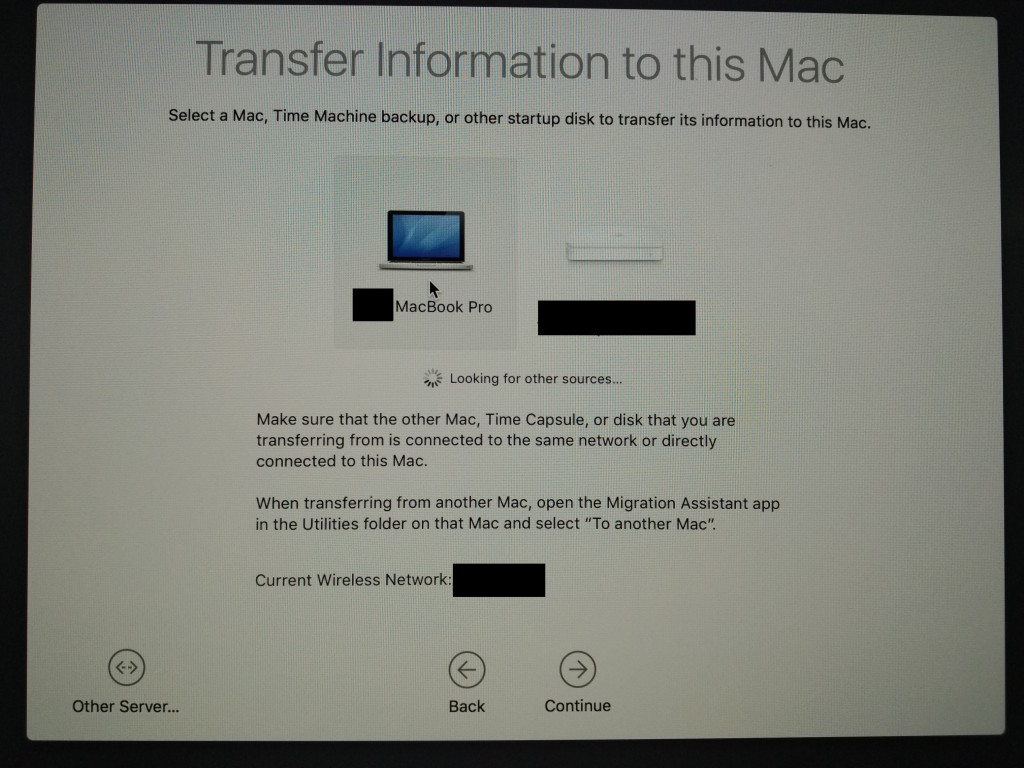
To begin the migration process, in the Transfer Information to This Mac screen, select From a Mac, Time Machine backup, or startup disk.
You also need to open Migration Assistant on the MacBook Pro and select To Another Mac in the Migration Assistant screen.


On the Transfer Information to this Mac screen on the iMac, select the MacBook Pro and then select Continue. You'll be asked to confirm that the code that you'll see on the iMac matches that on the MacBook Pro. Once you match the code and select Continue, the migration process will start.

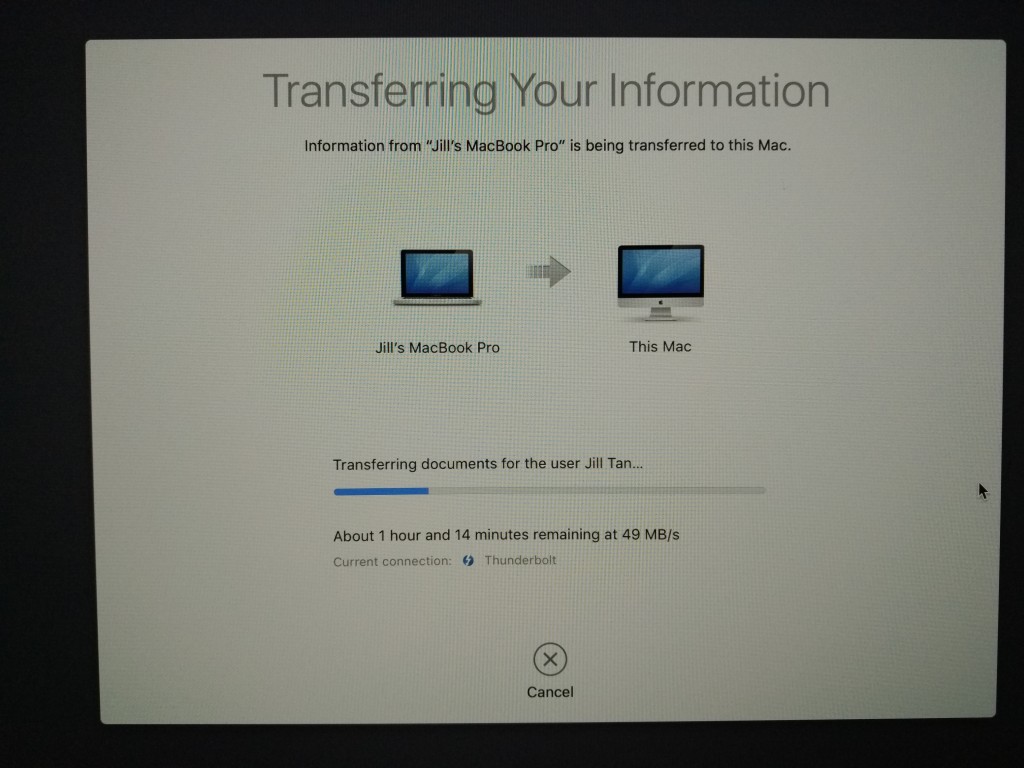
It will take some time for the Mac to locate all applications and documents to transfer.
After selecting what to transfer from the MacBook Pro, you need to select Continue and then Agree to the Terms and Conditions.
The transfer process itself can take a few hours even with Thunderbolt.
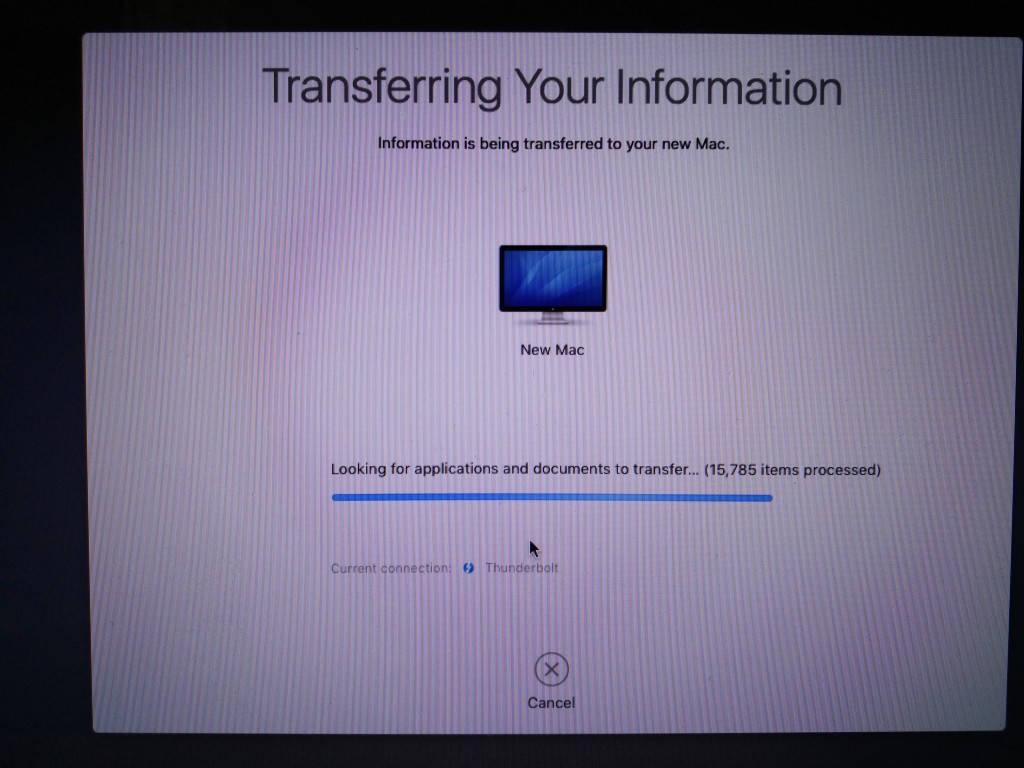
If you find that the migration process has hung up for whatever reason, you'll need to cancel the process and Shutdown the iMac.
You'll also need to Cancel the process on the MacBook Pro and select Quit.
Once the iMac has restarted, you'll need to repeat the process above. Upon the second migration attempt, the migration process resumed and eventually completed.
At the Thank You screen, I found the wireless mouse to be non-responsive and thus unable to select Start using your Mac. If you find yourself in this situation, just plug in a wired mouse like this Dell Logic mouse to then select Start using your Mac.

The migration process works so well that you'll be brought straight to login with the same username and password that you had used in your old Mac. The same applications that you had left opened on the old Mac will eerily also open up on the new Mac.
The only problem I found in the migration process was having to set up the e-mail account SMTP settings again. But other than having to restart and continue the migration process once, Mac to Mac migration over Thunderbolt works well and highly recommended when buying a new Mac.
 GTrusted


