GTrusted


Sometimes you just need to use Windows applications on a Mac. Parallels is an easy to way to open Windows Apps or use the Windows Operating System in a virtual machine while using your Mac Apps (unlike Bootcamp which requires you to boot up into Windows Operating System thus not allowing you to use Mac Apps at the same time). The main tradeoff with the virtual machine approach is slower processing speed of Windows Apps and more processor and memory resources needed on the Mac hardware.
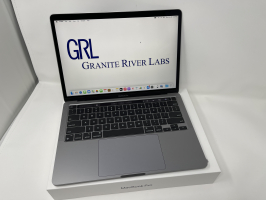
Here we used the 13" MacBook Pro (2017) with MacOS 10.13.1.

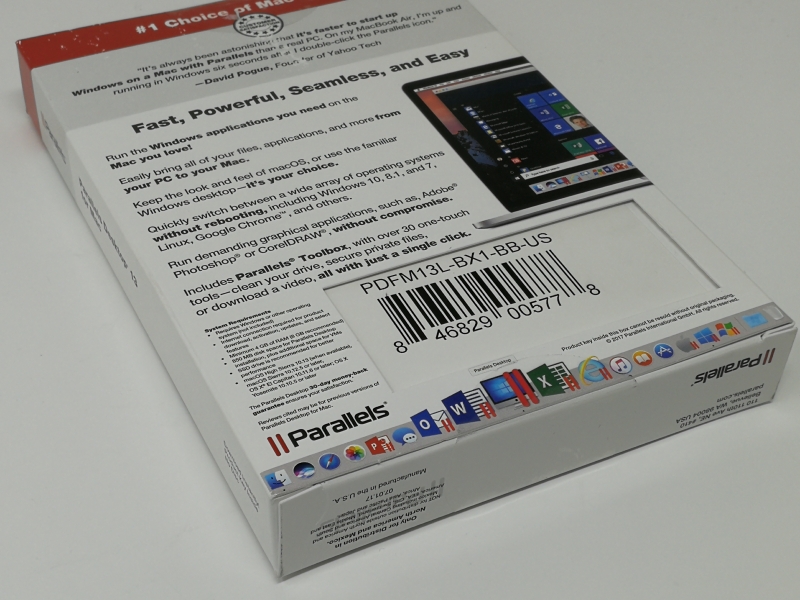
First you will need to get a license for Parallels Desktop 13. We purchased Parallels from Best Buy which offered a one-time purchase and was actually cheaper than buying directly from Parallels which sold a more expensive subscription based option.

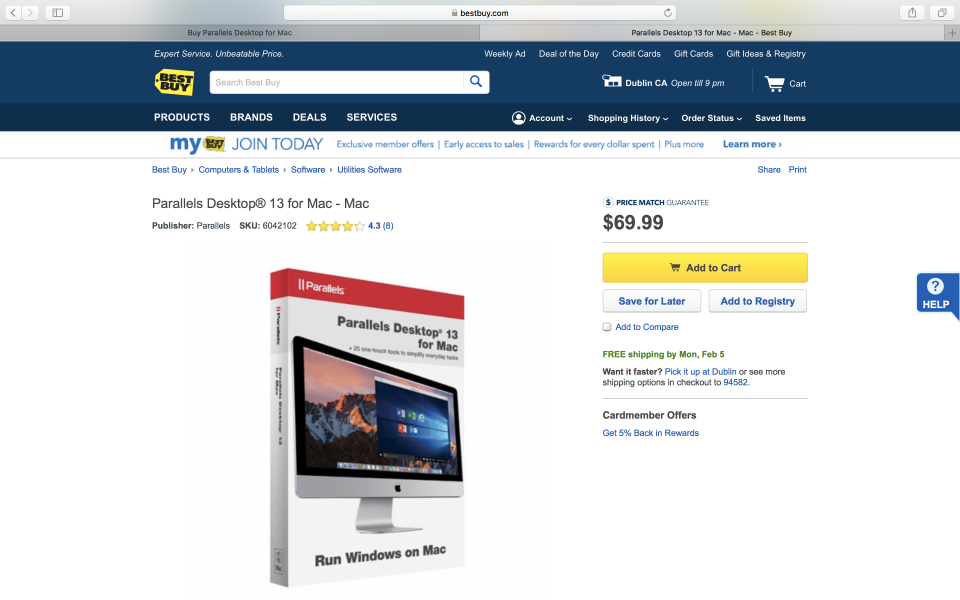
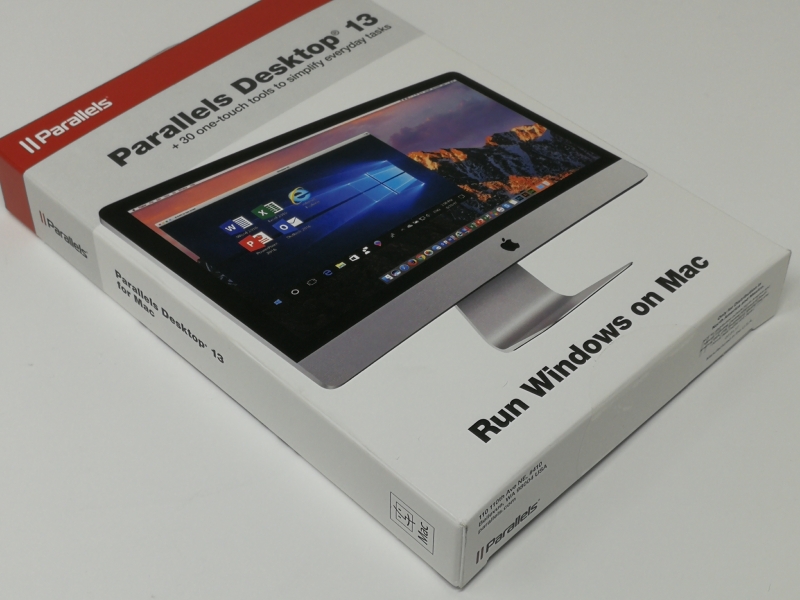
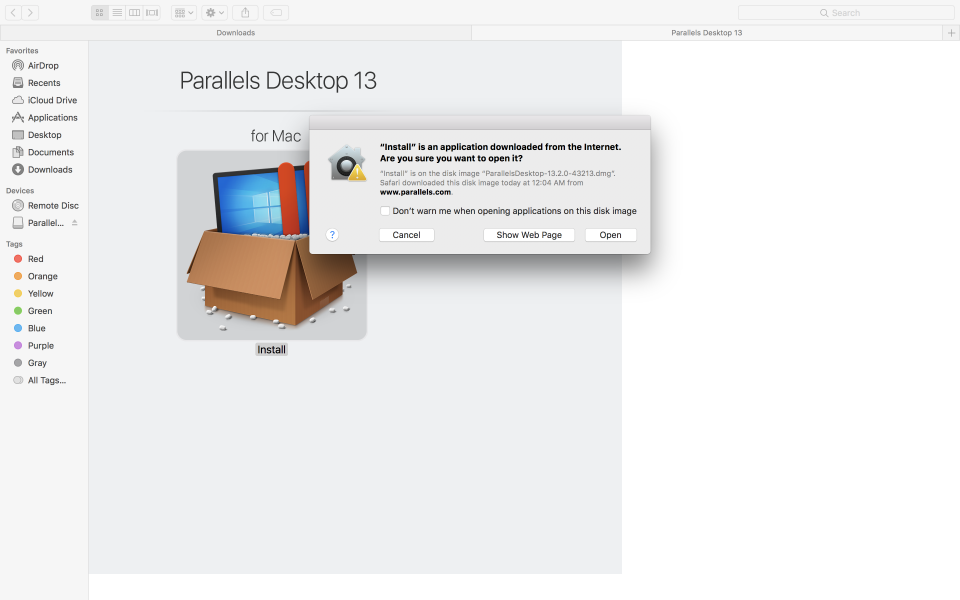
The Parallels Desktop 13 is actually just an empty box with a license key since the software is downloaded from the Internet.
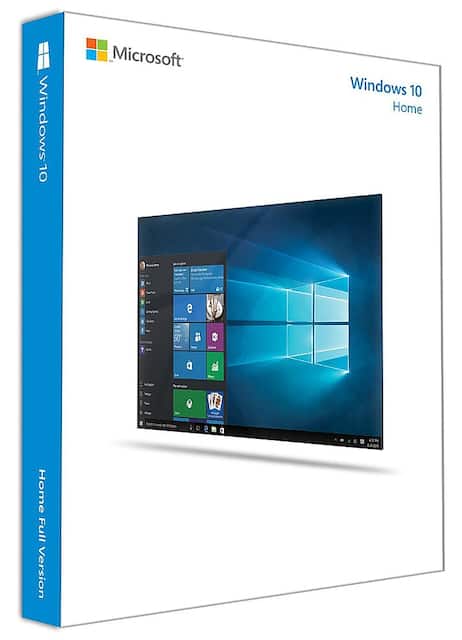
You will also need a valid Windows 10 license. For convenience, we purchased Windows 10 Home (USB flash drive version) from Best Buy.
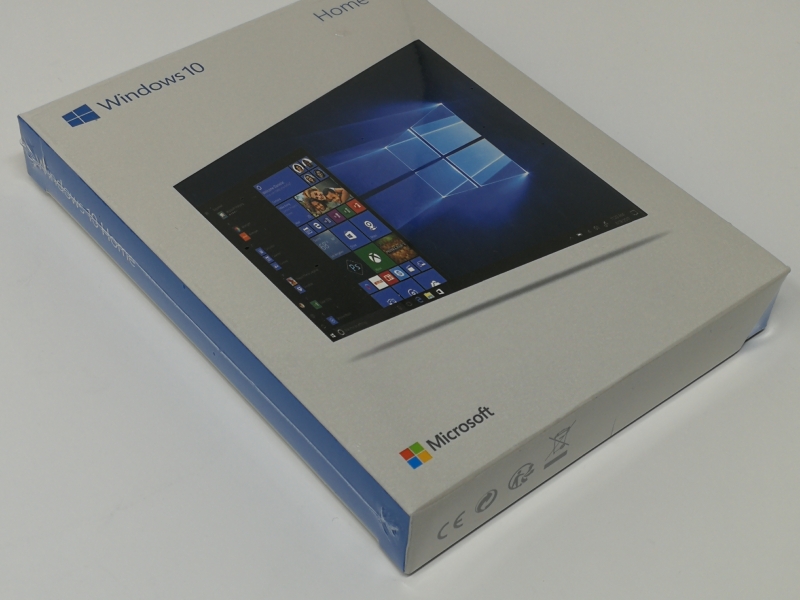
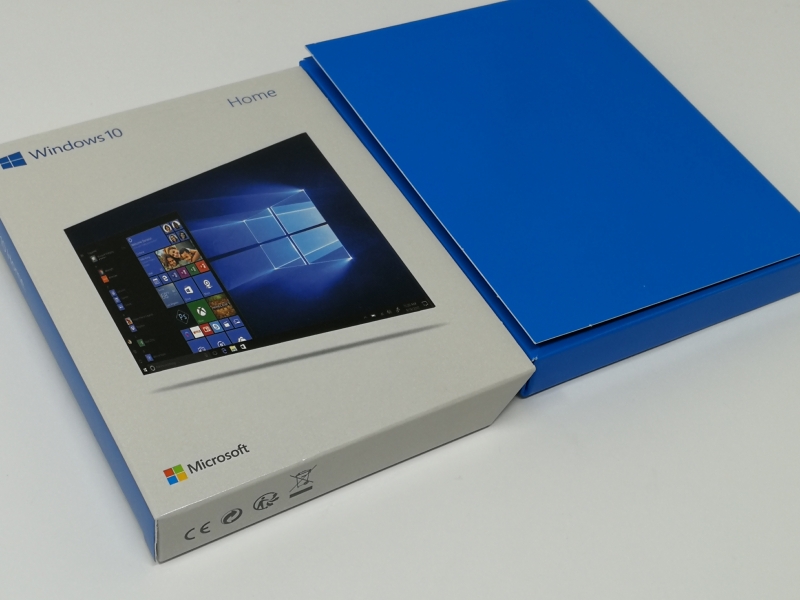
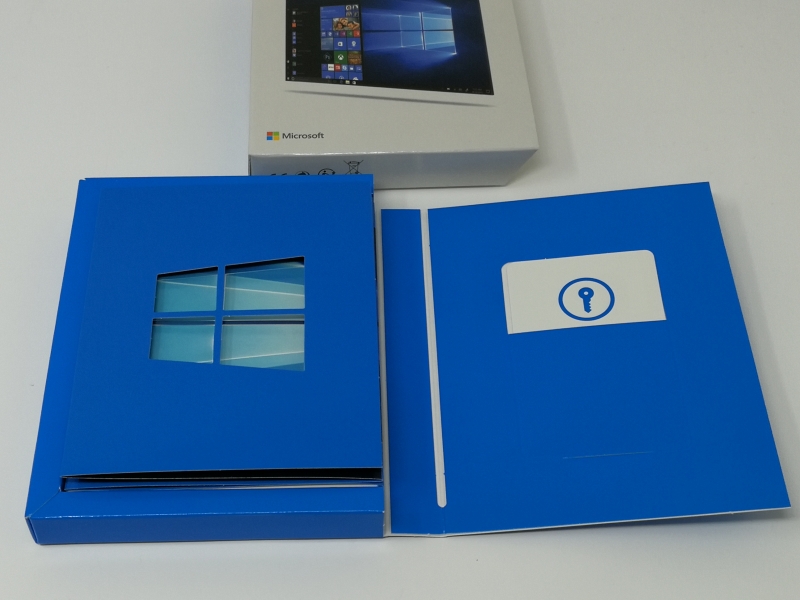

Having Windows 10 already saved on a USB drive makes it faster to install Windows and beneficial if you have difficulty downloading Windows from the Internet.
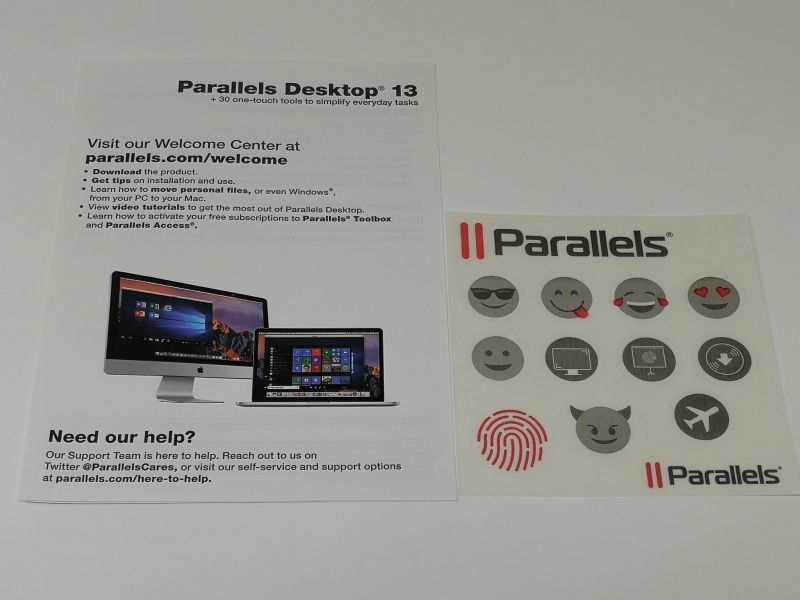
To start the Parallels installation process, you need to go to https://www.parallels.com/welcome on your Mac browser.


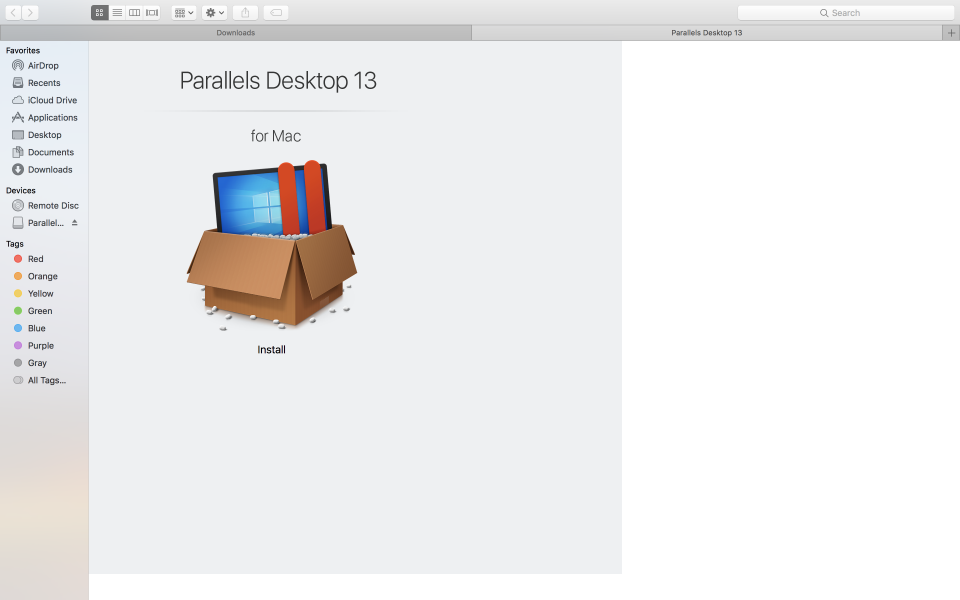
After selecting the Download Parallels Desktop button, a .dmg file will be downloaded onto your Mac.


You then need to open the .dmg file to install Parallels Desktop onto the Mac.
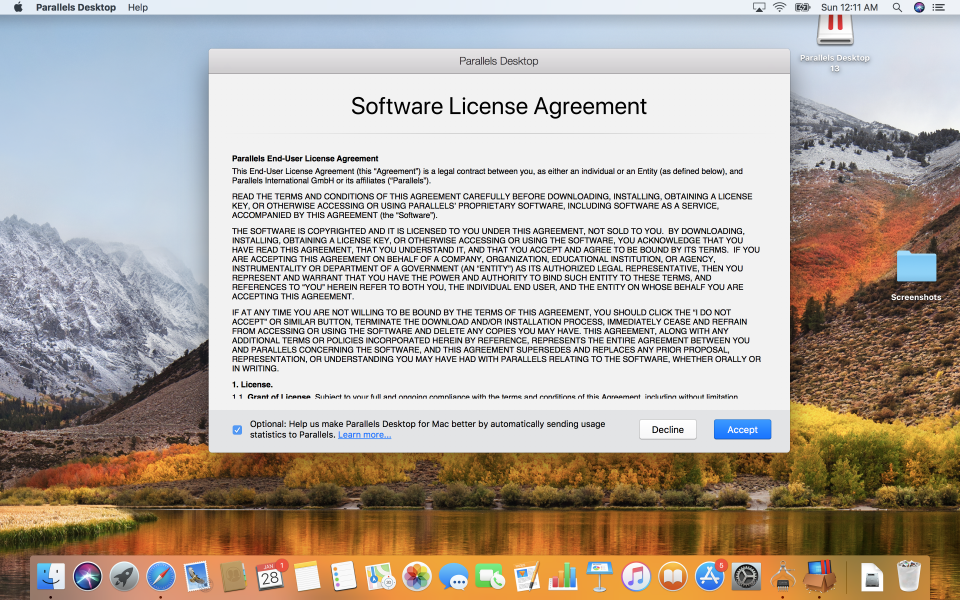
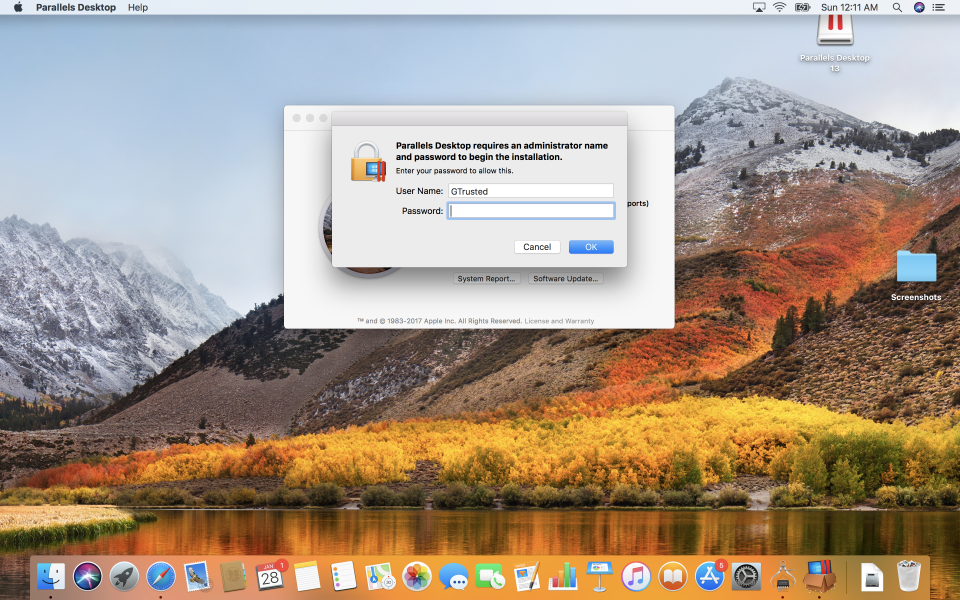
After agreeing to the Software License Agreement, you will need to log in with your Mac's administrator user name and password.
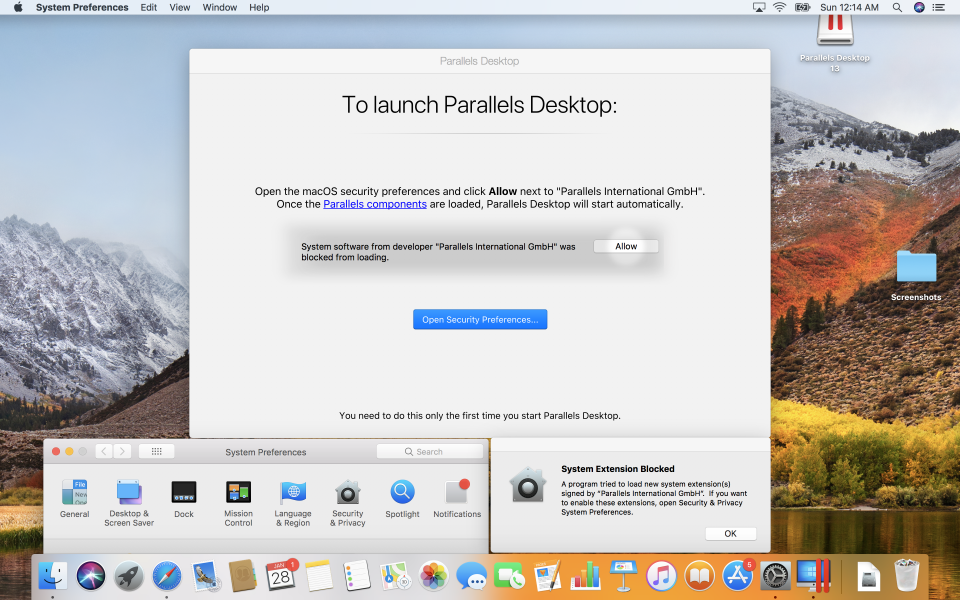
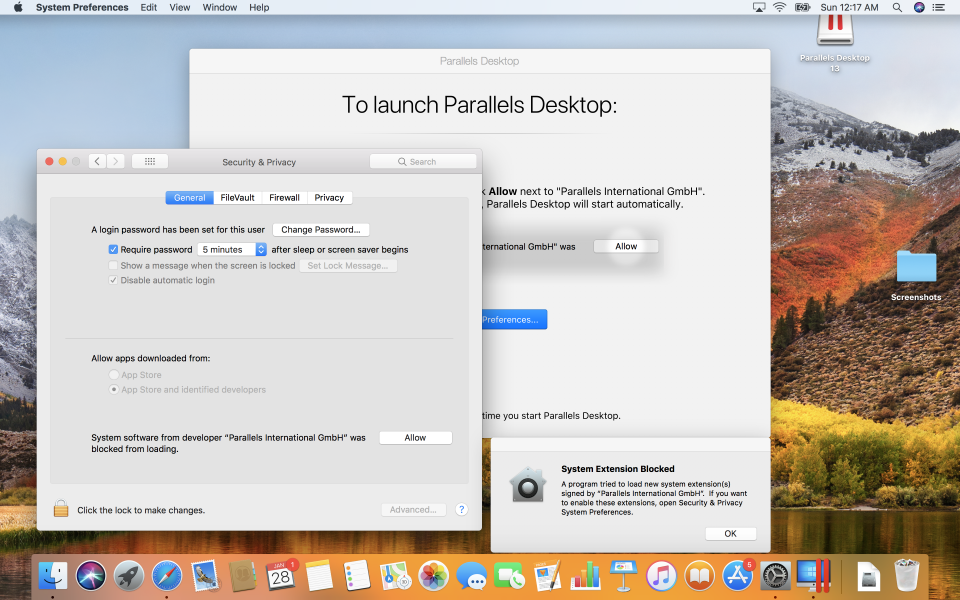
You will also need to open the Mac's System Preferences -> Security & Privacy settings window and select the Allow button to allow the Parallels App to continue loading.
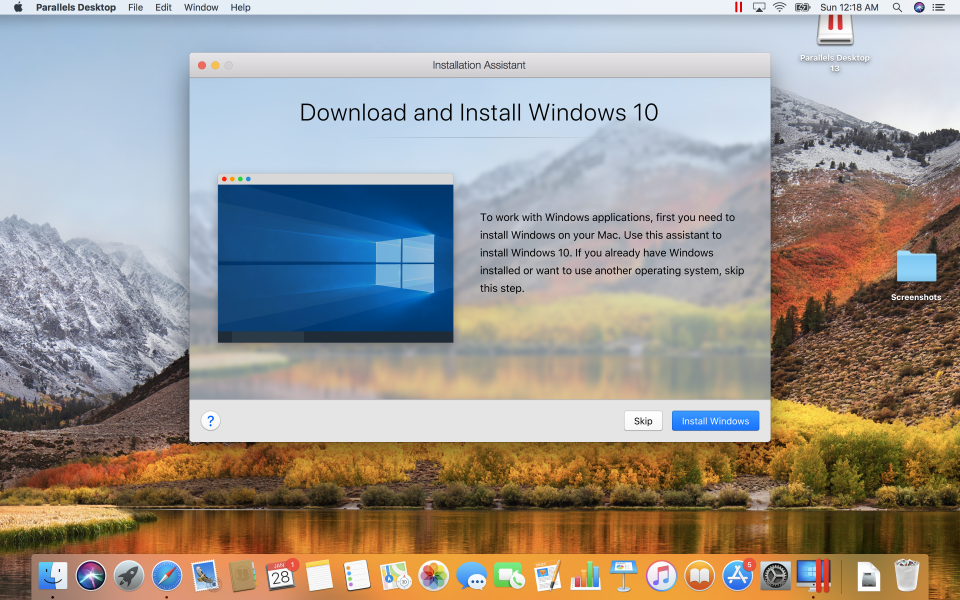
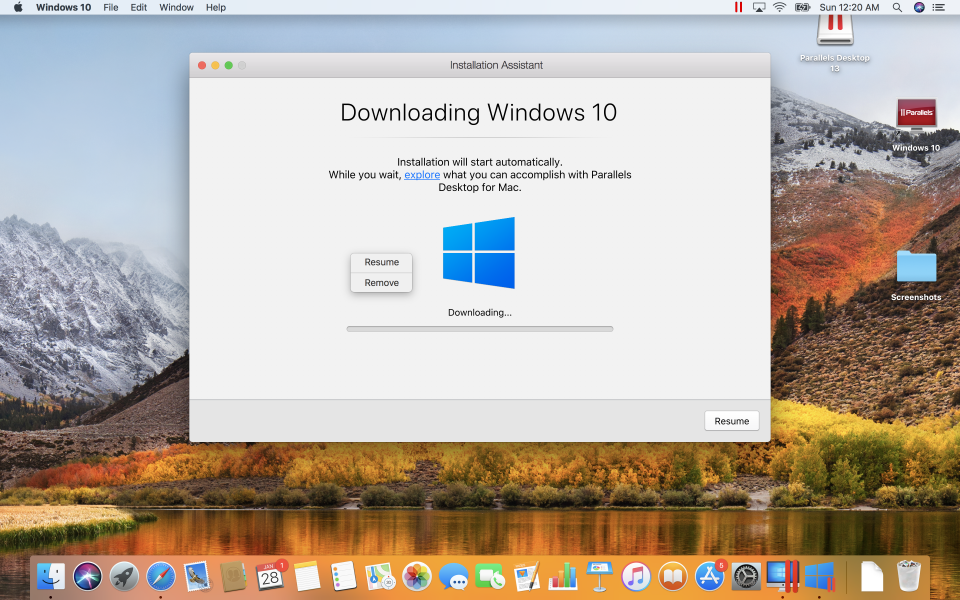
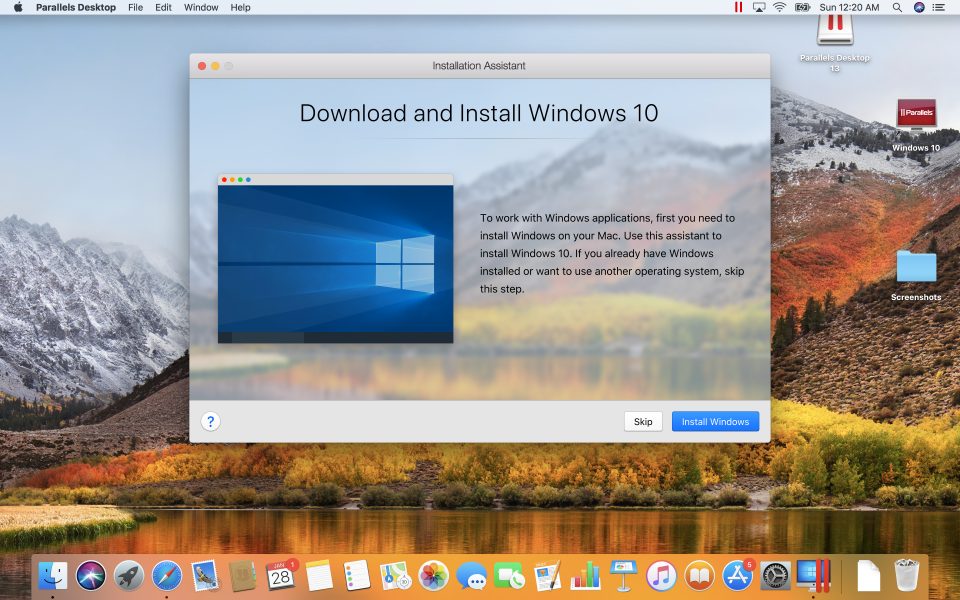
Next, you need to install Windows 10. If you click Install Windows, Windows will be downloaded from the cloud.
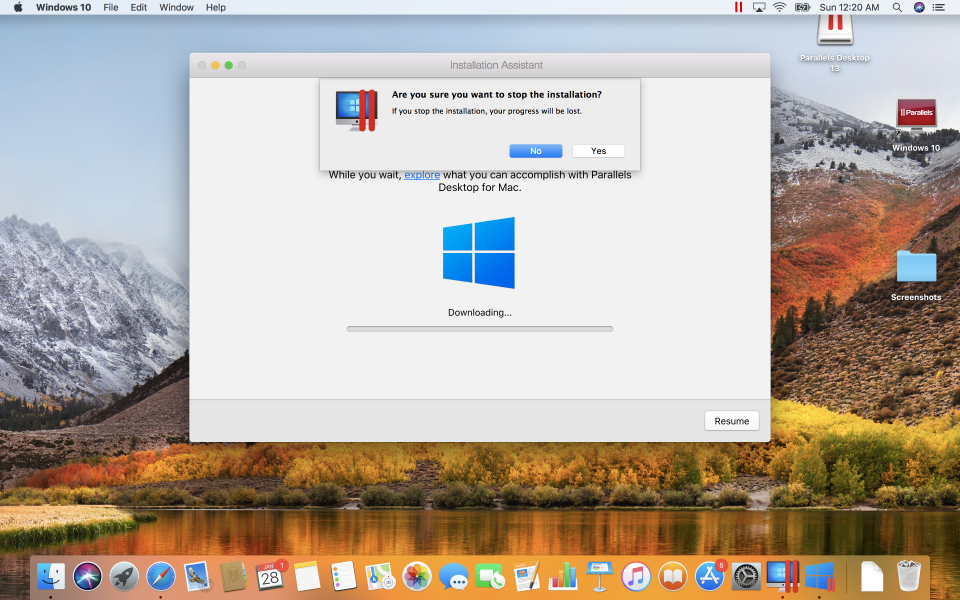
Since downloading from the cloud could take a long time, we clicked the right mouse button in the Installation Assistant to selected Remove to stop and remove the Windows installation.
After getting back to the Download and Install Windows 10 page, we this time selected Skip.
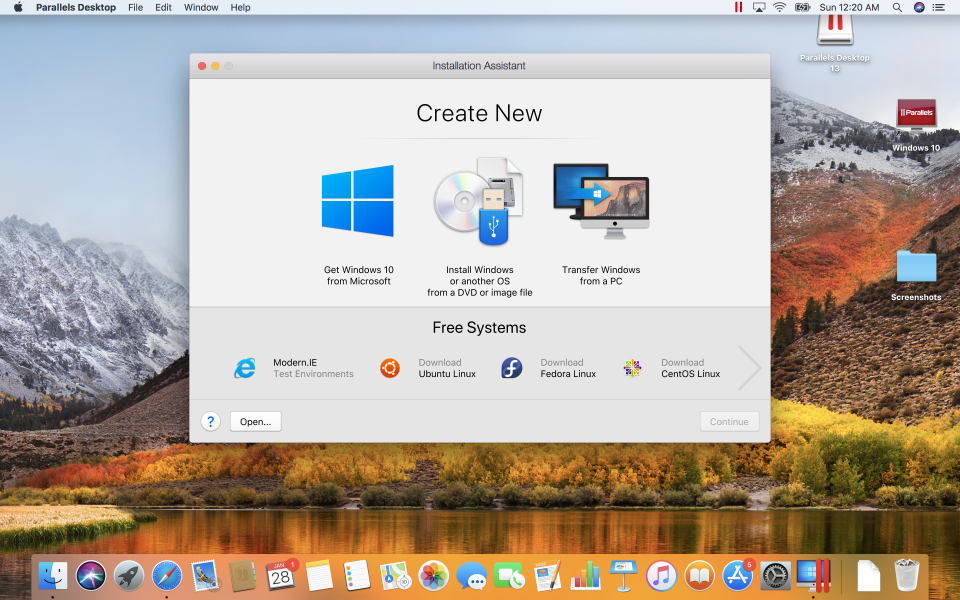
This time we could get to the Create New screen of the Installation Assistant.
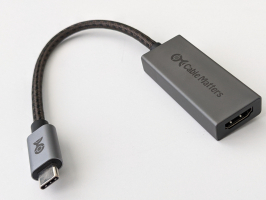
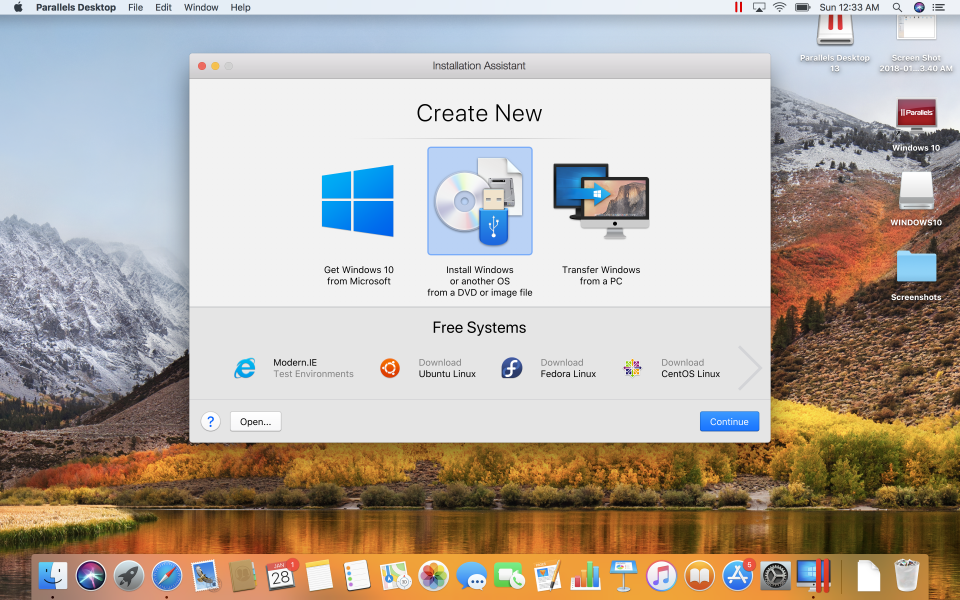
You will need to insert the Microsoft Windows 10 USB drive to the Mac using a USB Type-A to Type-C adapter.

You can then select 'Install Windows or another OS from a DVD or image file' and click the Continue button.
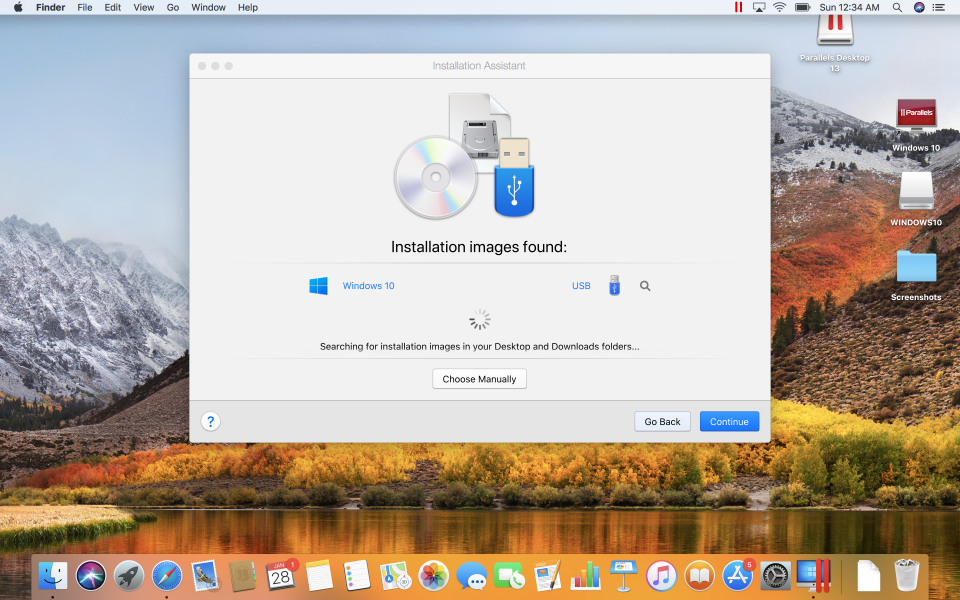
The Installation Assistant could find the Windows 10 installation image on the USB drive which you can select before clicking Continue.
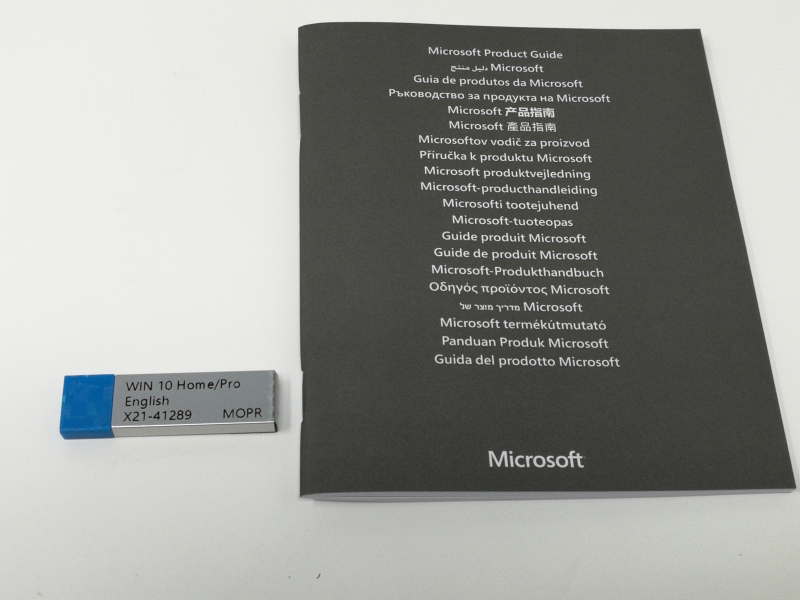
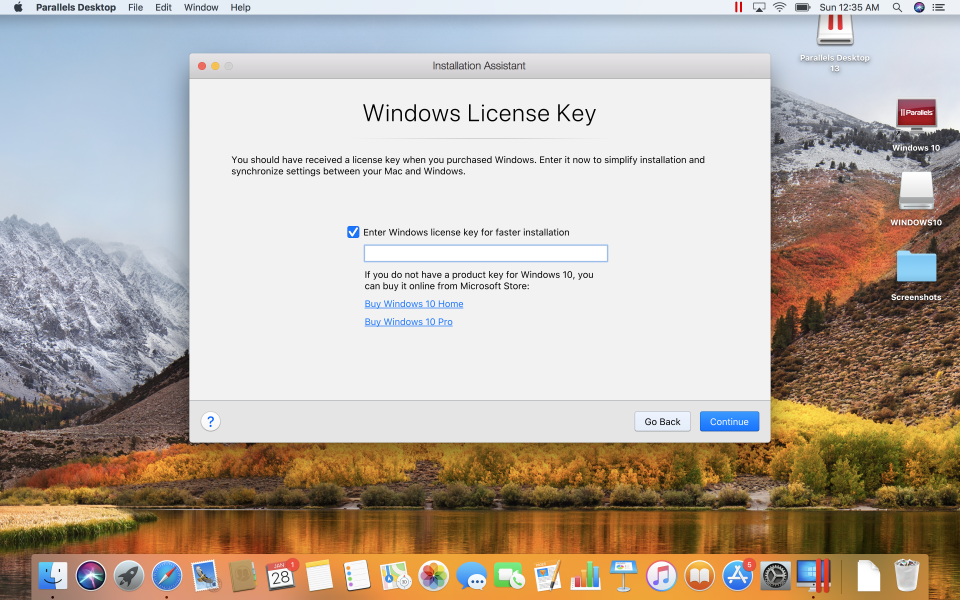
You will need to next input the Windows License Key that comes included in the Windows 10 USB drive box.
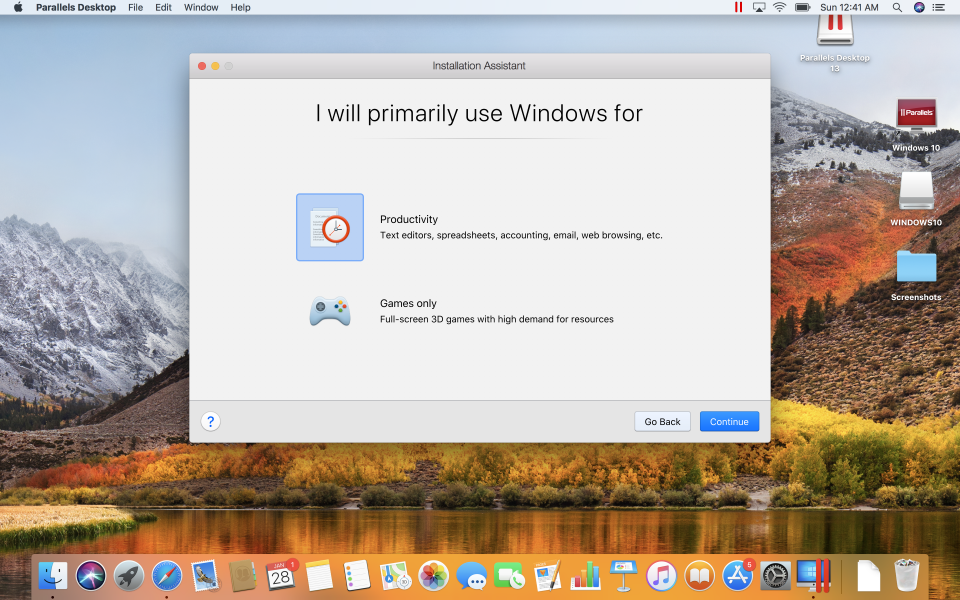
You can select how much of the Mac's processor and memory resources you want to allocate to the Parallels Virtual Machine for running Windows 10 by selecting if you want to use Windows for just Productivity or more resource intensive Gaming.
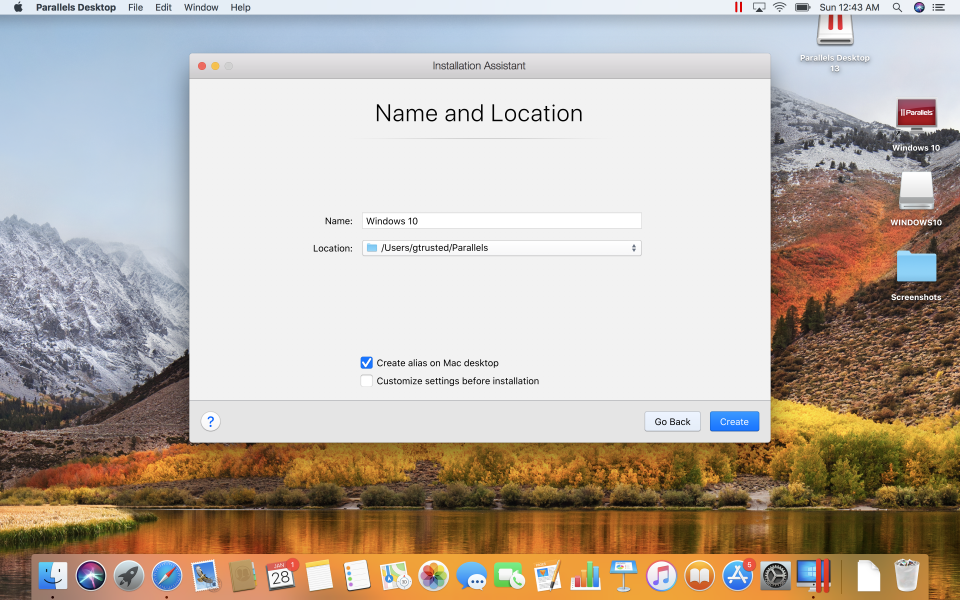
You will also want to select where you want to install Windows 10 and what to call the installation.
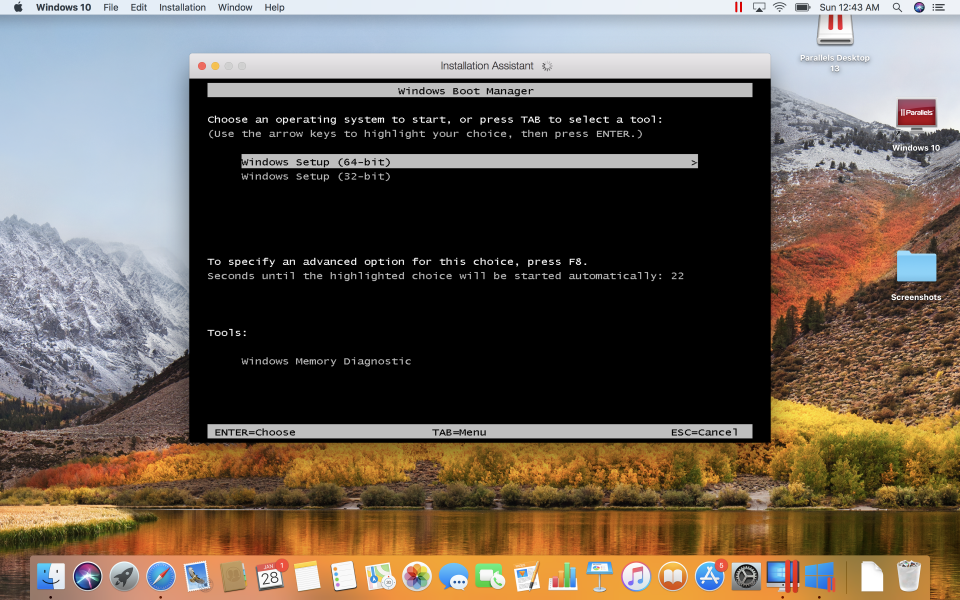
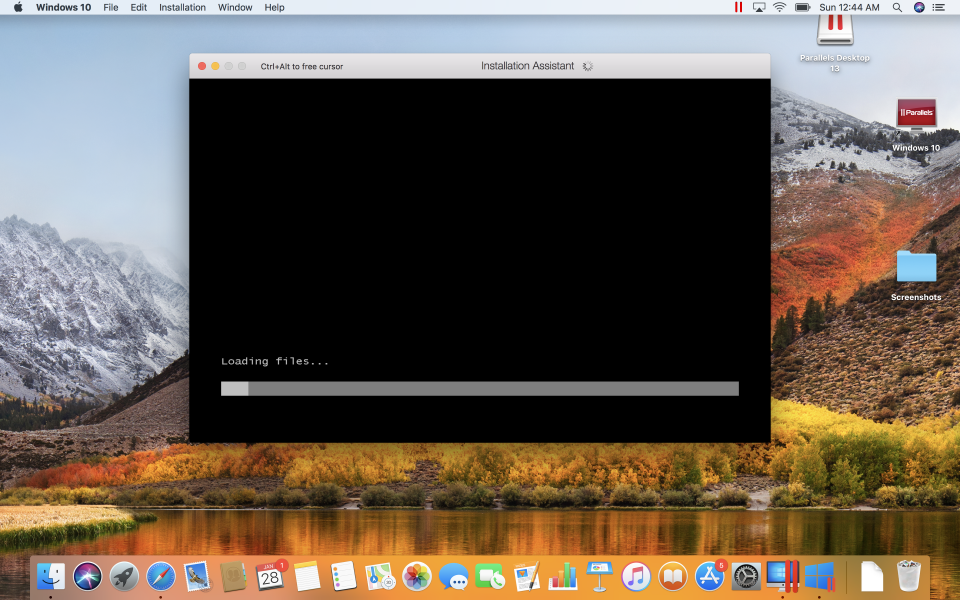
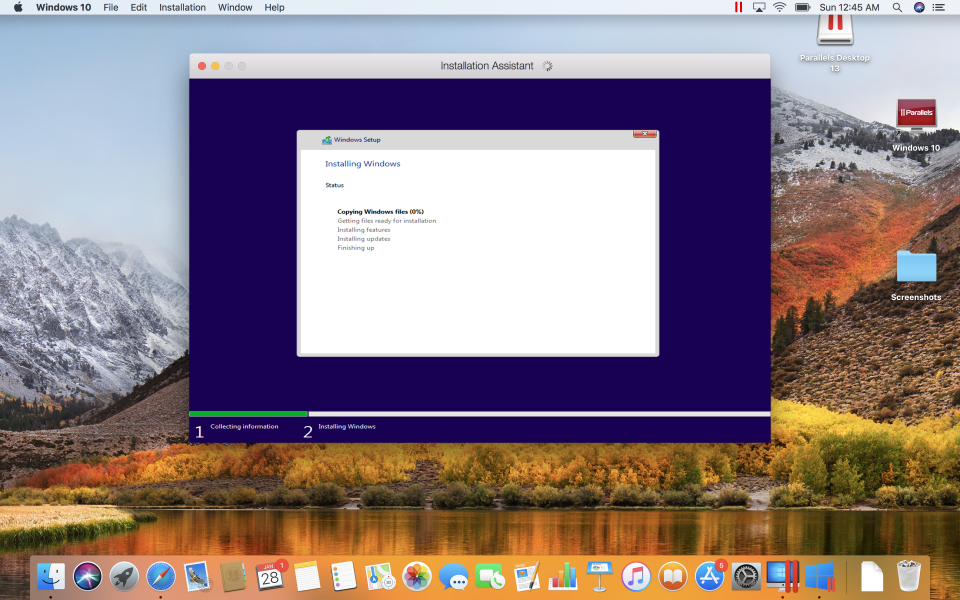
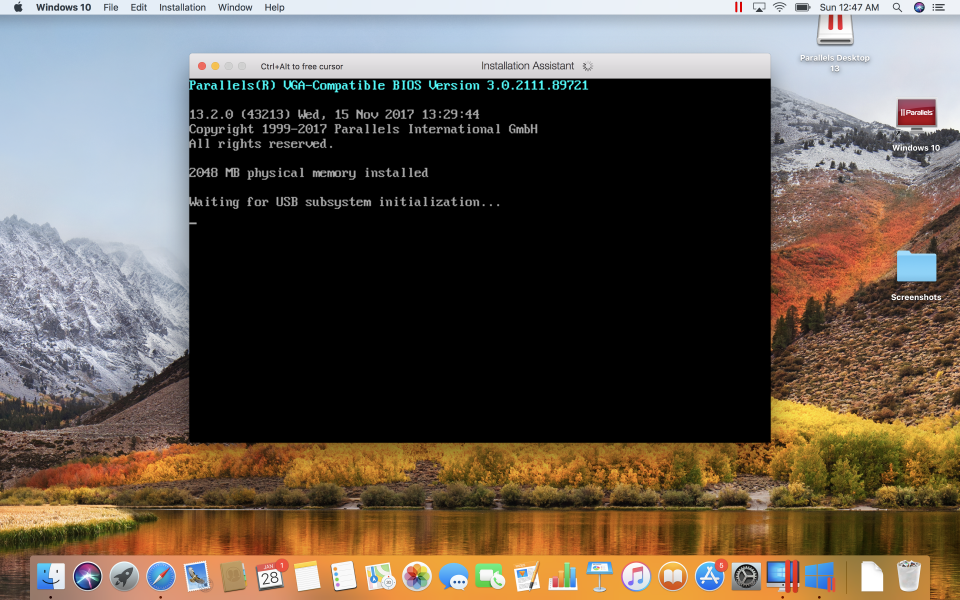
After selecting Create, a familiar terminal screen will come up showing you how Windows is being installed.
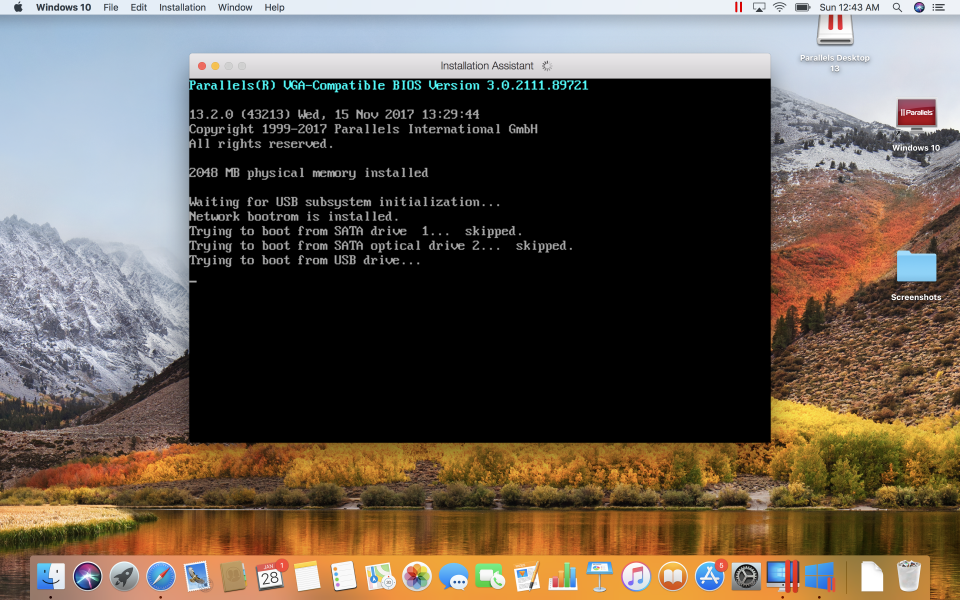
Be sure to select the 64-bit version of Windows for Macs.


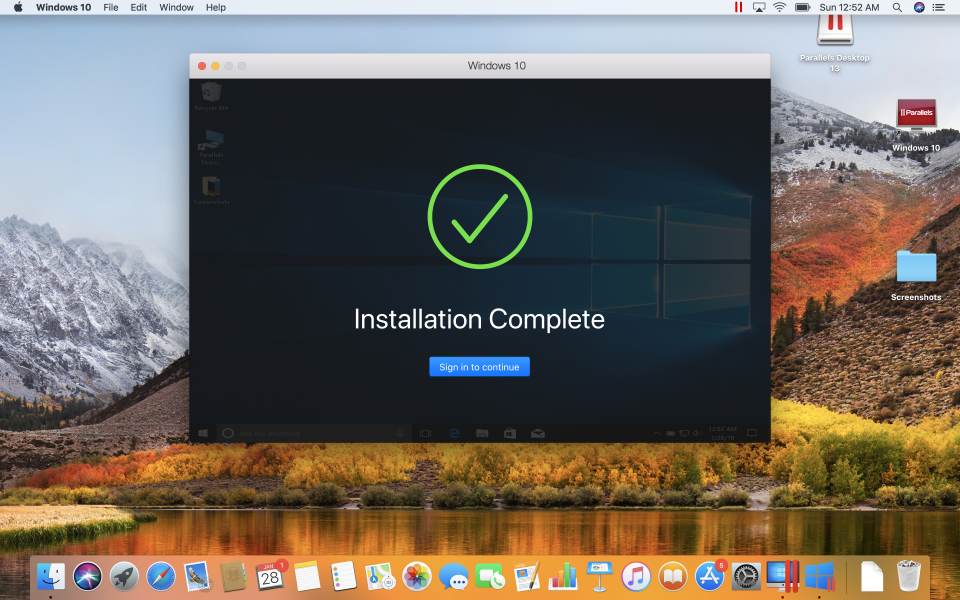
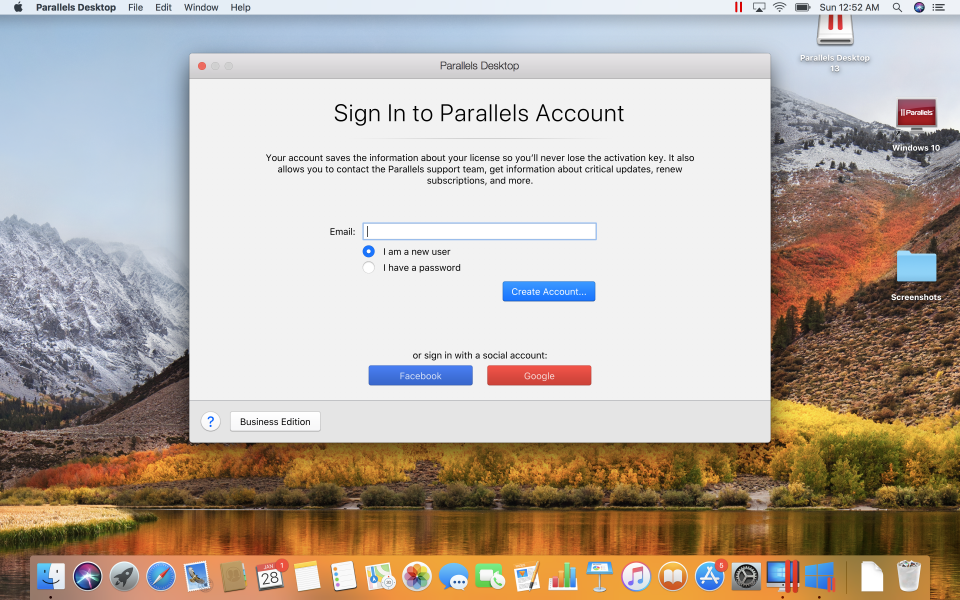
Once the Windows 10 installation is completed, you will need to sign into Parallels with an existing account or create a new one.
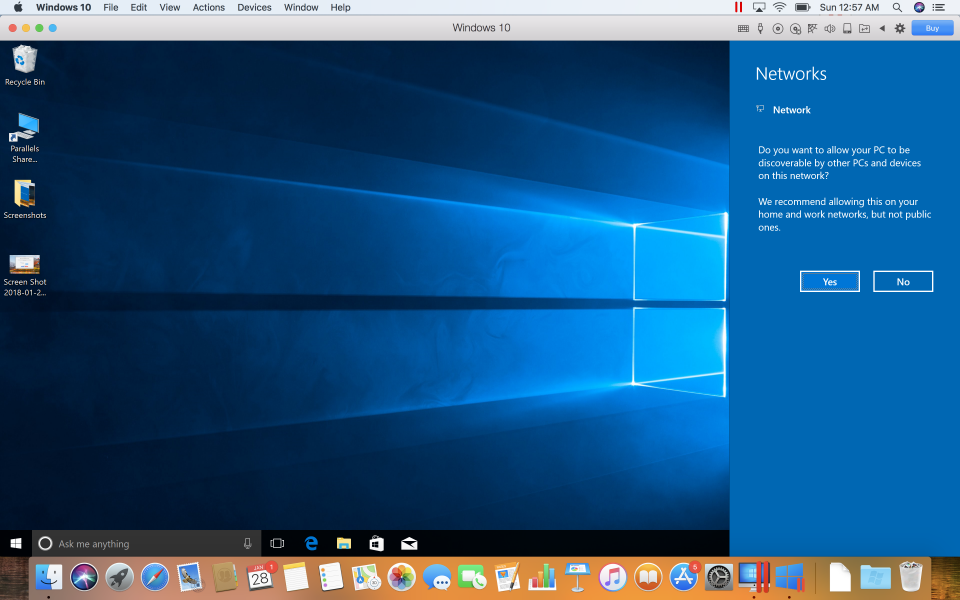
Once signed into Parallels, you can immediately start using the Windows operating system by selecting the Windows icon at the bottom of your Mac's desktop or use Coherence Mode to just open a specific Windows application directly into the Mac Operating system without having to open it through Windows 10.
Setting up Parallels Desktop on a Mac is relatively simple and even if you don't have an expensive Mac with tons of additional CPU cores and memory, you can use Parallels to conveniently open up Windows 10 for simple Windows productivity applications on your Mac Operating System. If you need Windows applications to run faster, you probably need to run Parallels on higher end Mac's stacked with plenty of CPU cores and memory.