GTrusted

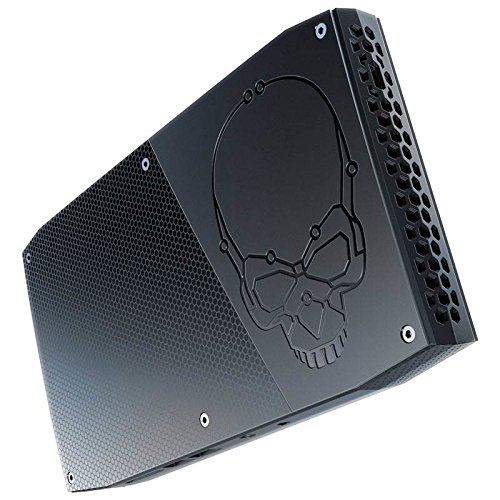


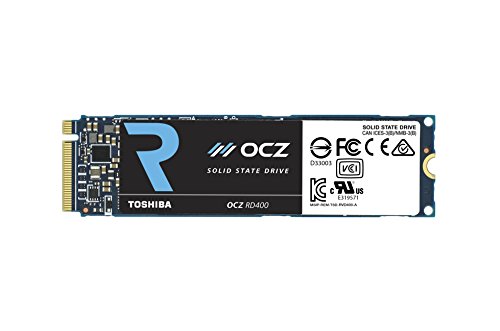


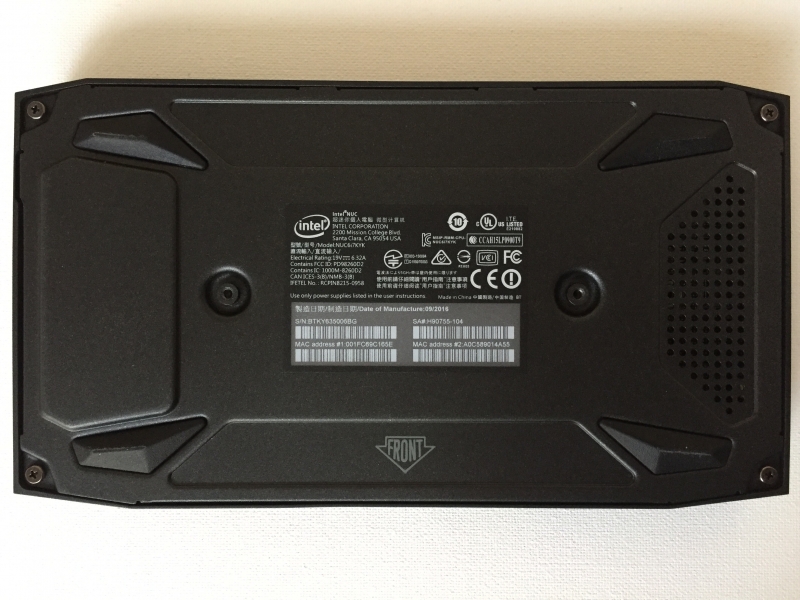
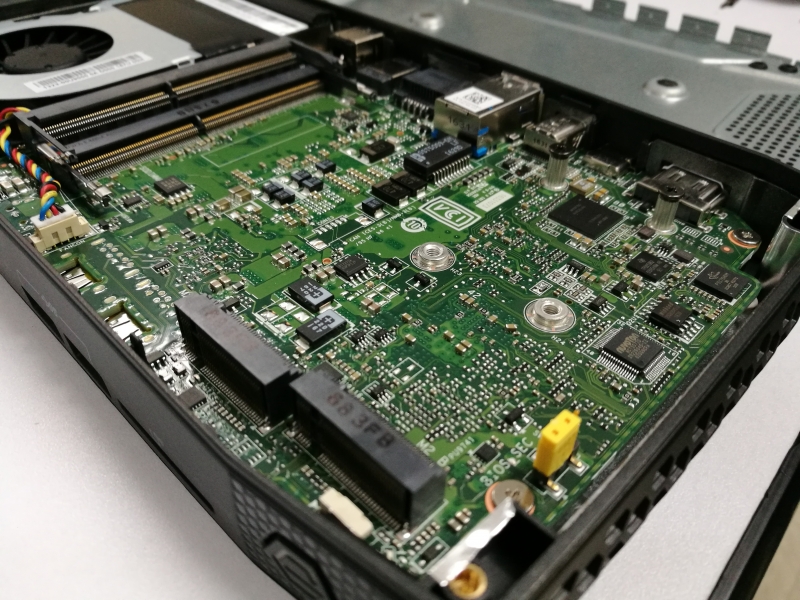
The Intel NUC Skull Canyon (NUC6i7KYK) requires a bit of installation before you can use it. Unlike desktop motherboards, it already comes with an Intel processor but it still requires that you install specific DDR memory and storage. Here we used the Patriot Memory Signature Line 32GB (2 x 16GB) DDR4 PC4-17000 Kit 32 DDR4 2400 MT/s SO-DIMM and Toshiba OCZ RD400 Solid State Drive - PCIe NVMe M.2 SSD and installed them by removing the screws from the bottom of the NUC.
We then connected a HDMI display, mouse, and keyboard to the NUC.
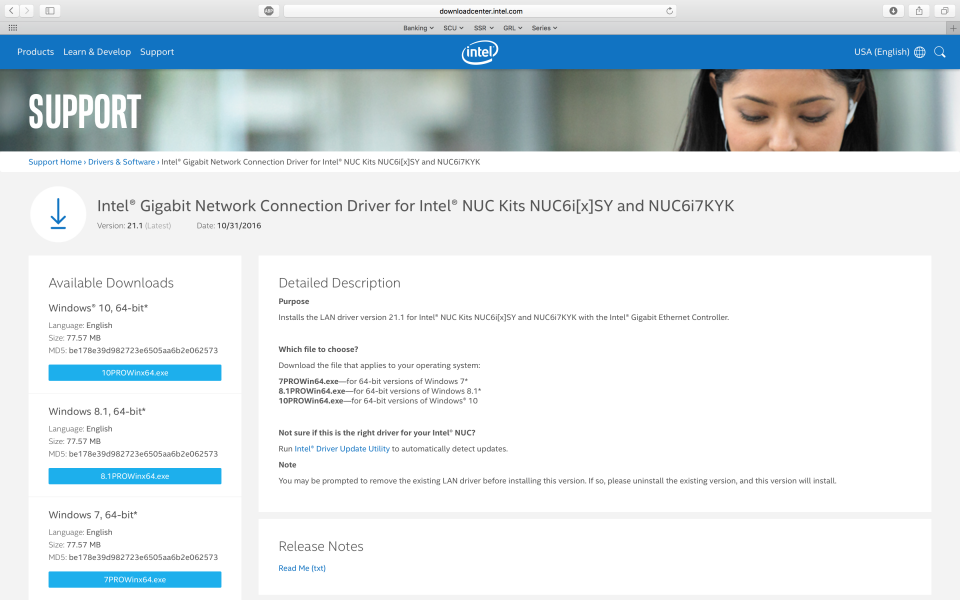
After you install Windows on the Intel NUC Skull Canyon (NUC6i7KYK), you'll next need to install the NUC drivers from the Intel website. It's best to download the drivers from another computer and then transfer it since your network drivers are not installed yet on the NUC.
We first installed the Ethernet driver on the Intel NUC Skull Canyon (NUC6i7KYK) so we can directly download drivers into the NUC.


Once the Ethernet drivers were installed, we then installed the Intel graphics, Thunderbolt, and all other drivers available for the NUC.


Finally, we performed a Windows update before we started using the Intel NUC Skull Canyon (NUC6i7KYK).