GTrusted
1
Compatible Products
Chargers and Power Banks
Headphone & Speakers
Cases & Covers
Virtual Reality
Cables & Adapters
Media Player
Laptop
Tablet
Desktop
Cell Phone
Printers & Copiers
Memory Cards
TV
Computer Display
Game Console
Smart Home
Wearable Technology
Photo & Video Camera
Car Electronics
Car
Networking Equipment
Smart Toys
Home Audio & Video
Professional & Industrial
Storage Drive
Docking Station
Game Console Controllers
Set-top box
Keyboard, Mice, & Stylus
Portable Music Player
Computer Parts & Components
Cordless & Speakerphones
Projector
Software
Reporting
Lenovo G50-80
by Lenovo


Interested in this product?


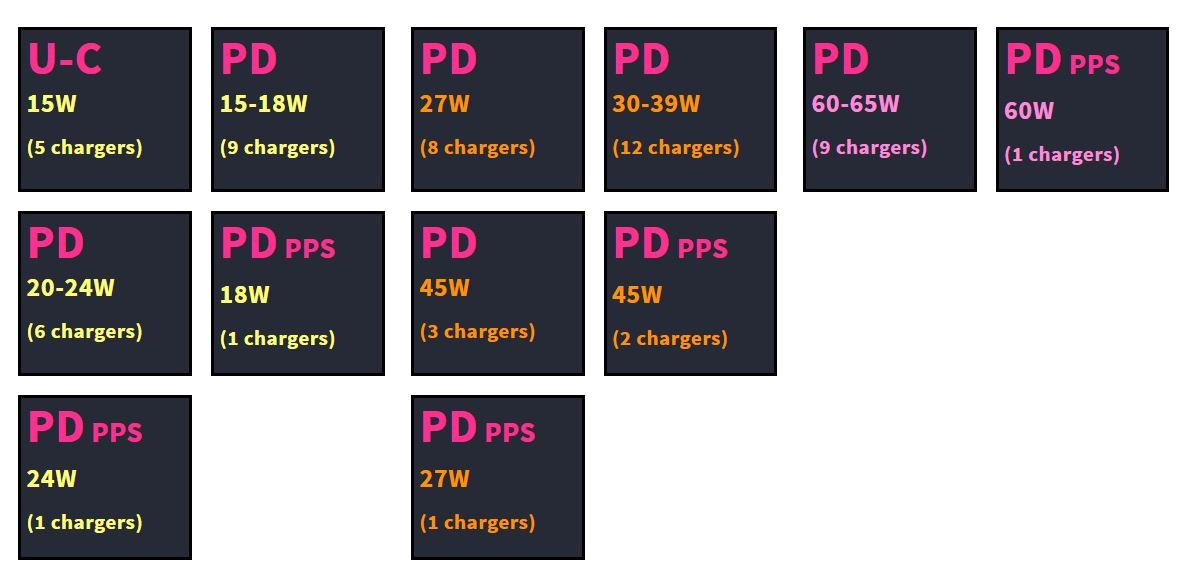
Select a product category to see which devices type we recommend to use with the Lenovo G50-80:
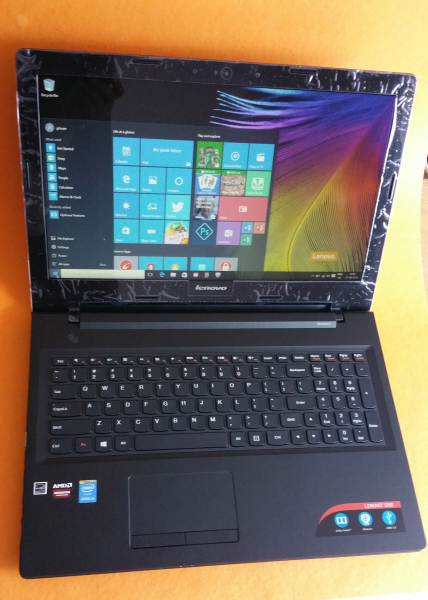
Lenovo G50-80 Laptop- Affordable for All
The Lenovo G50-80 is a budget laptop that comes with the Intel Core i5-5200U 2.2GHz Max Turbo speed up to 2.7GHz 5th Gen Core Processor, 8GB DDR3 1600 MHz RAM Frequency, 1TB (5400 RPM) Hard Drive, DVD RW Drive, Hi-Speed USB, Network 10/100 LAN / WI-FI / Bluetooth 4.0, 2.5 kg weight with Windows 10, 64 bit OS, English Keyboard, 2GB AMD Graphics /Intel HD520 Graphics / HDMI Port / Card Reader, 4 Cell Battery / Sound and Waves Maxx Audio/1280 x 720 Web Cam. It features a 15.6 inch display panel based on the inexpensive TN technology with limited viewing angle stability and an HD with a screen resolution of 1366 x 768 pixels.
This is the good affordable consumer laptop for both work and play .
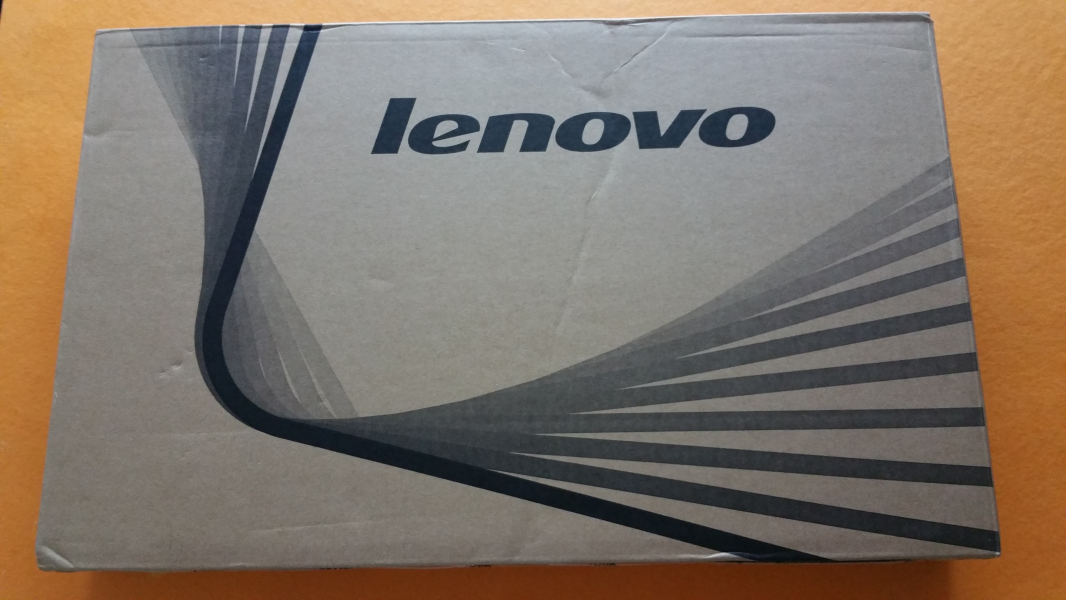
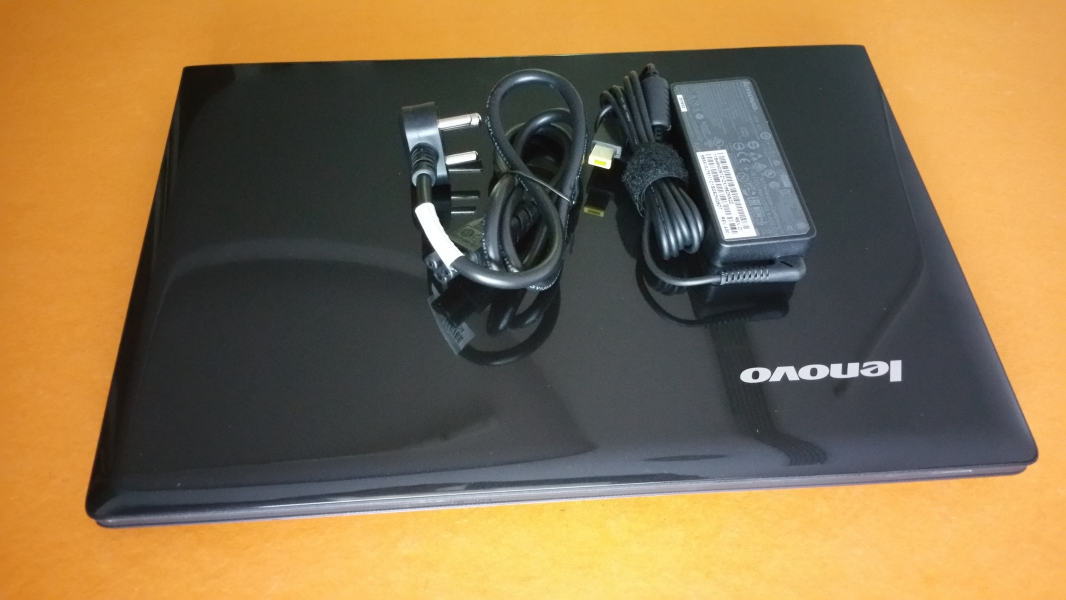
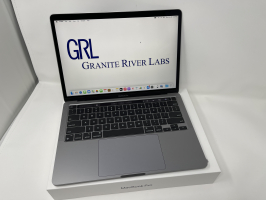
To start with, let's go through the unpacking and installation process of this laptop. The Lenovo G50-80 is packed in a sealed box having the Lenovo logo on top.
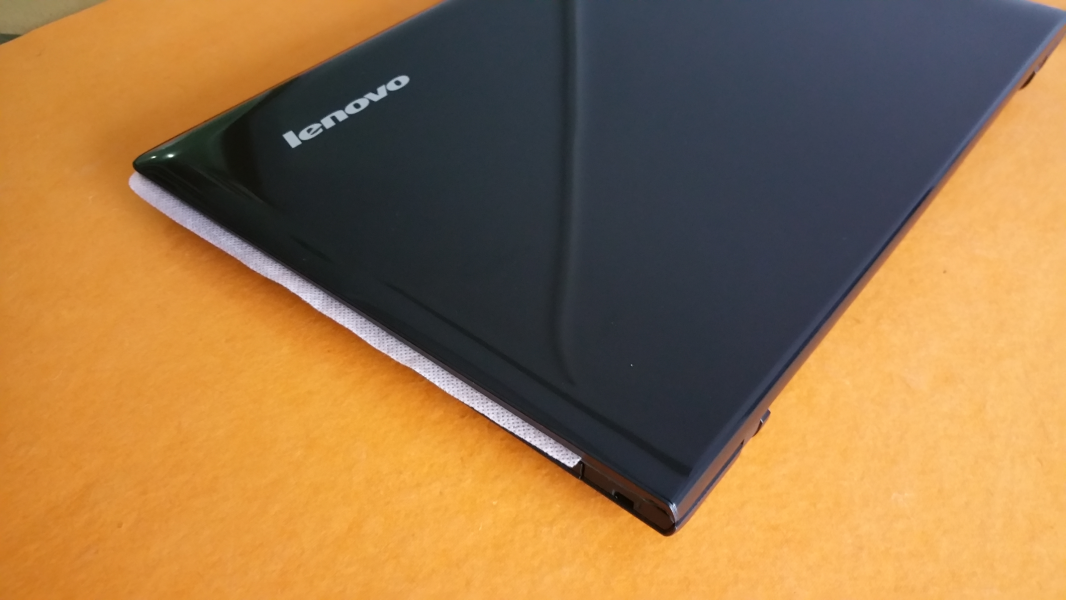
The Lenovo G50-80 has a simple design as you can see with the completely black notebook cover with the Lenovo logo on the top left side.
 .
.
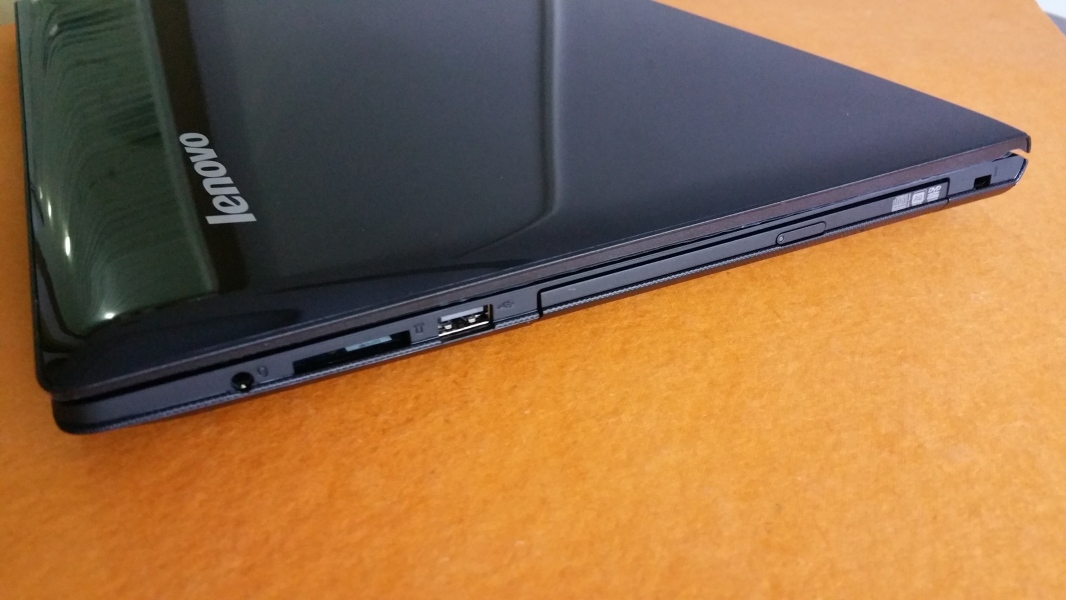
On the right side of the Lenovo G50-80 you can see the 3.5mm audio jack, SD-card slot, single USB 2.0 port, DVD writer and security lock.
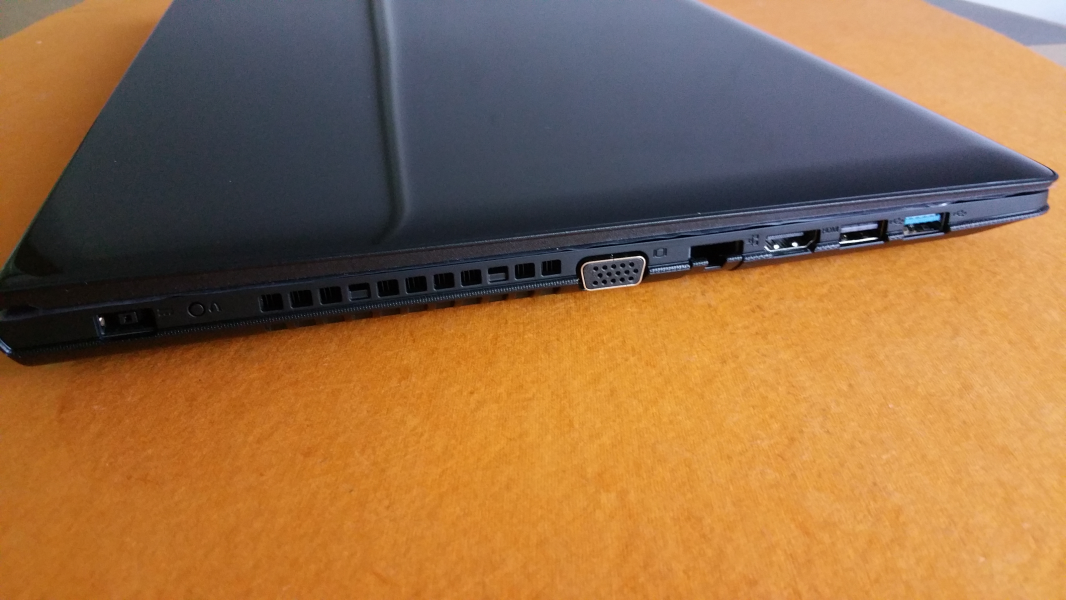
On the left side of the laptop you can see the power adapter connectort, NOVO button (used to enter Lenovo recovery mode if PC fails to boot normally), ventilation grills and VGA port, Gigabit Ethernet port, HDMI 1.4 port, USB 2.0 and one USB 3.1 Gen 1 port as well.
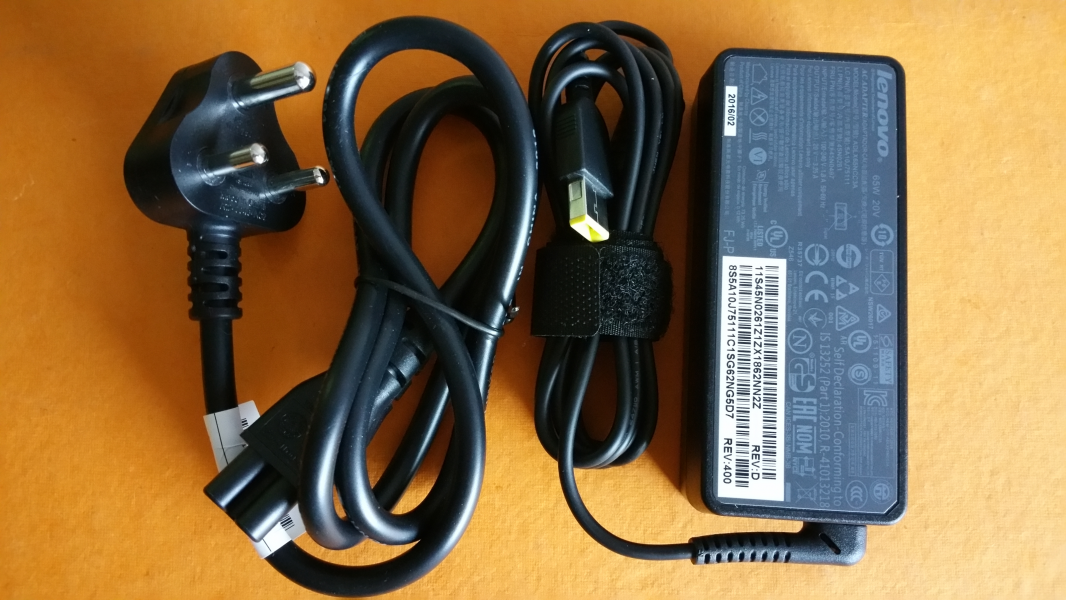
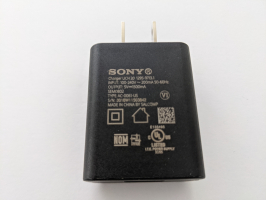
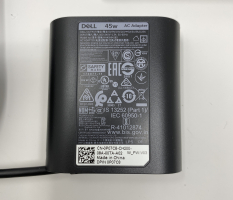
On the accessories side, Lenovo provided only a power adaptor with output 20V @ 3.5A.
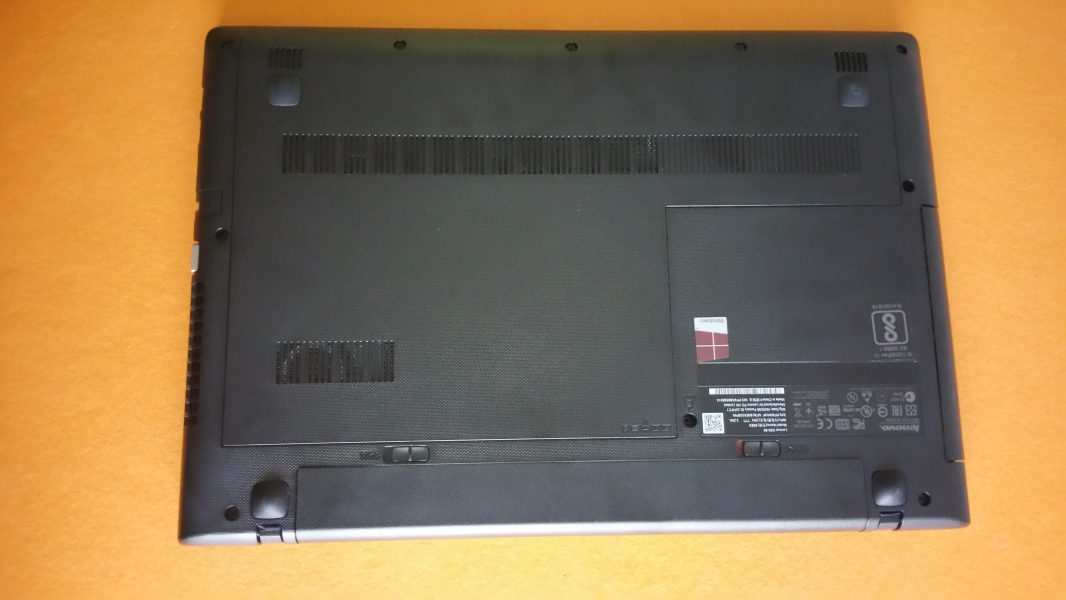
At the back you can see the battery slot and the front just houses the stereo speakers.
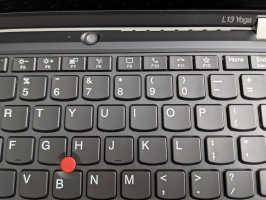
To begin the PC's setup process, open the laptop and press the power button on the left side of the laptop.
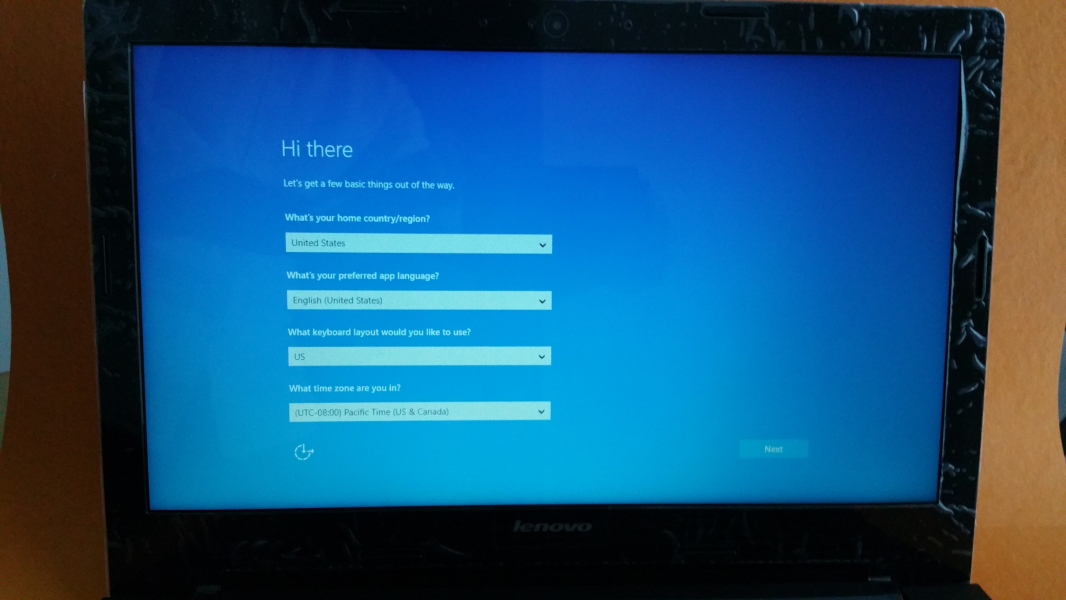
You need to setup the country, language, and time as indicated on the screen.
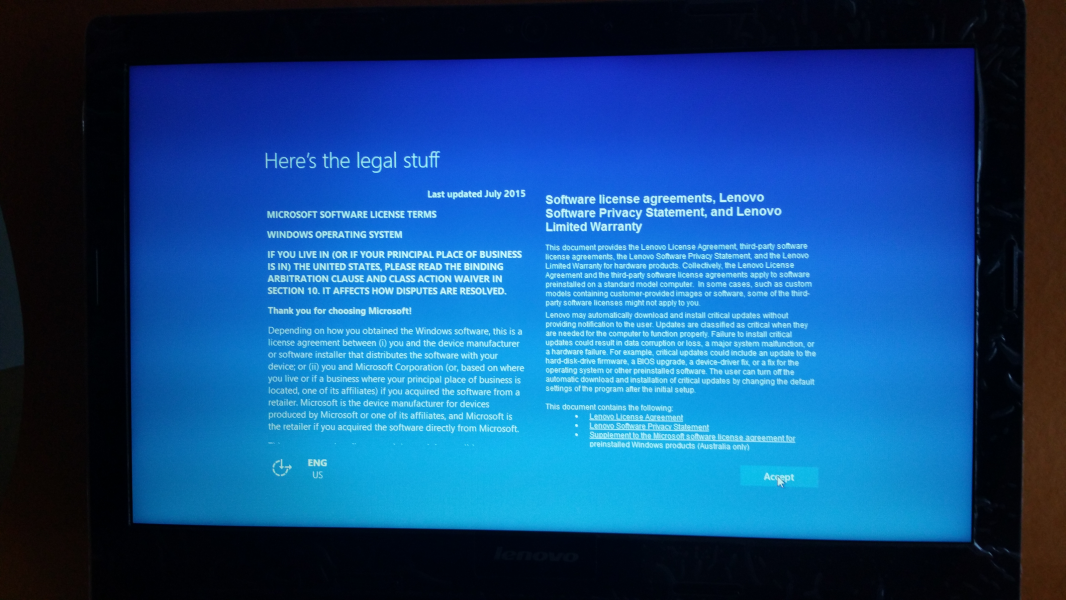
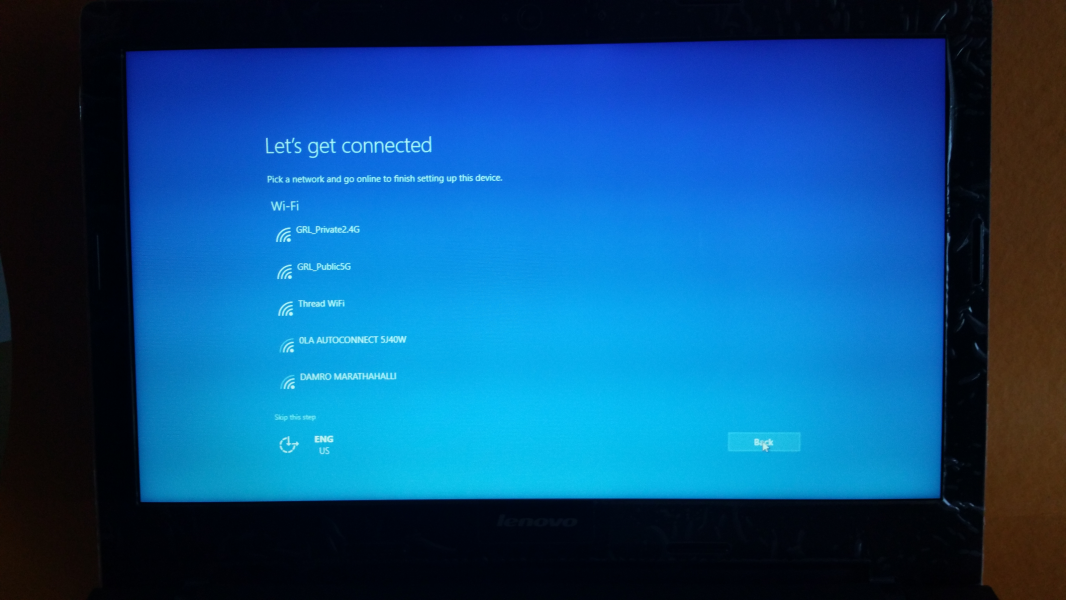
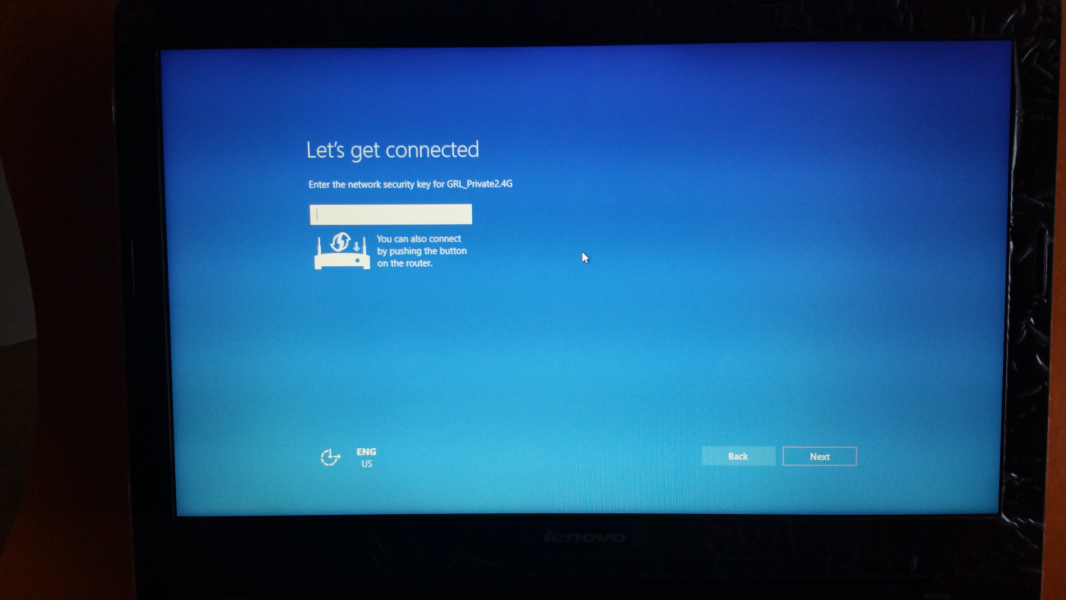
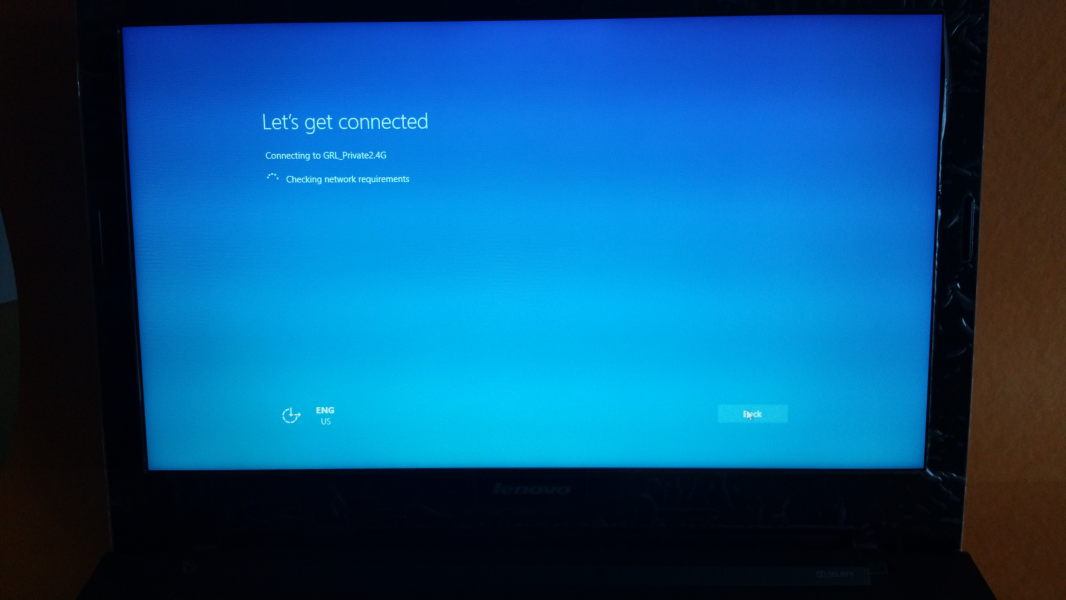
Once you accept the license agreement, you need to setup the network configuration.
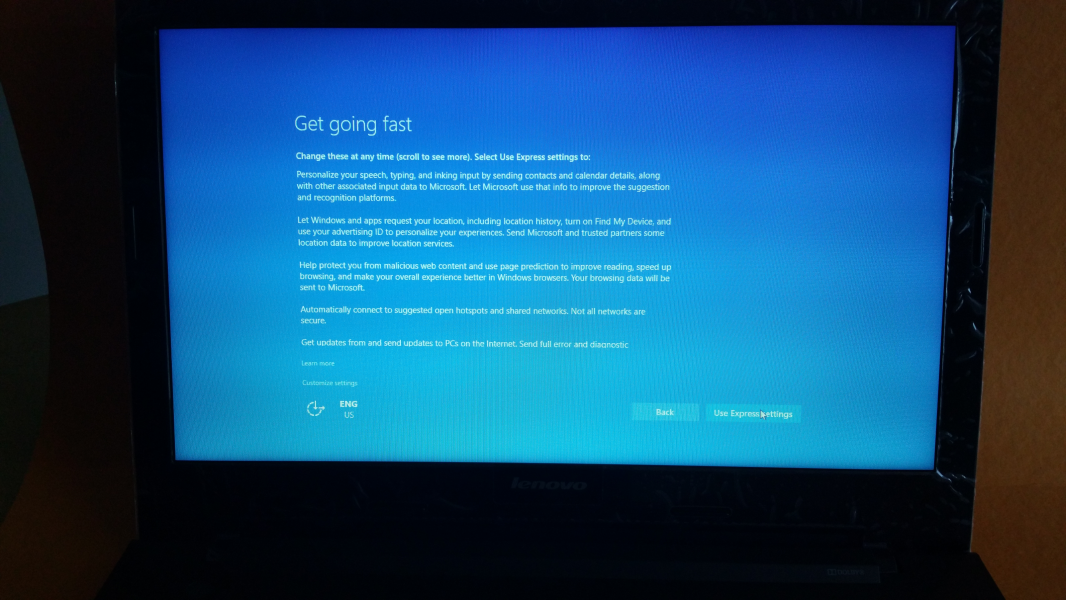
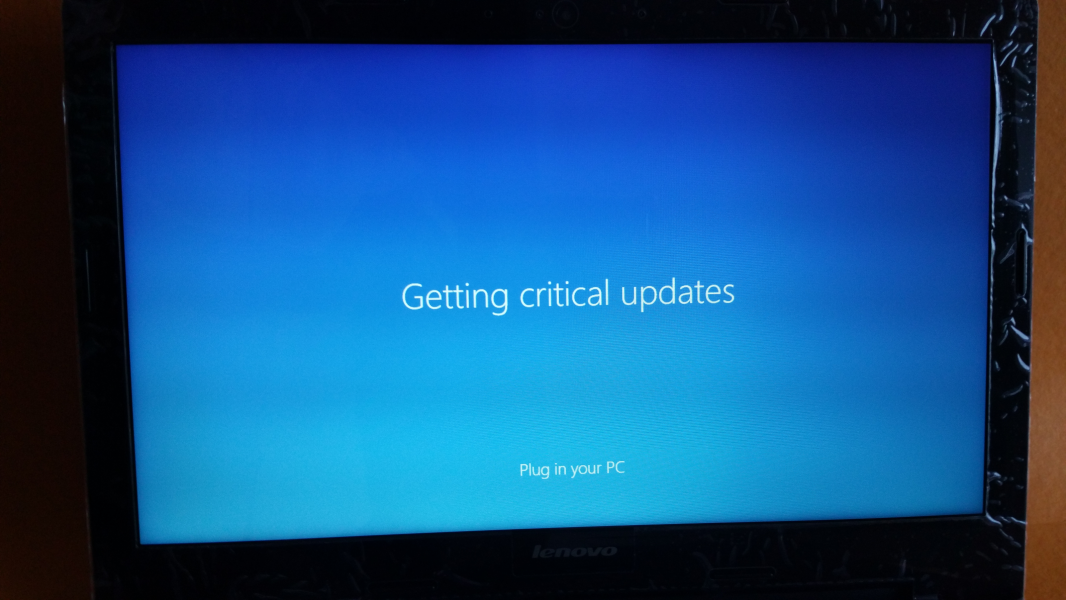
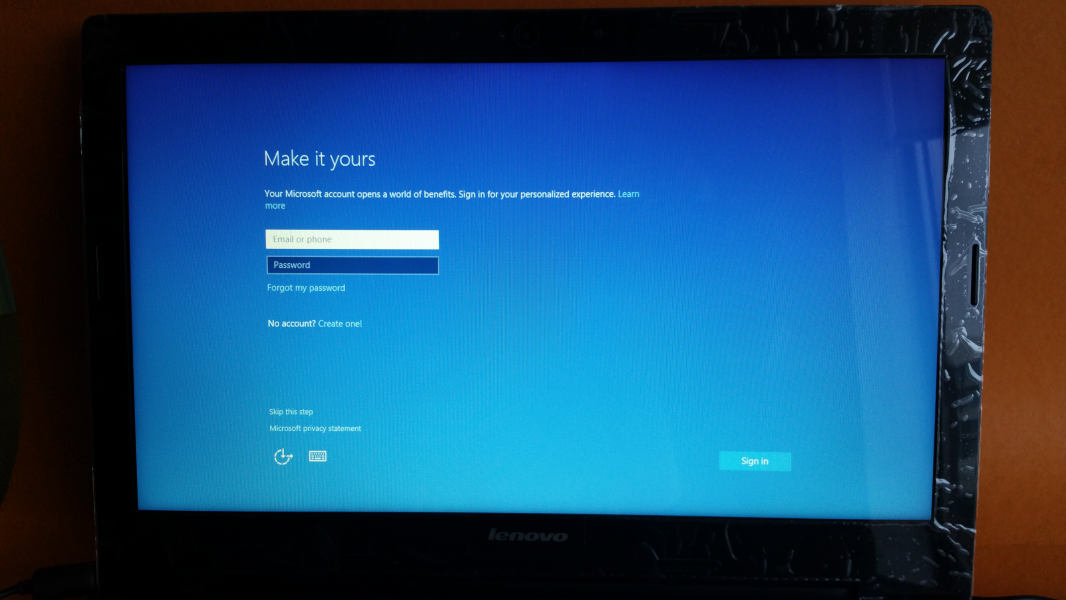
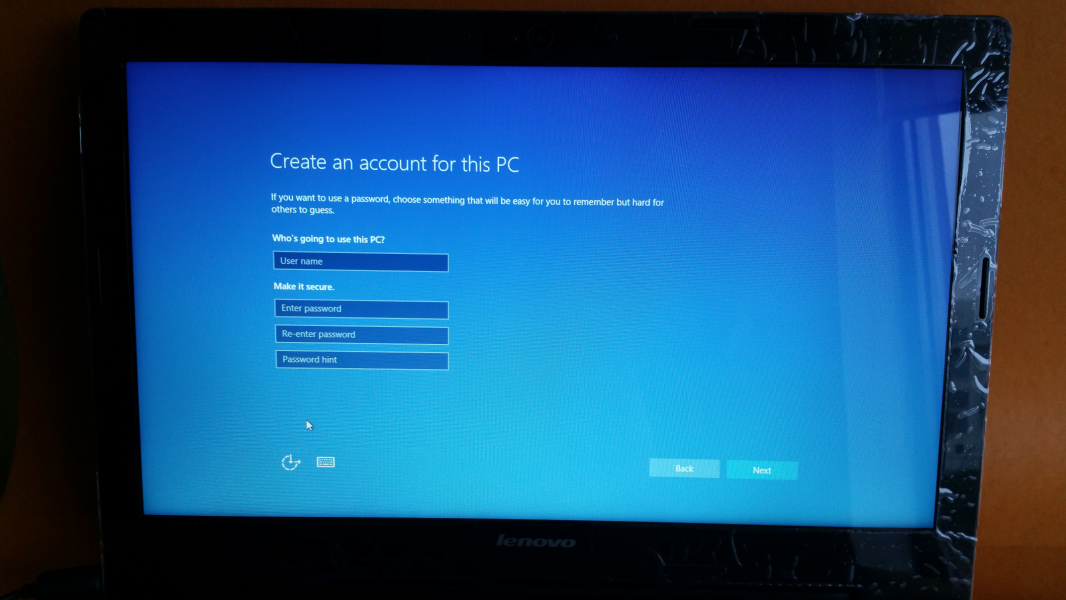
Create an account and set a password for this PC, then wait until the installation process is completed.
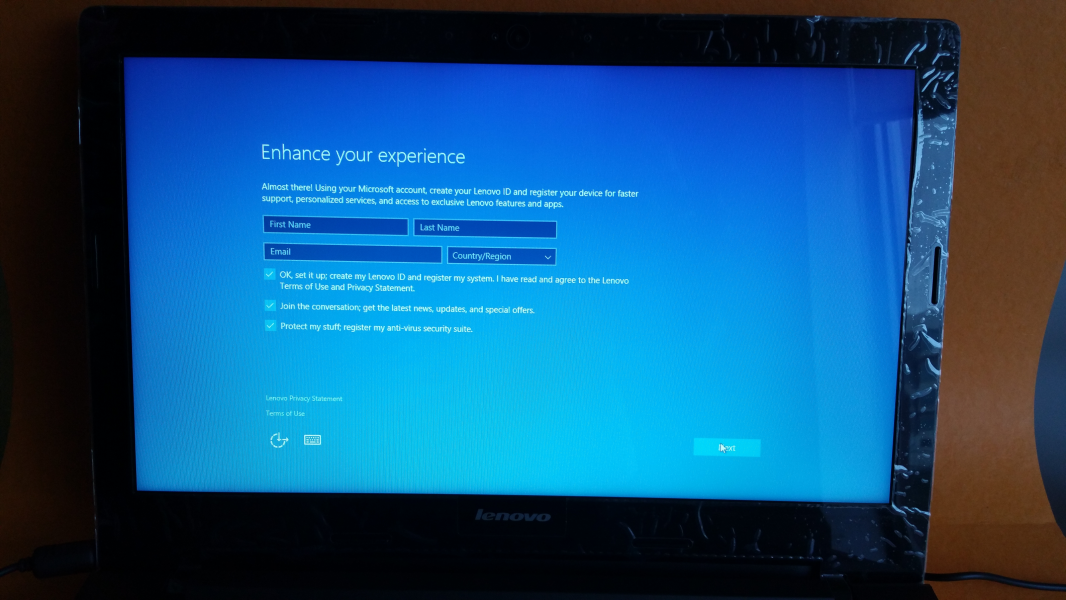
Once the installation is complete you will see the Windows desktop and you are ready to start using the machine.
View Full Article
Featured Products
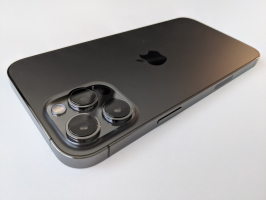
by Apple